What’s that? You want to make a website?
Did you stumble upon a great product idea and now you’re ready to share it with the world? Maybe you’ve partnered with a comedy buddy and you’re interested in creating a blog to post your funniest bits.
Regardless of your reasoning, a website is far easier to create nowadays than it was a few decades ago. In fact, you only need maybe 20 minutes, a small budget and some willingness to learn to make a website that could launch your new career.
The internet is filled with awesome website builders such as WIX, Weebly and Shopify, all of which have their own benefits. For example Shopify is ideal for eCommerce sites and WIX serves as a nice choice for those with minimal technical experience. However, one solution trumps them all in terms of customization settings and tools enabling you to scale up your business.

Good ole’ WordPress.
If you’re not familiar with the WordPress platform, it’s a content management system utilized by both small and large businesses, and it’s completely open source, meaning that people from all over the world are working to improve it and provide support for users.
Why should you consider WordPress?
To start, over 74 million websites run on the platform, which gives it a certain amount of credibility. But the main reason folks opt for WordPress is because of the amount of plugins you can install for expanding the way your website works. In short, it’s super easy and you don’t have to be a development genius to get started.
So how do you build a website using WordPress? We’re glad you asked, because if you keep reading you’ll find the definitive guide to making your online platform, from choosing a host to publishing your first blog post.
Pick a Hosting Platform to Store the Technical Stuff
With WordPress, you gain more control over your site, which is good thing, but it also requires you to find your own domain name and hosting provider.
The domain name is what people type into the web browser to find your site. It looks something like this: xyzcompany.com.
A hosting account is required for storing your site files and delivering those files in an organized manner to the end user. The best hosting accounts provide quality security, almost 100% uptime, exceptional support and fast page load times so that your users aren’t waiting around for your content.
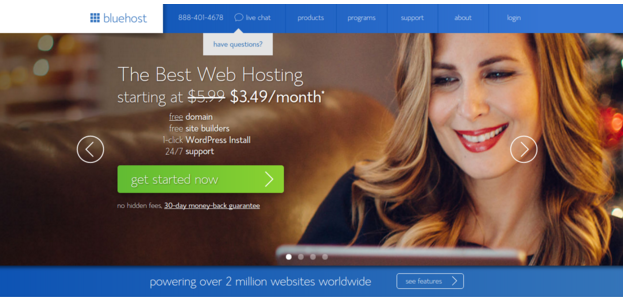
That’s why we recommend Bluehost, since it has affordable rates, along with all of the benefits we just outlined. Therefore, let’s learn how to sign up for Bluehost, find a domain name and install WordPress onto the hosting account.
Step 1
Go to the Bluehost website and click on the Get Started Now button for web hosting.
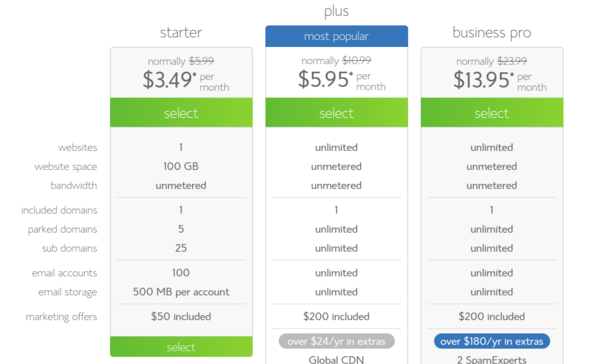
Step 2
A few packages are offered through Bluehost, but the Starter option is generally good to begin with. Click on the Select button for the package of your choice. Keep in mind that the Starter Package has support for one website, 100 GB of space, one domain and up to 25 sub-domains.
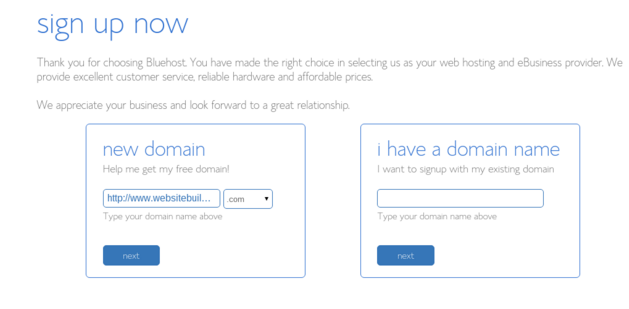
Step 3
Now it’s time to select and purchase your domain name. If you don’t already own a domain name, type one in to see if it’s available. This can be done in the New Domain module. If, however, you currently own a domain name, and would like to transfer it over to Bluehost, paste it into the I Have a Domain Name area. Click on the Next button to proceed.
Step 4
The next page tells you whether your new domain is available for purchase or not. In general, you will be paying around $10 per year for a domain name.
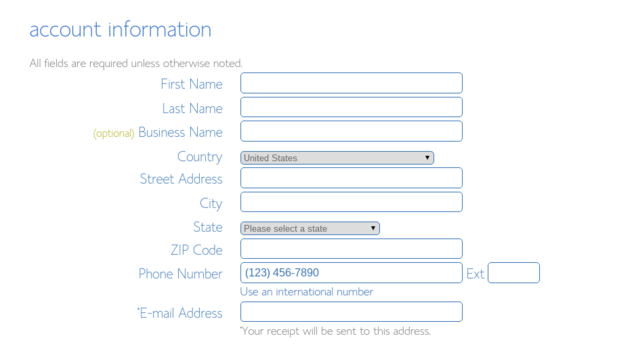
In order to complete the purchase, type in your account information such as name, address, phone number and email address. Scroll down on the page once finished.
Step 5
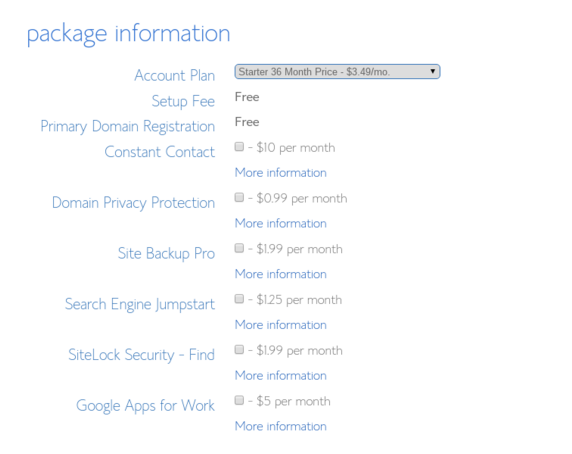
The Package Information area asks you which plan you’d like to select and if you want to include any additional services. Feel free to select whatever amount of time you want your hosting account to last, but keep in mind that the longer you commit to, the cheaper it is per month.
It’s also worth noting that the add-ons like Constant Contact, Privacy Protection and Site Backups are not necessary. We recommend skipping these upgrades since you can generally set them up later for free.
Step 6
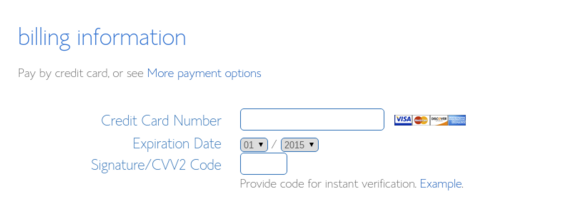
Finally, punch in your credit card information to complete the purchase. Confirm that you’ve read the terms and conditions and hit the Next button.
Note: Bluehost charges for a year up front. They do this to keep their monthly prices low. You can choose any different hosting service, but we couldn’t list too much options in this post alone!
Step 7
The next step is almost completely automated. It entails you installing WordPress onto the hosting account. Once the website brings you to the Bluehost CPanel, locate the Website Builders header. Select the WordPress icon to walk through the WordPress installation steps.
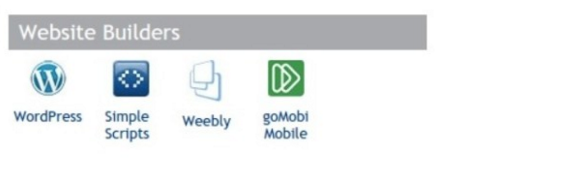
As stated before, this is almost completely automated, so walk through the steps and you will eventually be given your WordPress login URL and the login credentials to start creating content in the dashboard.
Selecting the Face of Your Website: The WordPress Theme
A WordPress theme serves as the face of your brand. It’s an inexpensive and quick way to make your site look beautiful. Thousands of themes are sold, or given away for free, online. Some of them provide support for tools like WooCommerce, while others are more for simple blogging. Regardless, you want a theme to cut down on your development time.
Step 1
If you’re more interested in selecting a free WordPress theme, go to the WordPress theme directory. Many of the solutions are just as good as premium ones, but it’s wise to check out ratings since just about anyone can make a free theme, and you don’t want to get stuck with a poorly coded option.
For those of you who truly want to make a business with your WordPress site, we recommend a premium theme. The majority of themes are affordable, ranging from $40 to $80.
Here’s a nice list of practical and functional WordPress theme choices to get you started. If you can’t find anything in that list, consider going to some of the top WordPress theme sellers in the world, such as:
Depending on the theme, you may have to punch in your payment information beforehand.
Step 2
Upon selecting a theme that works for your brand, you must first download the theme file to your computer.
After that, login to the backend of your WordPress website. Navigate to Appearance > Themes on the left hand toolbar.
Select the Add New button at the top.

Click on the Upload Theme button to proceed.
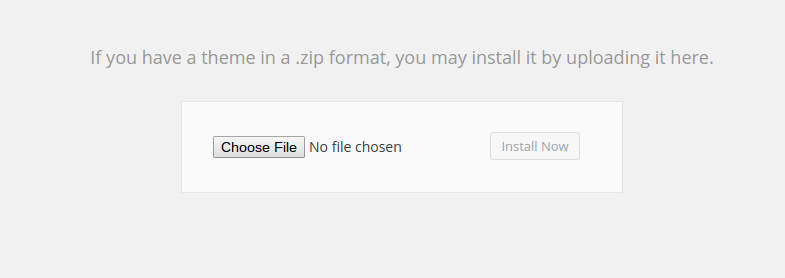
The next page requests that you click on the Choose File button. This brings up your computer files, where you can locate the theme zip file and click on the Install Now button. After that, specify that you’d like to activate the theme.
Step 3
Now that you’ve successfully uploaded and activated your WordPress theme you should be able to go to the frontend of your site and see what it looks like.
You now should have all the settings and tools you need to manage your site on the backend.
Get Started Sharing Your Best Content
Step 1
We can’t go over everything, but it’s important to understand how to create your first blog post. For that, go to Post’s > Add New.
Step 2
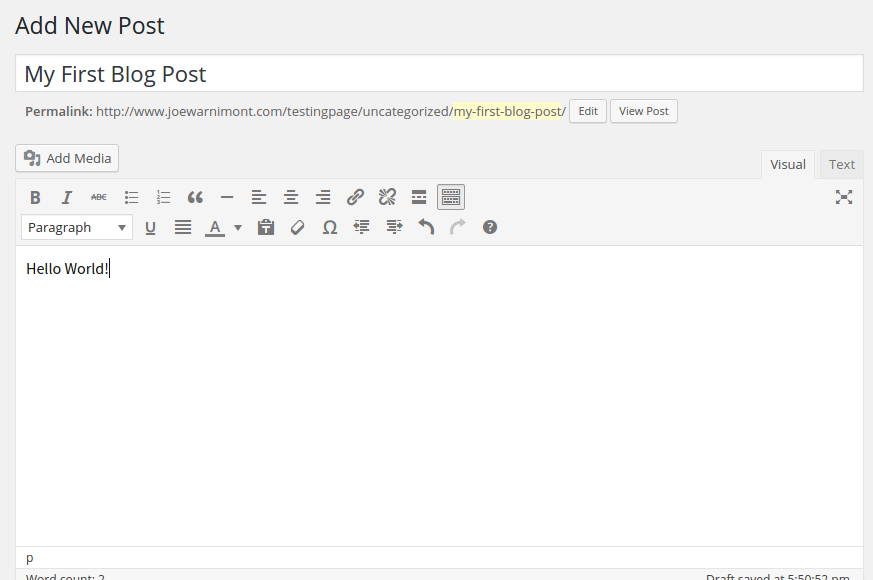
This reveals the area where you can manage what your blog post will show. Various tools are provided, but start by creating a title and written content. Feel free to upload items like images and videos, while also playing around with shortcodes, links and columns. We recommend sticking to the Visual editor (as opposed to the Text editor) so you don’t have to mess with any code.
Step 3
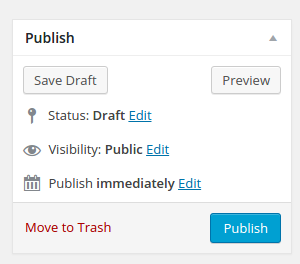
Upon completing your blog post, go to the right side of the page and click the Publish button. If you’d like to view how your content looks before making it live, use the Preview button.
Step 4
After that, go to the frontend of your site to see what your brand new blog post looks like.
Over to You…
Congratulations! You’ve successfully learned how to build a website using WordPress. It feels pretty good to publish your first piece, but don’t stop there. Take advantage of the WordPress support area to learn about other techniques you can use to take your site to the next level.
The forums are nice because you can learn about plugins and tactics, while also asking questions if you stumble upon a problem.
There you have it. WordPress site building is only the first step to your online journey, so get ready for creating wonderful content for everyone to see. If you have any questions about the site building process, please leave a comment in the section below.
I actually used WordPress.tv during my training and I have to say that it’s one of the best methods for learning the ropes. When I first started, it was a little tricky to keep up with some of the experts as they seem to address other experts only, but once I got the hang of the lingo it was easy enough to keep track. I did try Lynda.com thanks to a promo from LinkedIn and it is decent, but I definitely prefer WP.TV