Figma is a great tool for creating prototypes and has many built-in features to make the process easy. One thing you might want to do is change the cursor for your prototype.
This can be useful if you want to create a more immersive experience or make it clear that certain elements are clickable. Unfortunately, Figma does not currently offer the cursor change option in Prototype. However, an alternative that you can do is to make the elements interactive while your cursor hovers over them. It serves the same purpose of making it look clickable!
PRO TIP: This article is about making obvious clickable buttons in Figma Prototypes. Please be aware that this may not be possible in all prototypes, and that it may cause unexpected results.
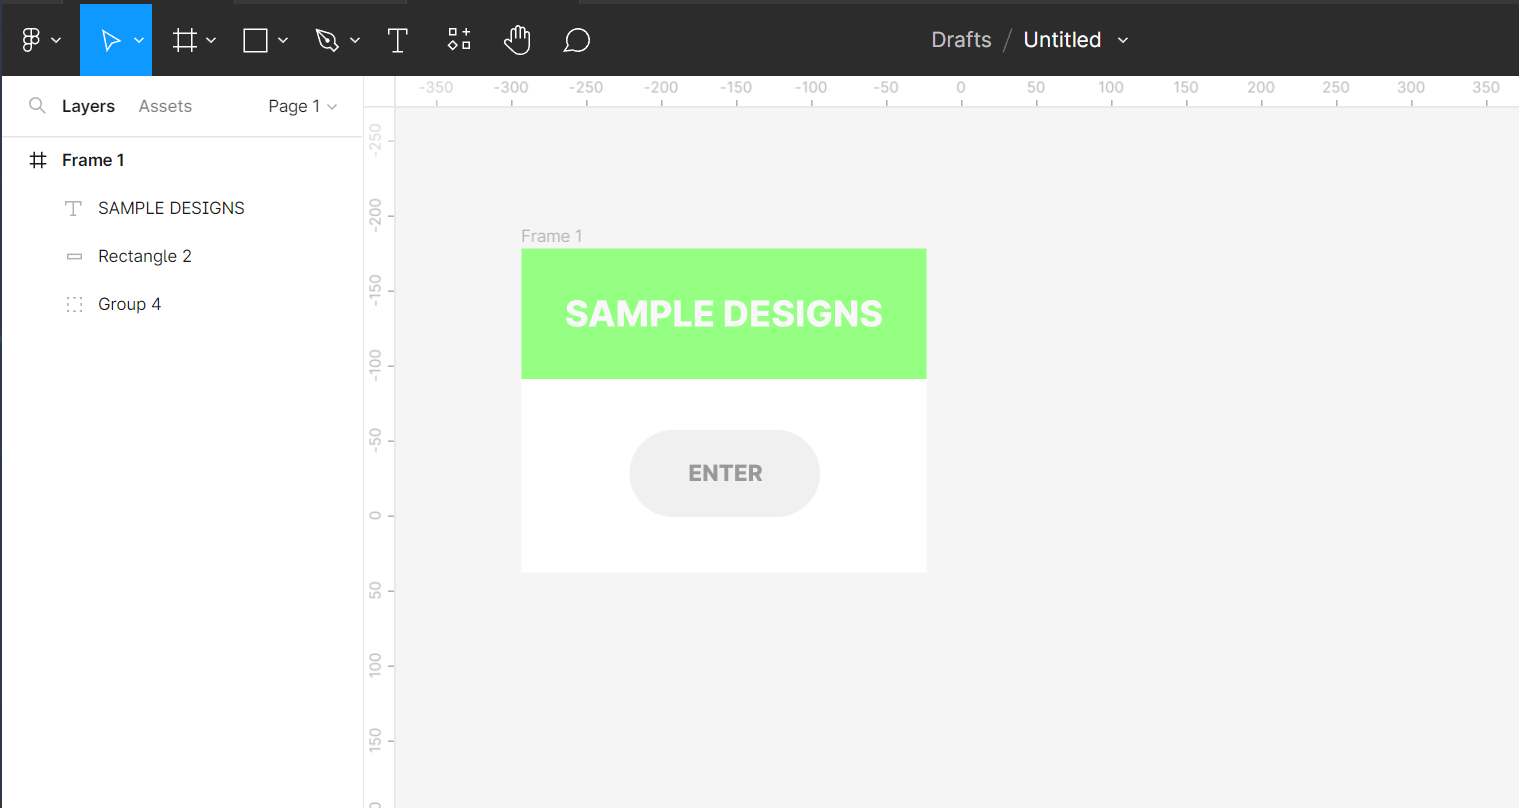
First, open your Figma file and select the frame that you want to edit.
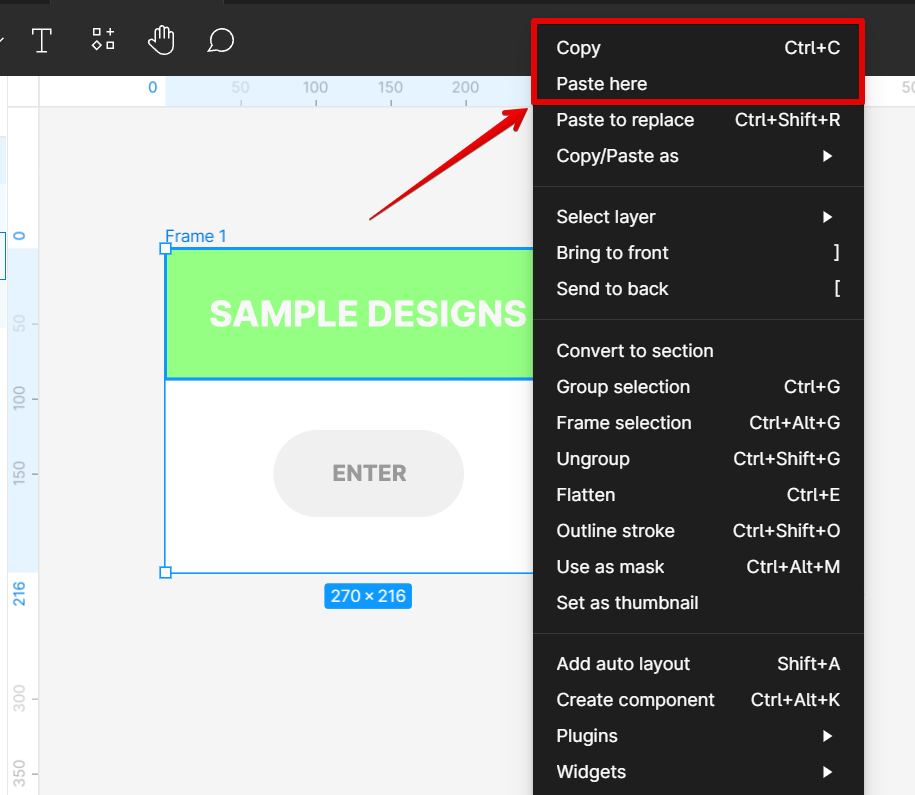
From there, create a copy of the frame by selecting it and clicking on the “Copy” and “Paste here” options after a right-click.
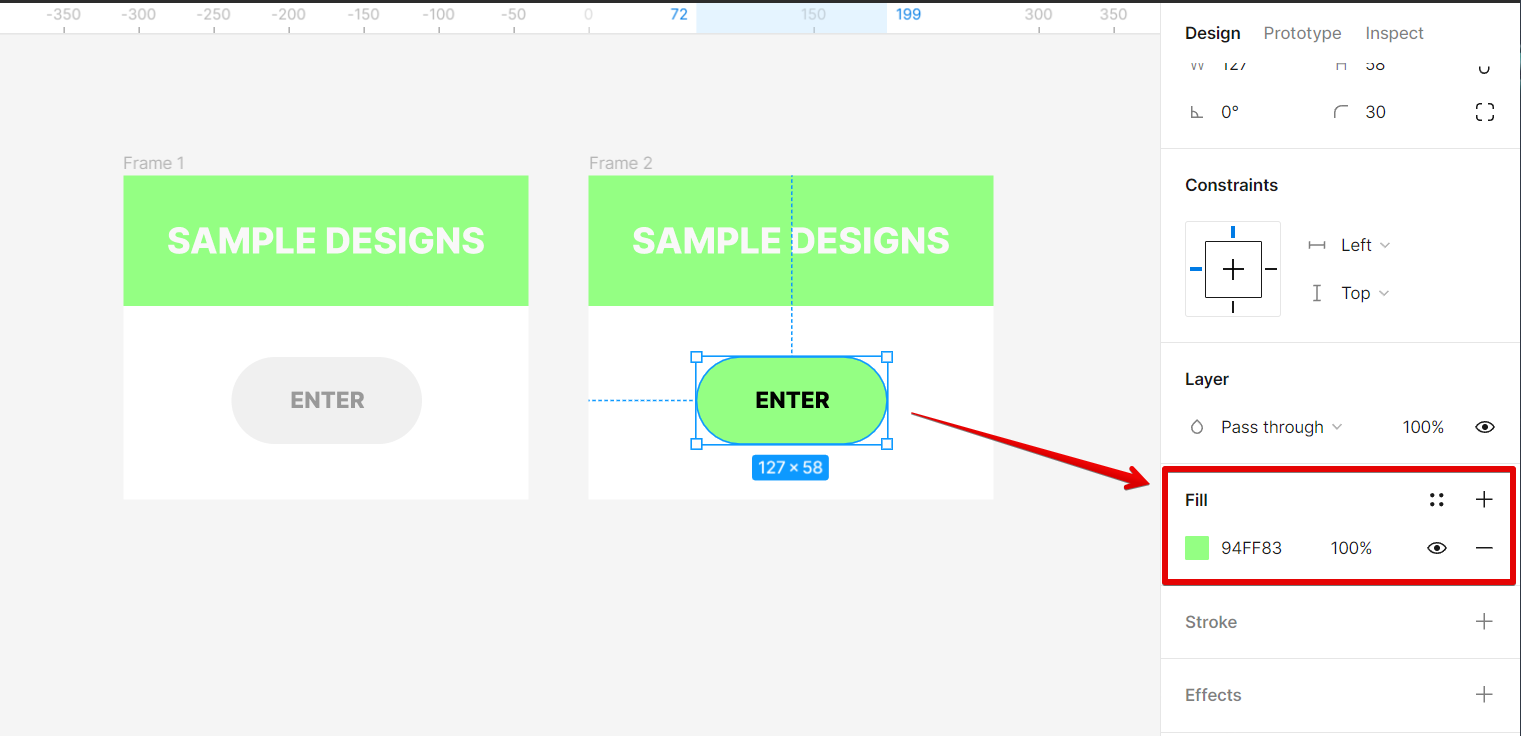
The next step is to change the color of the button that you want to appear clickable by going to the “Fill” option in the “Design” tab.
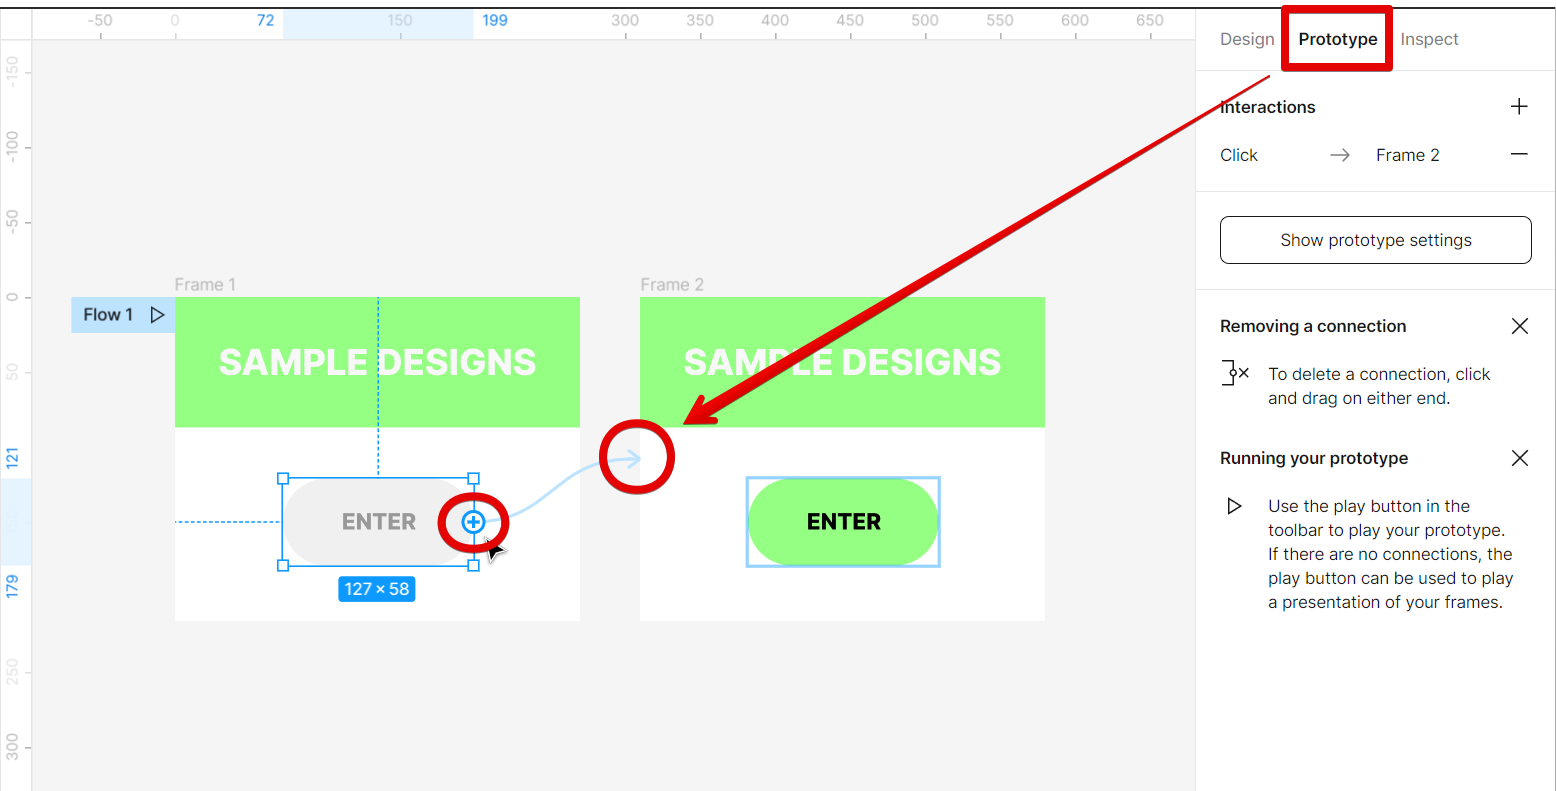
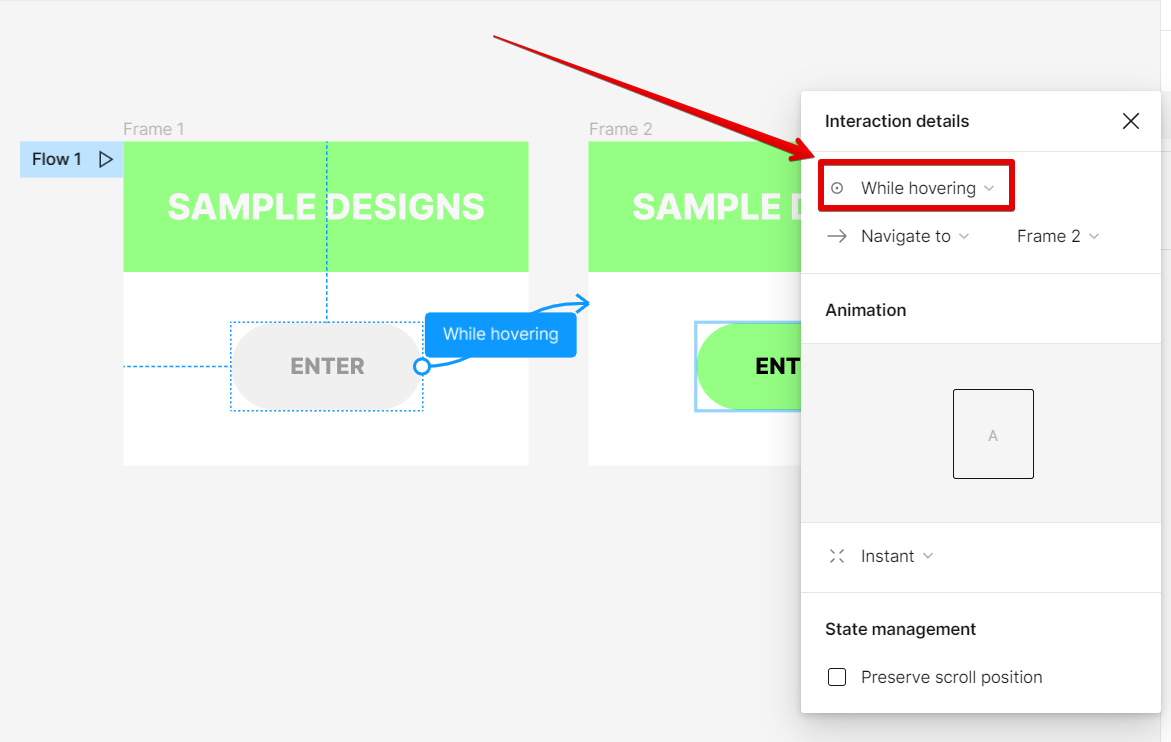
Now go to the “Prototype” tab, then connect the button in “Frame 1” to “Frame 2”. This can be done by clicking on the “+” sign and dragging it until it connects to the second frame.
In the “Interaction details” window, select the “While hovering” option.
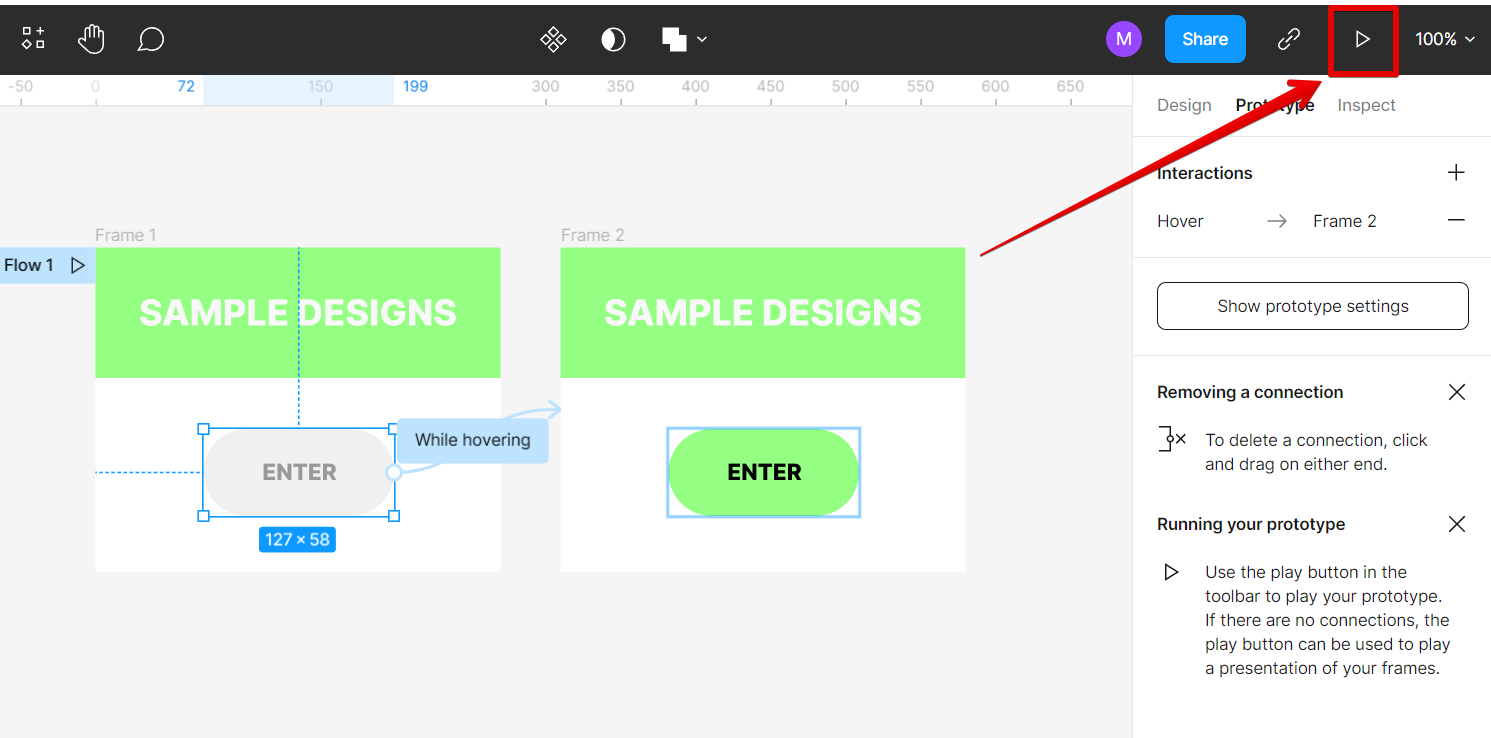
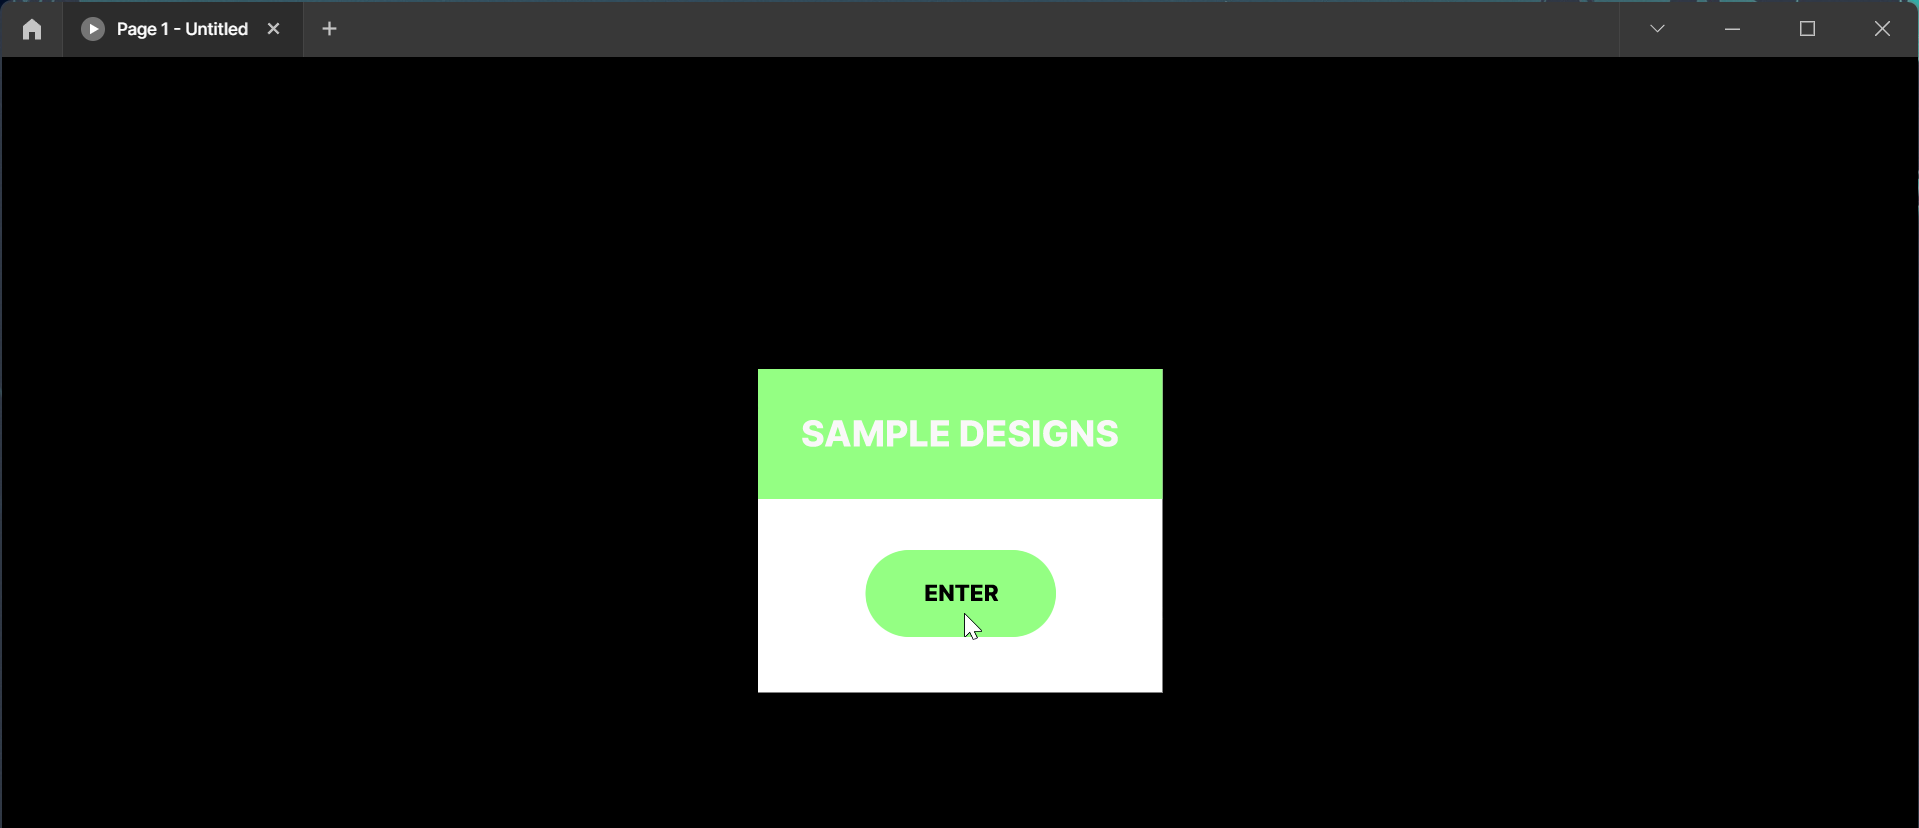
Once done, go to the “Present” button in the upper-right corner of the screen and click on it. This will lead you to another window where you can check if your Prototype works as expected.
That’s all there is to it! You can now test your prototype and see if your button changes in color while your cursor hovers over it.
As you can see, it’s easy to make a button look clickable in the Figma Prototype. This can be a great way to improve the user experience of your prototype and make it more interactive. So give it a try next time you’re working on a project!
6 Related Question Answers Found
Figma is a vector-based design tool used by UX and UI designers. It’s similar to Adobe Photoshop and Sketch, but with a few key differences. One of those differences is how you change the cursor.
Can you scroll on Figma prototypes? The answer is yes! You can scroll on Figma prototypes using the arrow keys on your keyboard.
There are a few different ways that you can see the cursor in Figma:
In the top left corner of the canvas, there is a small circle that shows where your cursor is located. This is helpful when you’re zoomed in and need to know exactly where to click. You can also enable the “Show Cursor” option in the View menu.
When you’re working on a web design project, it’s important to be able to prototype your designs so you can get feedback from users and make changes before coding begins. Figma is a great tool for prototyping because it allows you to create interactive prototypes that look and feel like the real thing. One of the most common questions we get asked is how to scroll a prototype in Figma.
There are a few different ways to scroll in Figma prototypes. The first is to use the scroll bar on the right side of the screen. To do this, simply click and drag the scroll bar up or down.
There are a few different ways that you can move the screen in Figma. The first way is to use the mouse or trackpad. To do this, simply click and hold down the left mouse button or trackpad button, and then move the cursor in the direction that you want to move the screen.