Figma is a vector graphics editor and prototyping tool – and it’s totally web-based, so you can share designs with anyone, anywhere.
The software is still in beta, but it’s already pretty darn popular. In fact, I’ve been using it quite a bit lately for my own personal projects.
One of the things I love about Figma is that you can easily export your prototypes as GIFs. This is great for sharing with others or for posting on Dribbble or Behance.
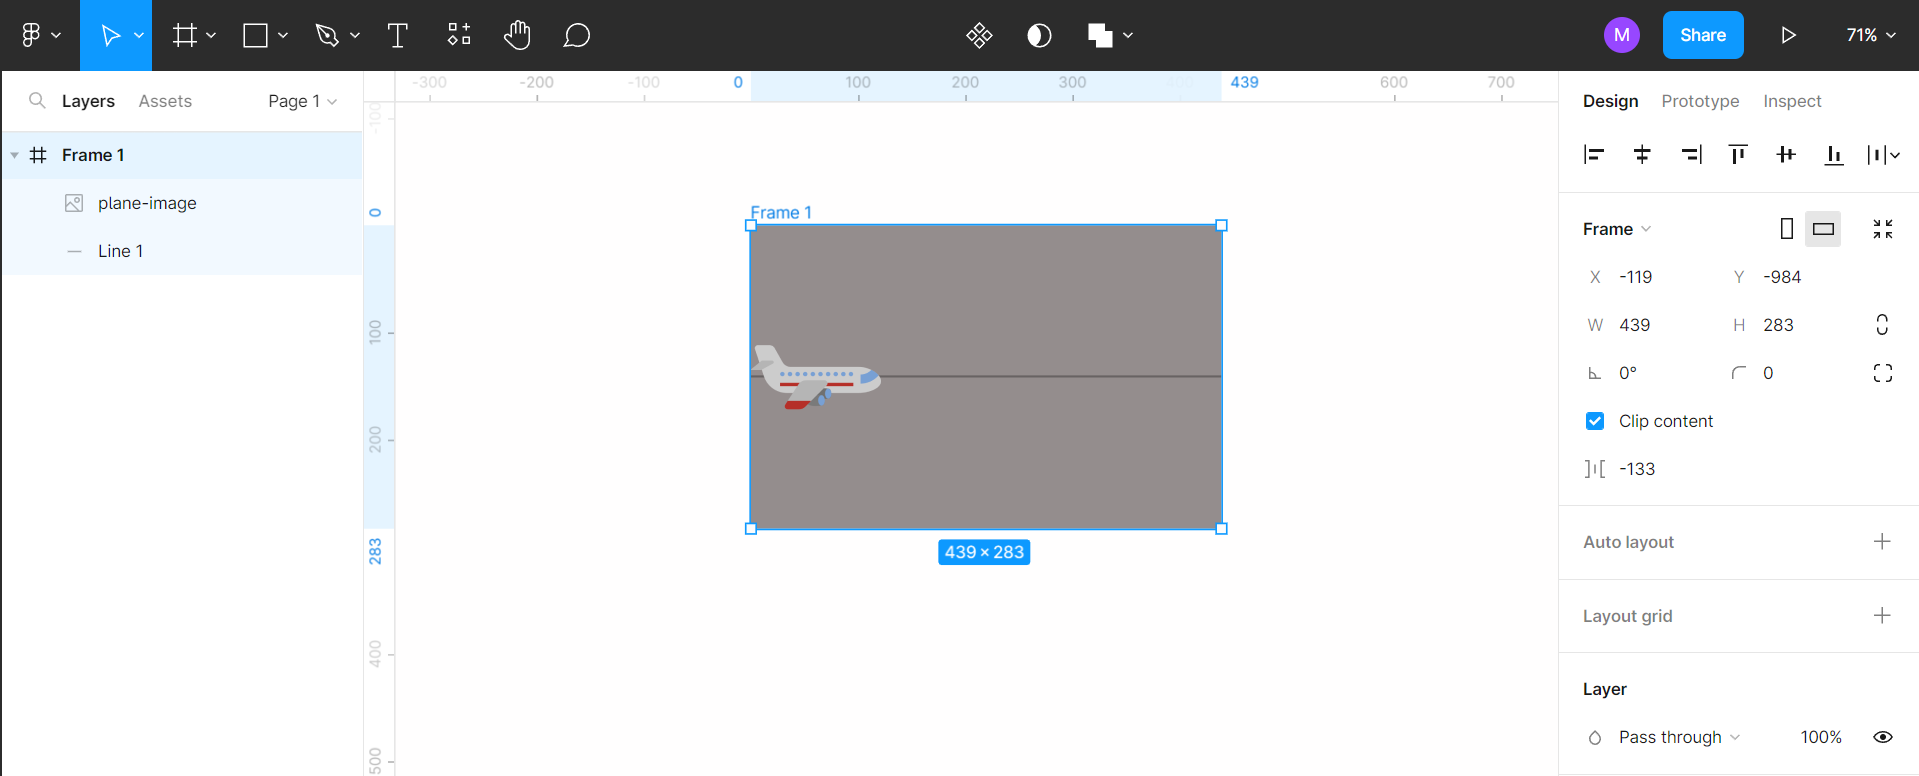
1. To export a prototype as a GIF, first, open your Figma prototype in the editor.
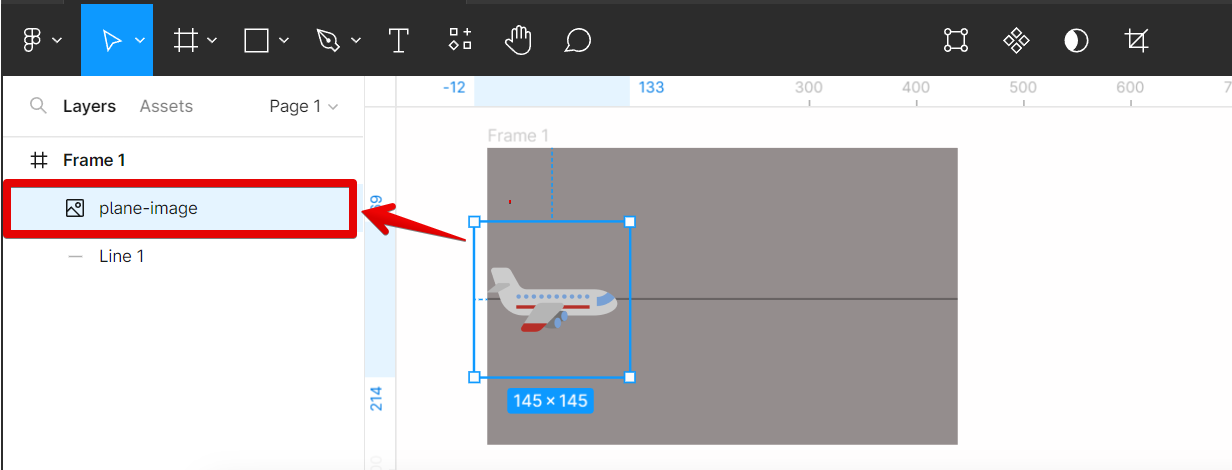
2. Then, select the layer where you will apply motion in the GIF that you will make.
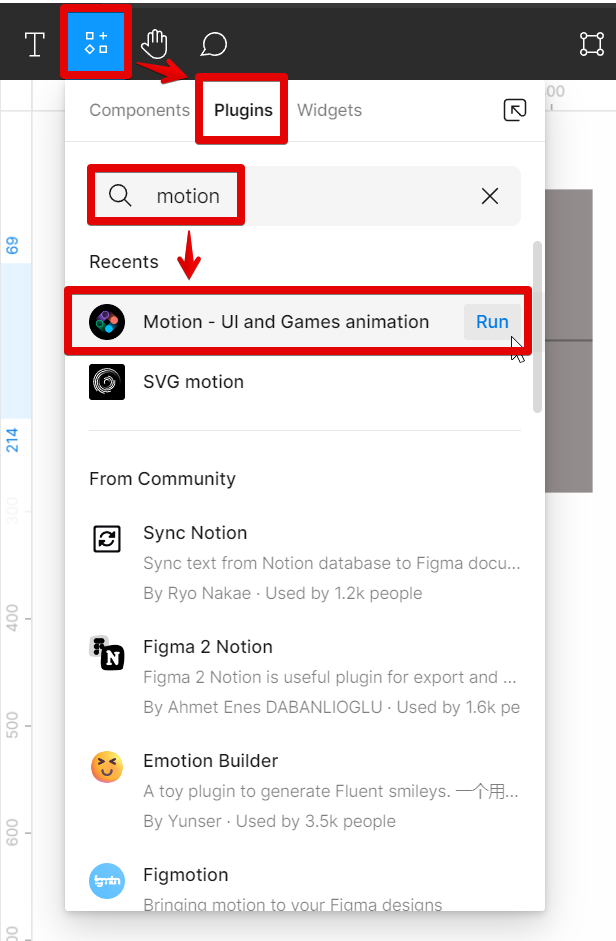
3. From there, go to the “Resources” tab at the top menu bar and search for the “Motion” plugin and run it.
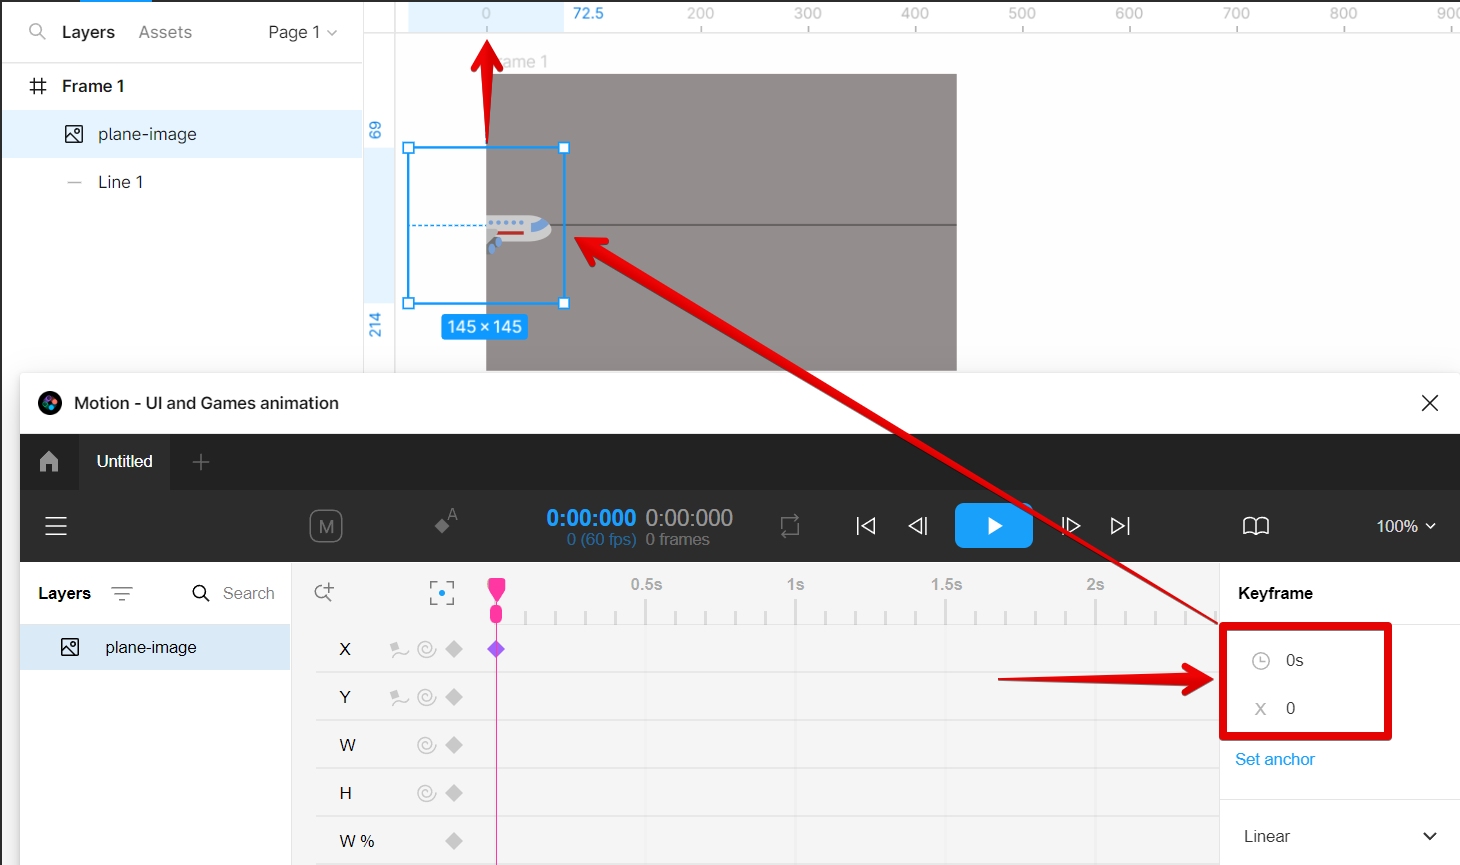
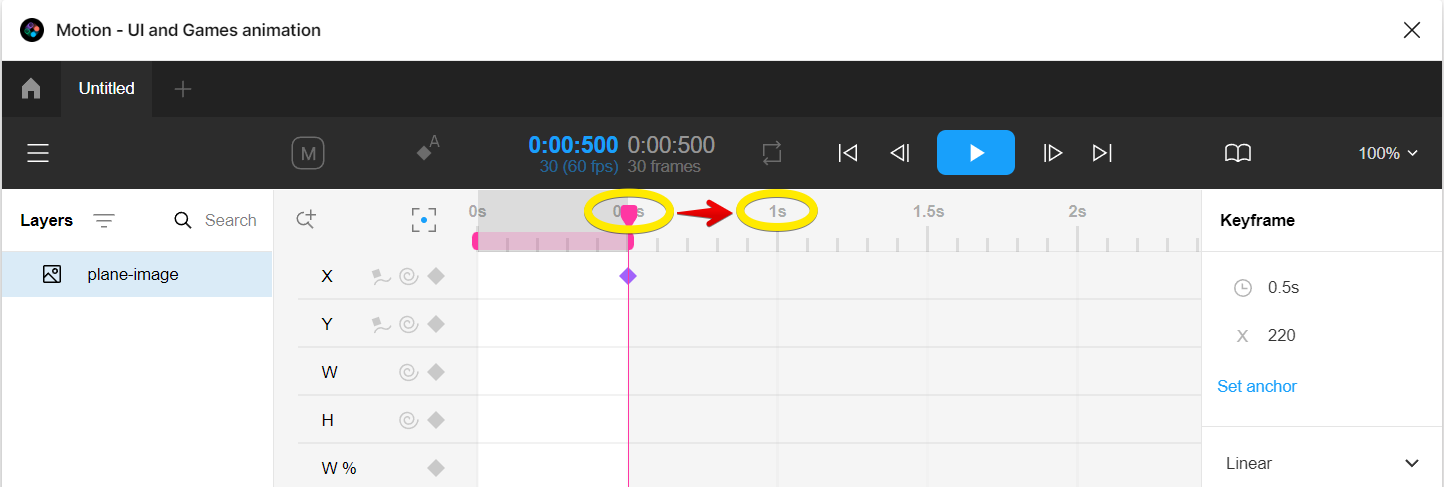
4. In the running Motion plugin, make sure that the layer you selected is reflected in the Layers section. Once done, add a keyframe by clicking on the diamond icon.
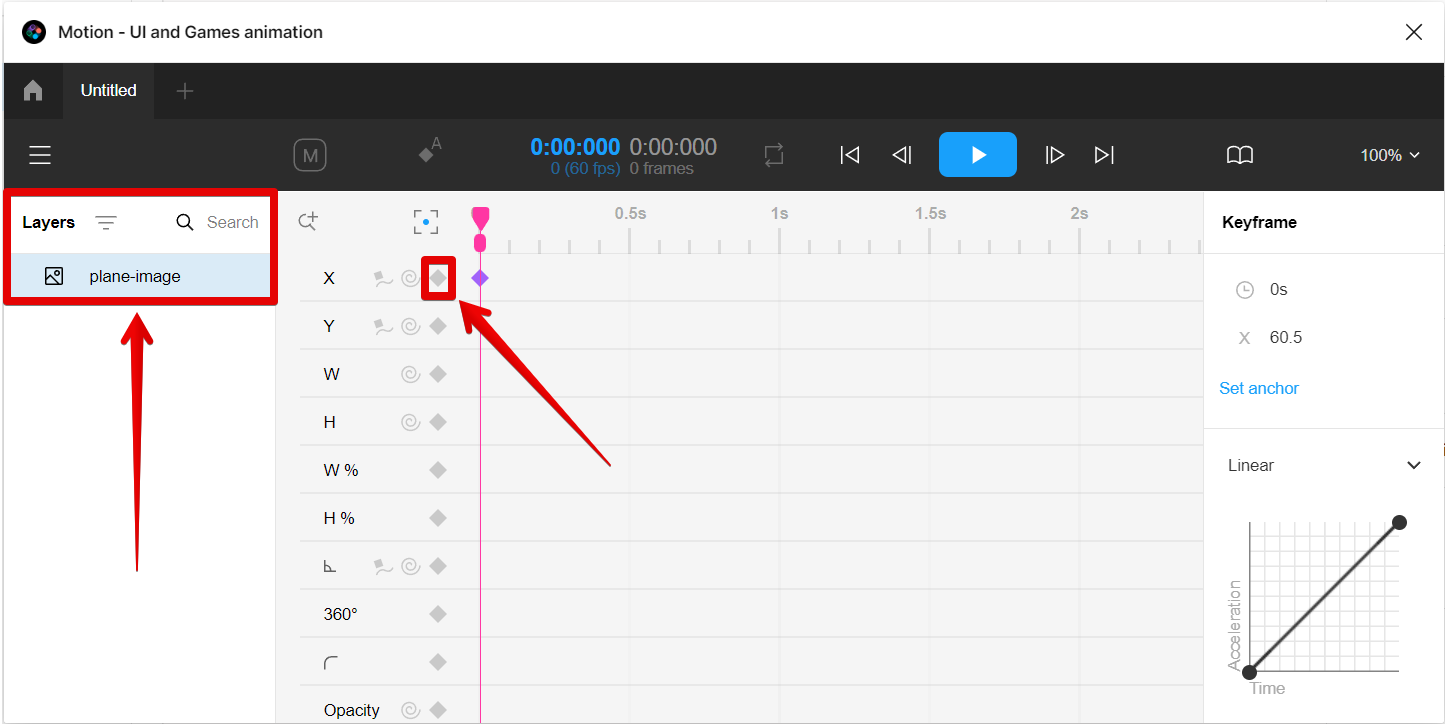
5. Then, go to the Keyframe section on the right to adjust the x-axis position of the layer at a specific time. In this case, the starting position would be at the “o” x-axis. Once done, press “Enter” on your keyboard, and you can see a preview of its effect on your layer’s position in the canvas.
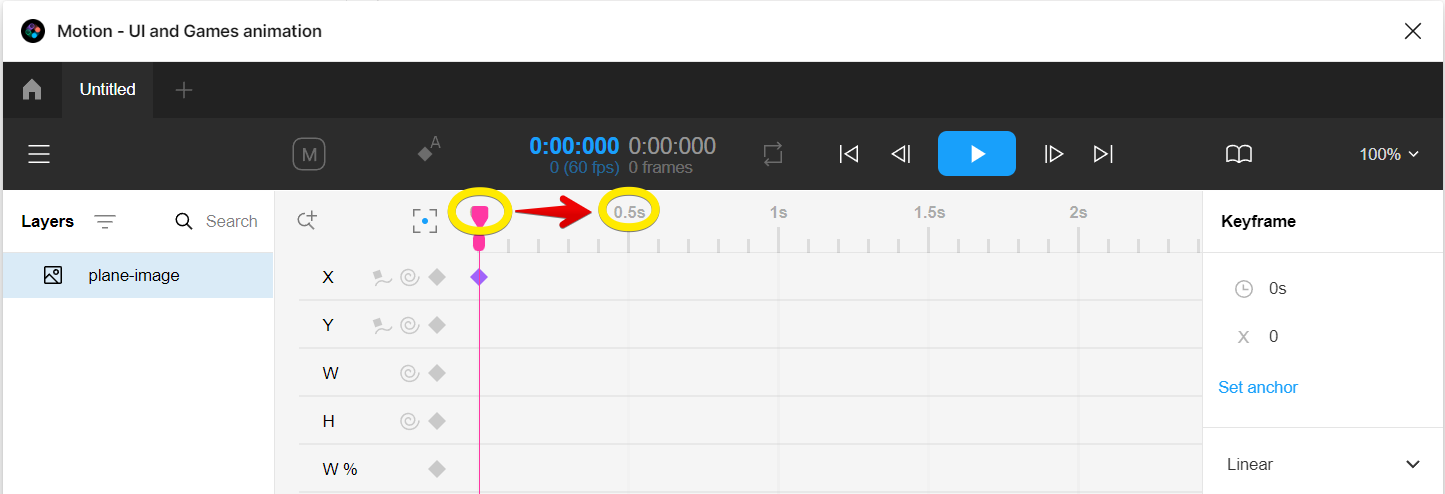
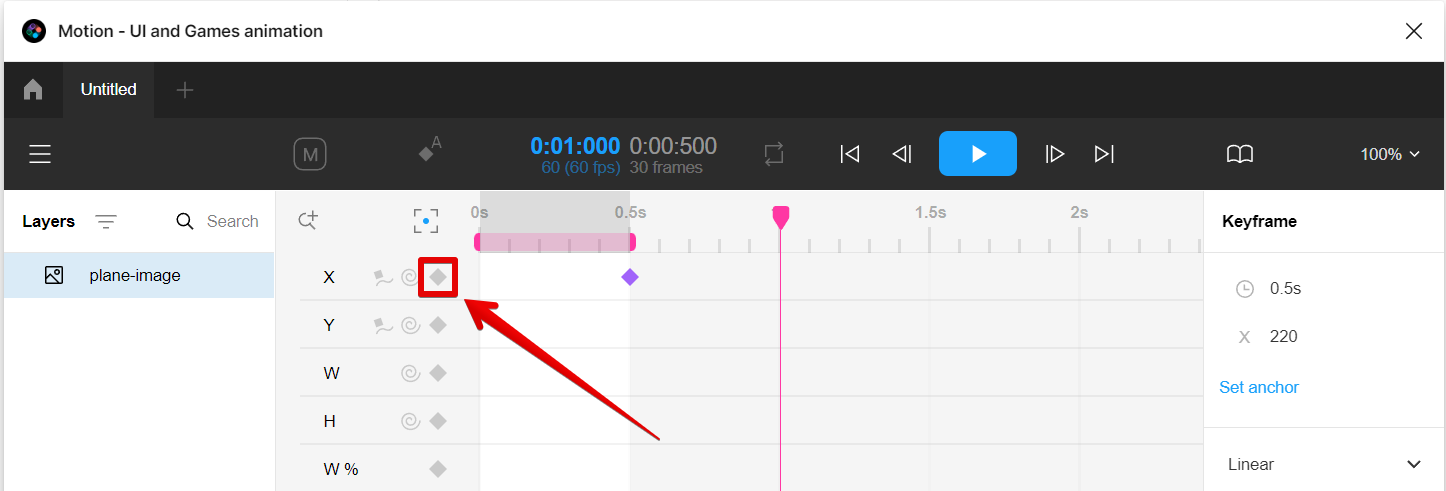
6. Next is to drag on the pink handle to its next position.
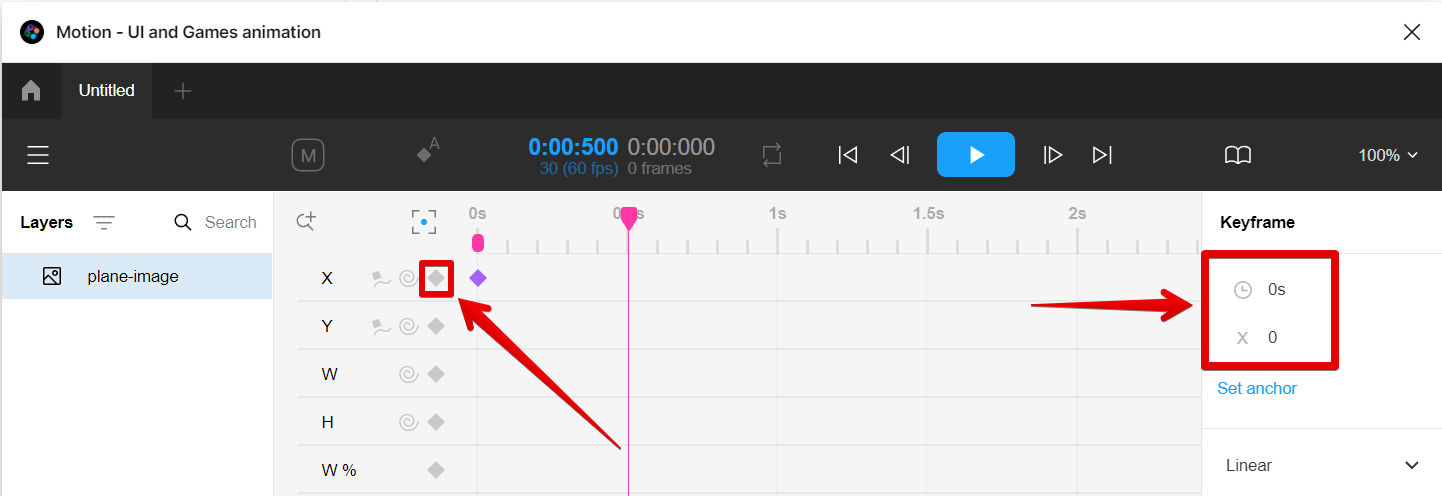
7. Then, click on the diamond icon to add the second keyframe and go to the Keyframe section to adjust the position.
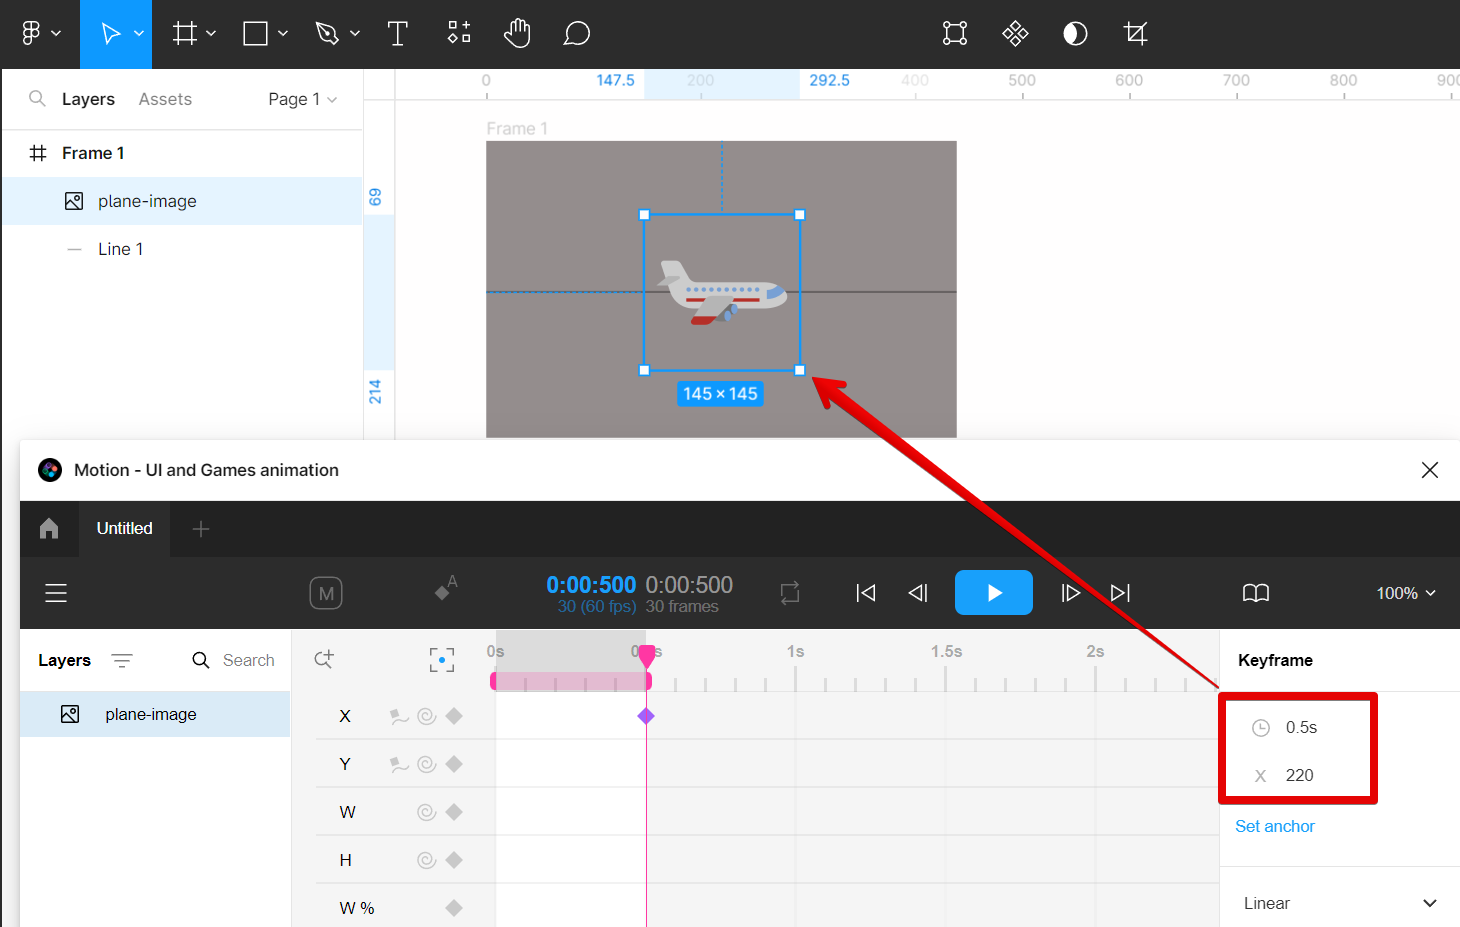
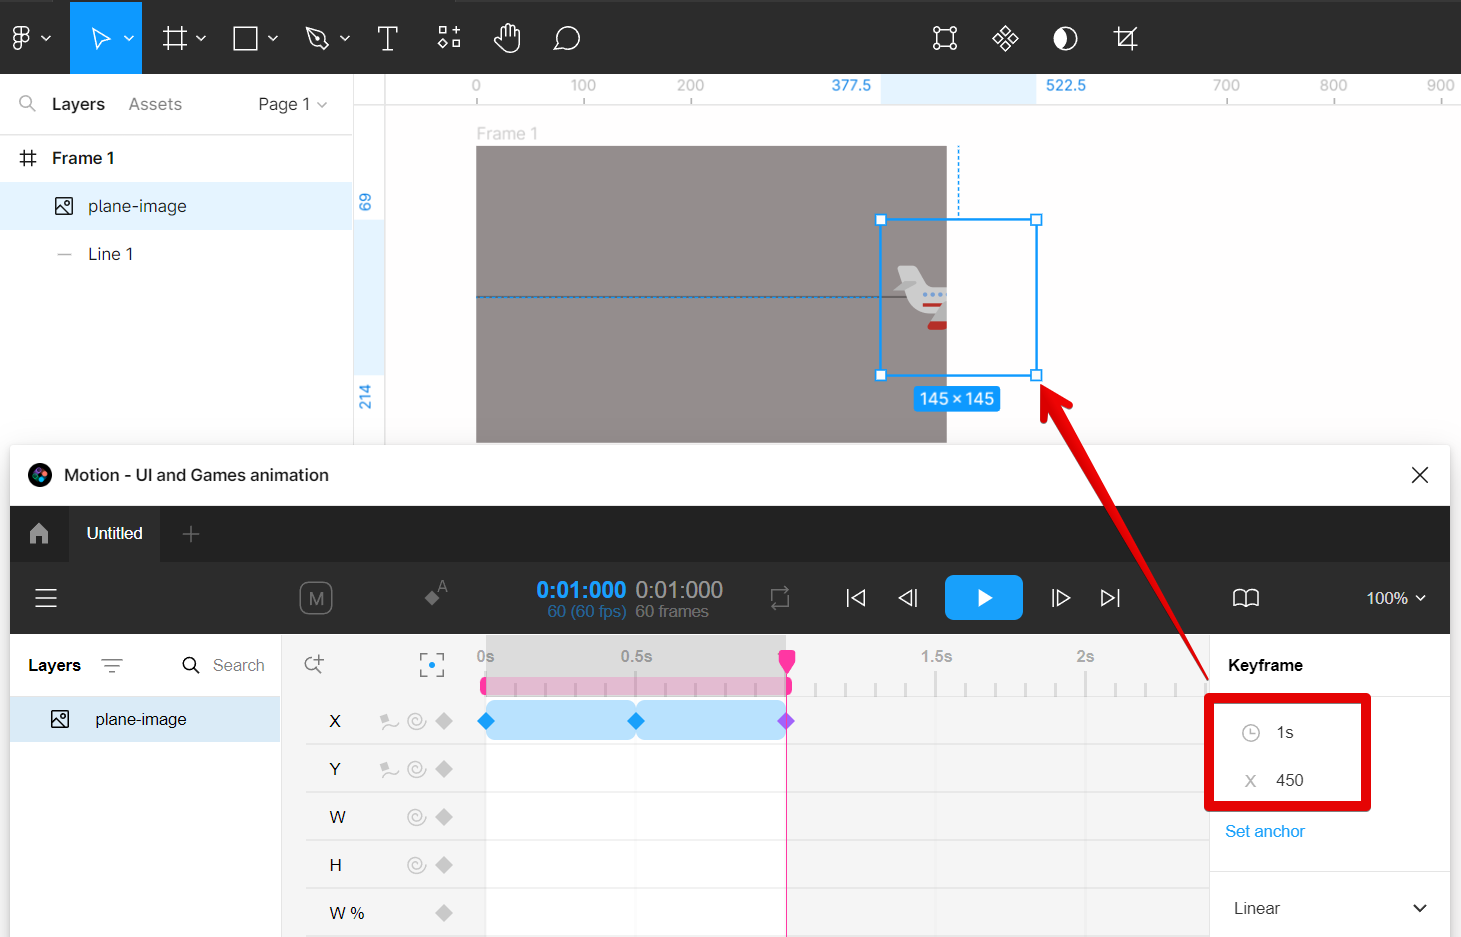
8. Once you have adjusted the position of your GIF layer, press the “Enter” key and check its effect on your canvas.
9. From there, drag the pink handle to its third position on the timeline.
10. Then, click on the diamond icon to add your third keyframe.
11. Adjust the position of your GIF layer for the third keyframe and see the preview on your canvas.
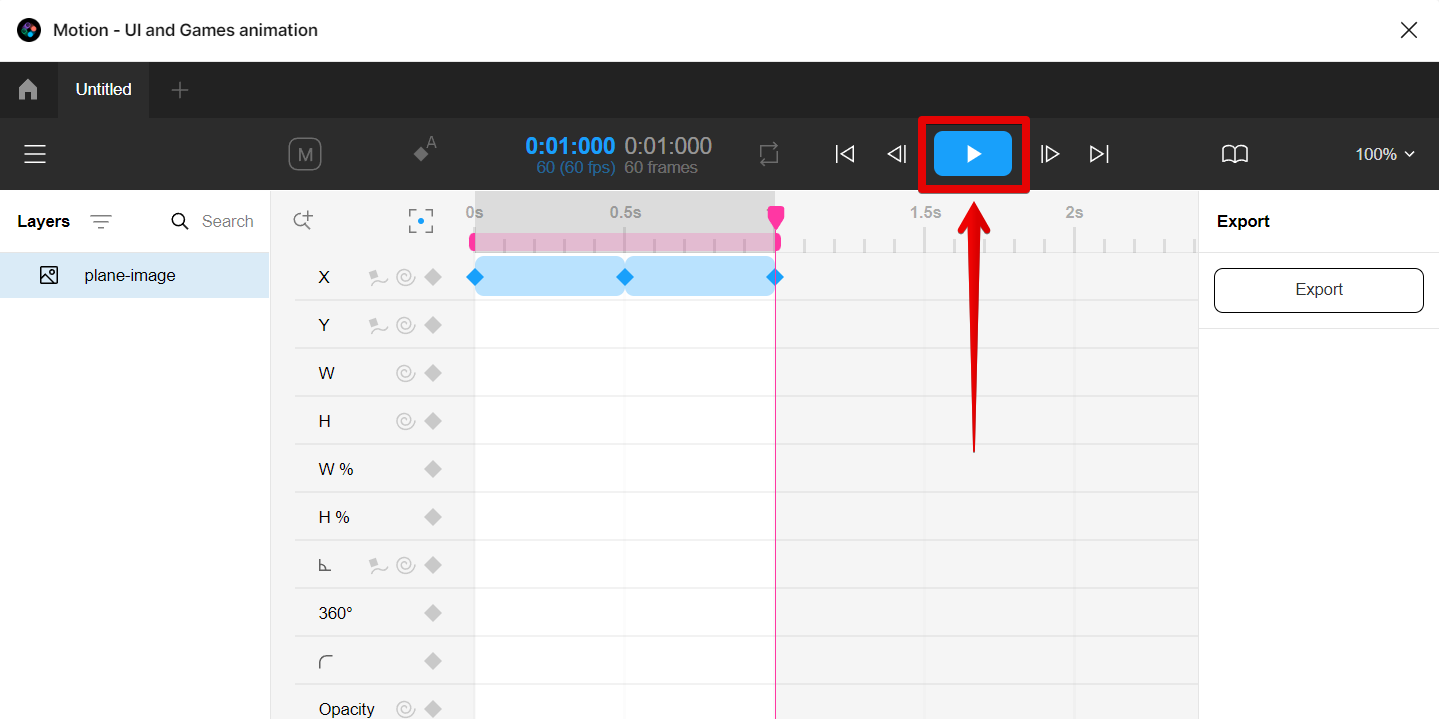
12. Once done, check the preview of your design by clicking on the play button in the top menu.
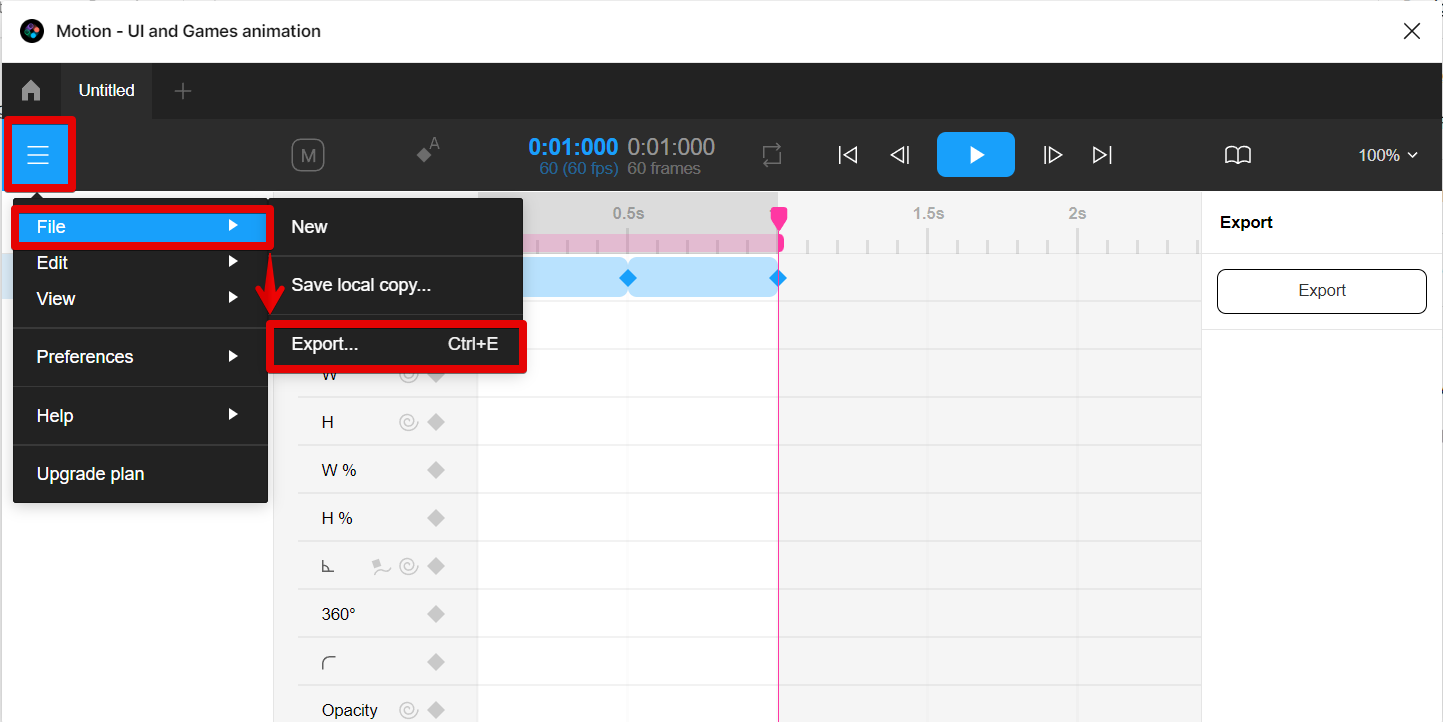
13. Once you’re satisfied with your design, you can now export this as a GIF file. To do this, in the Motion plugin, go to Main menu > File > Export.
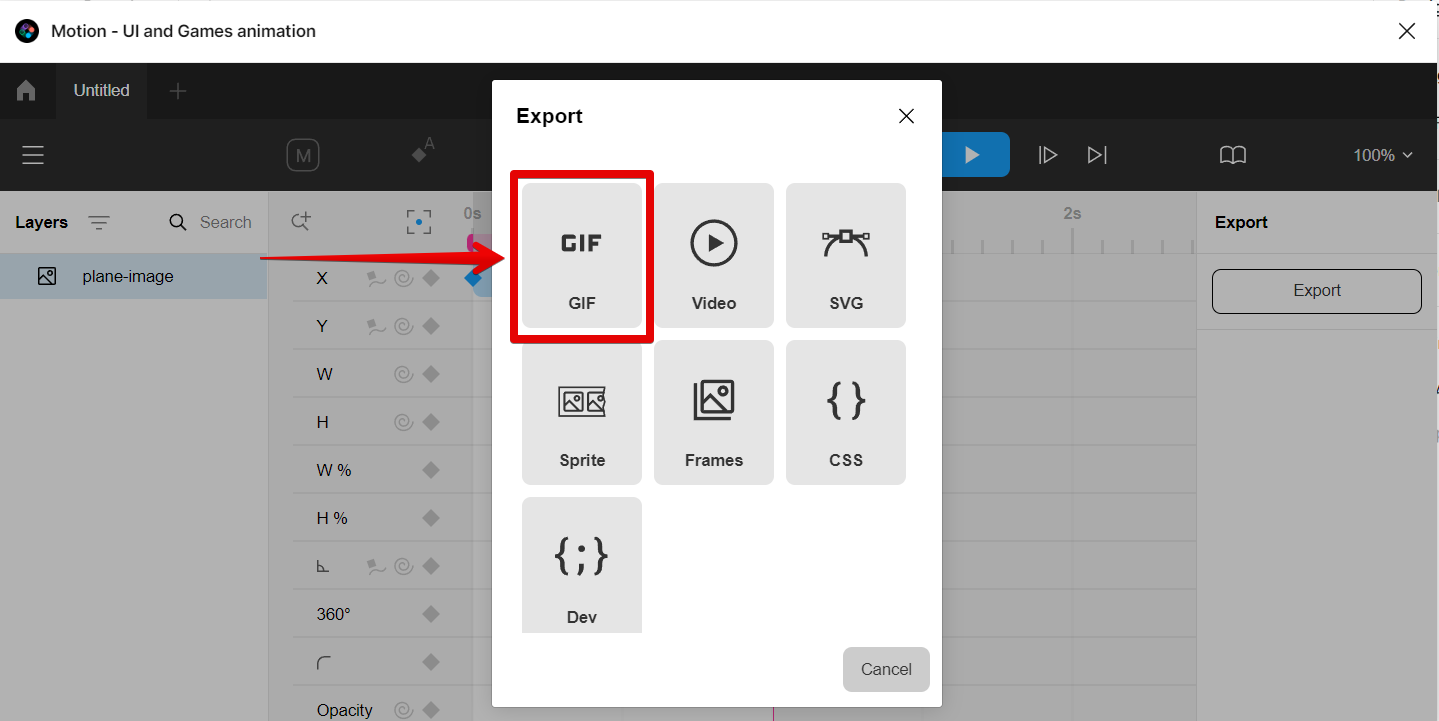
14. Then select the GIF file type from the options.
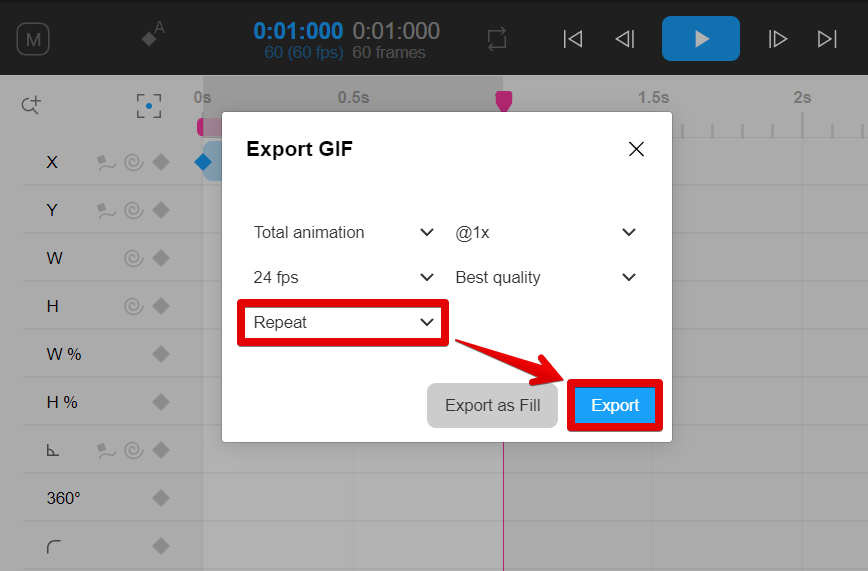
15. Finally, select the “Repeat” option so that the motion applied will repeat by itself in the GIF, then click on the “Export” button.
Once you’ve made your selections, your GIF will be downloaded and ready to share!
Can You Export Figma Prototype to GIF?
Yes, you can easily export your Figma prototypes as GIFs. To export a prototype as a GIF, simply select the layer where you want to apply motion in your prototype. Then select and run the Motion plugin in the Resources tab. From there, adjust the keyframes of the GIF in the Motion plugin. This way you can apply animations to the layer and make it loop like a GIF. Once done, simply go to Main menu > File > Export and select “GIF” as the file type. Then, select “Repeat” in the next window and hit the “Export” button, and voila! Your GIF will be downloaded and ready to share.