Adding Custom CSS and JS to Shopify
Shopify is a great platform for building ecommerce stores, but one of the drawbacks is that it can be difficult to customize your shopfront beyond the basic themes and layout options. If you’re comfortable working with code, however, there’s a lot you can do to tweak the look and feel of your shop using CSS and JavaScript.
In this article, we’ll cover how to add custom CSS and JS to your Shopify store. We’ll also go over some tips for working with Shopify’s built-in CSS editor, and we’ll provide some resources for learning more about coding for Shopify.
Adding Custom CSS
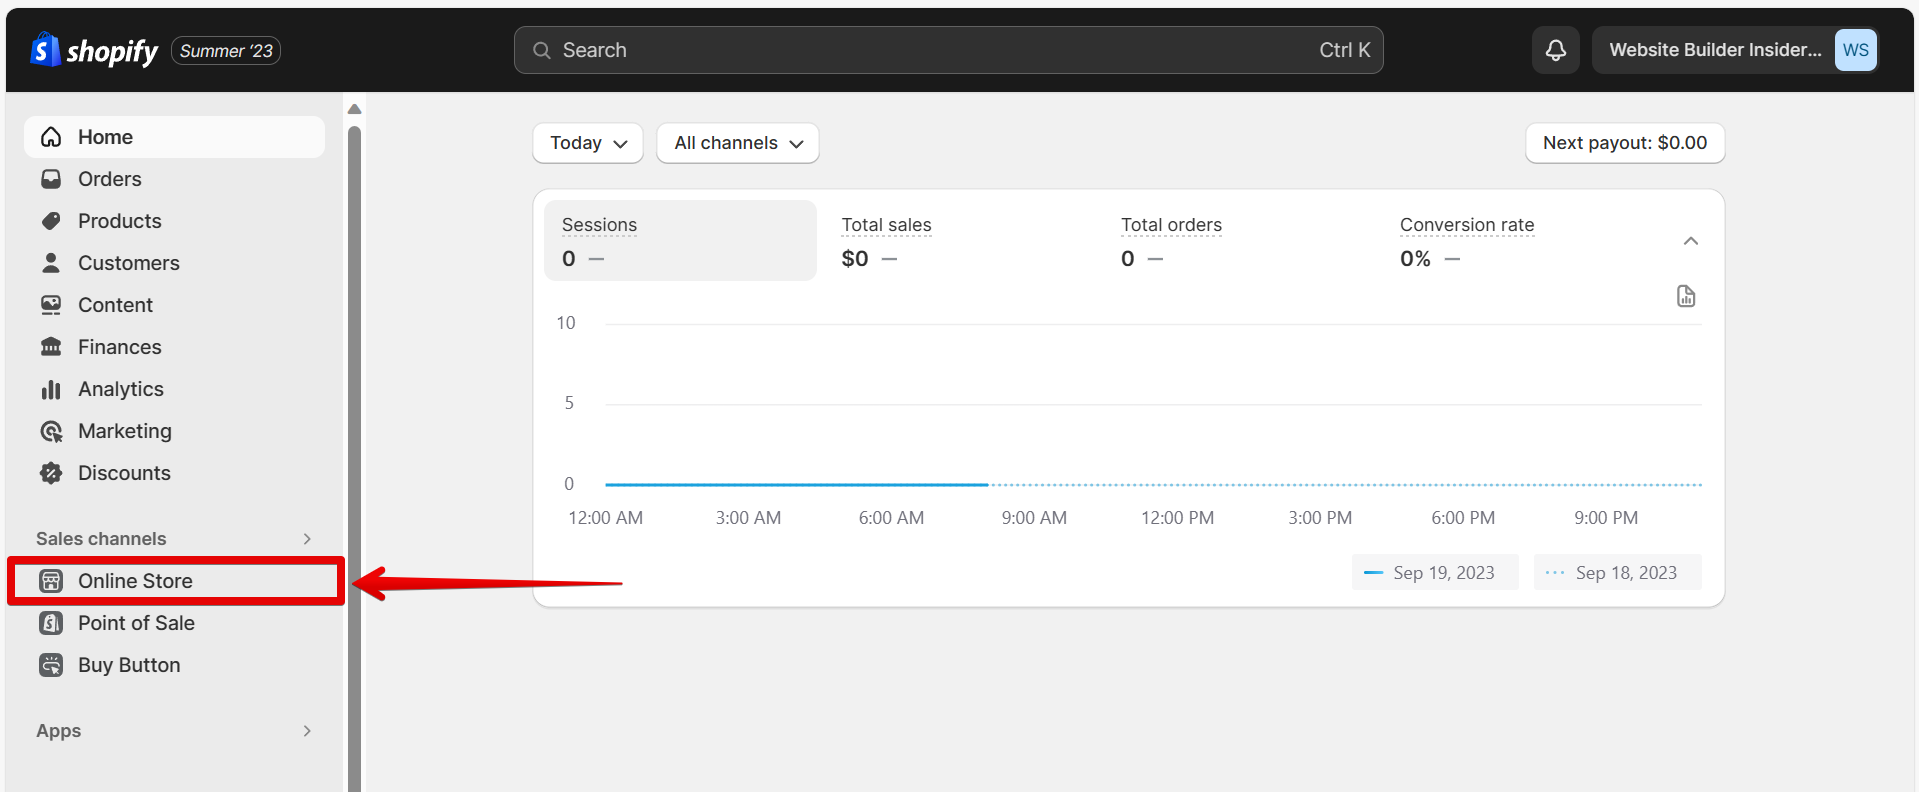
Shopify allows you to add custom CSS to your store through the “Edit Code” page of your admin panel. To get there, go to the Online Store.
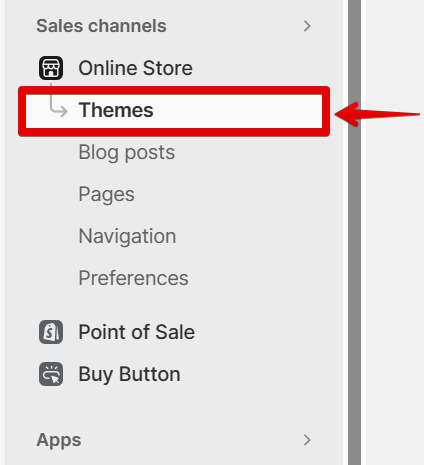
This will open the Online Store menu. From there, select the “Themes” option.
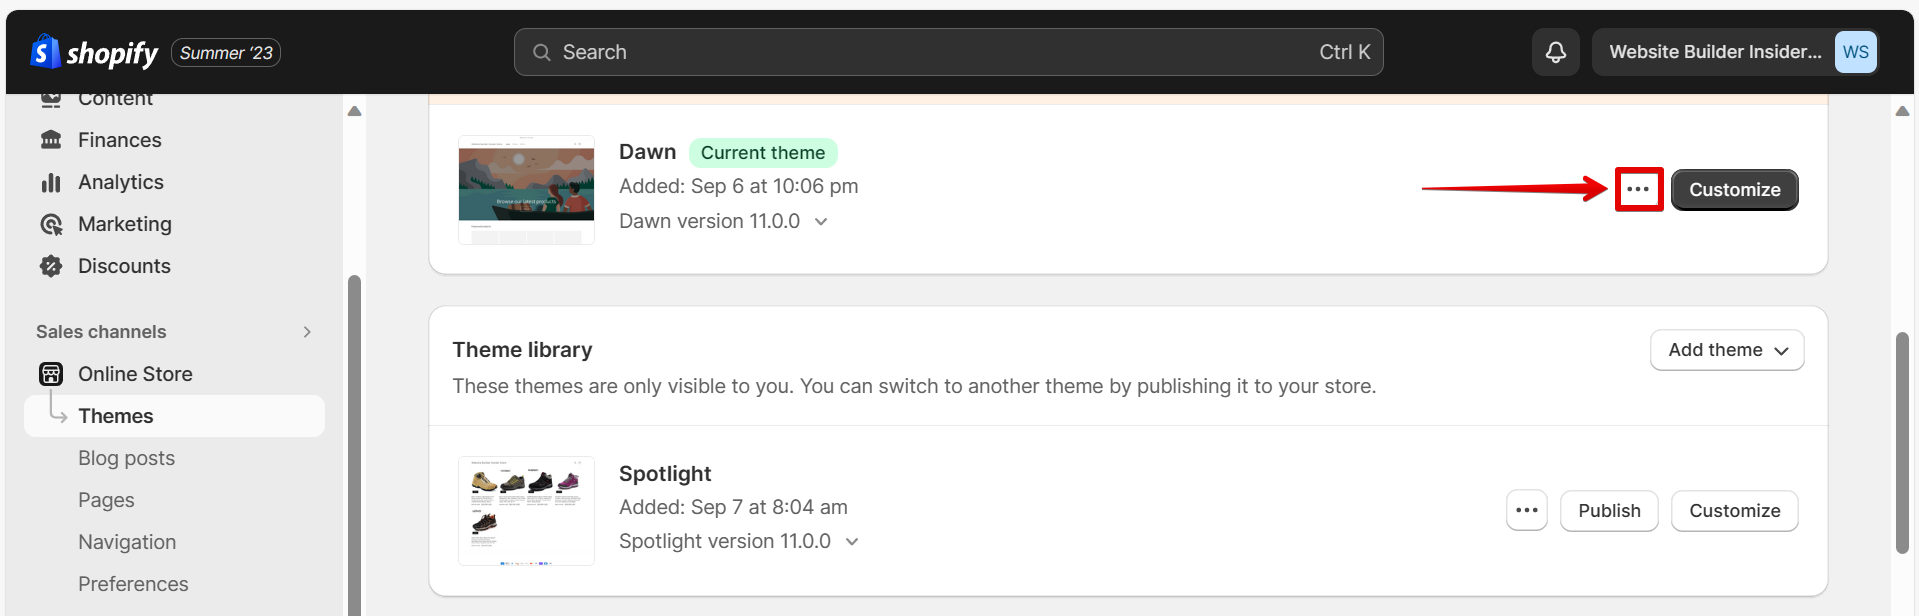
Find the theme you want to edit, and then click on the “…” button.
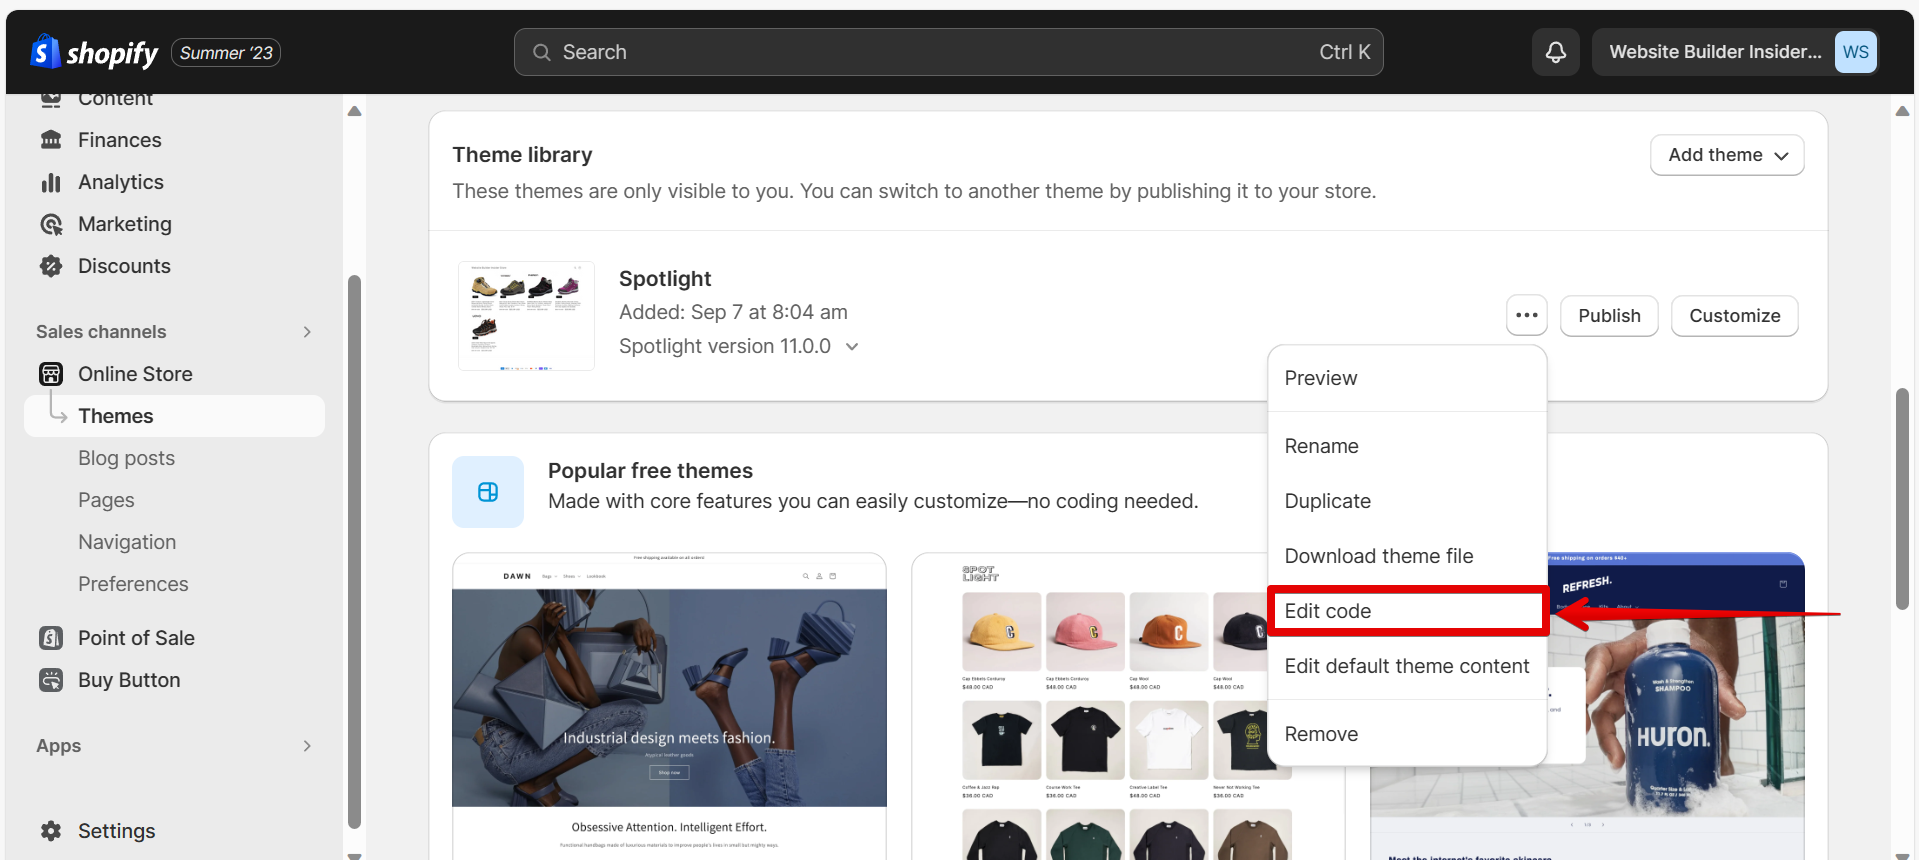
From the menu that will appear, select “Edit code.”
On the Edit Code page, you’ll see a list of files on the left side of the screen. Find the “Assets” folder and click on “Add a new asset.”
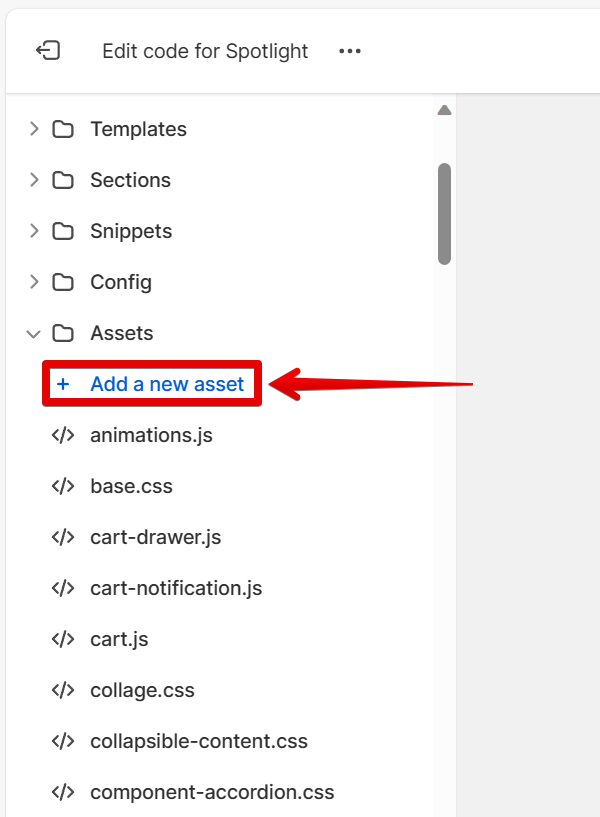
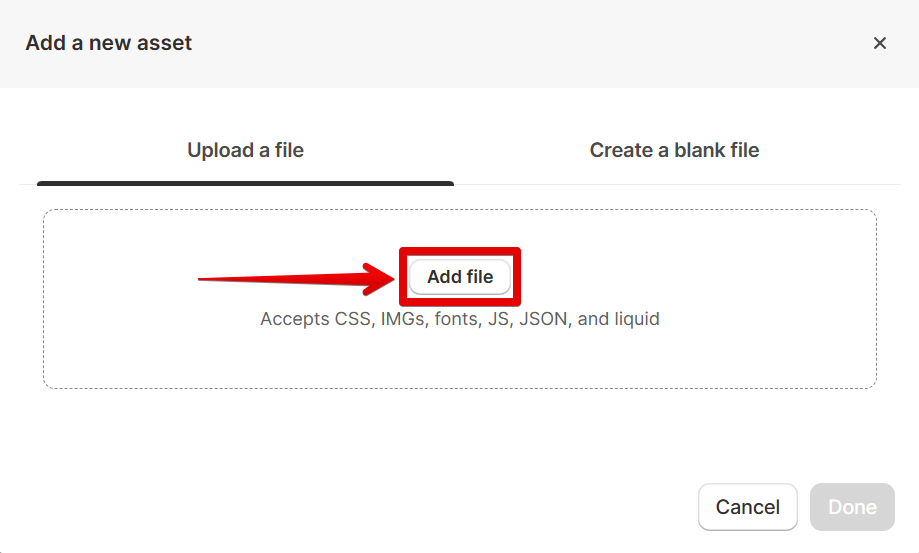
This is where you’ll be able to add your custom CSS. You can either add your CSS file directly into the Assets folder or create a new file in the Assets folder (you’ll need to use the .scss file extension). You can add a CSS file by clicking on the “Add file” button.
If you want to create a new file, simply go to the Create a blank file tab, then select “CSS” in the Extension field and input the name of your CSS file in the File name field.
![]()
Once you’ve added your CSS, be sure to click “Done.” Your changes will now be live on your store.

Adding Custom JavaScript
Just like with CSS, Shopify allows you to add custom JavaScript to your store through the “Edit HTML/CSS” section of your admin panel. To get there, go to Online Store > Themes > [theme name] > … > Edit code.
On the Edit Code page, you’ll see a list of files on the left side of the screen. Find the “Assets” folder and click on “Add a new asset.” This is where you can add your custom JavaScript code.
To add a new JavaScript source code file, simply click on the “Add file” button.

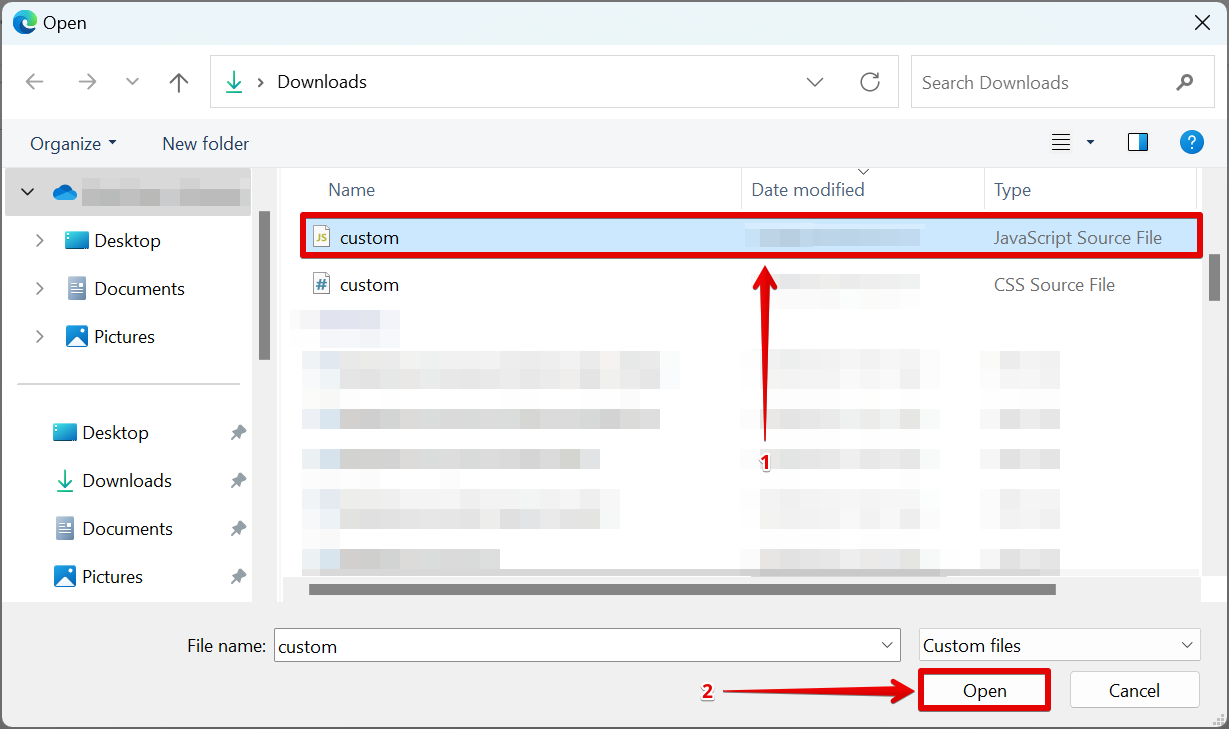
In the File Explorer window that will appear, select your JavaScript source file and click “Open.”
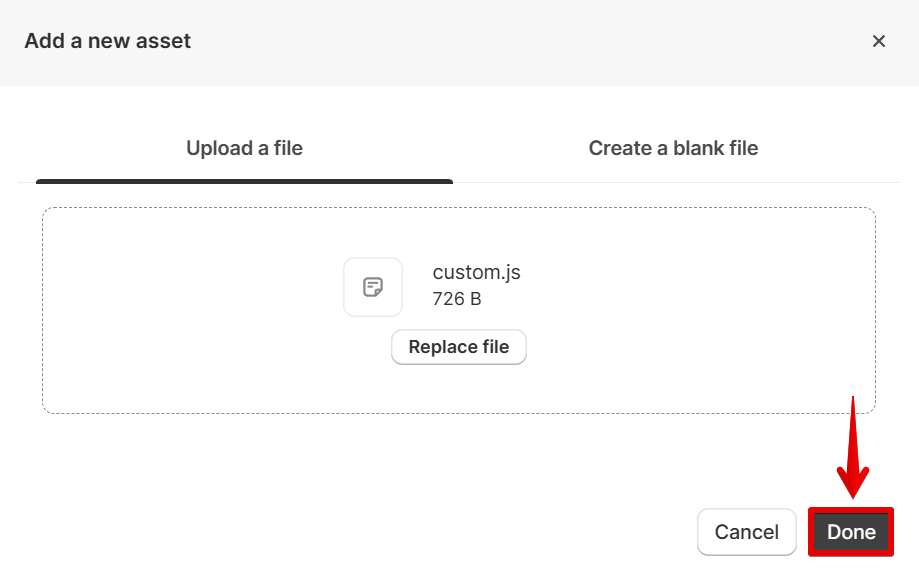
Once you’ve added your JavaScript code (or created a new file), be sure to click “Done.”
Tips for Working with Shopify’s Built-in CSS Editor
If you’re not comfortable working with code or don’t want to mess with theme files directly, Shopify also offers a built-in CSS editor that lets you make changes to your store’s stylesheet without having to edit any code.
To access Shopify’s CSS editor, go to Online Store > Themes > [theme name] > Customize.
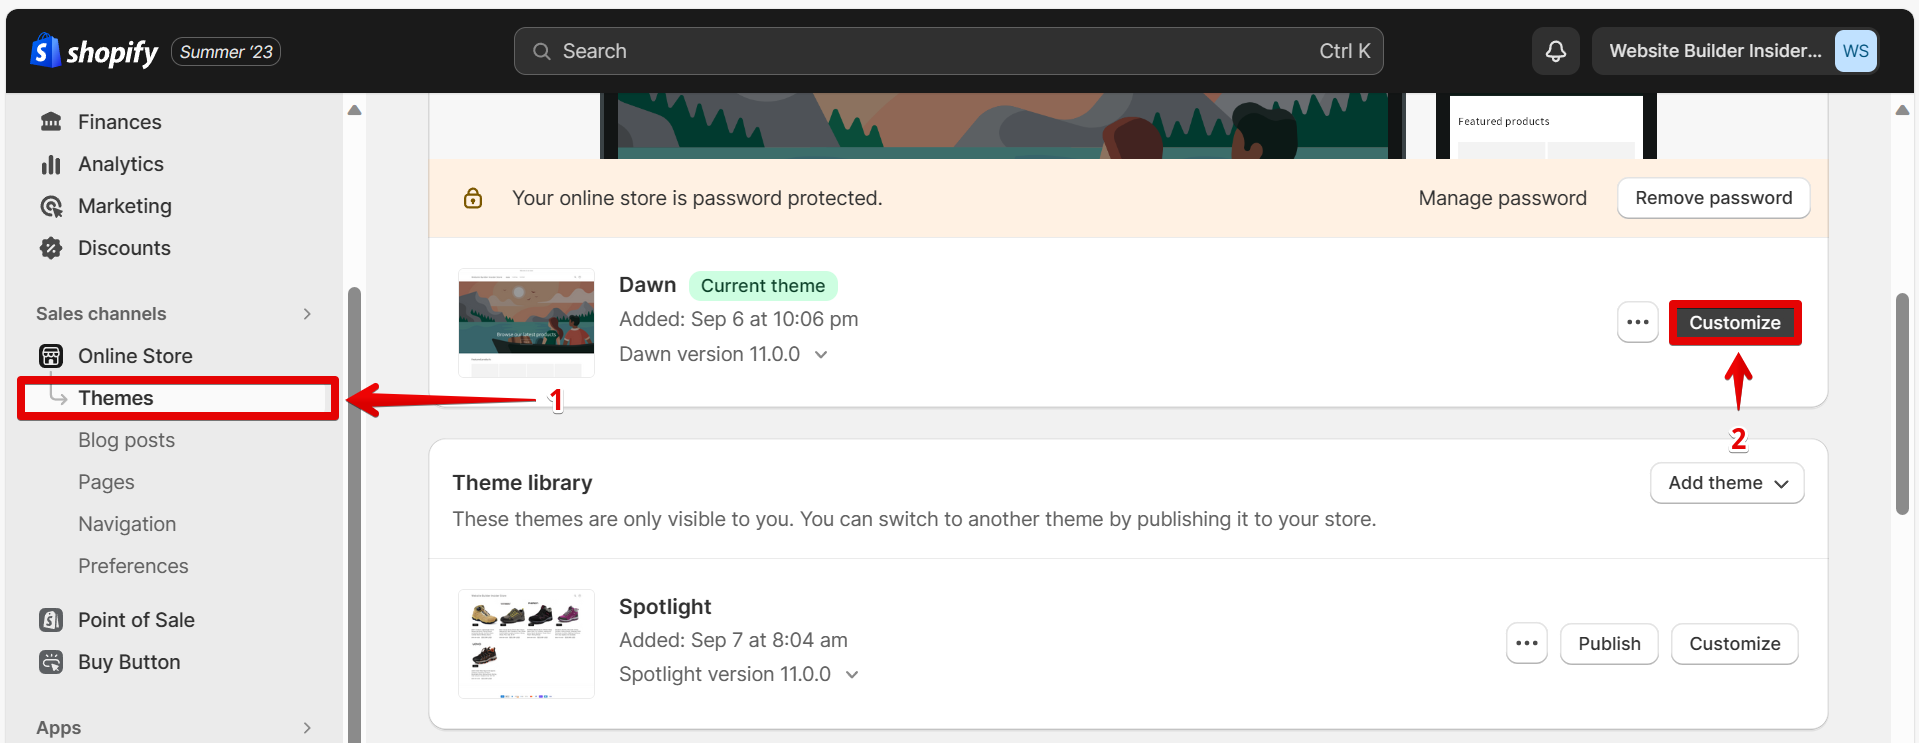
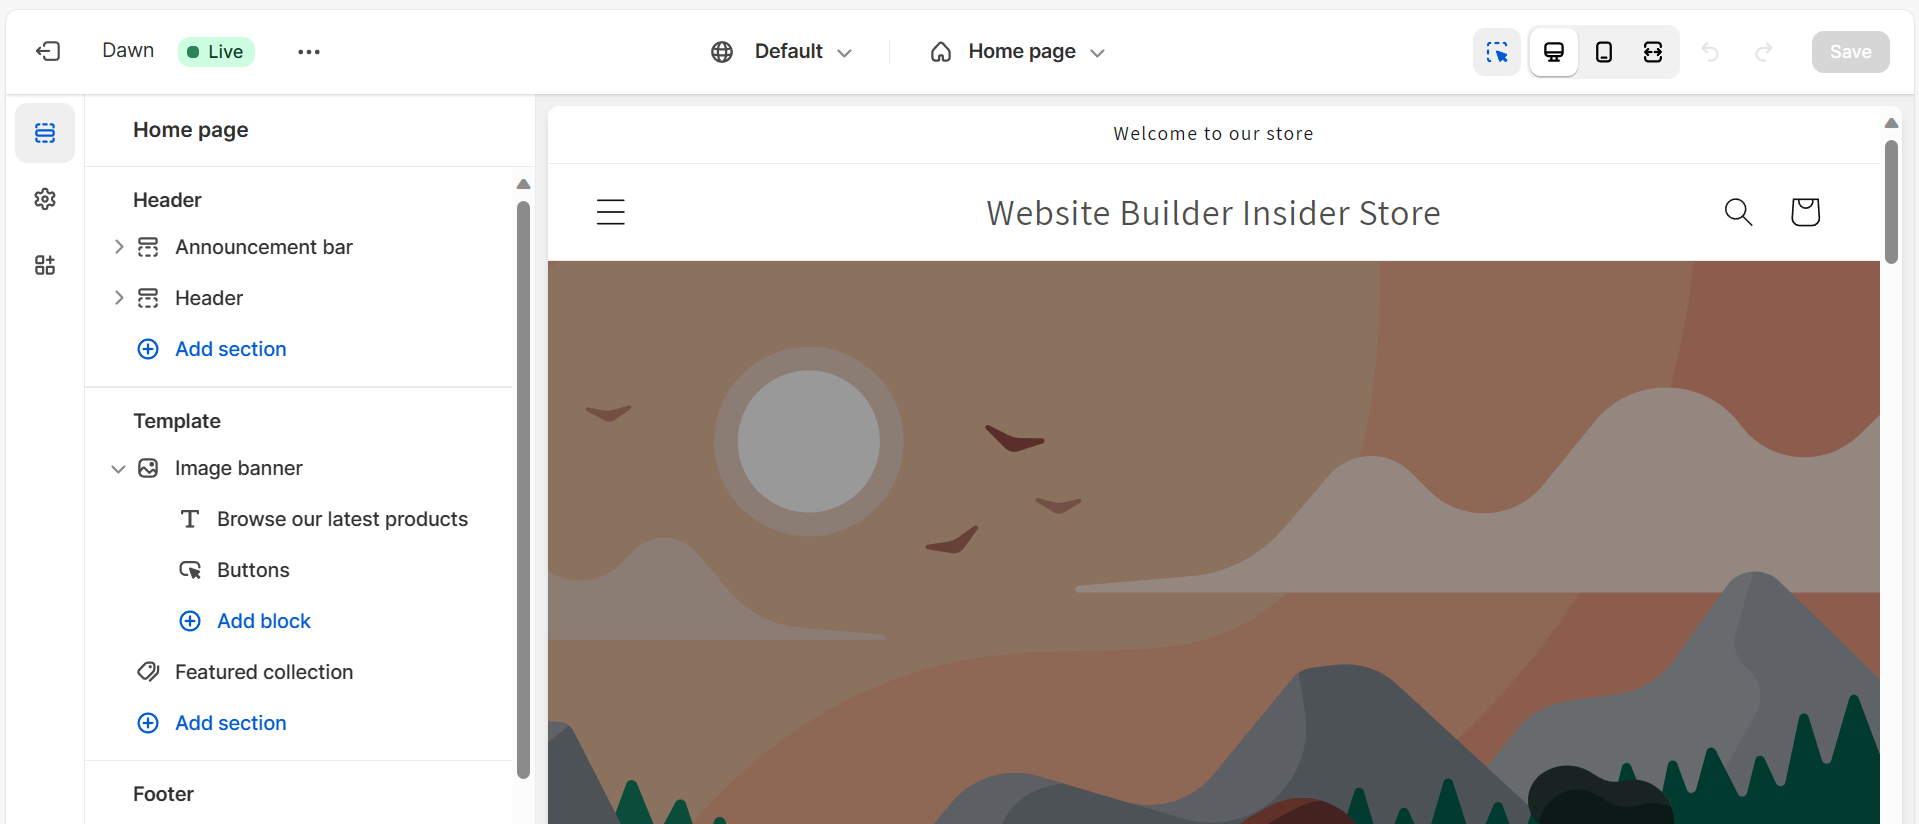
On the Customize Theme page, you’ll see a preview of your store on the right side of the screen and a sidebar on the left side with different options for customization.
To edit your shop’s stylesheet, click on “Theme Settings” near the bottom of the sidebar.
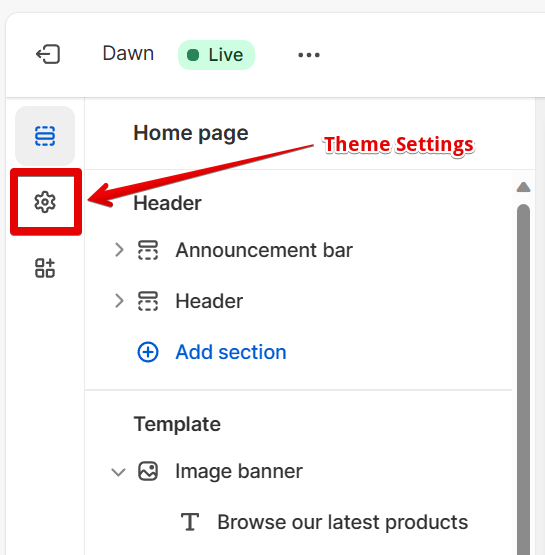
In Theme Settings, scroll down until you see “Custom CSS”. This is Shopify’s built-in CSS editor. Under Custom CSS, you can add custom styles to your entire online store.

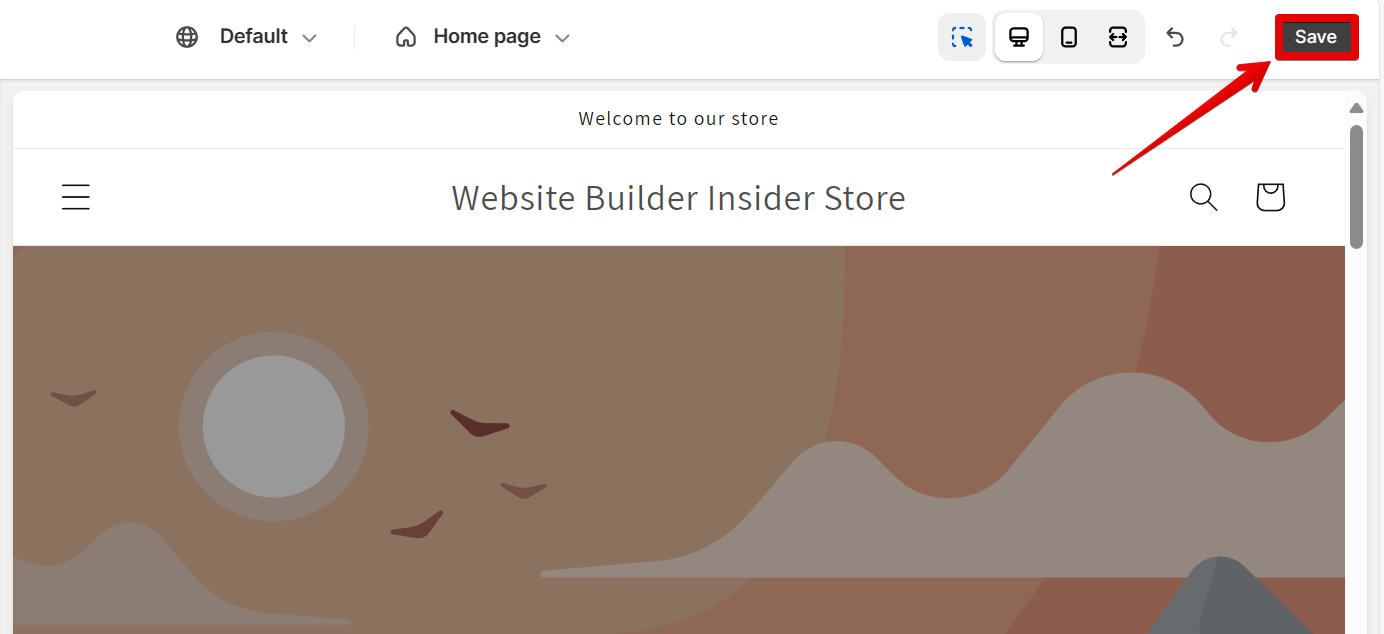
When you’re happy with your changes, be sure to click “Save.”
Conclusion:
How Do I Add Custom CSS and JS in Shopify?
Adding Custom CSS and JavaScript codes in Shopify can be done with a few simple steps. Simply go to the Theme that you want to edit in your Online Store, then click on the three dots icon and select the “Edit Code” option. In the Edit Code page, go to the Assets folder. Here, you can add your own custom CSS and custom JS files by clicking on the “Add a new asset” option. This will open up a new window where you can add a new custom CSS or custom JavaScript file or create a blank file where you can start from scratch.
Overall, adding custom CSS and JS in Shopify allows merchants to tailor their store’s appearance and functionality to their unique needs. By utilizing theme customization options or employing third-party apps, users can seamlessly integrate their custom codes. Mastering these techniques empowers shop owners to achieve a more personalized and efficient online store experience.