Adding read more in Elementor is fairly easy. But first, there are a few steps that you must take for it to be added smoothly.
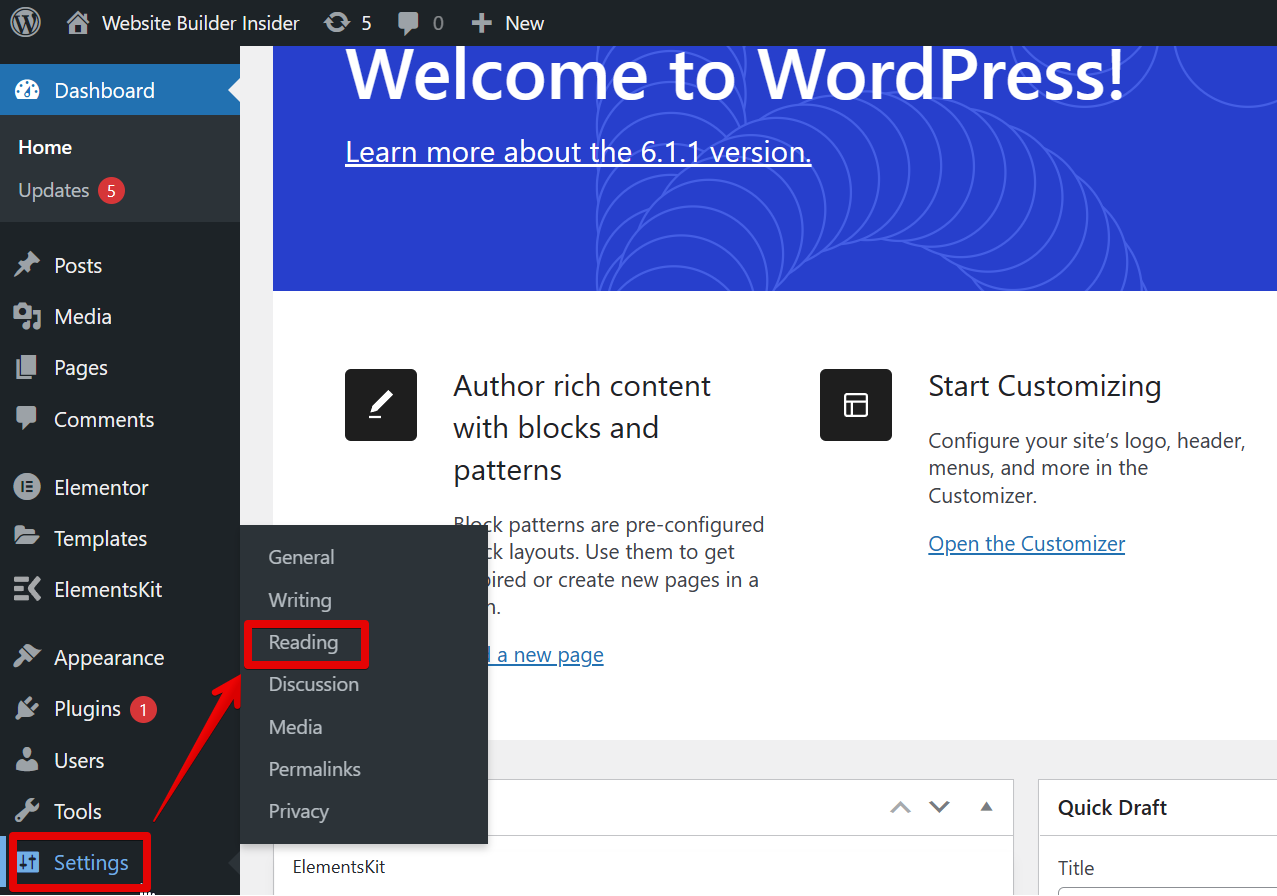
To get started, go to the “Settings” option on the left menu and select “Reading.”
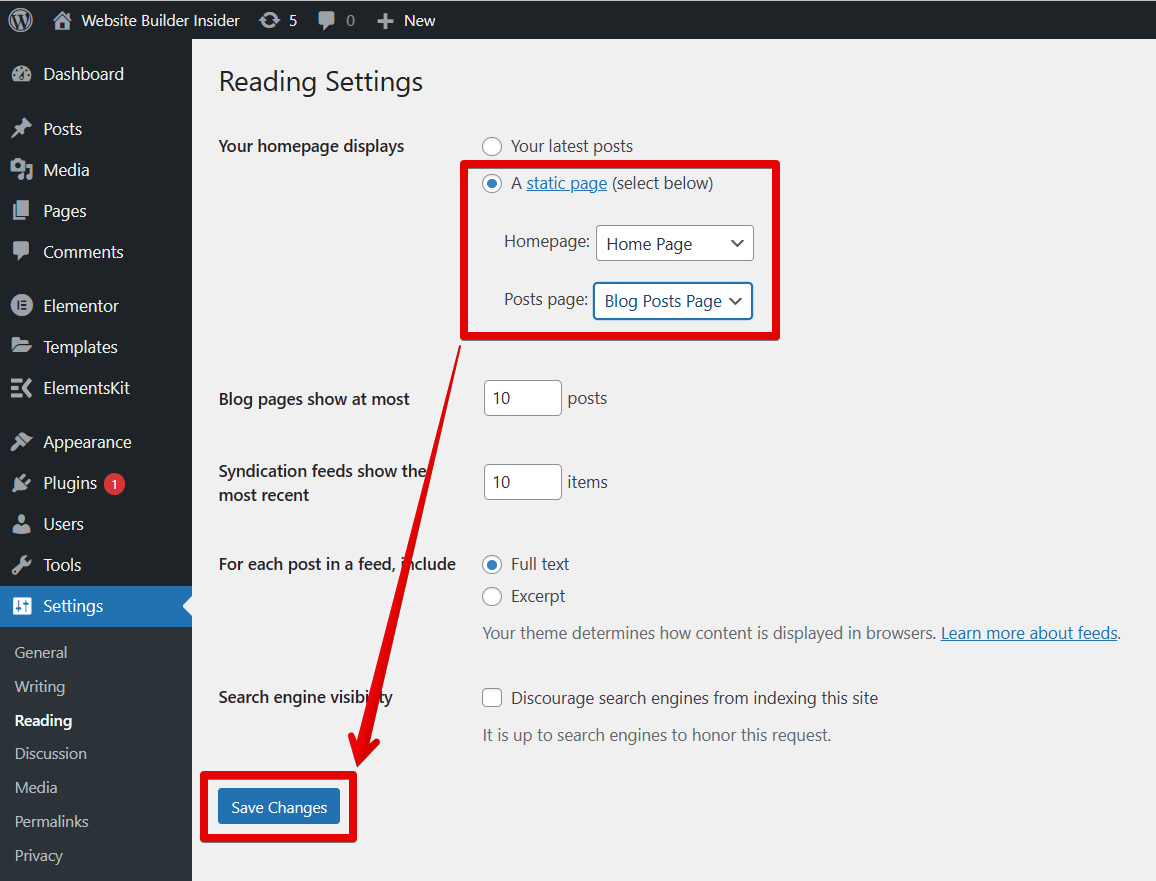
In the Reading Settings, select the “static page” option for the “Your homepage displays” section, then select one page each for the two drop-down menus below. Once done, click on “Save Changes.”
NOTE: If you don’t have pages yet, go to “Pages” on the left menu and select “Add New”. Once you’ve added a name for your page, click on the “Publish” button.
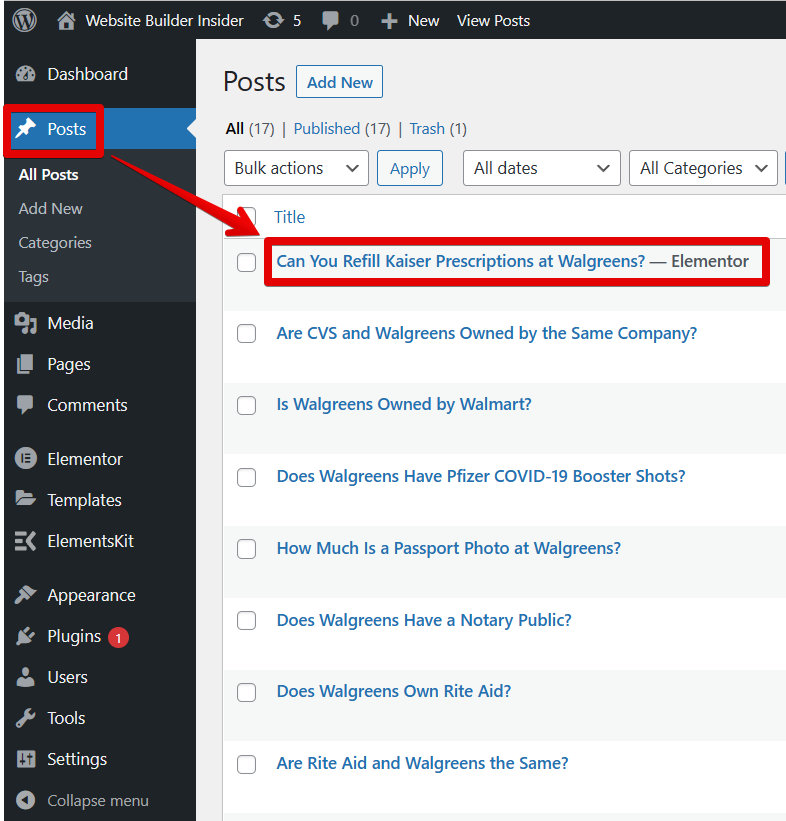
Now, go to the post where you would like to add a read more widget.
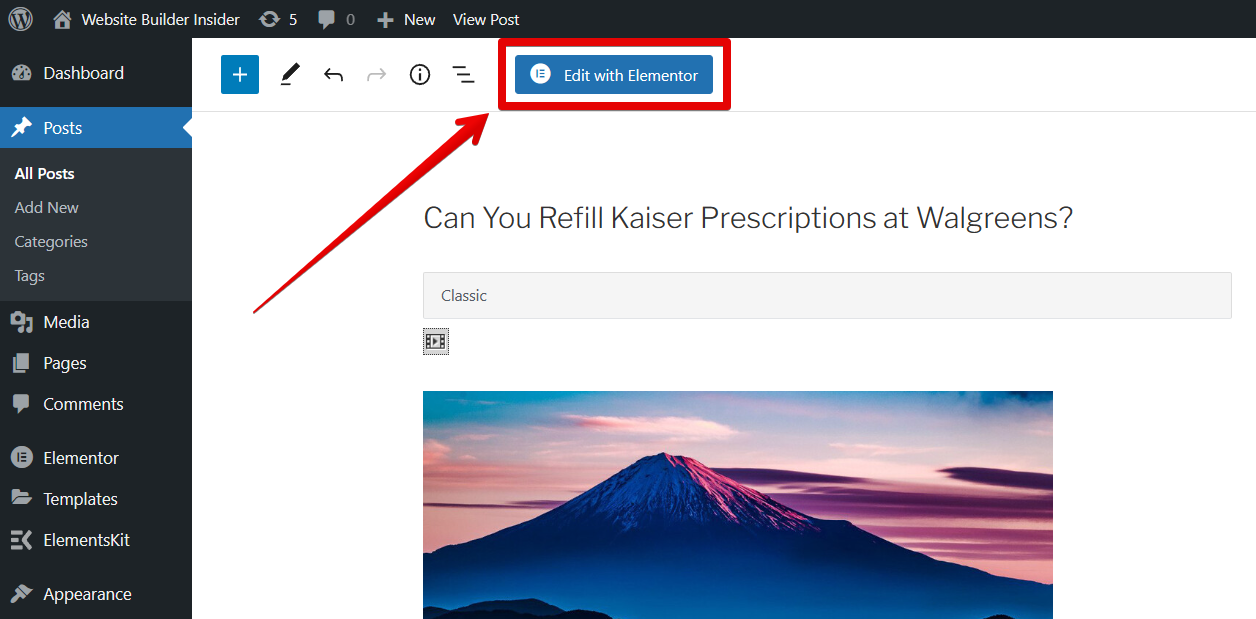
Click on the “Edit with Elementor” button.
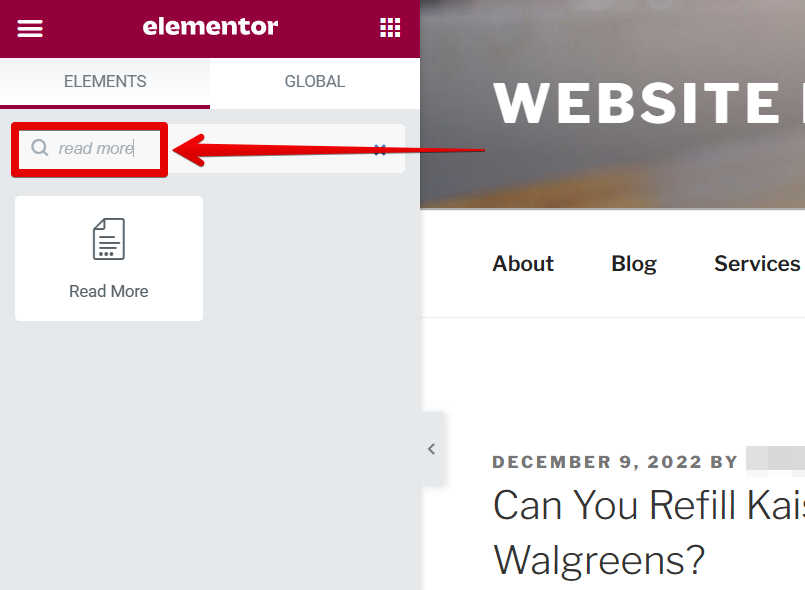
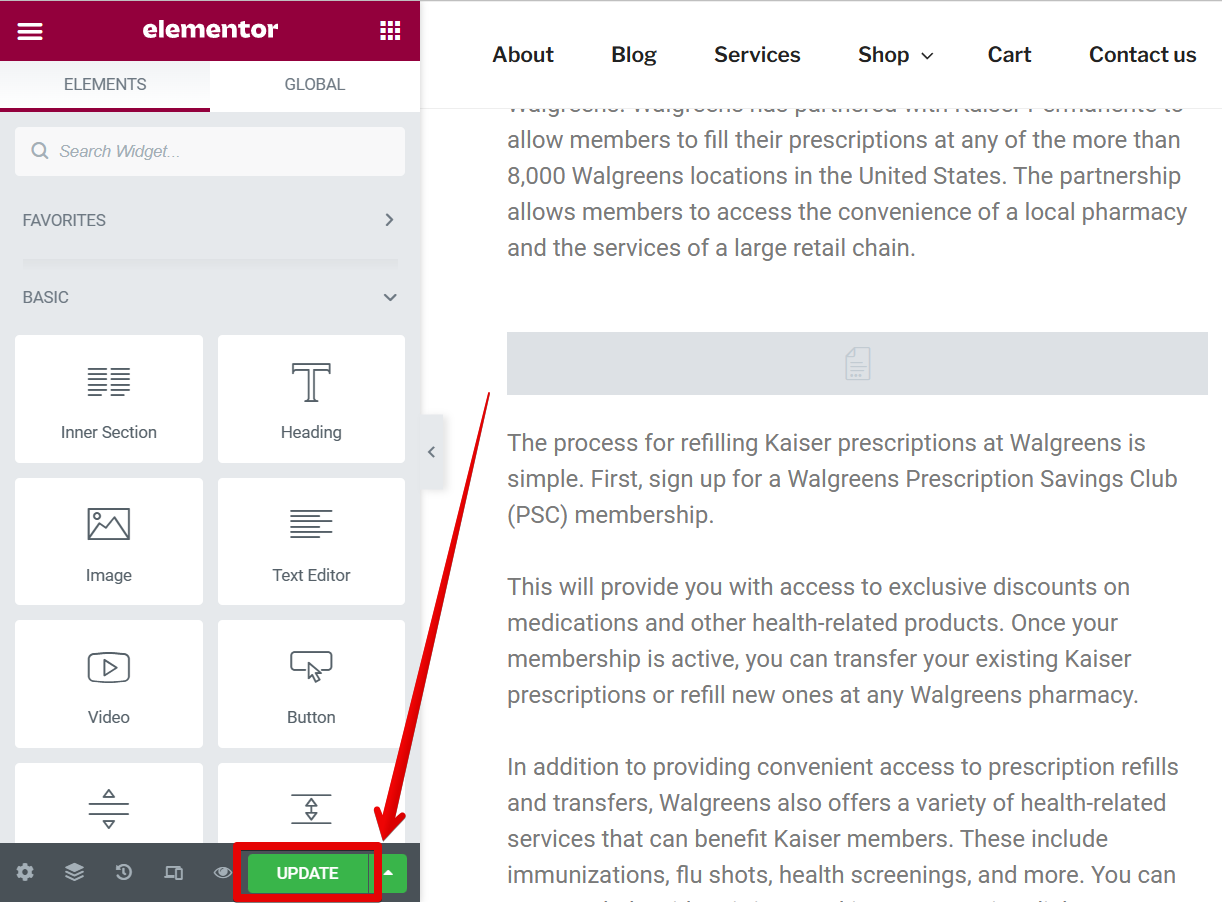
In the Elementor editor, search for the “Read more” widget.
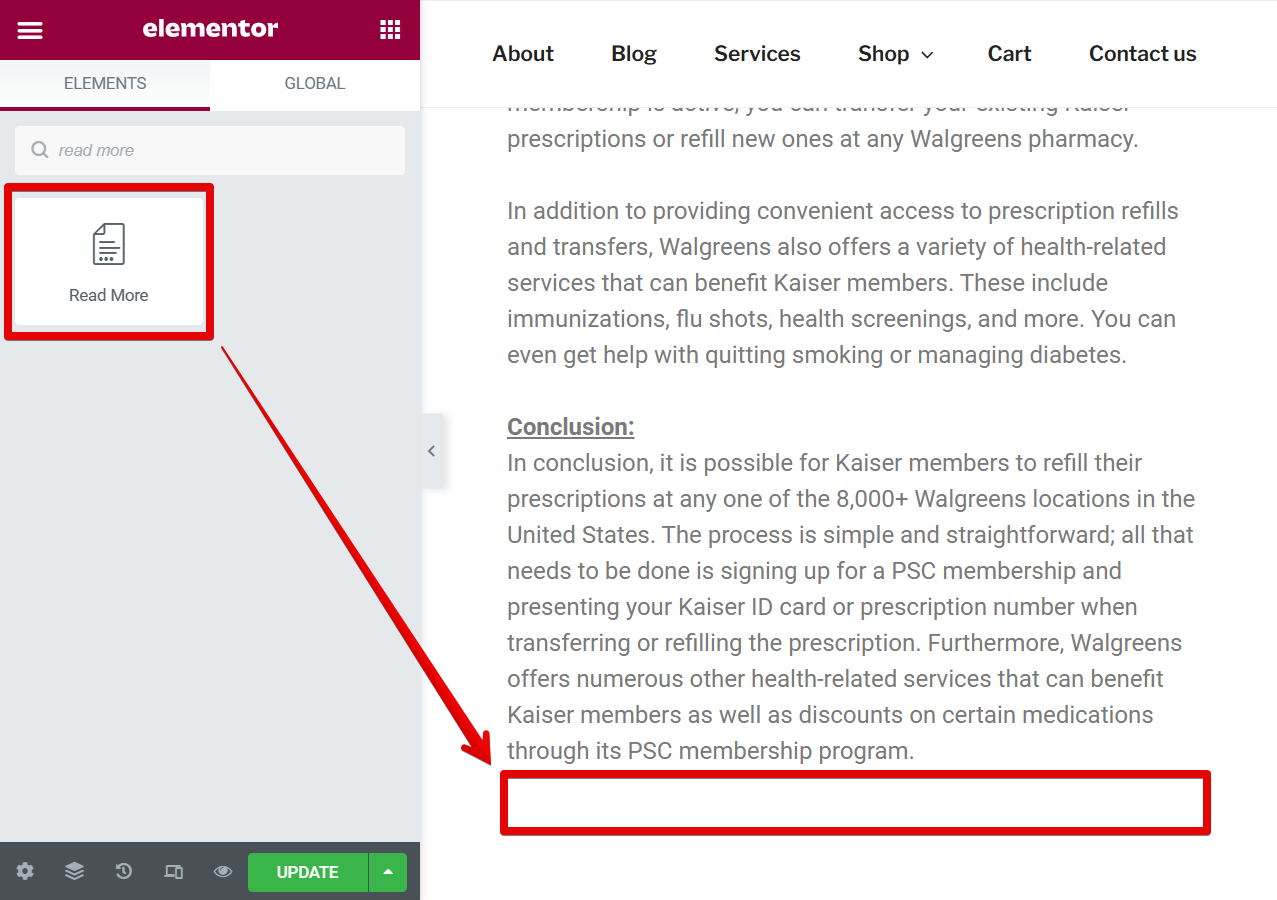
From there, drag it below the text where you want to place it.
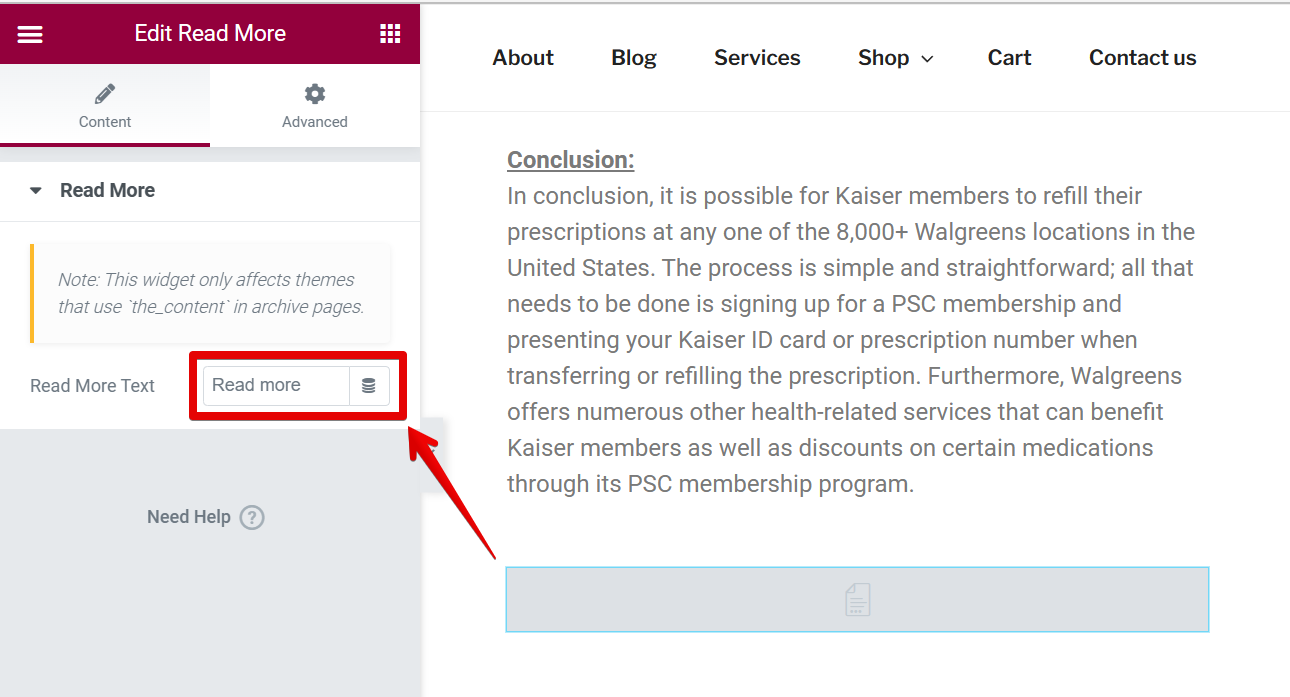
You can change the text displayed in the widget using the settings on the left.
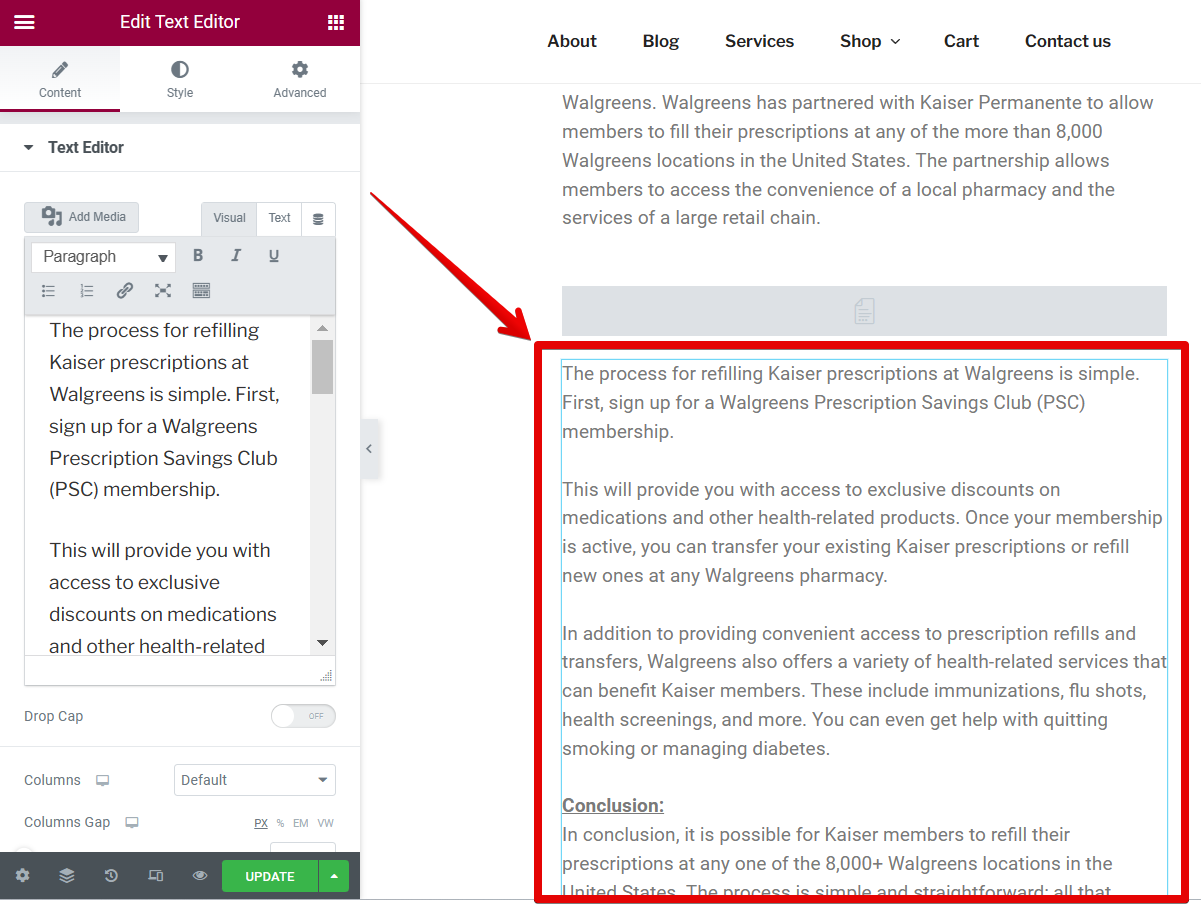
Now, add a “Text editor” widget below the “Read more” widget.
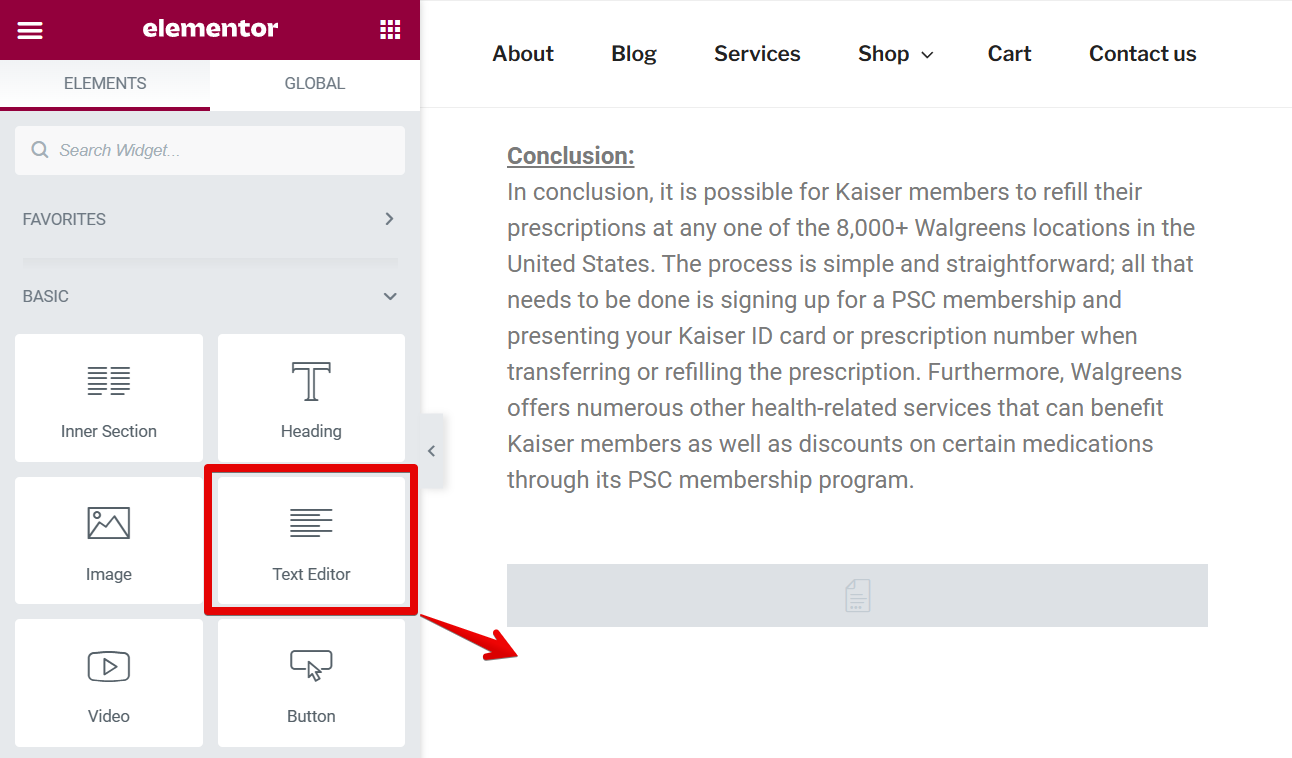
Then, cut a portion of the text above and paste it into the Text editor.
NOTE: This is where we will place the text that we want to be seen when the “Read more” widget is triggered.
PRO TIP: Adding a “read more” link in Elementor is a simple way to shorten your posts and make them more readable. However, if you are not careful, you can accidentally input the wrong text or post. Make sure you review your content before publishing!
Once done, hit on the “Update” button.
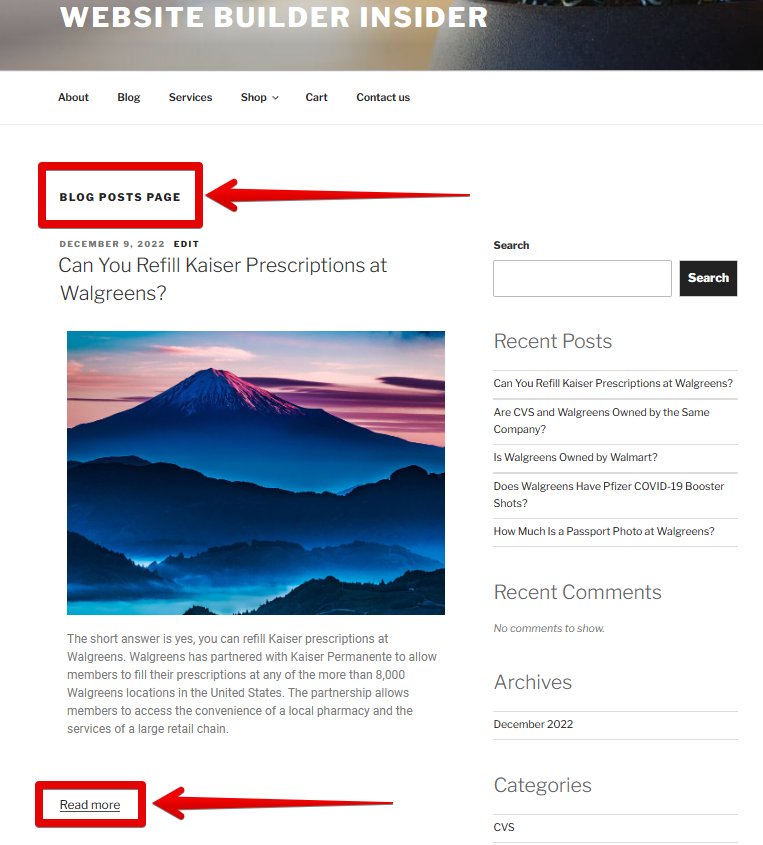
To see the changes, go to the “Posts Page” that you selected in the Reading Settings earlier. There, you can see the “Read more” widget applied to your post.
10 Related Question Answers Found
Adding essential addons to Elementor can be a little daunting, but not impossible. Here are a few tips to get you started:
1. First, research which addons are essential for your project.
If you’re looking to add essentials to Elementor, you’ll want to start by installing the Elementor plugin. This plugin will give you access to a range of essential tools and features, such as the ability to add new pages and sections, manage content, and add custom fields. Once the plugin is installed, you can begin adding essentials by following these steps:
1.
Enabling Ultimate Addons in Elementor is a two-part process. First, you need to create a new account on the Ultimateaddons website. Once you have an account, you will need to enter your username and password in the login form on the website.
Adding a new section to Elementor can be done in a few simple steps. First, open your Elementor project. From the main menu, choose “Section .”.
WhatsApp is a messaging app with a user base of over 1 billion people. It is available on most devices and platforms, including desktop and mobile browsers, as well as applications. Adding WhatsApp to Elementor is easy.
Adding an event in Elementor is easy. First, open the event editor by clicking on the “Events” button on the top right corner of the screen. You can also find the event editor by clicking on the “Event” button on the main toolbar.
When it comes to web design, there are many tools and programs that can be used. However, there is no doubt that Elementor is one of the most popular and well-known options. Elementor is a drag and drop web design program that is used by professional web designers and developers.
Adding a calendar of events in Elementor can be a bit tricky, but there are several ways to go about it. One way is to add a new calendar widget and give it a custom name. Then, you can add various events by clicking on the “+” button and filling out the fields.
Elementor is a great way to get started with web development. It is an easy-to-use drag-and-drop builder that is packed with features. You can create websites and web applications with Elementor in minutes.
Adding Elementor to a WordPress site is easy. Just go to the Elementor site and sign in. From there, click on the “Add a Elementor” link in the top right corner of the screen.