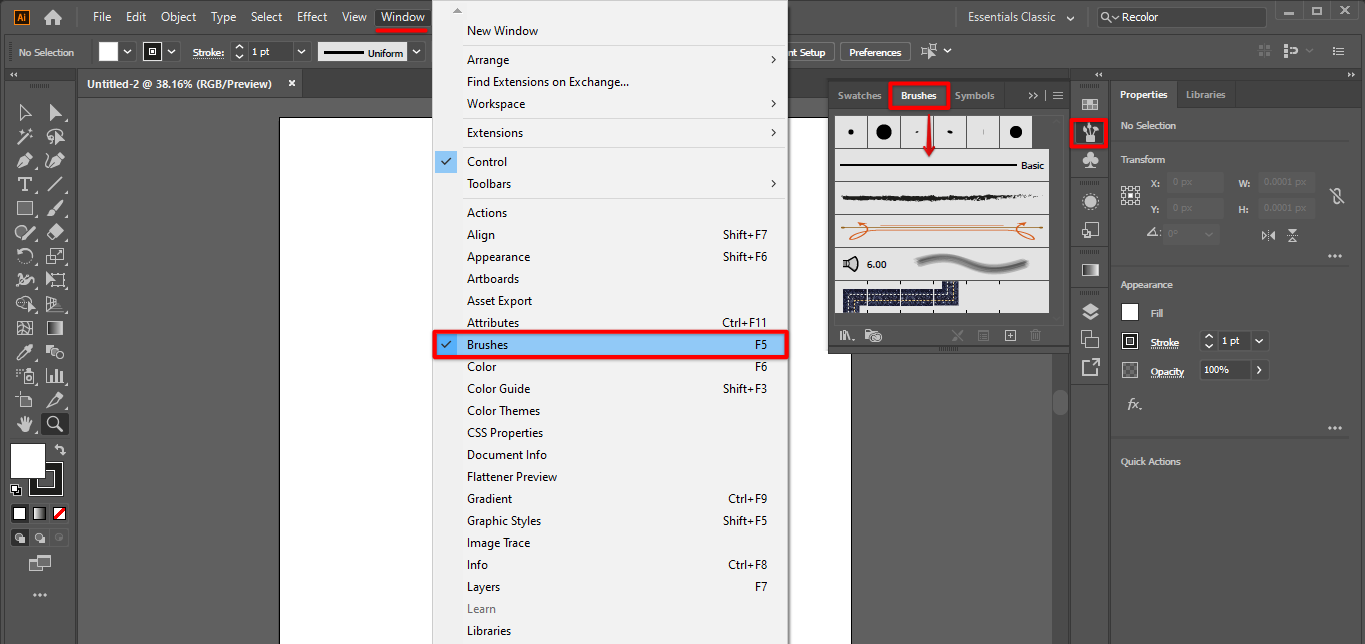
In Illustrator, brushes are imported using the Brushes panel. To open the Brushes panel, click the Brushes tab at the top of the Illustrator workspace. Or click the Window tab and enable the Brushes tool.
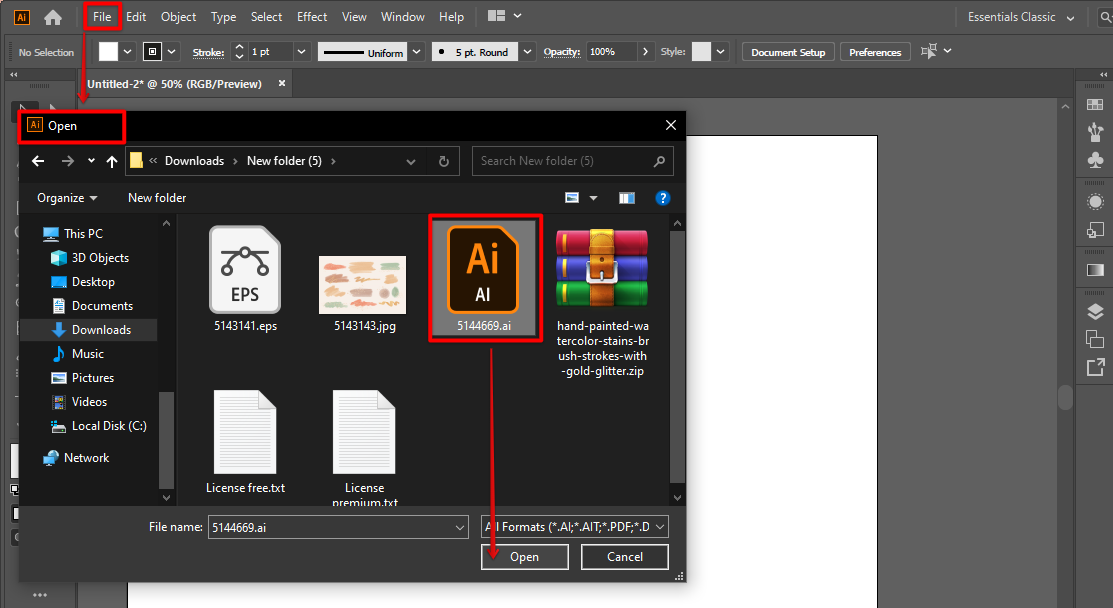
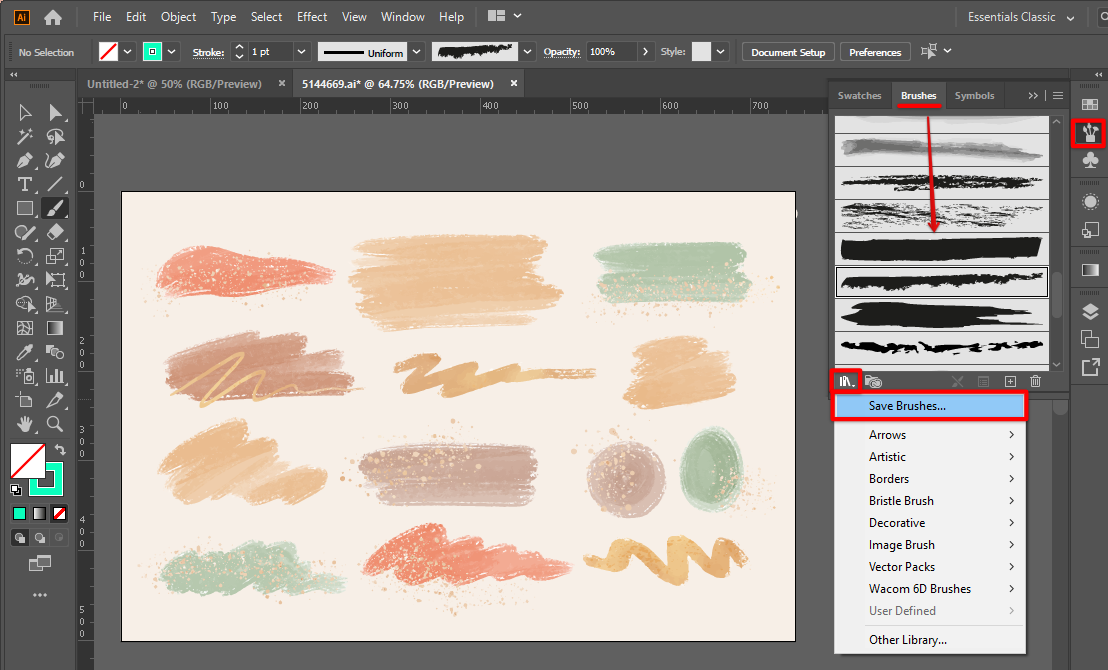
To import a brush, first select the brush you want to import. Then, click the Import brushes button at the bottom of the Brushes panel. Or click the library icon and then Save Brushes.
PRO TIP: If you are planning on importing brushes into Illustrator, be sure to do your research first. There are a lot of different ways to import brushes, and not all of them are compatible with Illustrator. Be sure to check compatibility before starting the process, to avoid any potential problems.
The Brushes panel will open and display the brushes you selected. To add a brush to your panel, simply click on the brush thumbnail. Then save it in Adobe Illustrator’s preset brushes files.
Once you have imported the brush, you can use it in your artwork just like any other Illustrator brush. To hide the imported brush, click the Hide brush button at the bottom of the Brushes panel.
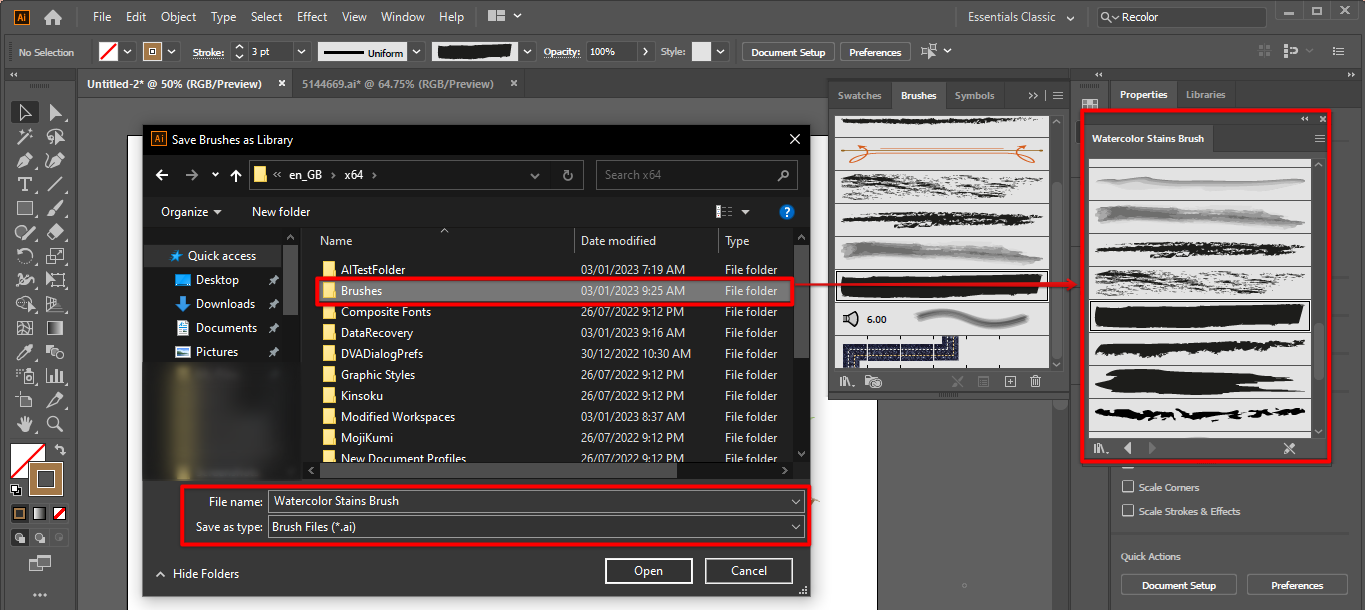
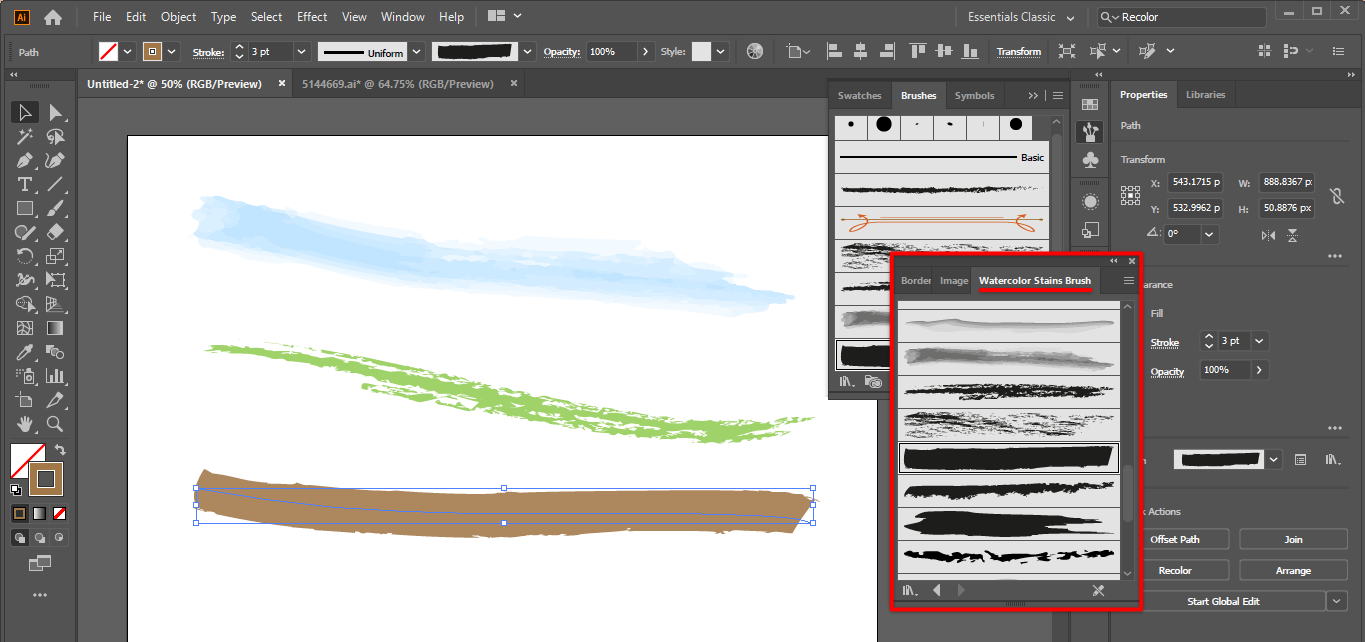
To find the newly imported brushes, go to the brush library and select User Defined>Folder Name>Brush Name. Such as User Defined>Imported Brush>Watercolor Stains Brush, as shown in the example below. Finally, try each brush and see if it works as expected. If it does, use it to add more distinct texture and character to your artwork.

5 Related Question Answers Found
In Illustrator, brushes are created by clicking on the “Brushes” tab in the “Window” panel, and then clicking on the “New” button. A new brush window will open, in which you can specify the size, shape, and color of the brush. You can also specify a brush tip, which is the point of the brush.
How to get different brushes in Illustrator
One of the most common tasks in Illustrator is to get different brushes to create different effects. There are a few ways to do this.
1. Use the Brush Library
One way to get a wide variety of brushes is to use the Brush Library.
Illustrator is a software that allows users to create vector illustrations and graphics. One of the features of Illustrator is the ability to modify brushes. This can be done in two ways: by selecting the brush in the Brush Library and then clicking the Modify Brush button or by clicking the small plus (+) button next to the Brushes palette and selecting Modify Brush from the menu that appears.
Vintage brushes are a popular design trend in Illustrator. There are a few ways to create a vintage brush. One way is to use the Stroke Style Brush tool and choose the Old Style option.
An elaborated article would include:
-How to restore your tools in Illustrator
-Which tools to restore
-Which tools to avoid restoring
When you are working in Adobe Illustrator, it is important to keep all of your tools at your fingertips. Unfortunately, sometimes tools get lost or deleted. If this happens to you, there are several ways to restore your tools.