As a marketer or business owner, you’re always looking for ways to make your images stand out. Whether it’s for a blog post, Facebook ad, or even just a simple tweet, adding an image can make all the difference. But sometimes, you want to take it one step further and add an overlay to your image.
Canva is a great tool for creating professional designs, and adding an image overlay is a breeze. Here’s a step-by-step guide on how to do it:
1. Start by creating a new design in Canva.
You can choose any size or template that you like. For this example, we’ll use a square format.
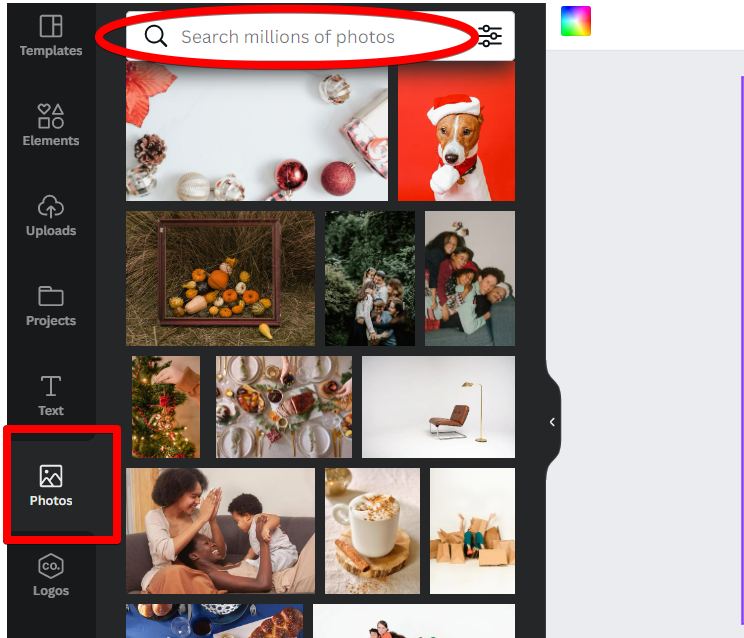
2. Next, upload the image that you want to use as your base. Again, you can upload from your computer or choose from Canva’s library of free stock photos.
3. Once the image is uploaded, select it and click on the “Edit” button in the top toolbar.
4. To create an “Overlay.” effect in Canva, go to the “Elements” tab. You can choose from different types of shapes, colors, and patterns. For this example, we’ll keep it simple and just choose a solid color overlay.
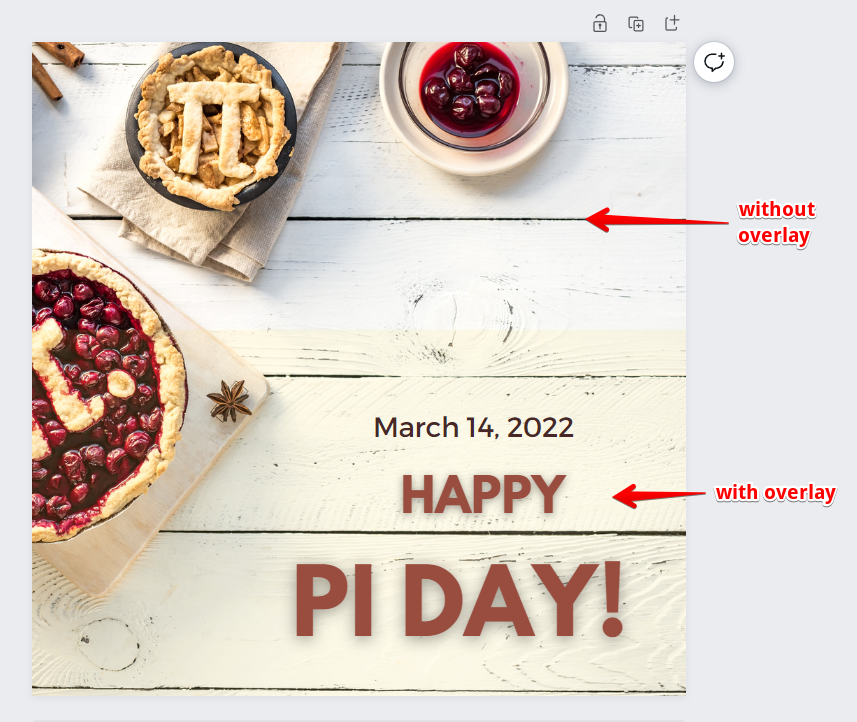
6. Once you’ve selected your overlay, you can adjust the transparency level to get the perfect look. When you’re happy with your results, click on the “Apply” button and then “Done.”
And that’s it! You’ve now successfully added an image overlay in Canva.
When to Use an Image Transparent Overlay
It’s best to add a transparent overlay to your final design as early as possible if you know you’ll want to use one. That way, you can see how your design is shaping up as you add more components.
You can compare your overlay to a pair of sunglasses. When you wear a pair of sunnies, your entire visual experience is altered because of the tint. A similar thing can be said for an overlay. You may find that the color combinations in your background picture or text clash if you use a blue overlay, but they wouldn’t if you used a pink one.
In the same way that sunglasses alter your peripheral vision, an overlay will primarily emphasize the color you choose for it. Settling on the overall tone of this color before beginning is recommended, even if slight adjustments will be made as you work. You can use this as a stepping stone in the design process.
However, as we shall see, it is possible to add a transparent overlay after the fact. Adjustment is all that’s needed. Let’s begin with the onset of your design process and how to add an overlay, and then move on to the end of the process.
Why We see a Surge in the Use of Canva for Social Media Content Creation
Social media is now a part of our daily lives. It has become the modern way to communicate with friends, family and potential customers. With the use of social media, businesses can now promote their products or services by creating eye-catching content that will catch the attention of their audience.
Canva is a free design software that is used for social media content creation. It has been gaining popularity among both individuals and businesses because it offers a variety of templates for different types of social media platforms like Facebook, Twitter, Instagram, and more. The templates are professionally designed and easy to customize according to one’s needs.
Pros & Cons of Using Canva For Businesses & Consumers
Canva is a great tool for both businesses and consumers. It’s a free, easy-to-use graphic design software that allows you to create high-quality images without any design skills.
Pros:
- Canva offers a variety of templates that are customizable to suit any business need.
- Canva is free and easy to use, making it accessible to anyone with internet access.
- Canva offers an online community where users can share their designs, ask questions and get feedback from other users.
Cons:
- The templates are not always professional enough for businesses who want to convey a more formal message in their designs.
- Using Canva might not be the best option if you do not have experience using graphic design software, as it can be difficult to learn how to use all of the features on the website.
Conclusion
This is by no means the be-all and end-all of tutorial roundups on the web, but I hope you found it to be at least somewhat useful. Have you found any great design tutorials that inspired you to learn more? Let us know in the comments below!