Photoshop has become one of the most widely used photo editing software programs available, and for good reason. Its user-friendly interface and wide range of features make it ideal for both beginners and professionals alike.
One of the most popular features of Photoshop is its ability to allow users to insert themselves into photos that they did not originally take part in. This can be done by simply cutting out a portion of another image and pasting it onto the photo that you would like to be in. The result can be quite realistic, particularly if you take the time to select an appropriate image to use as your “paste-in”.
If you’re not sure how to get started, there are plenty of tutorials available online that can walk you through the process step-by-step. Once you’ve mastered the basics, you’ll be able to experiment with different techniques to create unique effects.
And who knows, you may even find yourself becoming a Photoshop pro!
How Do I Photoshop Myself Into a Picture?
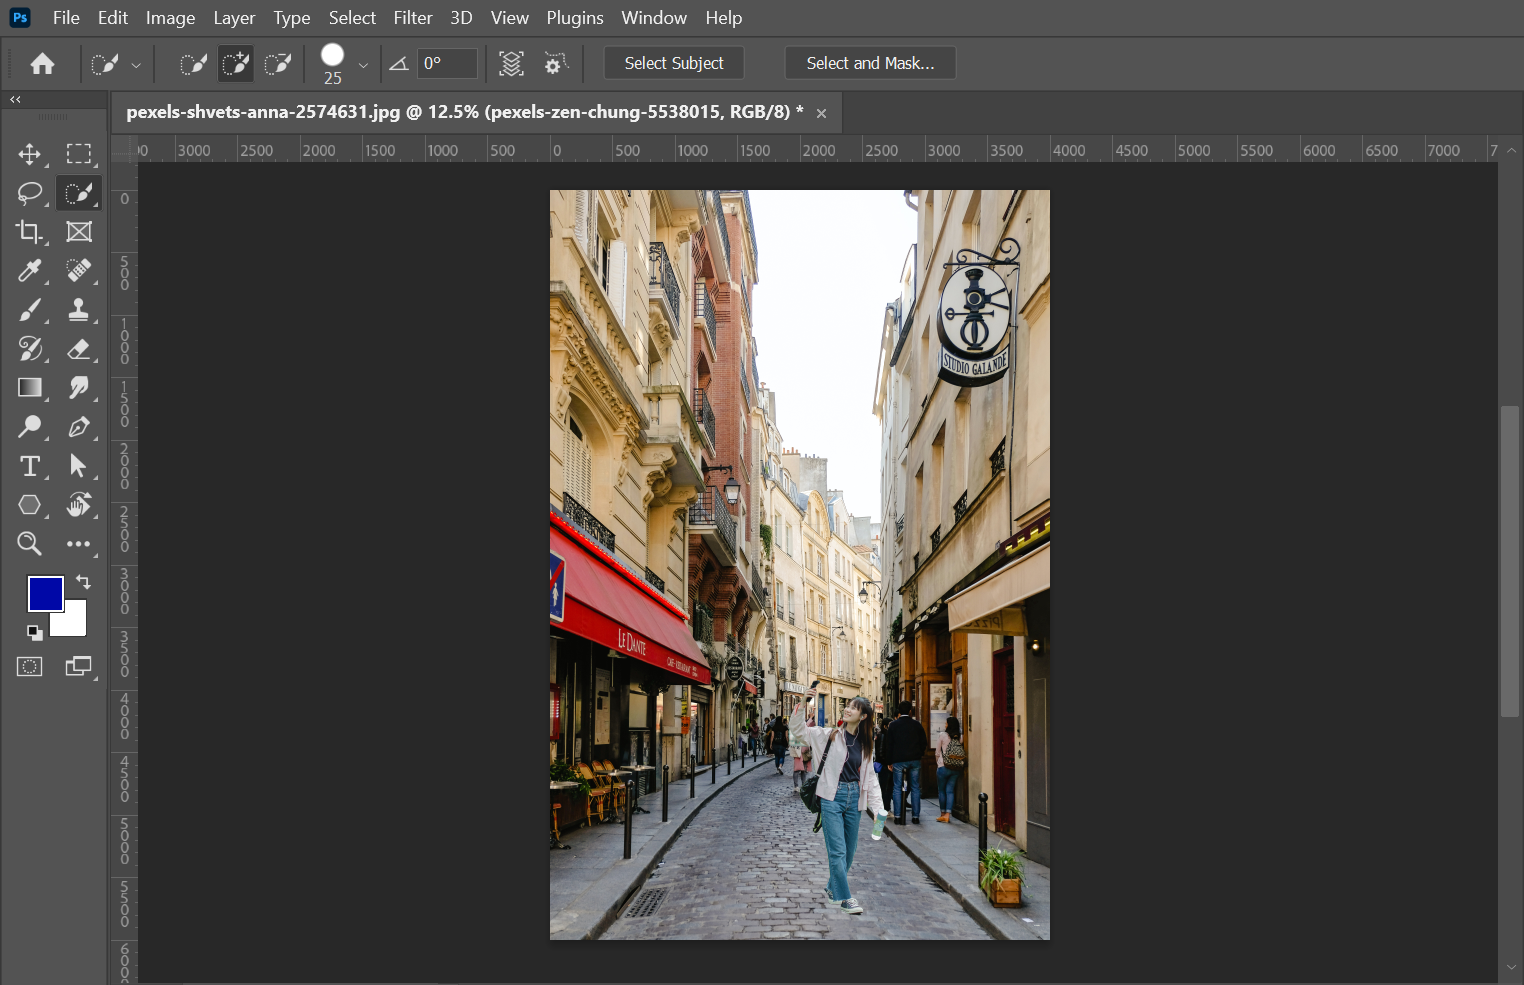
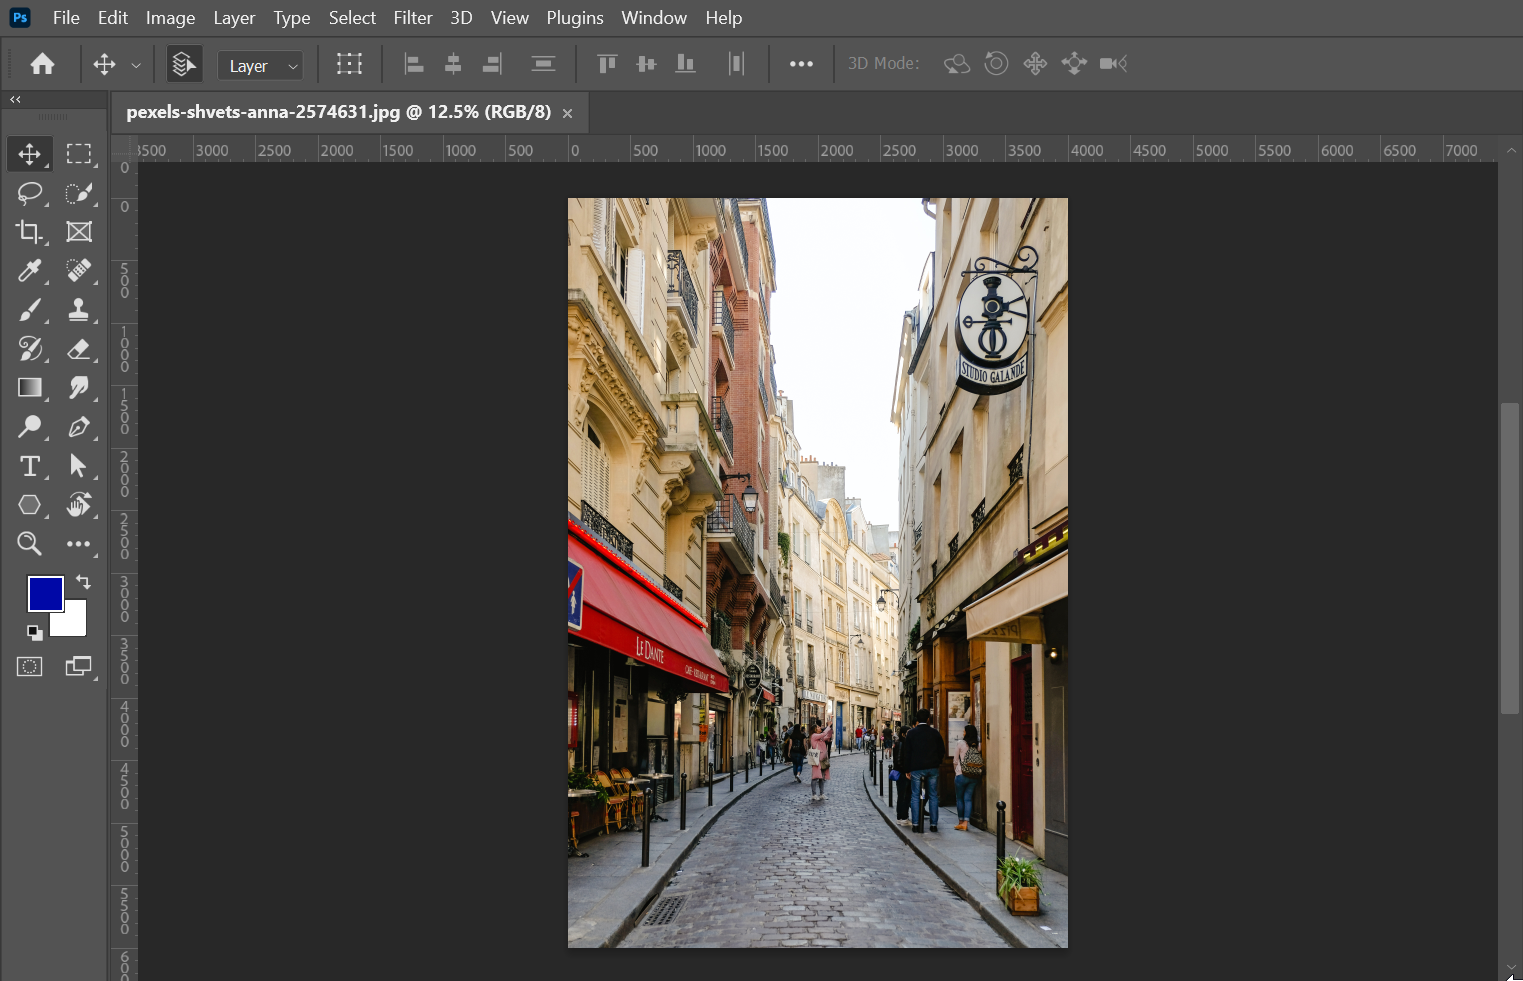
1. Choose and open the photo you want to use as your base image in Photoshop.
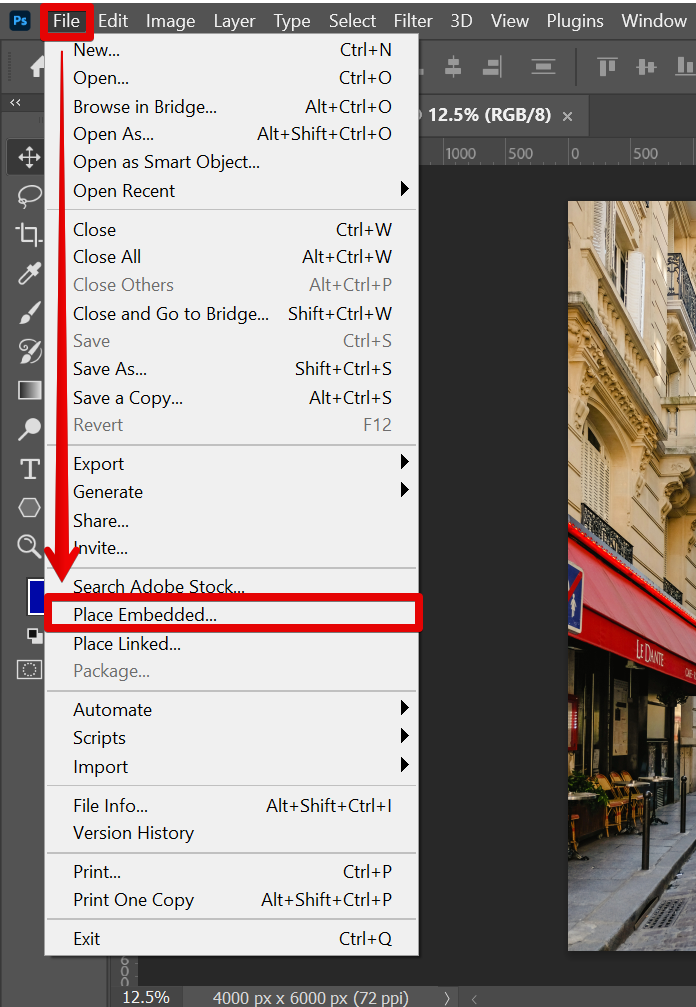
2. Find an image of yourself that you want to insert into the base image. To do this, go to File > Place Embedded.
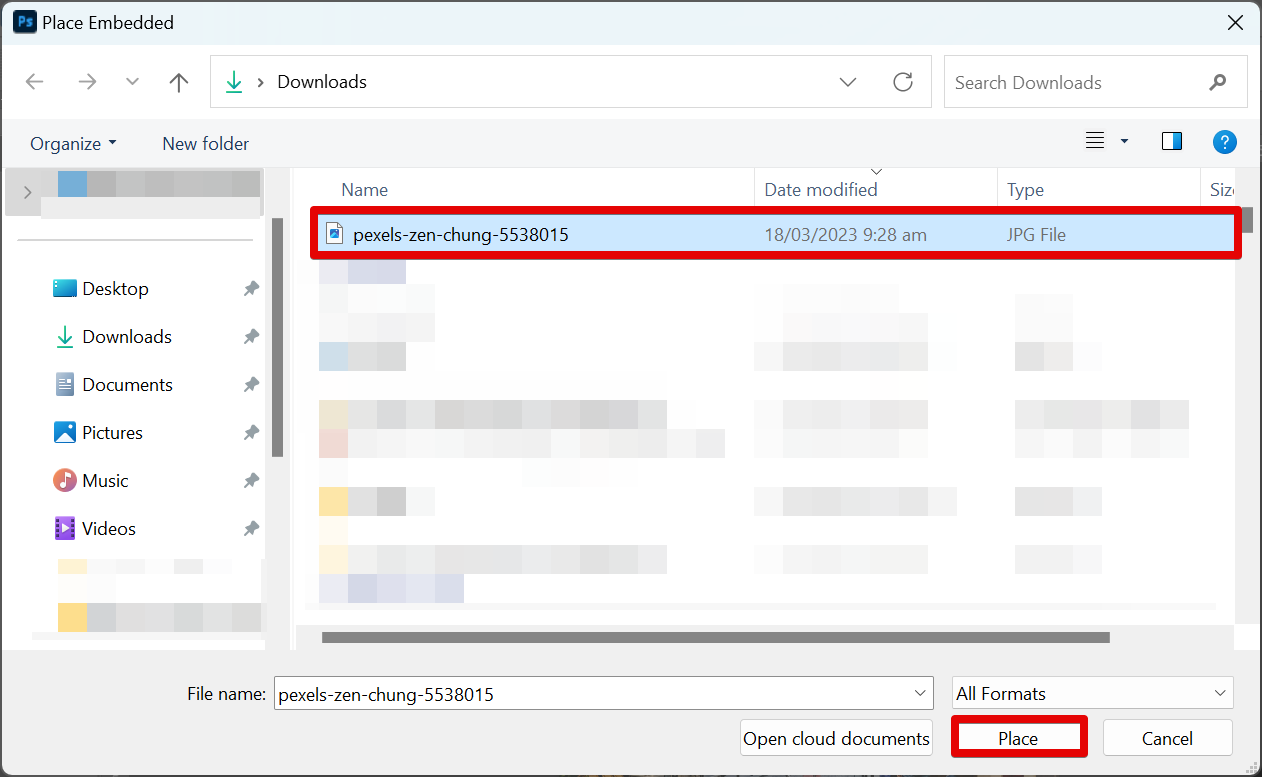
3. Select the image of yourself from your files.
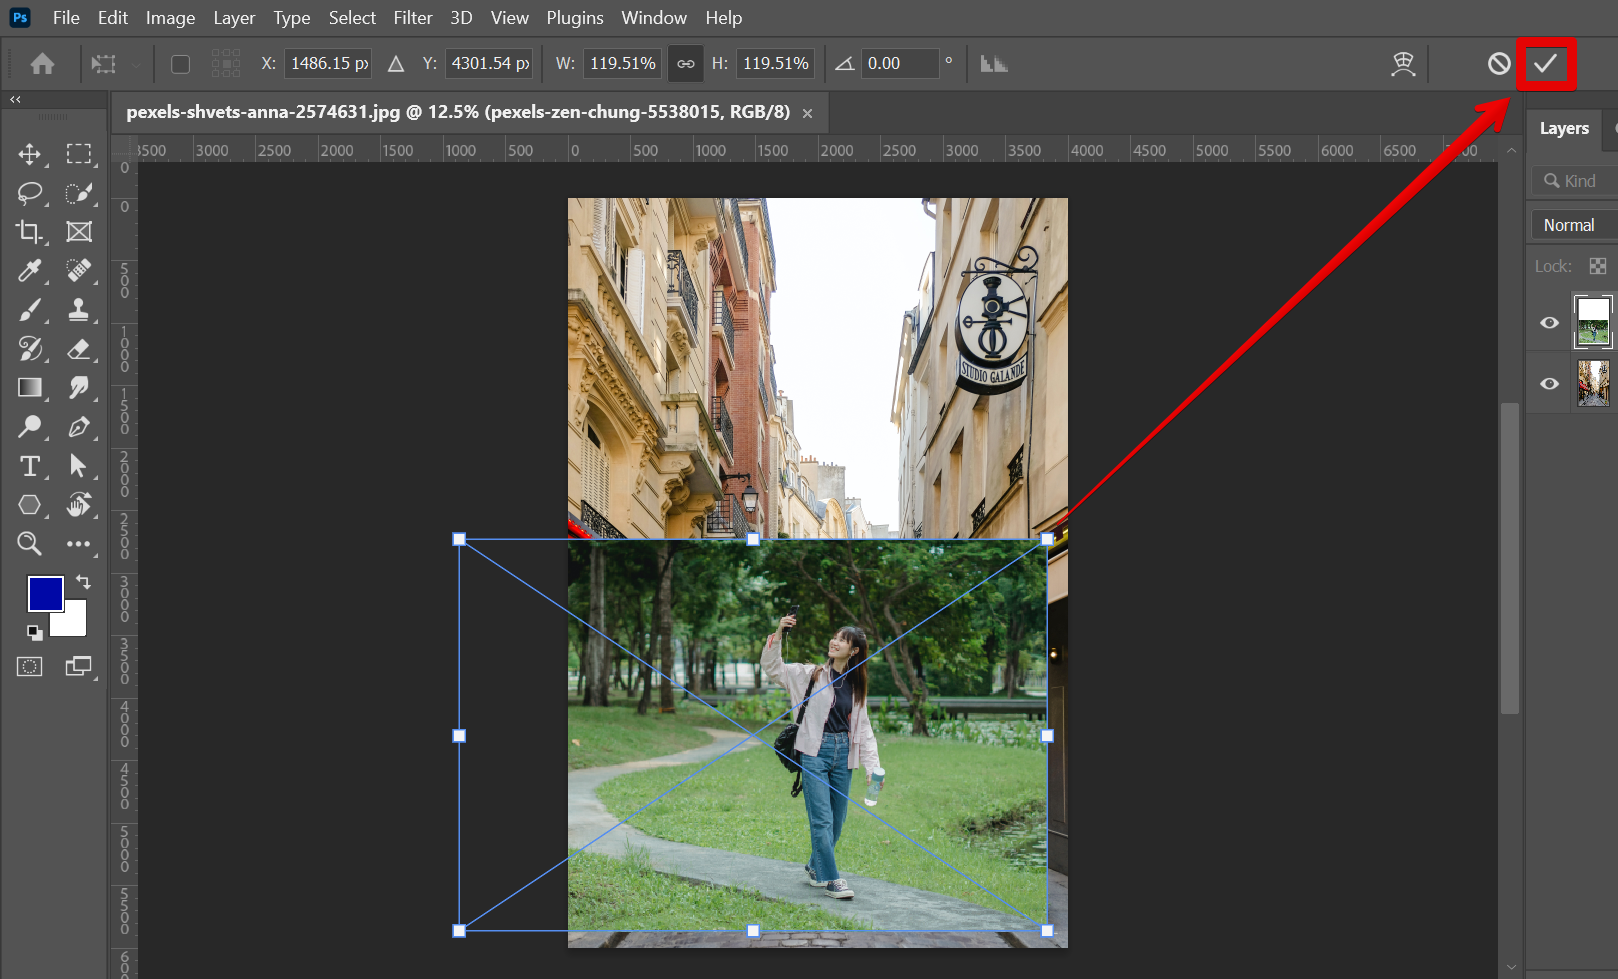
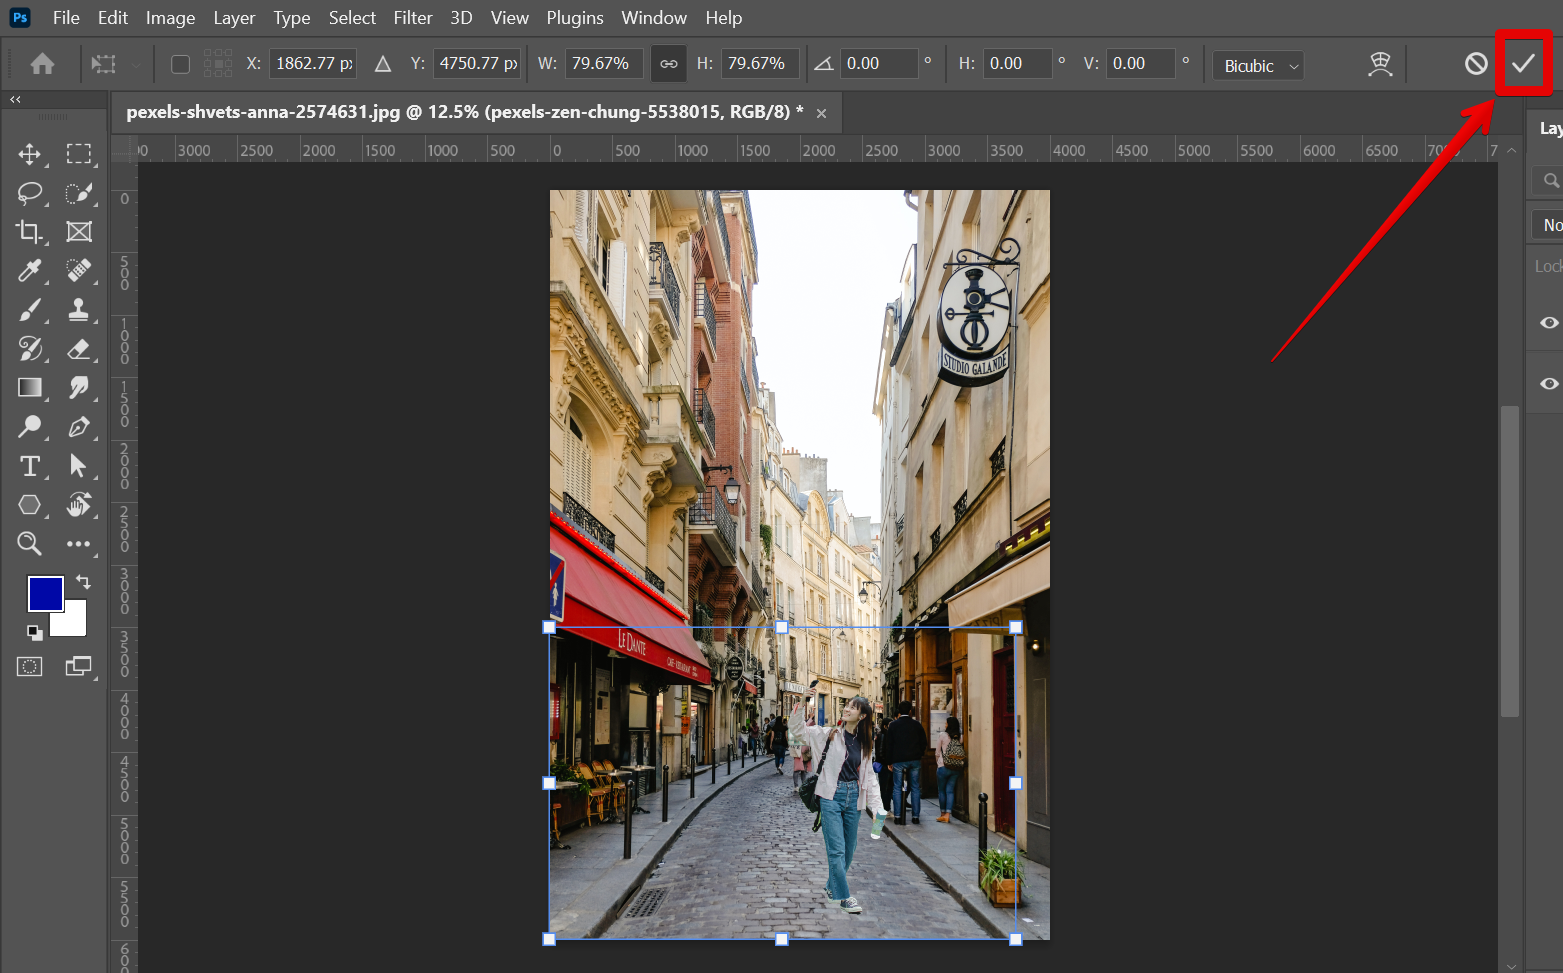
4. Click on the check icon at the top to add the image to your canvas.
5. Use the “Quick Selection Tool” or the “Lasso Tool” to select the portion of the image containing yourself.

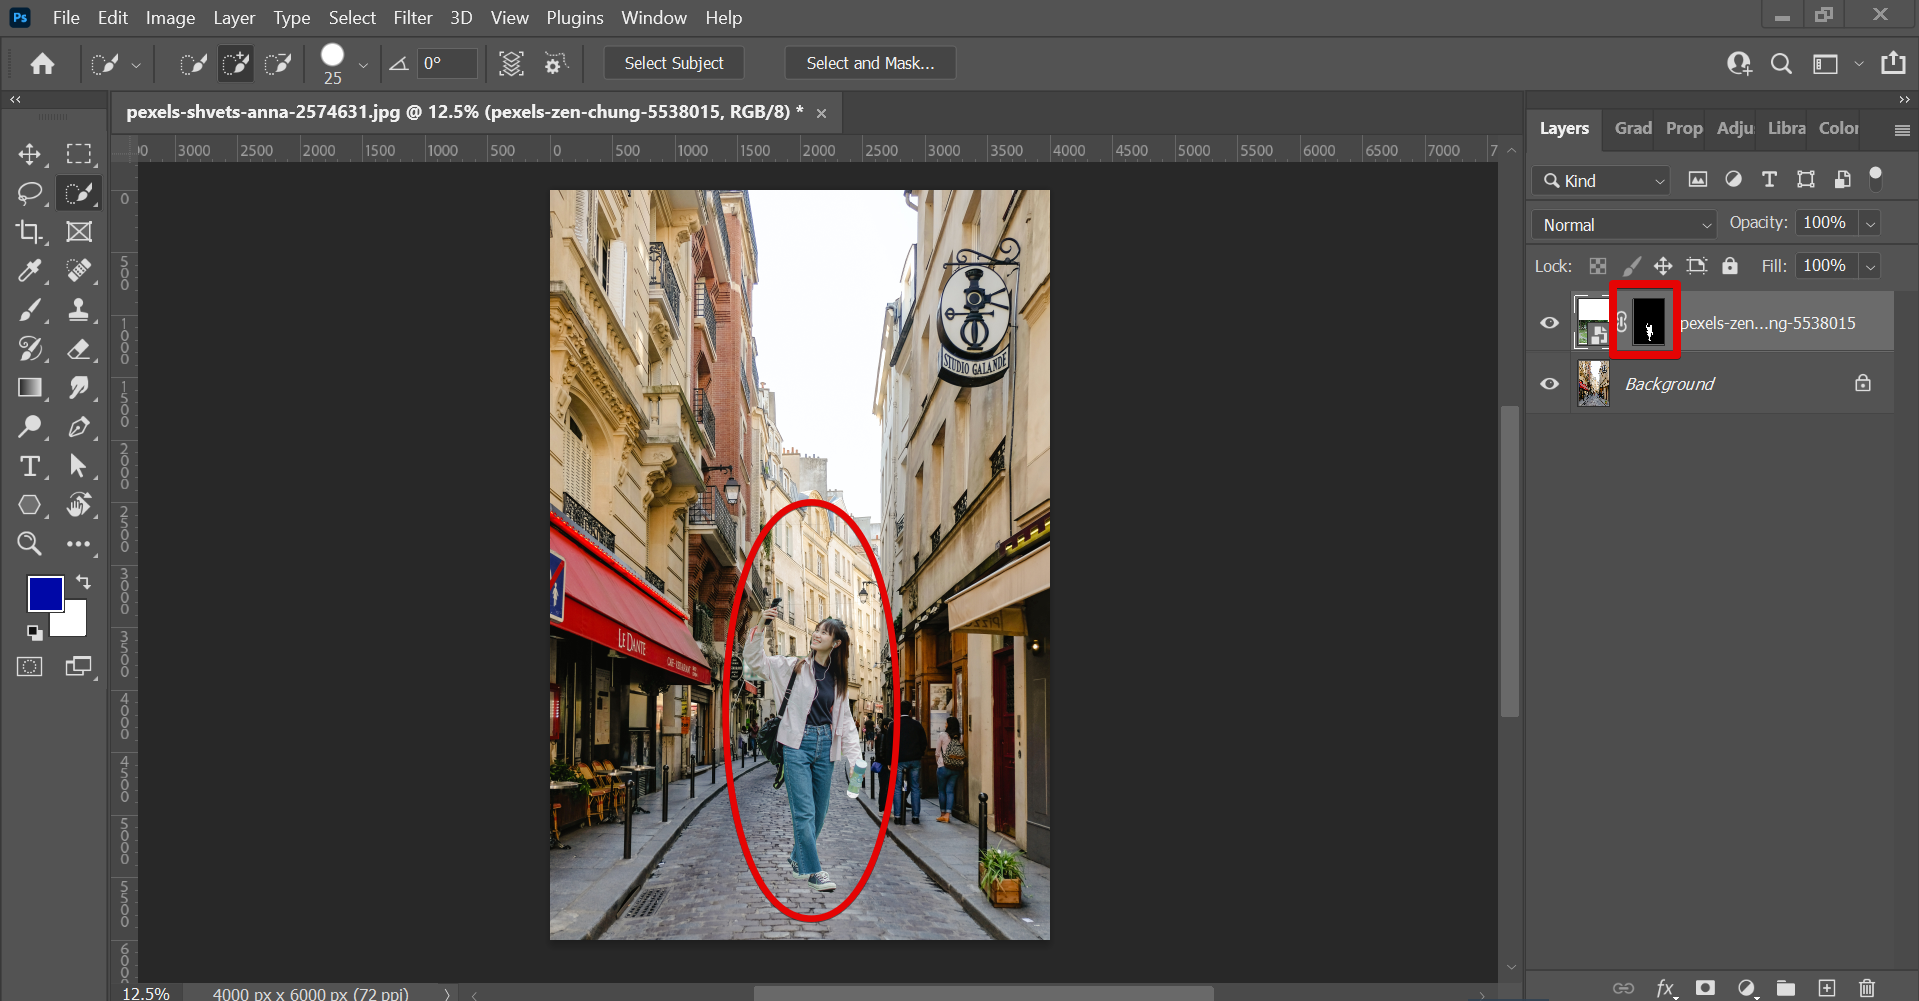
6. Once done with the outline, select the “Add vector/layer mask” button at the bottom portion of the Layers window.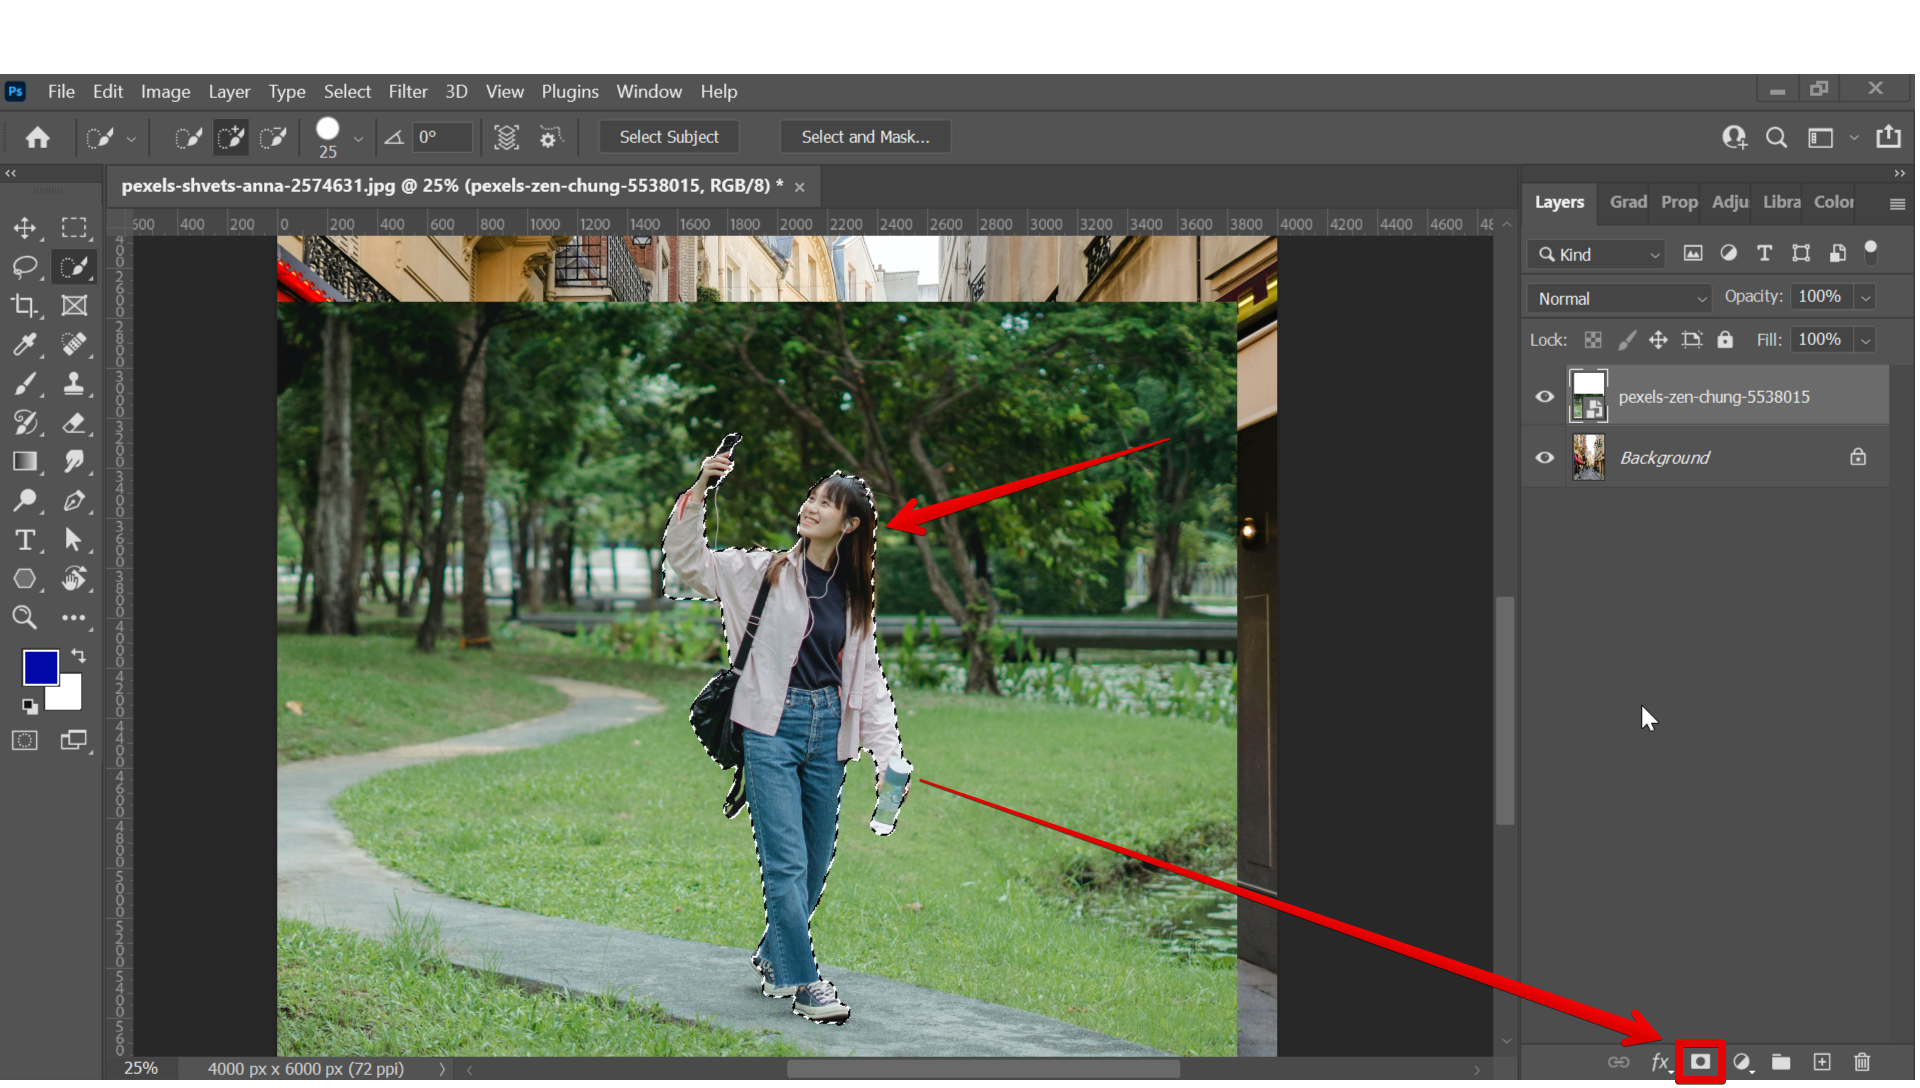
7. The background of your image should now be removed.
8. The next step is to resize and move the image to fit into the base picture and make it look as natural as possible. To do this, press “Ctrl+T” on your keyboard to enable the Transform Tool then click and drag on the pill handles that will appear around the image.
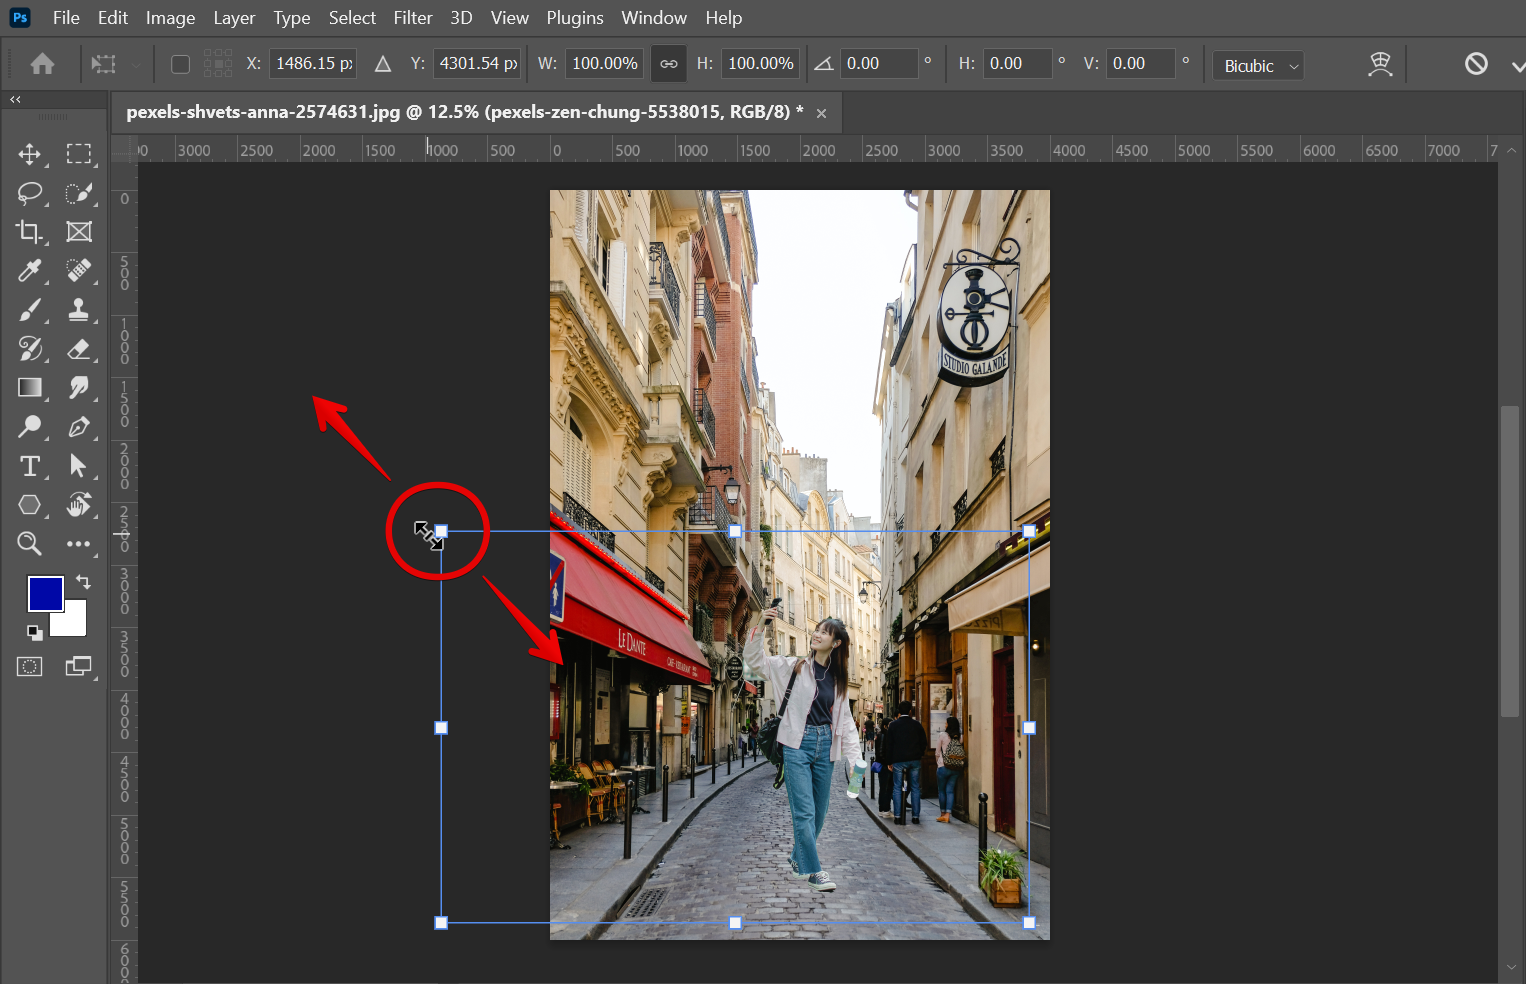
9. Once done, click on the check icon to confirm your changes.
10. And that’s it! You’ve successfully inserted yourself into a picture using Photoshop!