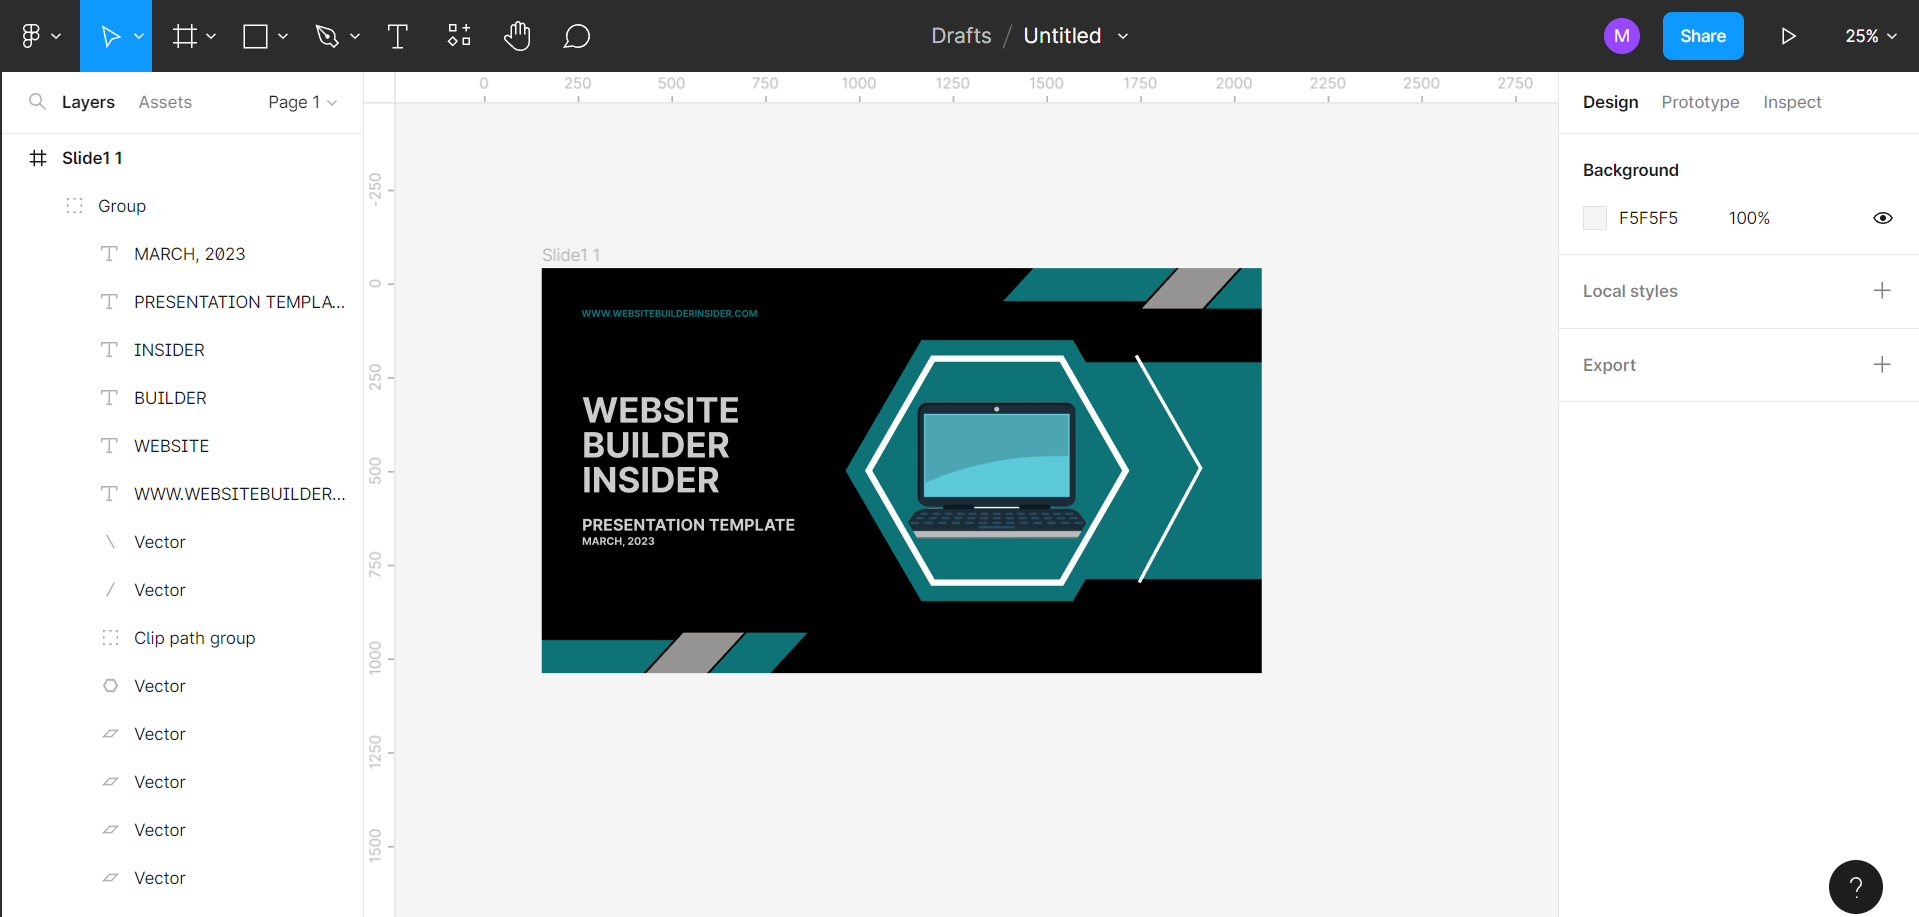
When you want to change the size of a frame in Figma, but not the content inside it, you can use the Constraints option.
To do this, first, open the design with the frame that you want to resize.
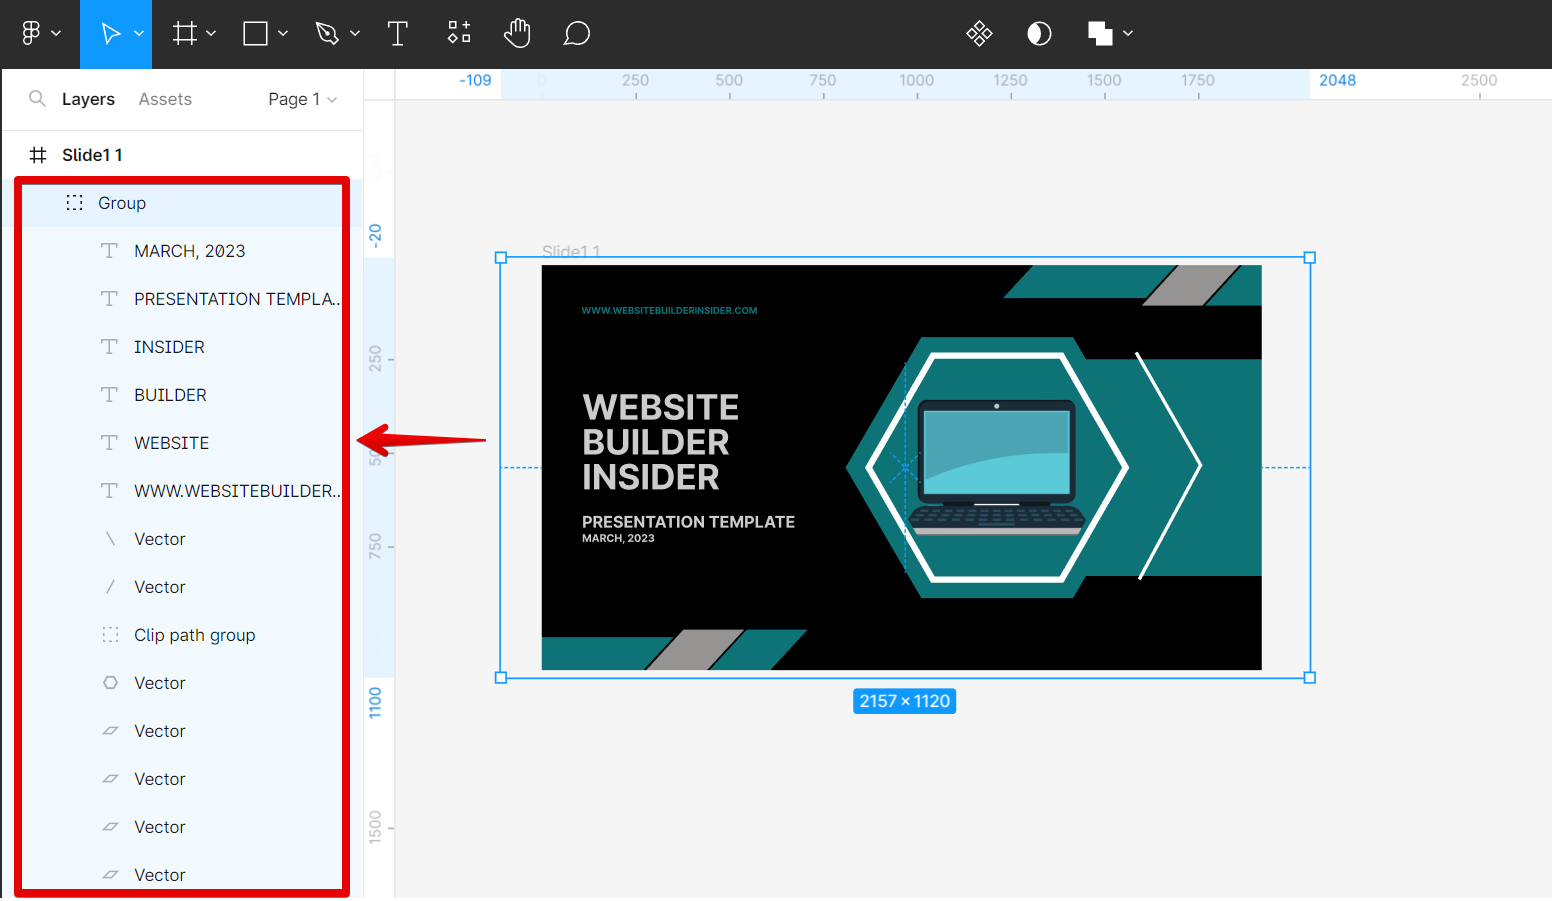
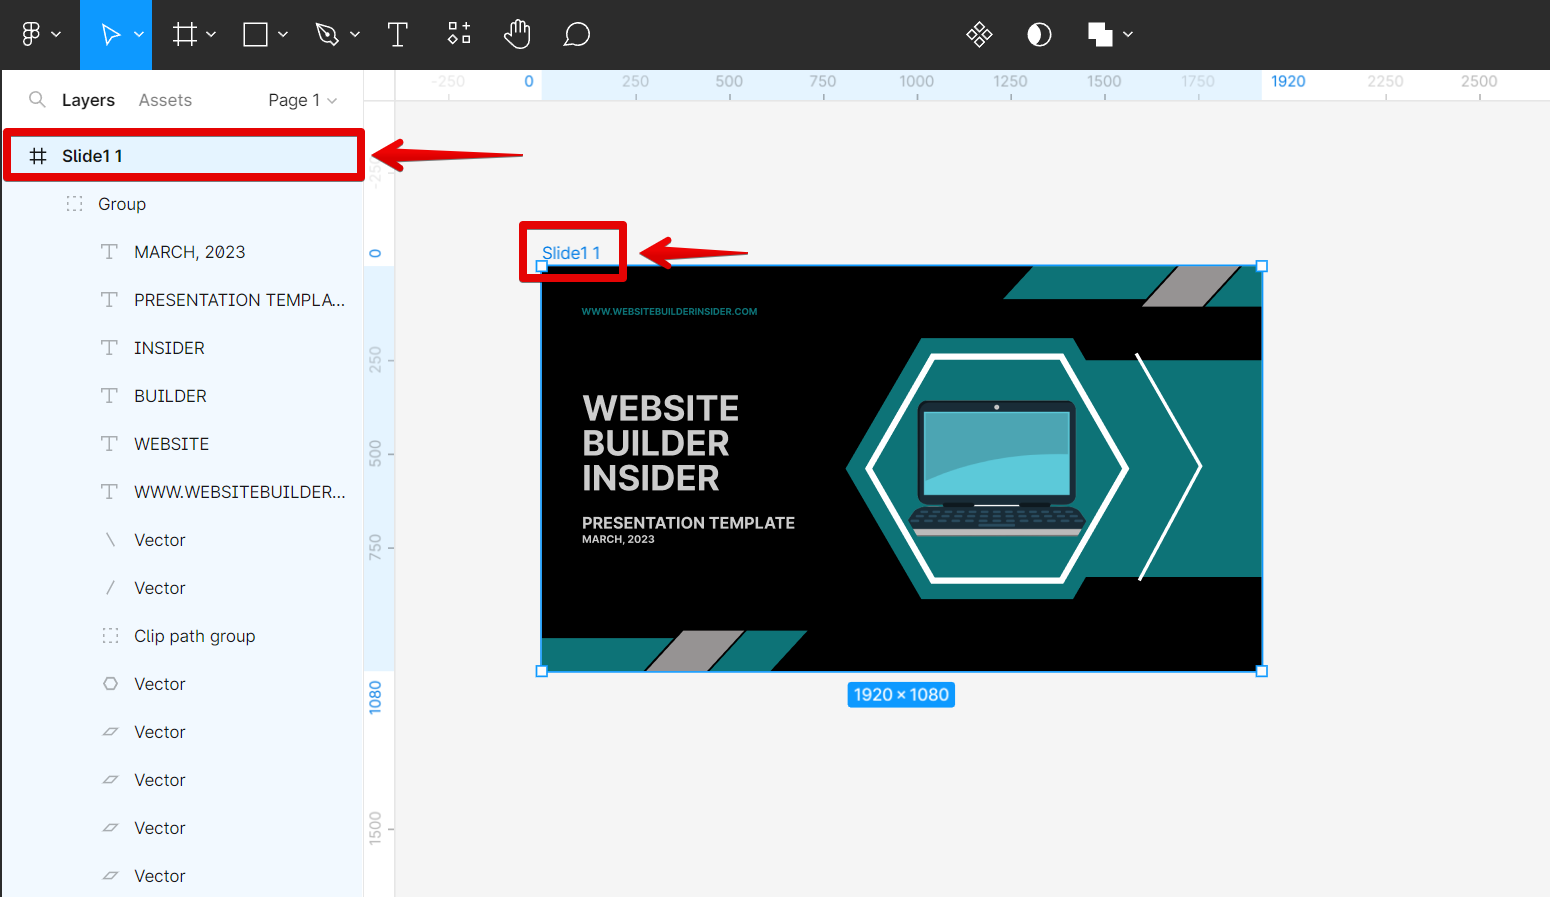
Then, select the contents of that frame that you don’t want to resize along with the frame. To do this, simply go to the Layers section on the left and select the layers.
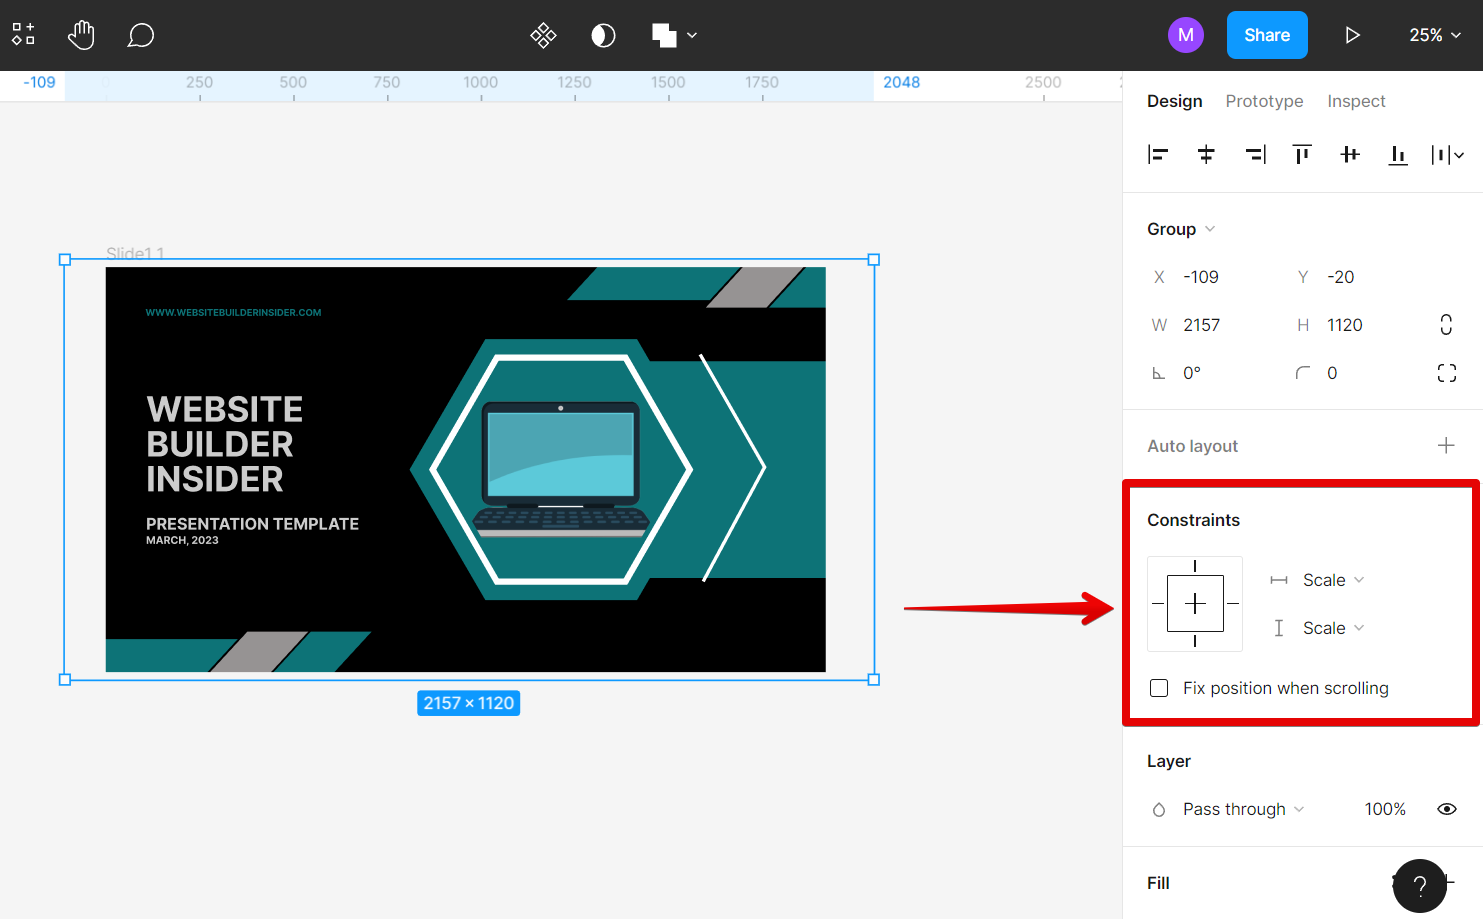
Once done, go to the Constraints section under the Design tab on the right panel. Here, you can see that the elements are set to “Scale“, hence, once you resize the frame, these layers will also be resized.
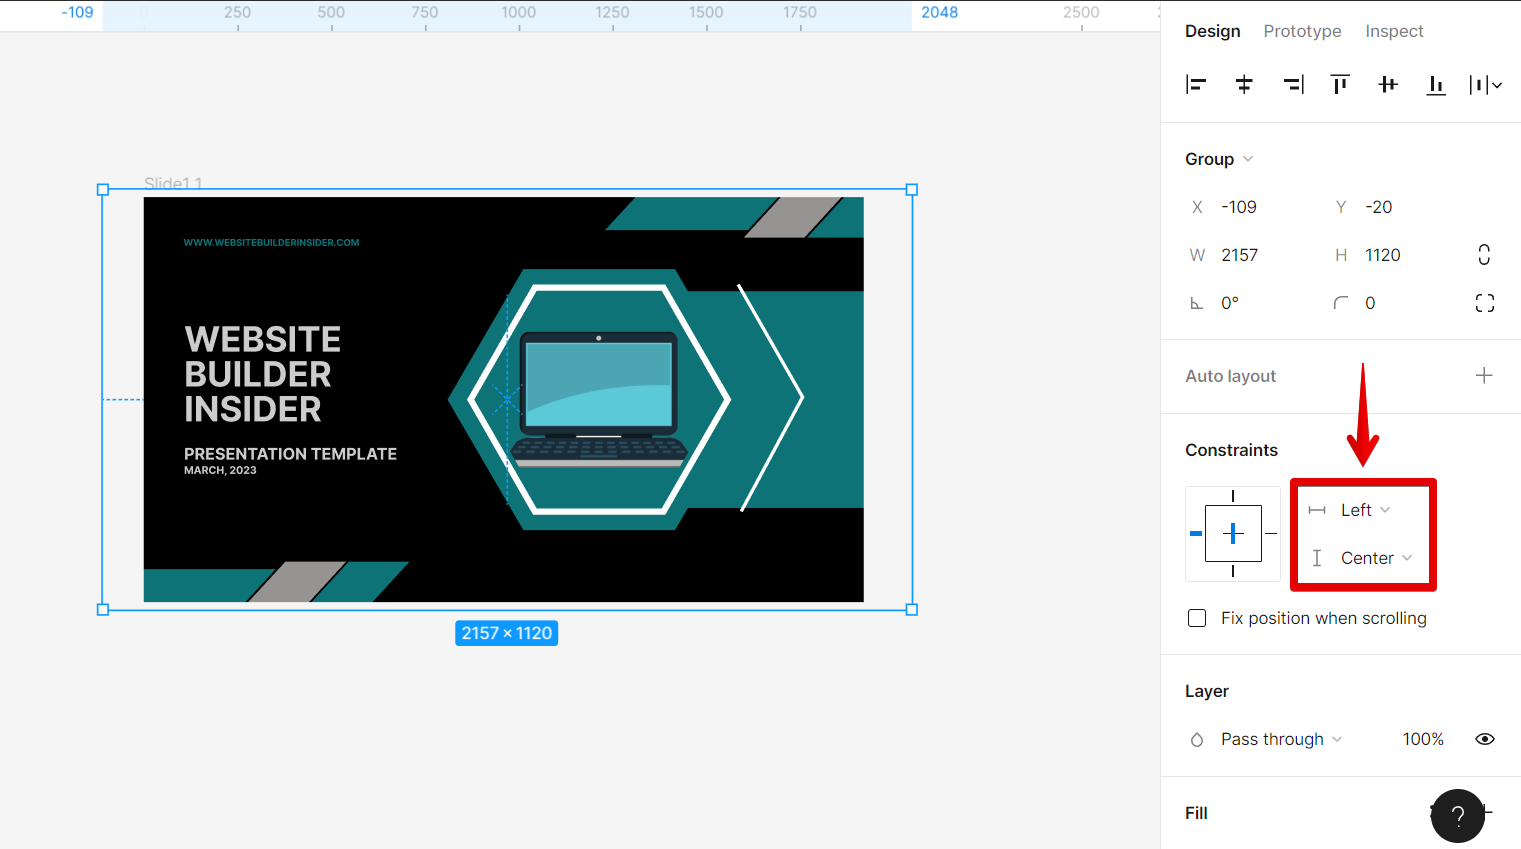
We will enable constraints in the selected layers by setting them to whichever of these options: Left, Right, Center, Top, and Bottom.
NOTE: Make sure that you don’t choose the “Left and right” and “Top and bottom” options, otherwise, the contents might get distorted once you resize the frame.
Once done, you can now try resizing the frame. To do this, first, select the frame from the Layers section. You can also simply click on the frame’s title on the frame itself to select it.
From there, hover your cursor over one side of the frame. Your cursor should now be changed into an icon that looks like two arrows pointing away from each other. Now, click and drag your cursor to resize the frame.

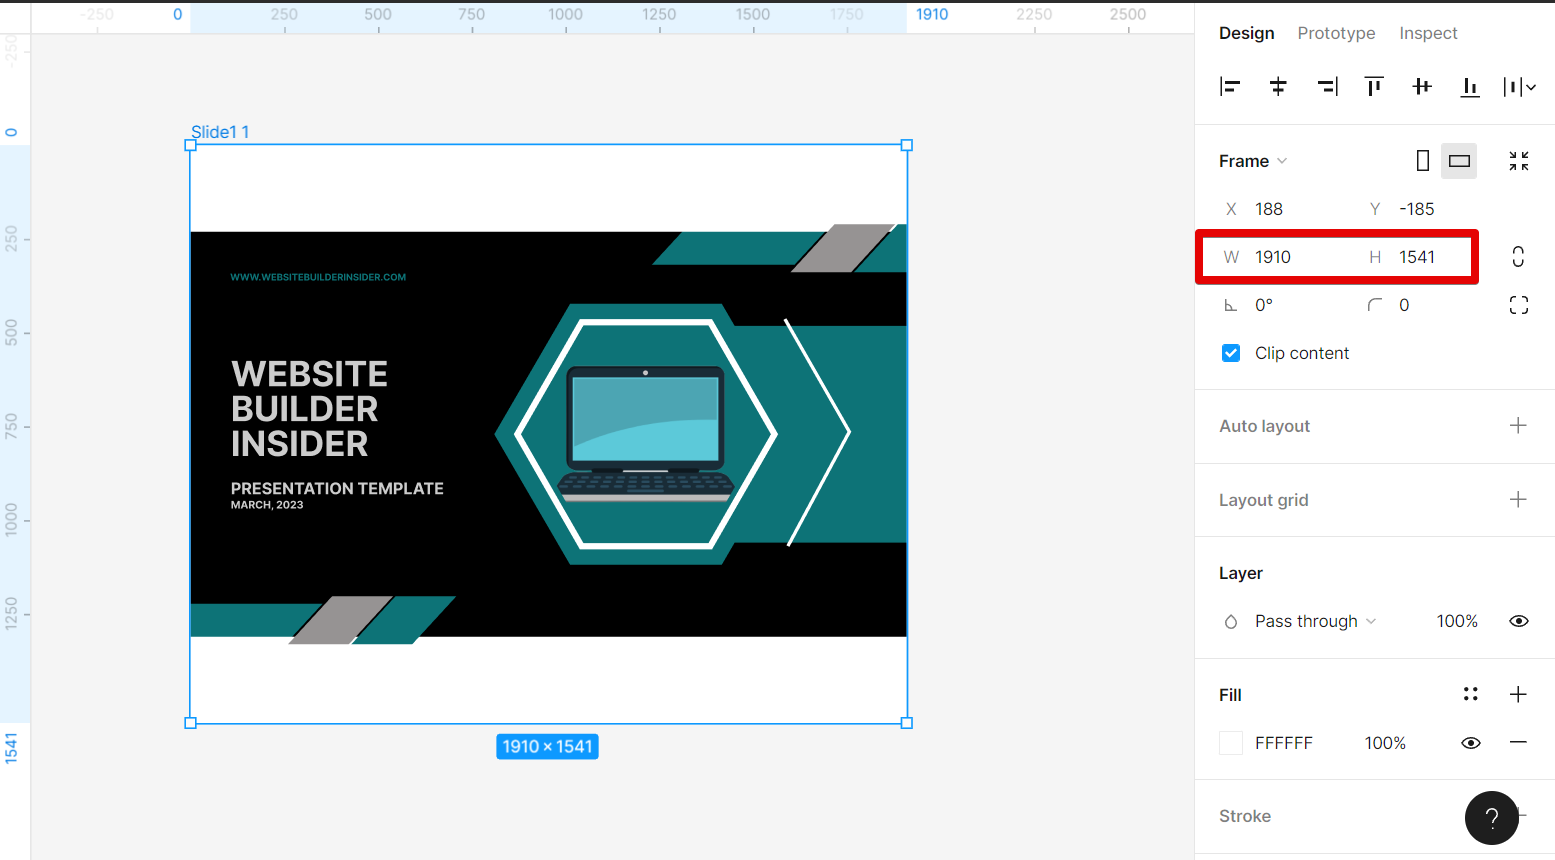
And there you have it! If you want to be more precise with your resizing, you can use the Width and Height options in the Frame section on the right-hand side of your screen. First, make sure that your frame is selected, and then look for the Width and Height options in the Frame panel. You can either type in a specific width or height, or you can use the up and down arrows to increment or decrement by small amounts.
PRO TIP: If you attempt to resize a frame without resizing the content within the frame, you may end up with distorted or misaligned content. Take care when resizing frames to ensure that your content remains correctly sized and positioned.
Conclusion:
To resize a frame without resizing its contents in Figma, you can use the Constraints option. If you want more precision, you can also use the Width and Height options in the Frame panel.
10 Related Question Answers Found
If you’re working on a design in Figma and need to resize the frame without changing the content inside, there are a few different ways you can do this. To start, select the frame you want to resize. Then, in the top toolbar, you’ll see an option for “Lock”.
There are two ways to resize a frame in Figma without content. The first is to use the ‘Resize Frame’ tool, which is located in the ‘Edit’ menu. This will allow you to change the width and height of the frame, as well as the position of the frame within the canvas.
When you’re working with images in Figma, you may need to resize them without stretching the image. This can be done by using the “Constrain Proportions” option in the “Size” menu. To resize an image without stretching it:
1.
Have you ever had the frustrating experience of trying to resize an image in Figma, only to have it get cropped? Or, worse yet, have you accidentally resized an image and lost part of the original? There are a few ways to resize an image in Figma without cropping it.
There are times when you need to resize a frame only in Figma. Maybe you want to make a specific element within the frame larger or smaller. Or, perhaps you need to change the frame size to match the size of an image that you’re adding.
When it comes to Figma, there are a few different ways that you can change the frame size without moving the content. Here are a few methods that you can use:
1. Use the resize options in the top menu
Click on the “Resize” tab in the top menu and then select one of the options from the drop-down menu.
If you’re working with a design in Figma that needs to be a certain size, you can easily resize the canvas. Here’s how:
1. Select the ‘Canvas’ tool from the toolbar on the left.
2.
Figma is a vector graphics editor and prototyping tool – the first interface design tool with real-time collaboration. If you’re working on a design in Figma with other people, you’ll inevitably need to detach some components from the frame so that everyone can work on their own parts. Here’s how to do it:
1.
Yes, you can distort an image in Figma. There are many uses for distorting images in Figma. For example, you could use it to create a perspective effect or to make an image look like it’s being seen through a lens. To do so, first select the image.
Figma is a great tool for working with images, and one of its most useful features is the ability to replace an image with another picture. This can be really helpful when you need to change an image but keep the same general layout. Here’s how to do it:
1.