Scheduling a sale in WooCommerce is a great way to encourage customers to buy your products. By offering a discount on your products, you can increase the chances that customers will make a purchase. There are a few different ways to schedule a sale in WooCommerce, and we’ll walk you through each method so you can choose the best option for your store.
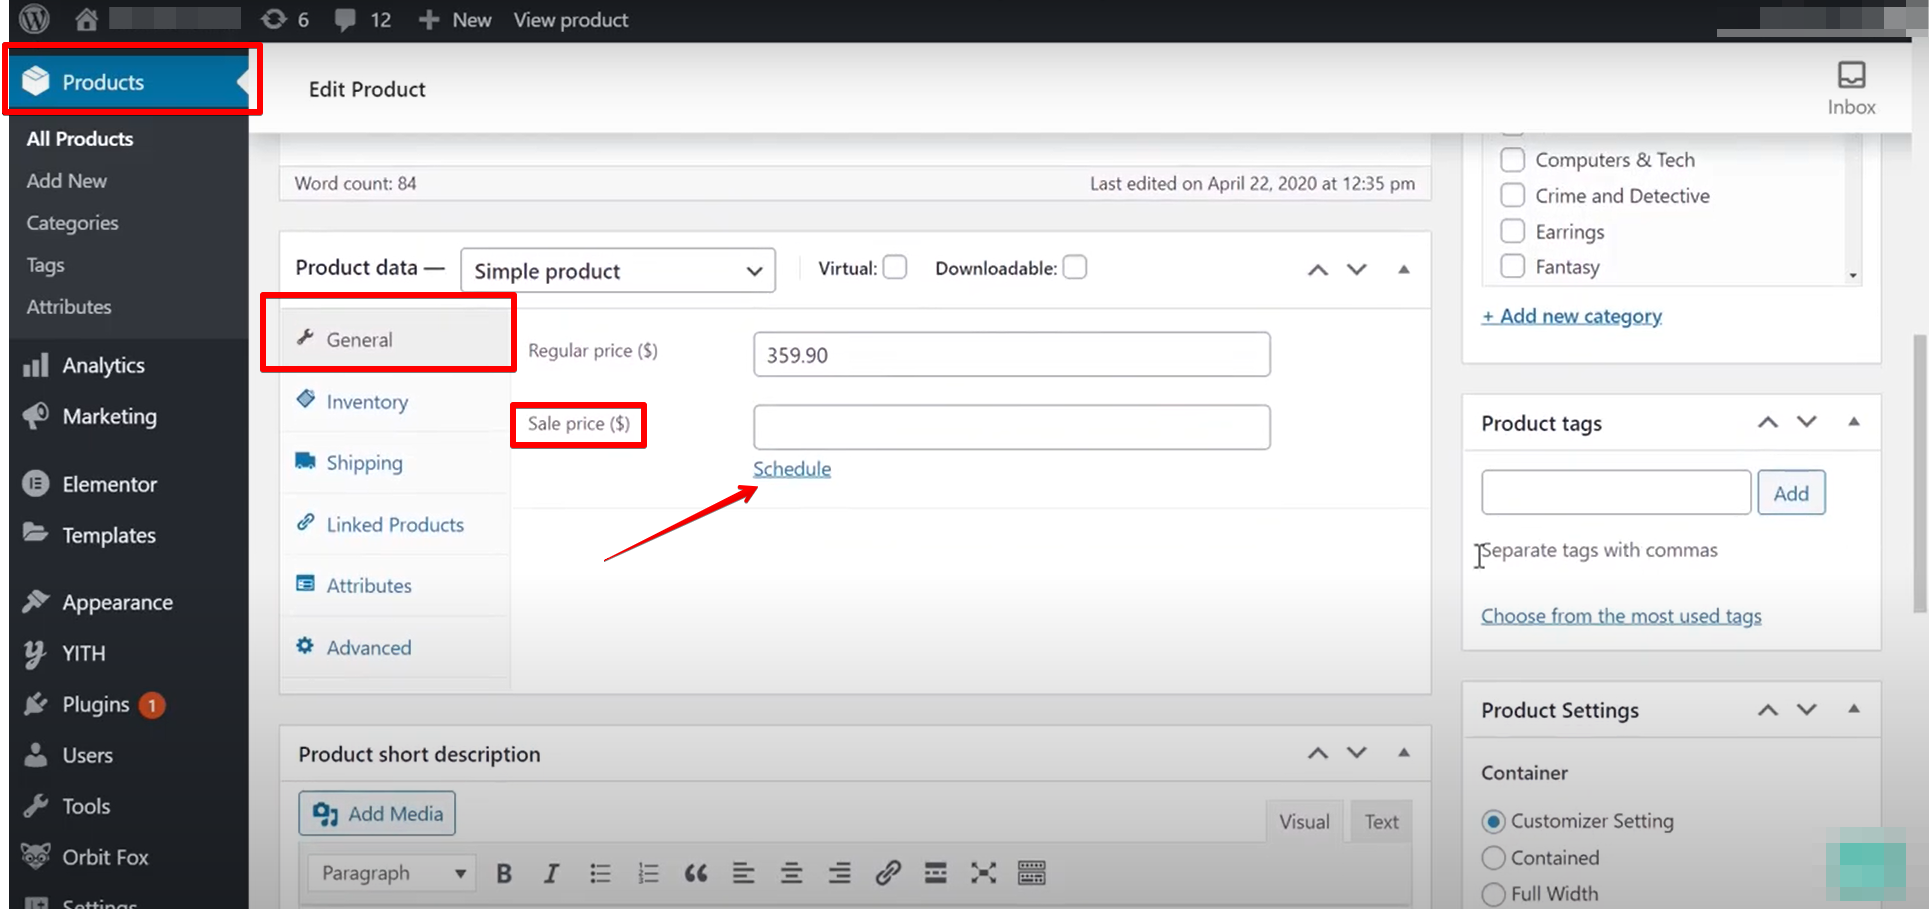
The first way to schedule a sale in WooCommerce is “by using the built-in sale scheduling feature“. To do this, go to the product page for the product you want to put on sale. Under the “General” tab, you’ll see an option to “Schedule” the sale. Select the start and end date for the sale, and then click “Save changes“.
Another way to schedule a sale is by using the “WooCommerce Product Table” plugin. This plugin allows you to create a table of your products, which makes it easy to bulk edit product data. To use this plugin, install and activate it on your WordPress site.
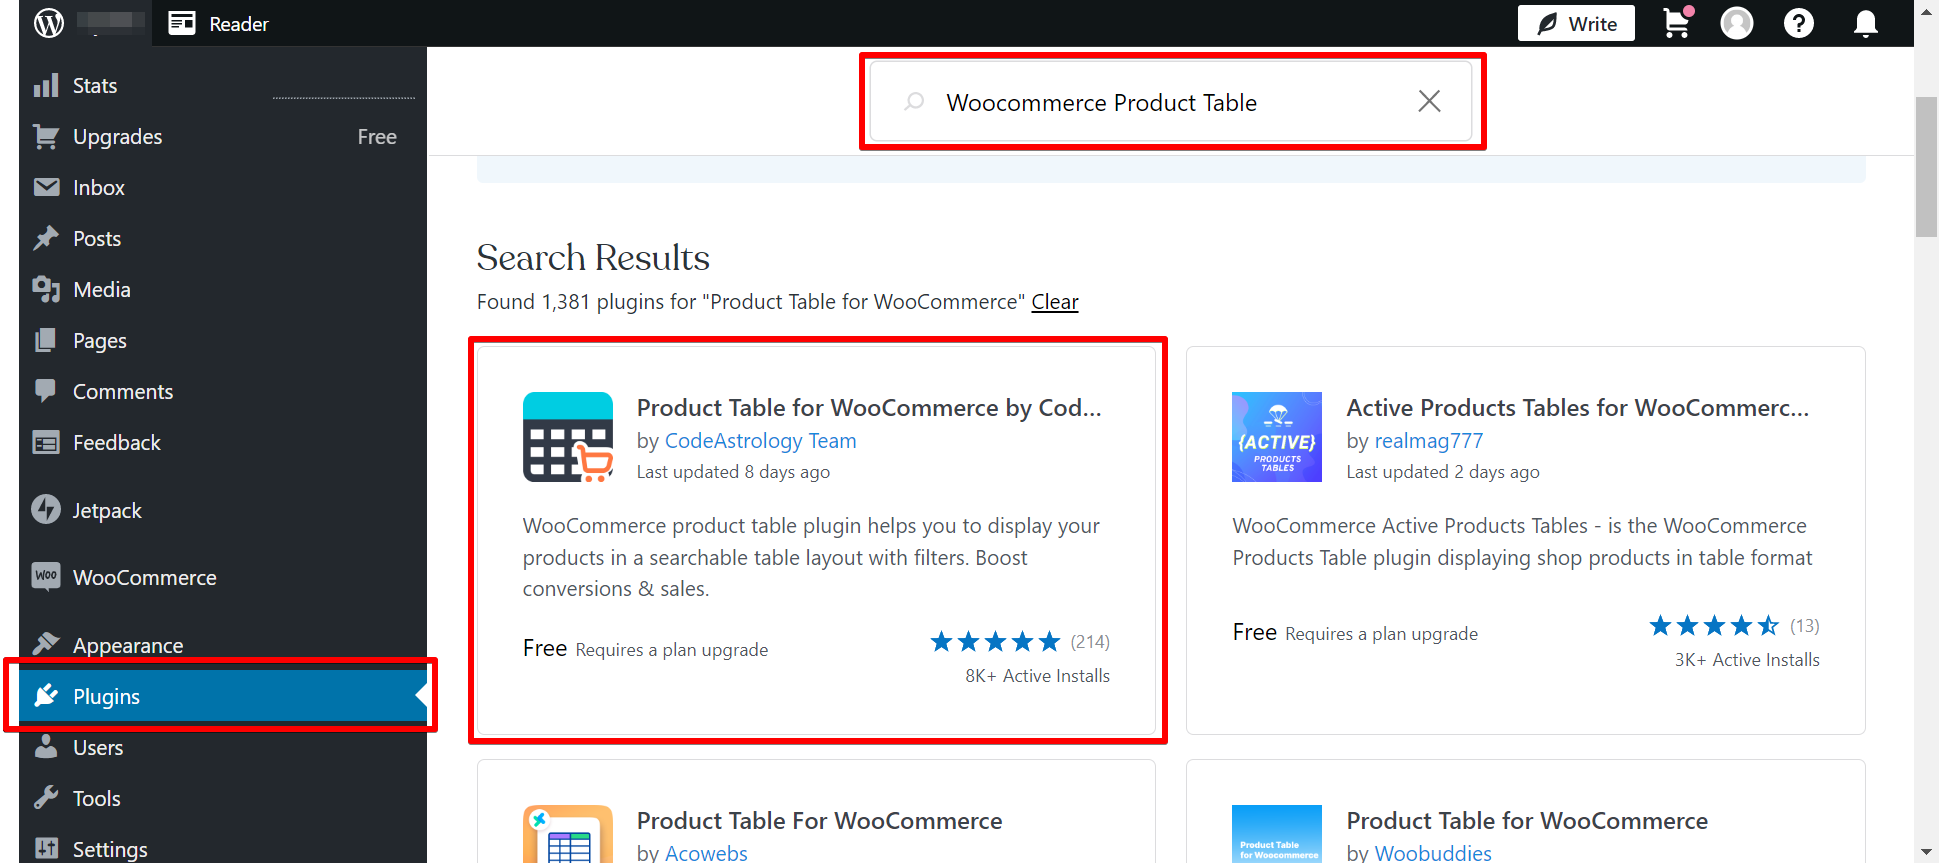
Then, go to “Products” > “Product Table” and create a new product table.
First and foremost, please be aware that WooCommerce sales are final. This means that once a customer has purchased an item during a sale, they will not be able to receive a refund or exchange. As such, it is important to make sure that your customers are absolutely certain about their purchase before they complete the sale.
Another potential risk to be aware of is that if you schedule a sale for a time when your store is typically closed (e.g. overnight), your customers may not be able to reach you if they have any questions or problems with their purchase. As such, it is important to make sure that you have someone available to answer customer questions during the sale period, or at least provide some kind of customer support in case of any problems.
Finally, please be aware that scheduling a sale can potentially cause disruptions to your normal business operations. For example, if you typically ship orders out within 24 hours but your sale lasts for several days, you may find yourself backlogged with orders. As such, it is important to plan ahead and take into account any potential disruptions when scheduling a sale.
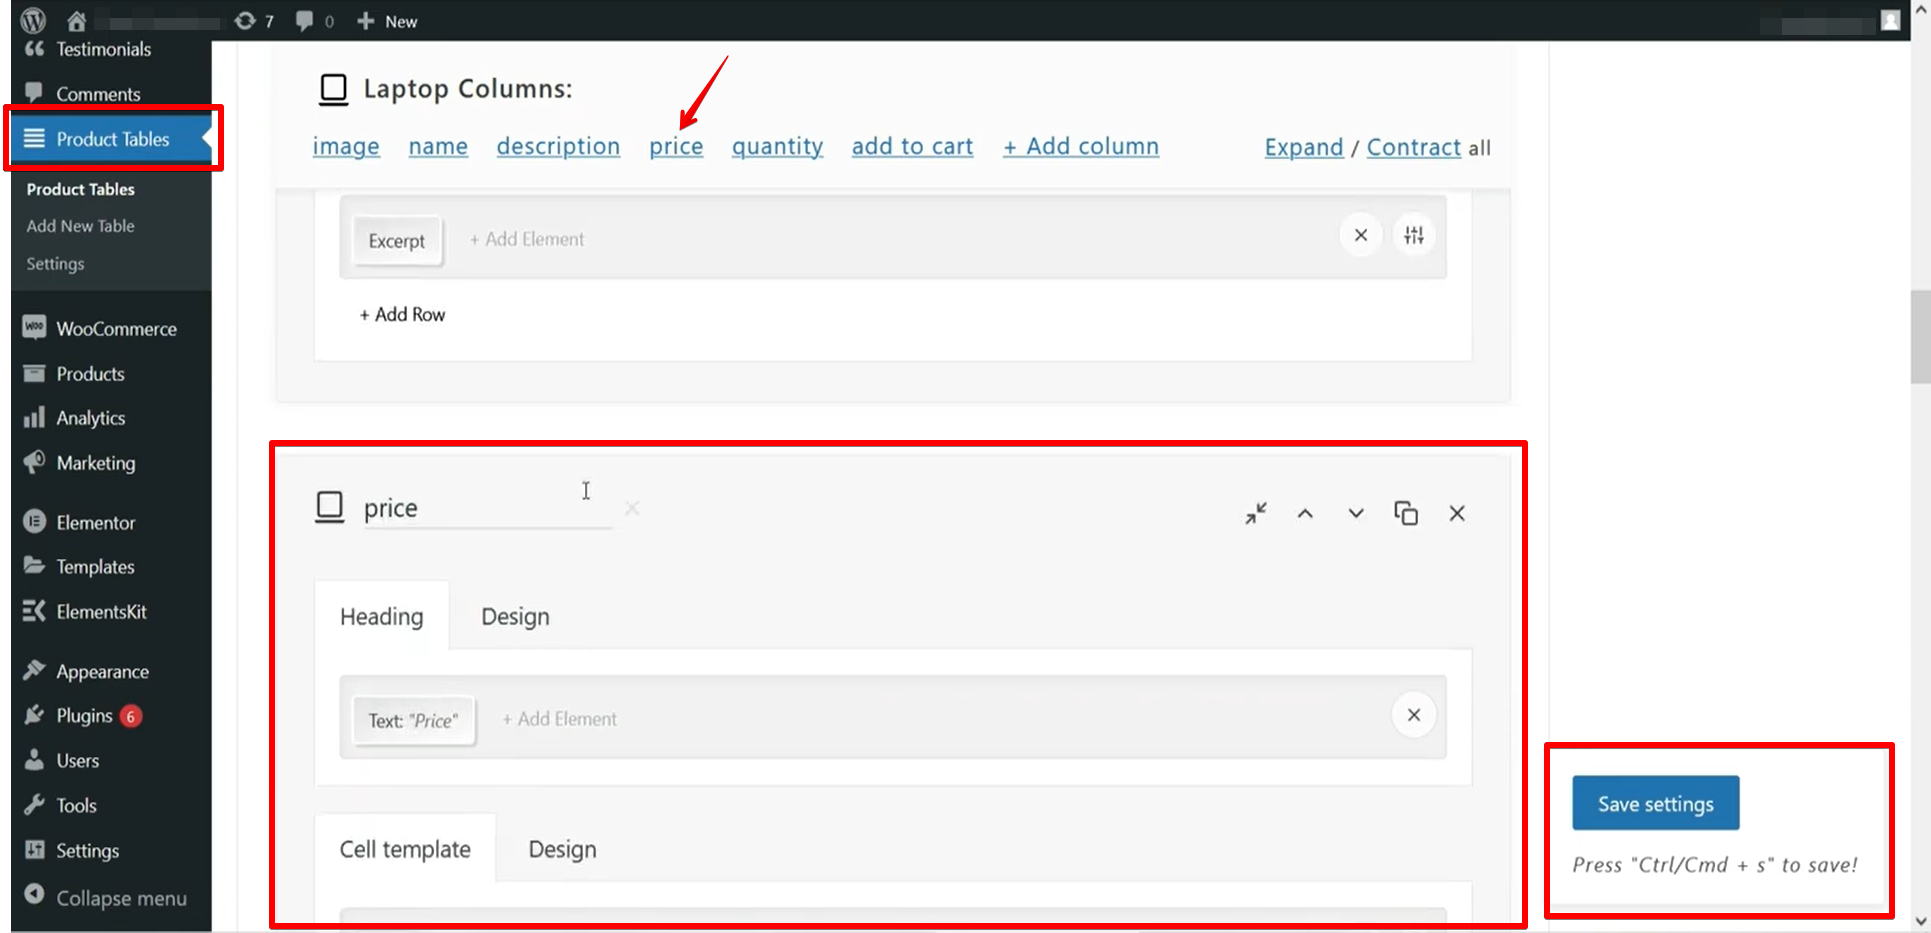
In the “Columns” section, select the “Sale price” column and add it to your table. Then, select the products you want to put on sale and enter the sale price in the appropriate column. When you’re finished, click “Update“. Your changes will be saved automatically.
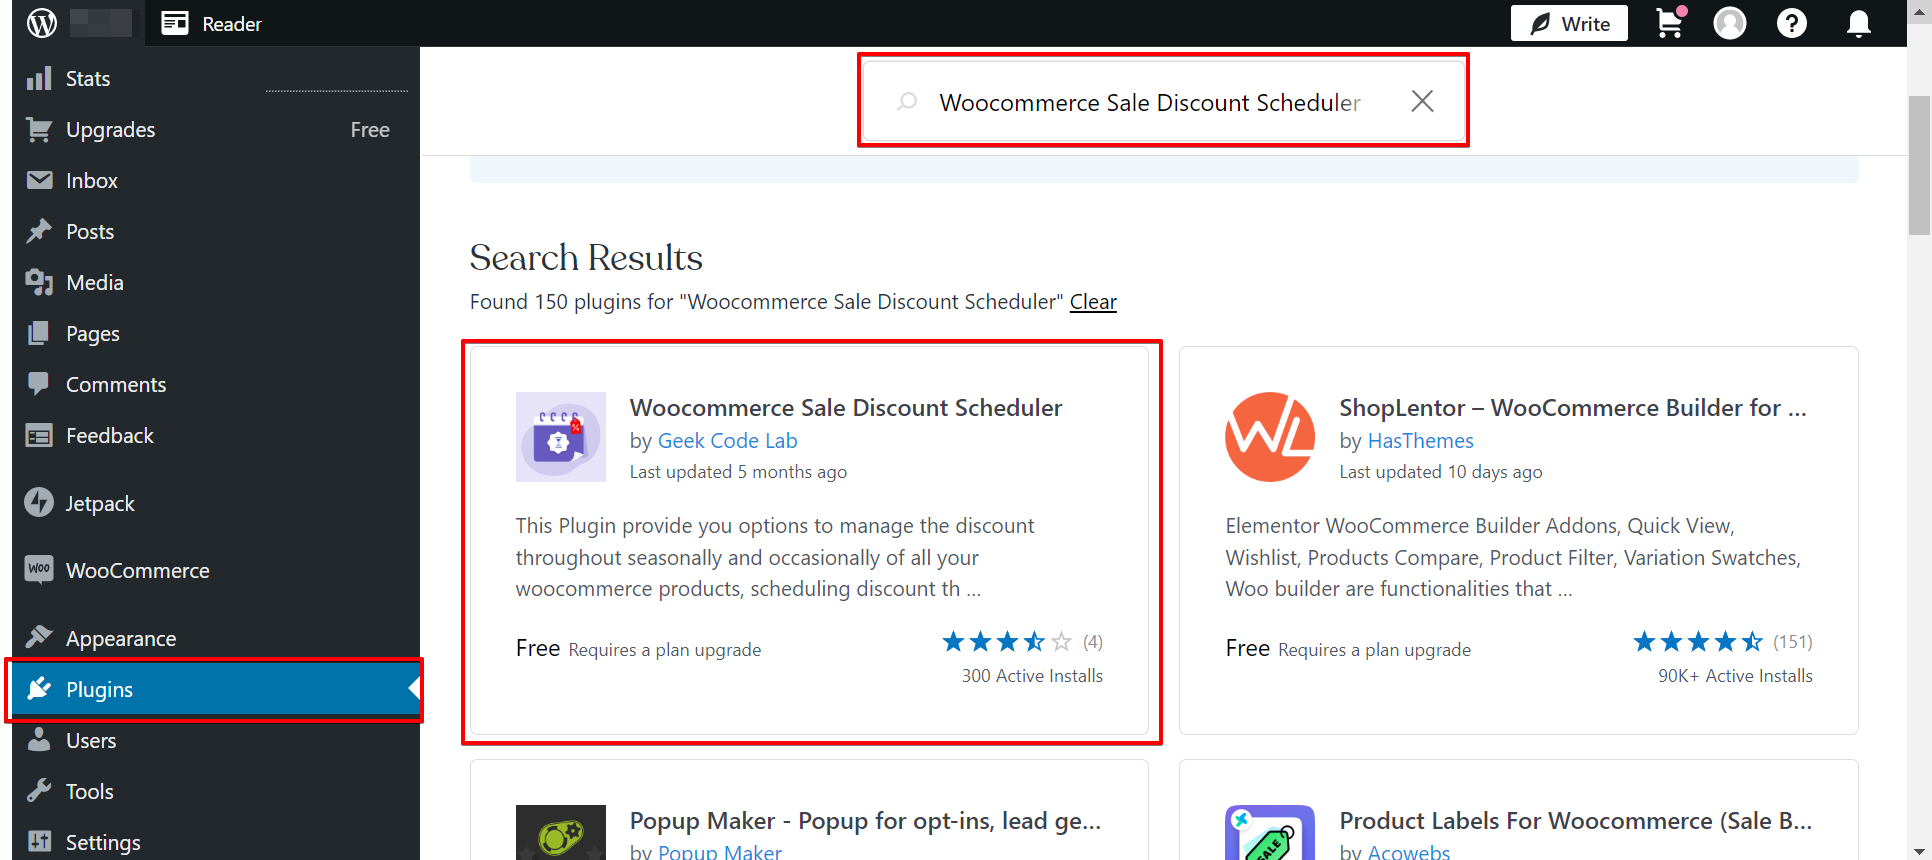
If you want more control over your sales, you can use the “WooCommerce Sales Scheduler plugin“. This plugin allows you to create multiple sales with different start and end dates. Then, go to “WooCommerce” > “Sales Scheduler” and create a new sale.
Enter the start date, end date, and discount amount for the sale. You can also optionally select which products will be included in the sale. When you’re finished, click “Publish.” Your sale will be automatically published at the scheduled time.