There is only one way to use CMYK in Figma. That is to use a plugin.
To do this, simply click on the “Resources” option at the top menu and then select the “Plugins” tab.
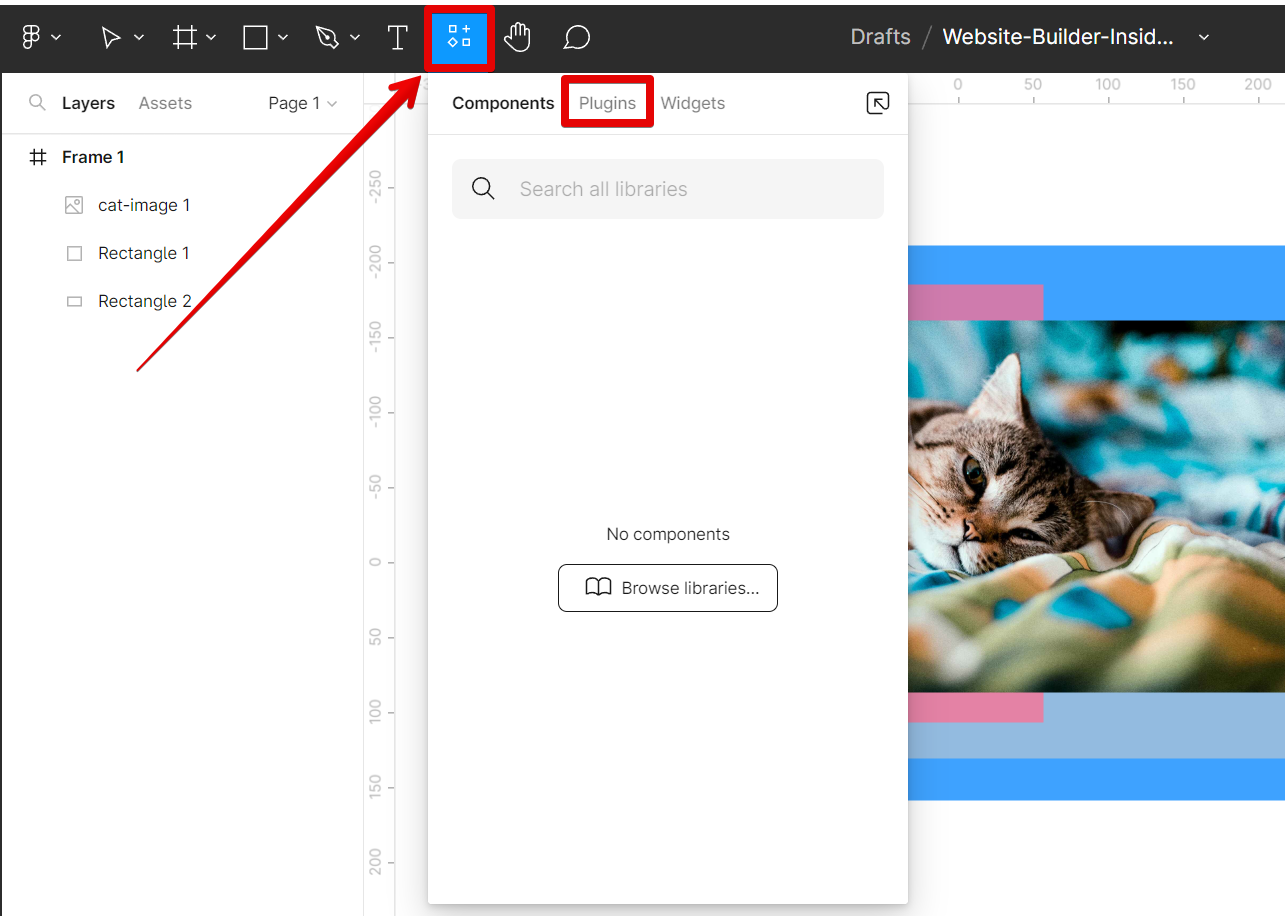
From here, search for the “TinyImage Compressor” and click on the “Run” button.
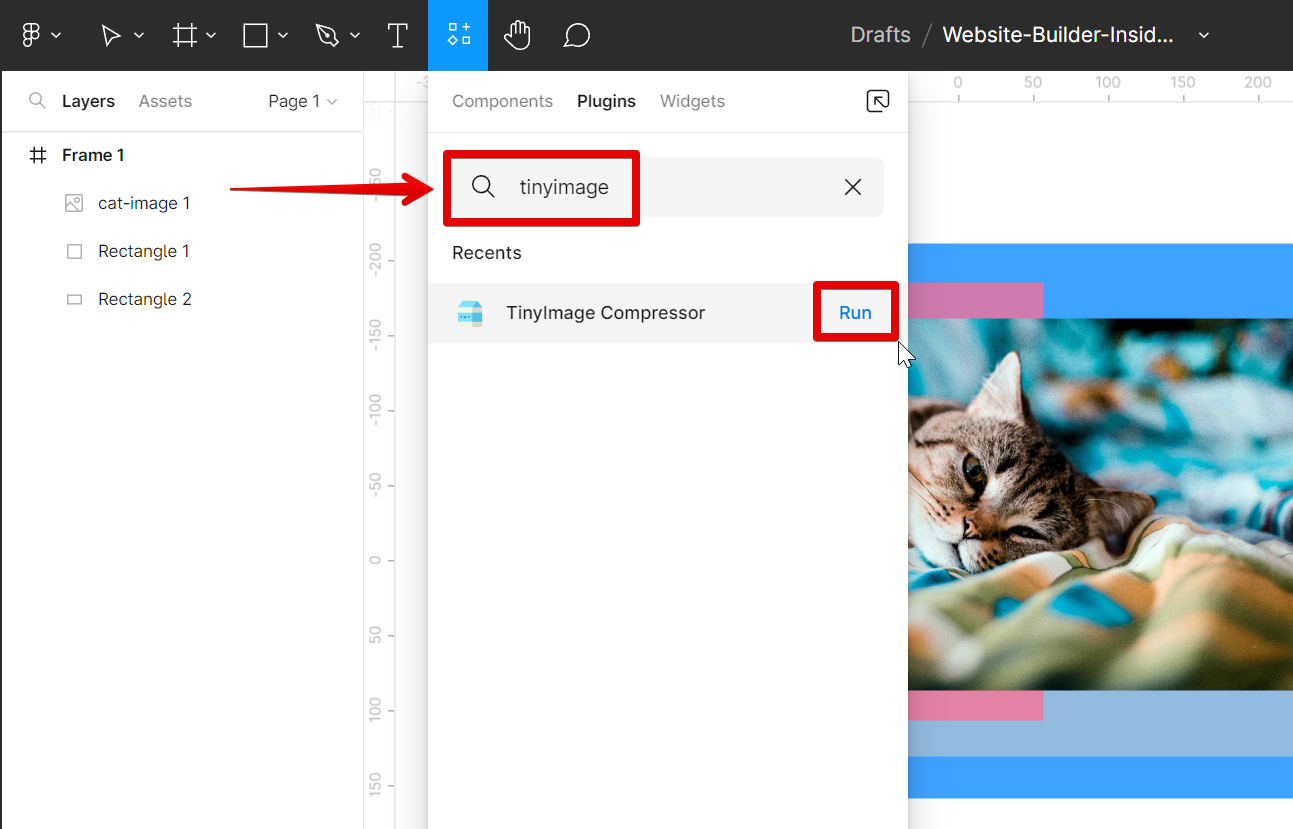
PRO TIP: When working with color in Figma, it’s important to keep in mind that the CMYK color mode is not supported. This means that you won’t be able to create in CMYK mode and you can only use RGB when you export your design. The only way to use CMYK is to use the TinyImage Compressor plugin, however, the number of times that you can use it is limited.
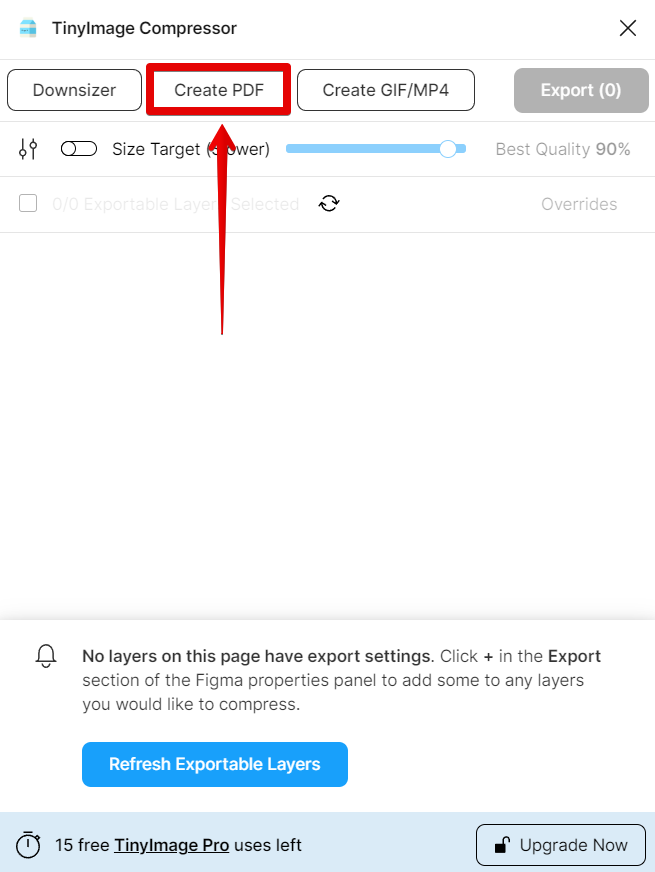
In the plugin’s window, select the “Create PDF” button at the top menu.
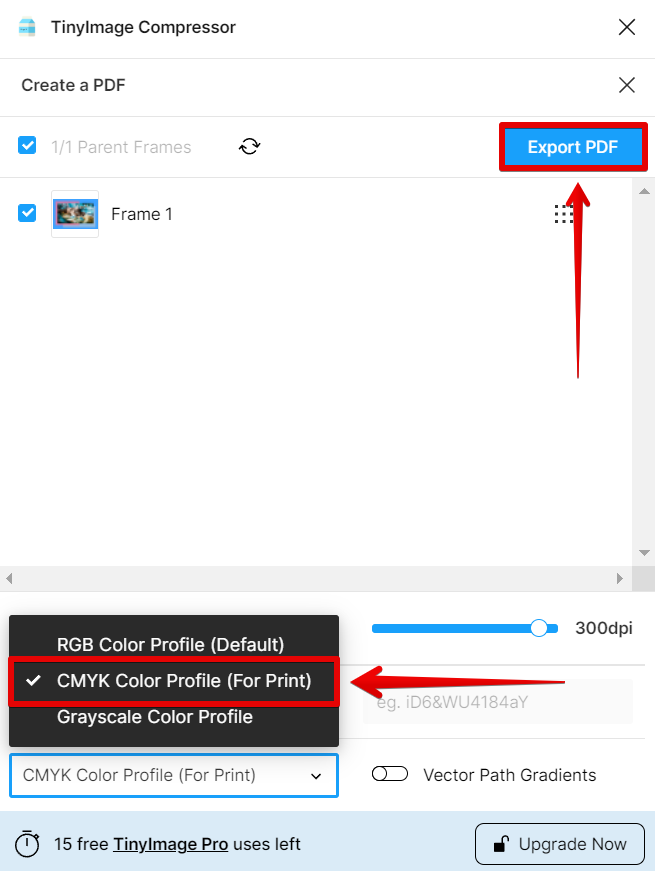
Then, select the “CMYK Color Profile” on the next page. Once done, click on the “Export PDF” button.
NOTE: The CMYK color profile produces high-resolution designs and is the best choice for printing.
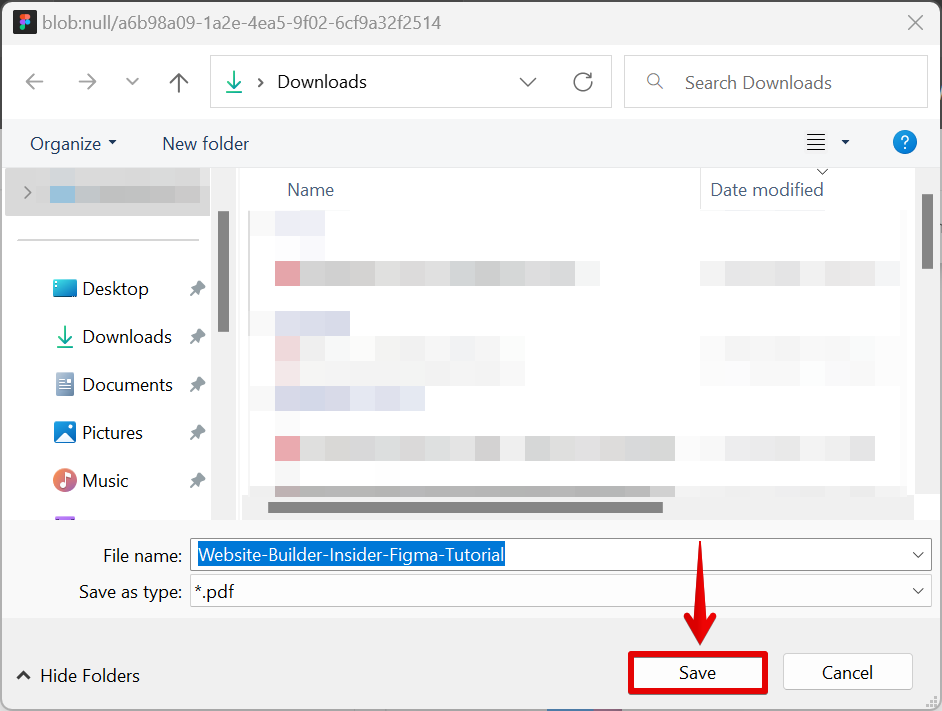
Finally, select a file location for your PDF with the CMYK color profile and hit on the “Save” button.
So there you have it! An alternative way that you can use a CMYK color profile in Figma. Experiment with the plugins available in Figma and see which one works best for your particular needs.
4 Related Question Answers Found
As a designer, you probably know that the CMYK color mode is used for printing purposes, whereas the RGB color mode is used for digital display. But what if you want to design something in CMYK color mode, but then export it for use in Figma? The first thing you need to do is open your design in Photoshop.
If you ask any professional web designer or developer, they will tell you that the standard for color on the web is RGB. This is because monitors use red, green, and blue (RGB) light to create color. When you add these three colors together in different proportions, you can create any color that you want.
Figma is a great tool for designing user interfaces, and it’s especially handy for creating slide presentations. You can use Figma to create your own custom Google Slides themes, or to quickly design slides from scratch. In this article, we’ll show you how to use Figma in Google Slides, and how to style text using HTML tags.
Figma is a vector graphics editor and online collaboration tool that allows users to design, prototype and iterate vector graphics together in real-time. It is primarily used for web and interface design, but can also be used for illustration and iconography. Figma supports multiple export formats, including PNG, JPG, SVG and PDF.