When it comes to invitations, there are usually two sides – the front and the back. The front is typically where all of the pertinent information is found, while the back is often left blank or used for additional details.
If you’re using Canva to design your invitations, you may be wondering how to make a front and back invitation. Luckily, it’s easy to do!
PRO TIP: Canva is a great way to make invitations, but be careful when making front and back invitations. The front and back sides of the invitation may not line up exactly, which can ruin the look of your invitation. Make sure to test your design before printing!
To make a front and back invitation in Canva, simply:
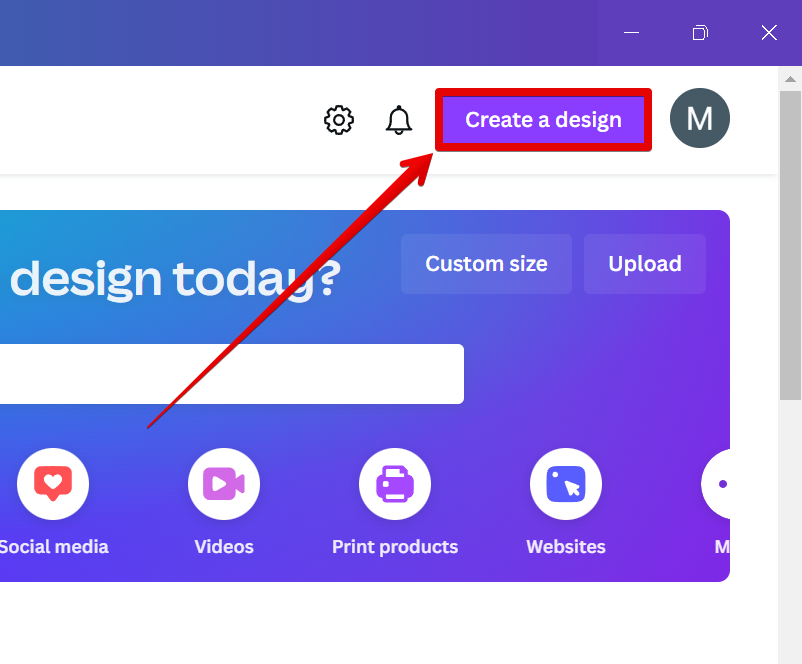
1. Start by creating a new design.
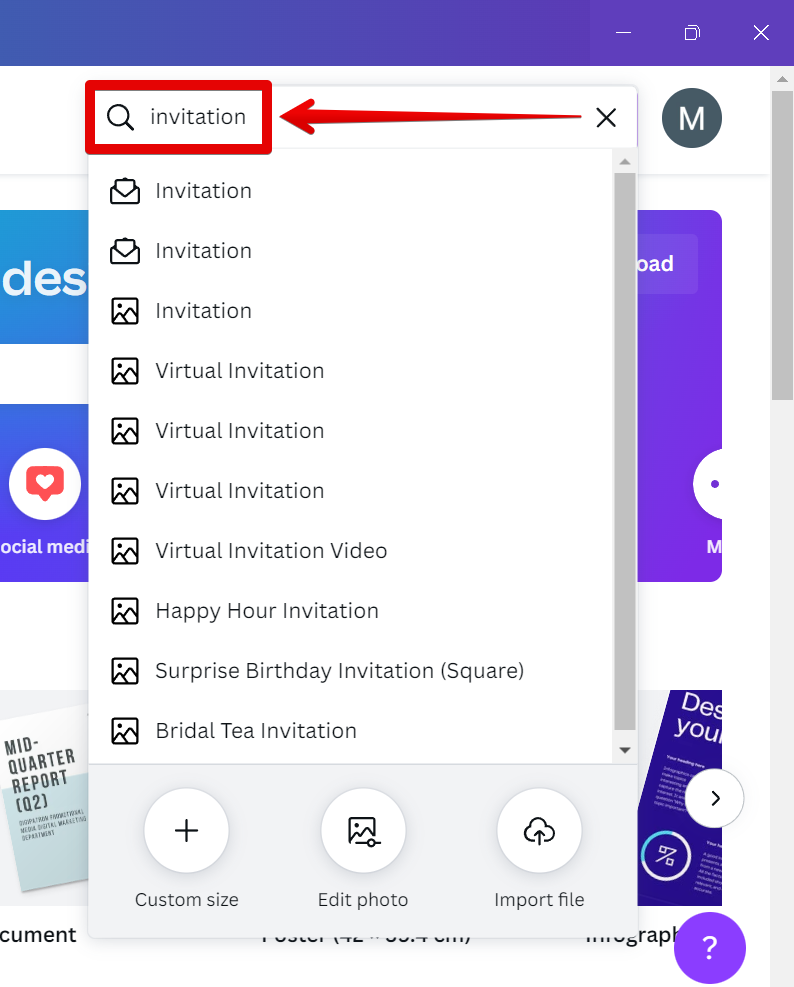
2. Choose your dimensions or select a template that already has the right dimensions for a standard invitation.
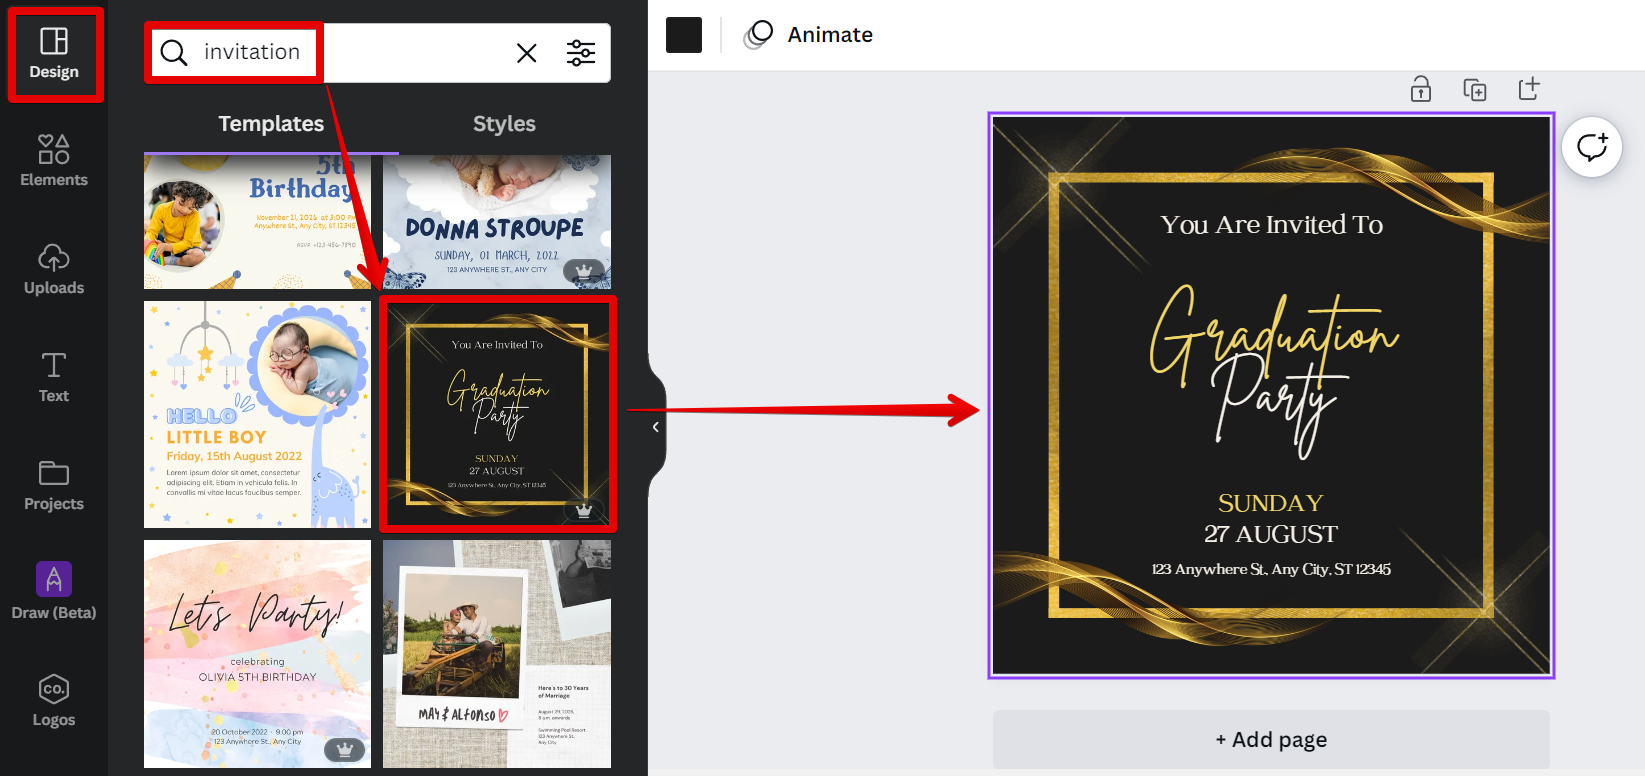
3. Next is to select a design template that you want to use. This will serve as the front page of your invitation.
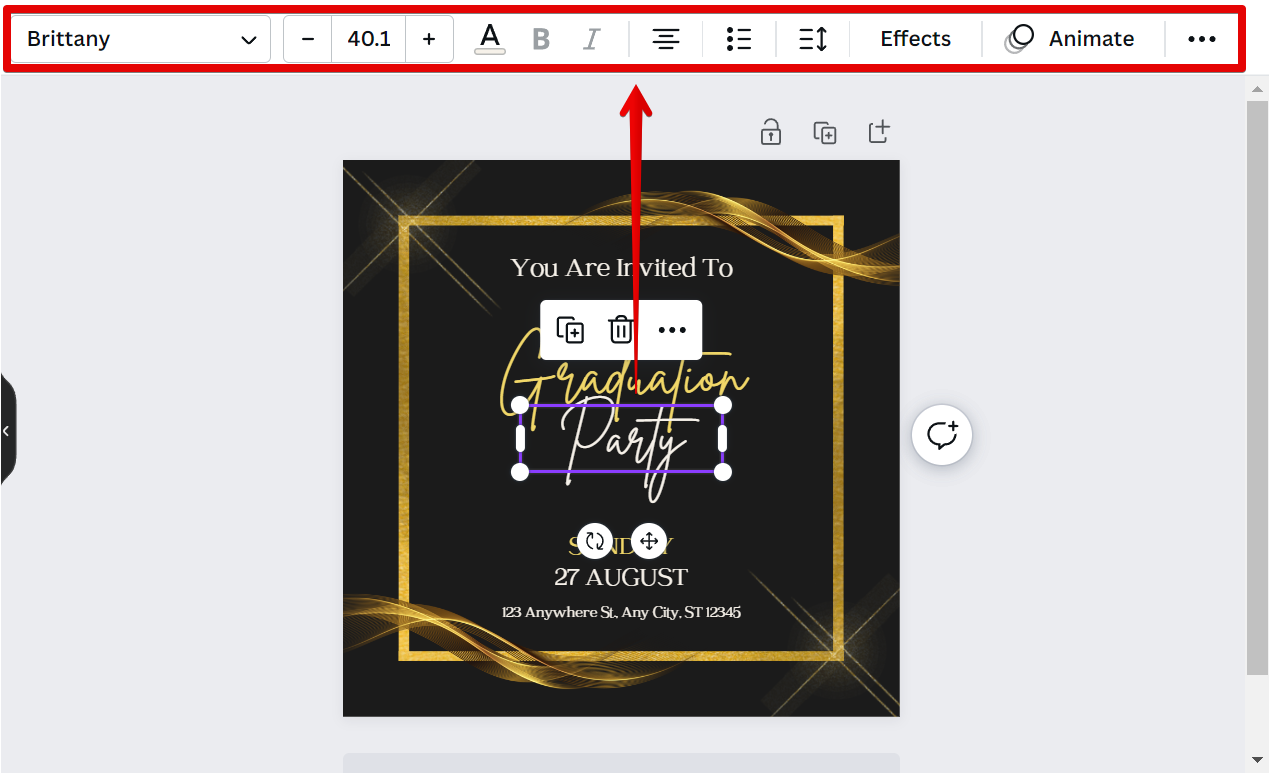
4. Now, select the content that you want to edit in the front of the invitation. This can include text, images, or both. You can style your text using the menu at the top.
NOTE: Be sure to leave enough space for any additional information you may want to include on the back.
5. Once you’re happy with the front of the invitation, select the “Duplicate page” button at the upper-right corner of the page.
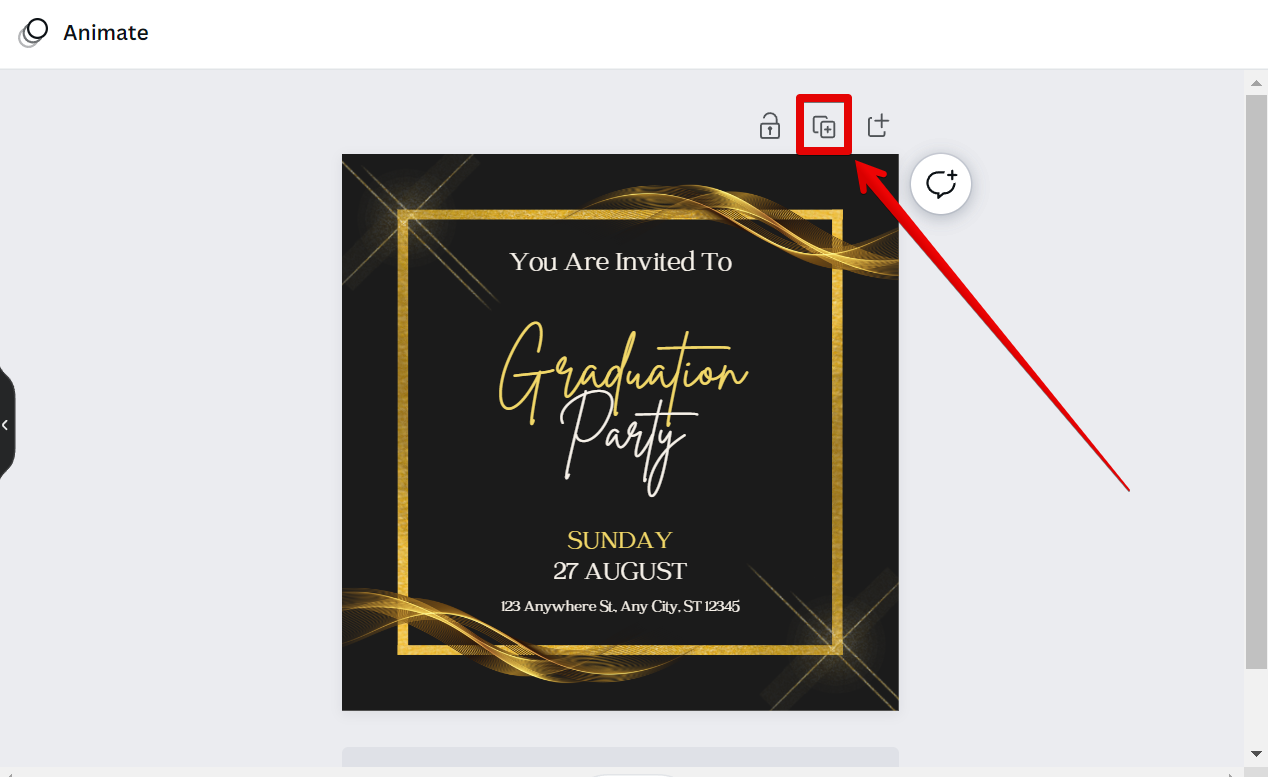
6. Page 2 will serve as the back portion of the invitation.
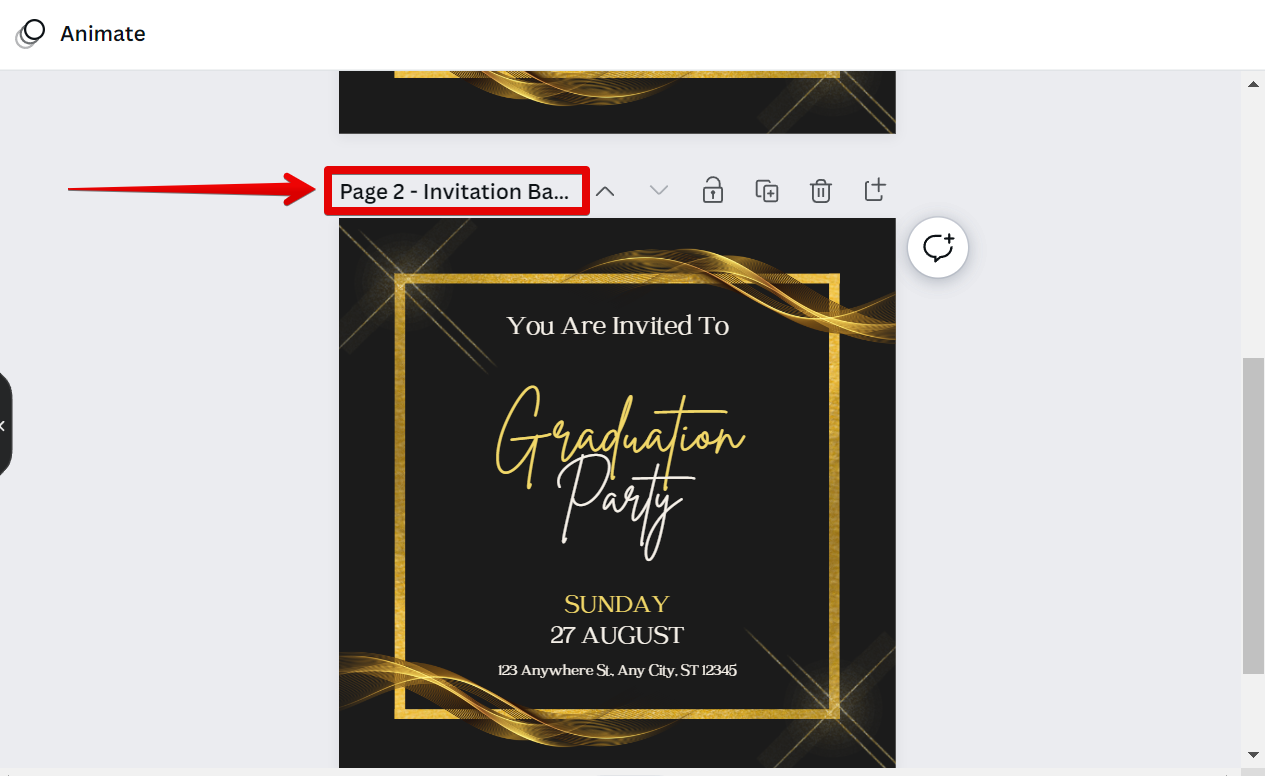
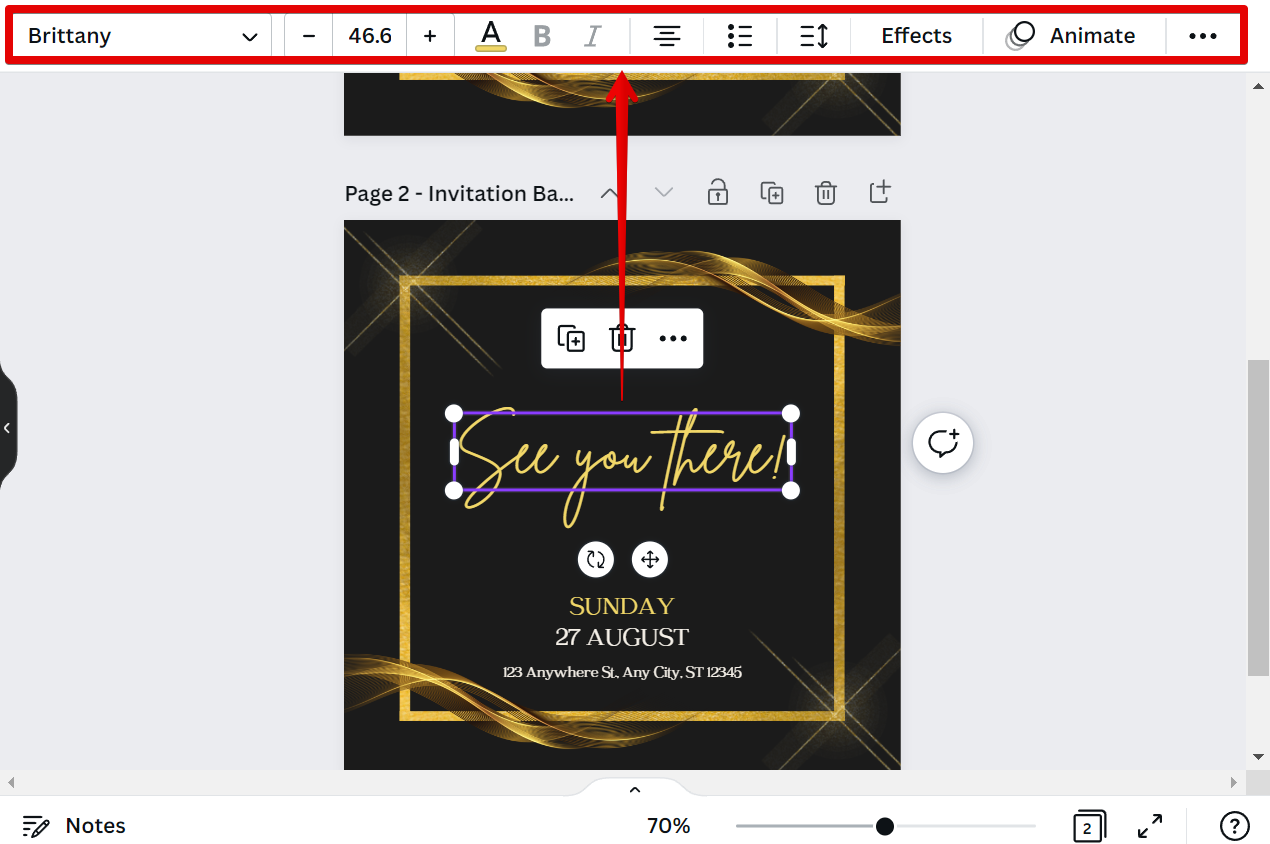
7. On the back of the invitation, you can add more text, images, or even a QR code. Just select any part of the back portion that you want to edit. For text, you can style this using the menu at the top.
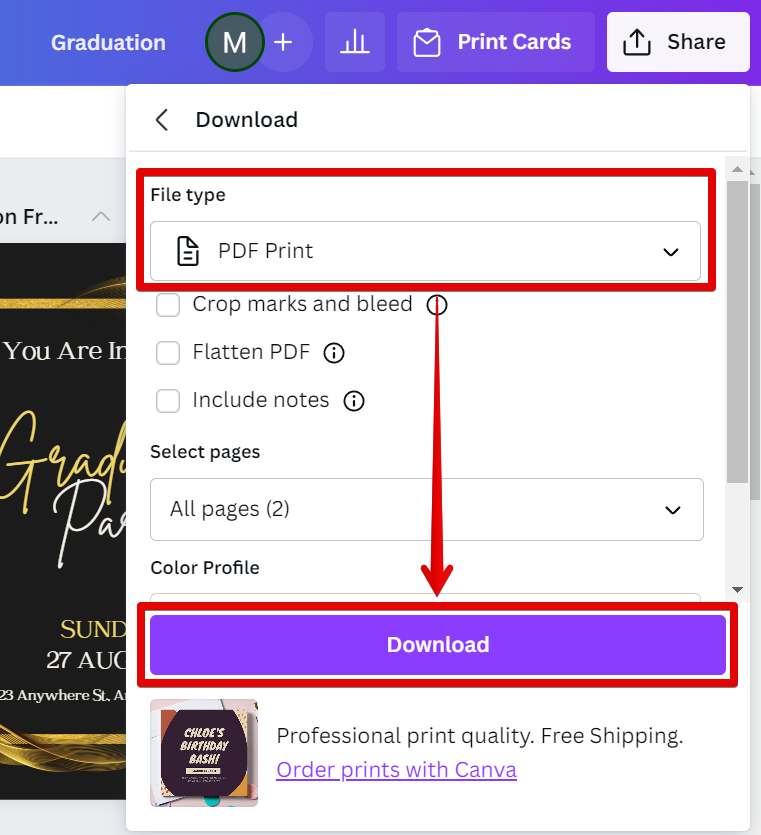
8. When you’re finished, click ‘Share’ and then ‘Download’ to save your invitation.
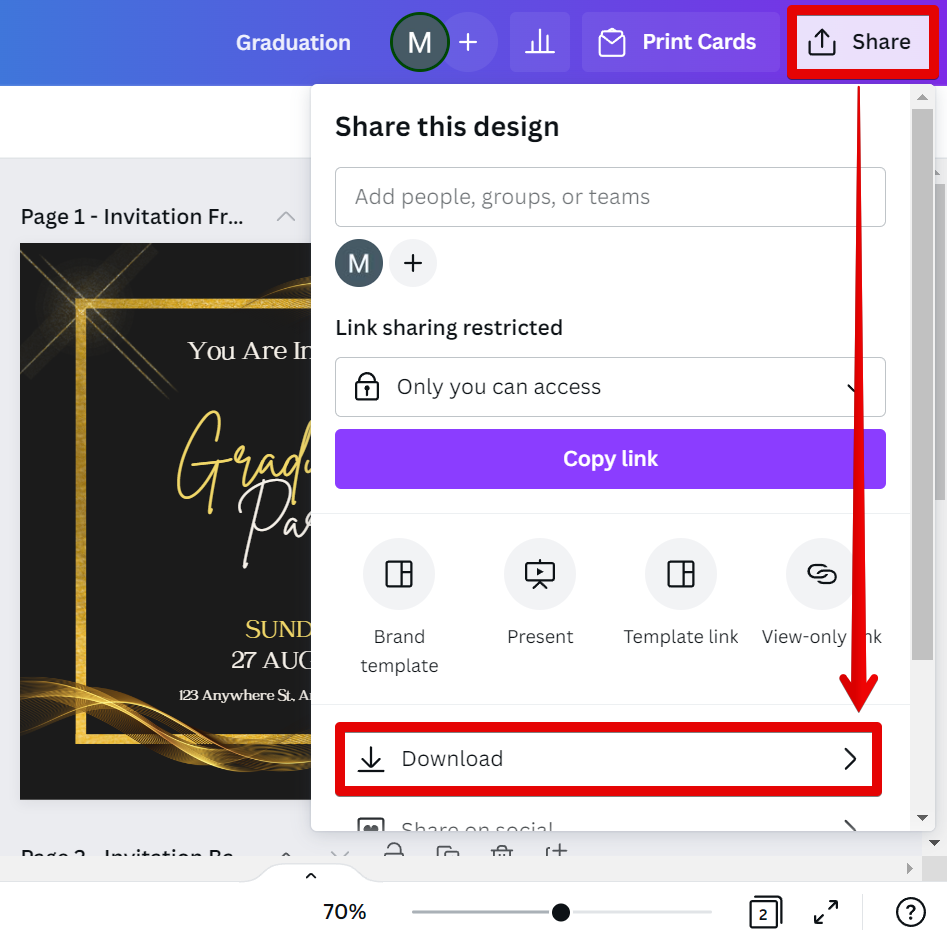
9. Lastly, save the invitation as a high-resolution PDF file type.
Creating a front and back invitation in Canva is easy and only takes a few minutes. With just a few clicks, you can add all of the important details to the front of the card and use the back for additional information or decoration.
8 Related Question Answers Found
There are many ways to make an invitation on Canva, but the most common and straightforward method is to use the templates. To do this, simply click on the “Templates” tab at the top of the home screen. From there, you can browse through the different categories of templates, or you can search for a specific template using the search bar.
When you’re planning your wedding, there are a million things to think about. The dress, the venue, the guest list, the food.. it’s enough to make your head spin!
Making beautiful invitations on Canva is easy! With our user-friendly design tools, you don’t need any design experience to create stunning invitations that will excite your guests. Simply choose a template from our library of professionally-designed invitations, then customize it to fit your event.
Making a birthday invitation on Canva is easy! With Canva, you can create beautiful and professional-looking birthday invitations with just a few clicks. Here’s how:
1.
When it comes to wedding invitations, there are a lot of different ways you can go about creating them. You can go the traditional route and have them professionally printed, or you can take a more modern approach and create them yourself using an online tool like Canva. Creating your own wedding invitations can be a fun and creative way to add your own personal touch to your big day.
Making a wedding invitation in Canva is easy! With a few clicks, you can create a beautiful and unique wedding invitation that will wow your guests. Here’s how:
1.
If you’re looking to make a proposal, Canva can help you put together a professional document quickly and easily. With our library of templates and easy-to-use tools, all you need is a few minutes and a willingness to impress. Here’s how to make a proposal on Canva.
When you’re planning your wedding, there are a million things to think about. One of the most important things is the invitations. You want something that reflects your personality and style, and something that will get people excited about your big day.