In the realm of producing professional-grade images and designs, DPI (dots per inch) is a key element to keep in mind. A higher DPI value translates to sharper, more detailed images, a feature particularly crucial for print designs to guarantee optimal visual quality.
On the other hand, for web-based images, the significance of DPI diminishes. Opting for a lower DPI can be advantageous for web usage, as it enables the images to load more swiftly on web pages.
So, what is the ideal DPI for a web image? While there is no definitive answer, most experts recommend using a 72 DPI image.
This will ensure that your image looks good on all devices, including mobile phones and tablets. It will also load quickly on any web page. If you want to create a 300 DPI image in Canva, simply follow these steps:
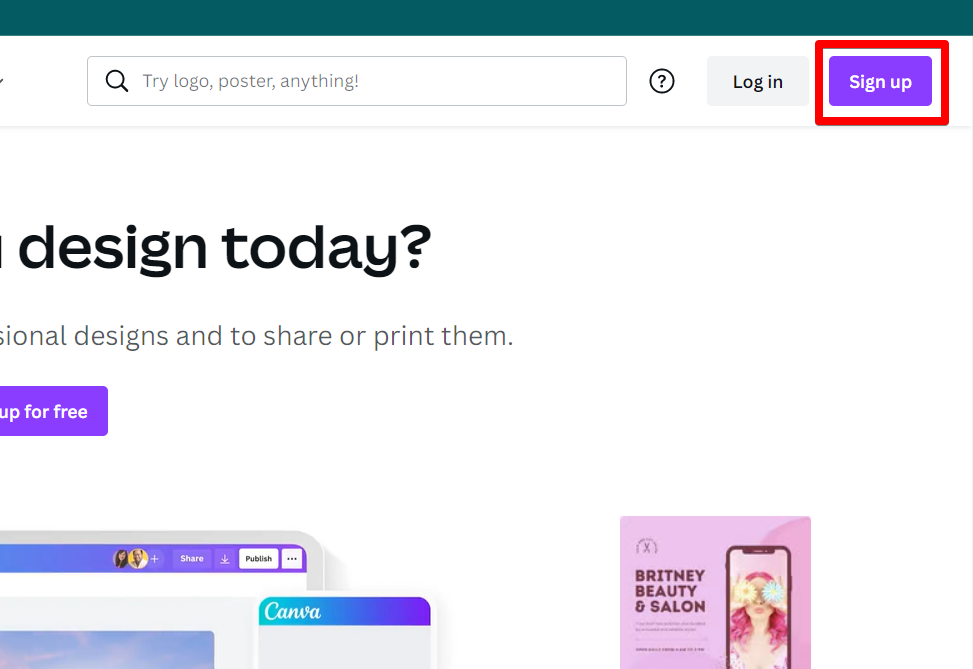
1. Open Canva and sign in or create an account.
If you haven’t used Canva before, you’ll need to create an account. You can do this by visiting the Canva website and clicking the “Sign Up” button.
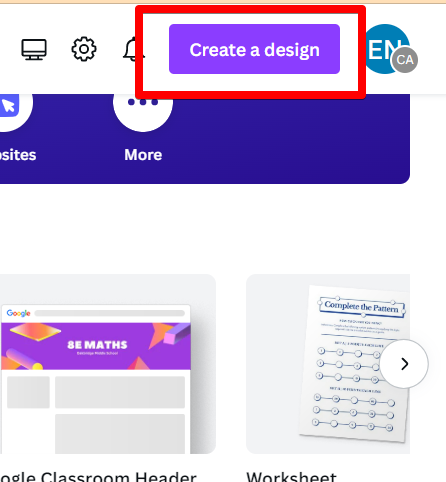
2. Click the “Create a design” button.
This will open up the design editor. From here, you can choose the dimensions of your design.
3. Select a dimension that is 300 DPI.
Canva offers a range of print-ready dimensions, so simply choose one that is 300 DPI. You can also enter custom dimensions if you need to.

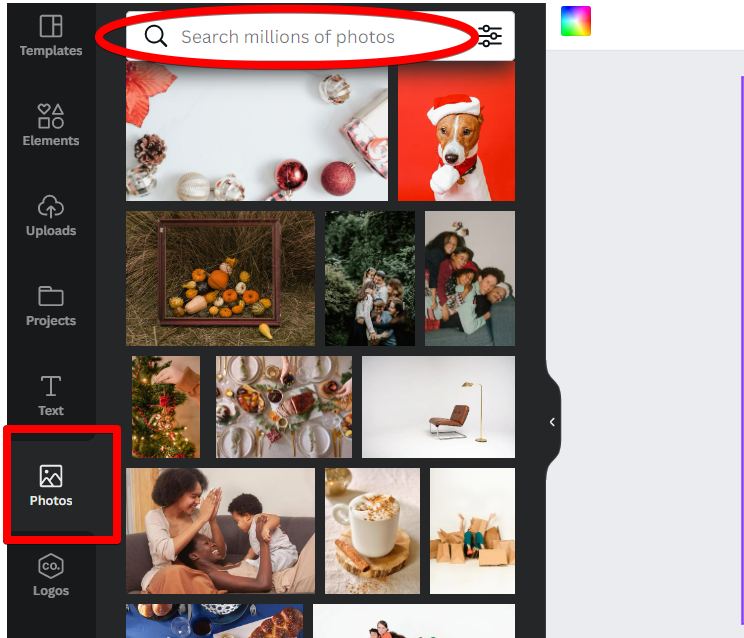
4. Upload your image.
Once you’ve chosen your dimension, click the “Uploads” button and select your image from your computer. You can also choose an image from Canva’s library of over 1 million stock images.
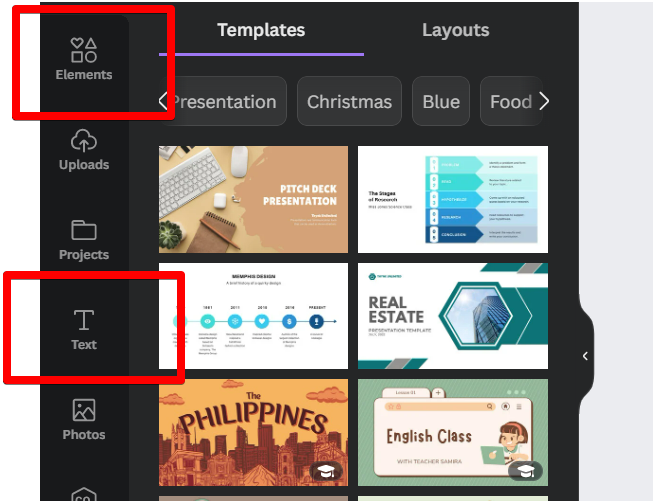
5. Add text or elements to your design.
Once your image is uploaded, you can add text or other elements to your design. To do this, simply click the “Text” or “Elements” buttons.
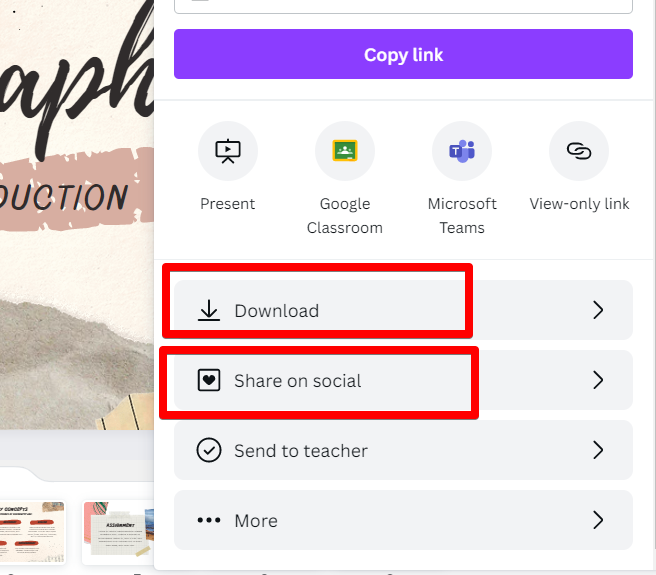
6. Download or share your design.
Once you’re happy with your design, you can download it as a PNG or JPG file. You can also share it directly on social media or send it via email.
What does DPI mean for a PDF?
In case you’re wondering, 300 DPI is a resolution that refers to the quality of the image when it’s printed. The higher your DPI, the better quality your file will be when printed on paper.
A lower DPI (150 or less) will make for a low-quality image that won’t print very well and may even look pixelated if it’s enlarged too much in programs like Adobe Illustrator or Photoshop.
300 DPI is the resolution for print quality.
300 DPI is the resolution for print quality and is a common resolution for images that will be printed. If you’re planning on using your blog or website to host images, it’s important to choose an image size at this bitrate because it will be more visible and easier to zoom in on in the browser.
300 DPI is also good for uploading images online; if you’re embedding an image from Adobe Stock or some other source with a high resolution (such as 1920 x 1080), then 600 DPI would be required for optimal display quality.
Conclusion
In the end, it’s not too complicated: design your image, follow the guidelines above, and voila! You have a high-quality image ready to go. But what if your project only needs 200 dpi? Or 400? This depends on the specific specifications of your project. So be sure to make a note of these numbers before you begin designing. In the end, a little extra effort will go a long way.