Figma is a vector graphics editor and prototyping tool – think Adobe Illustrator, but with way more bells and whistles, and it’s entirely online and free to use. One of the coolest things about Figma is that you can easily add scroll bars to your designs, which is great for prototyping web and mobile app interfaces.
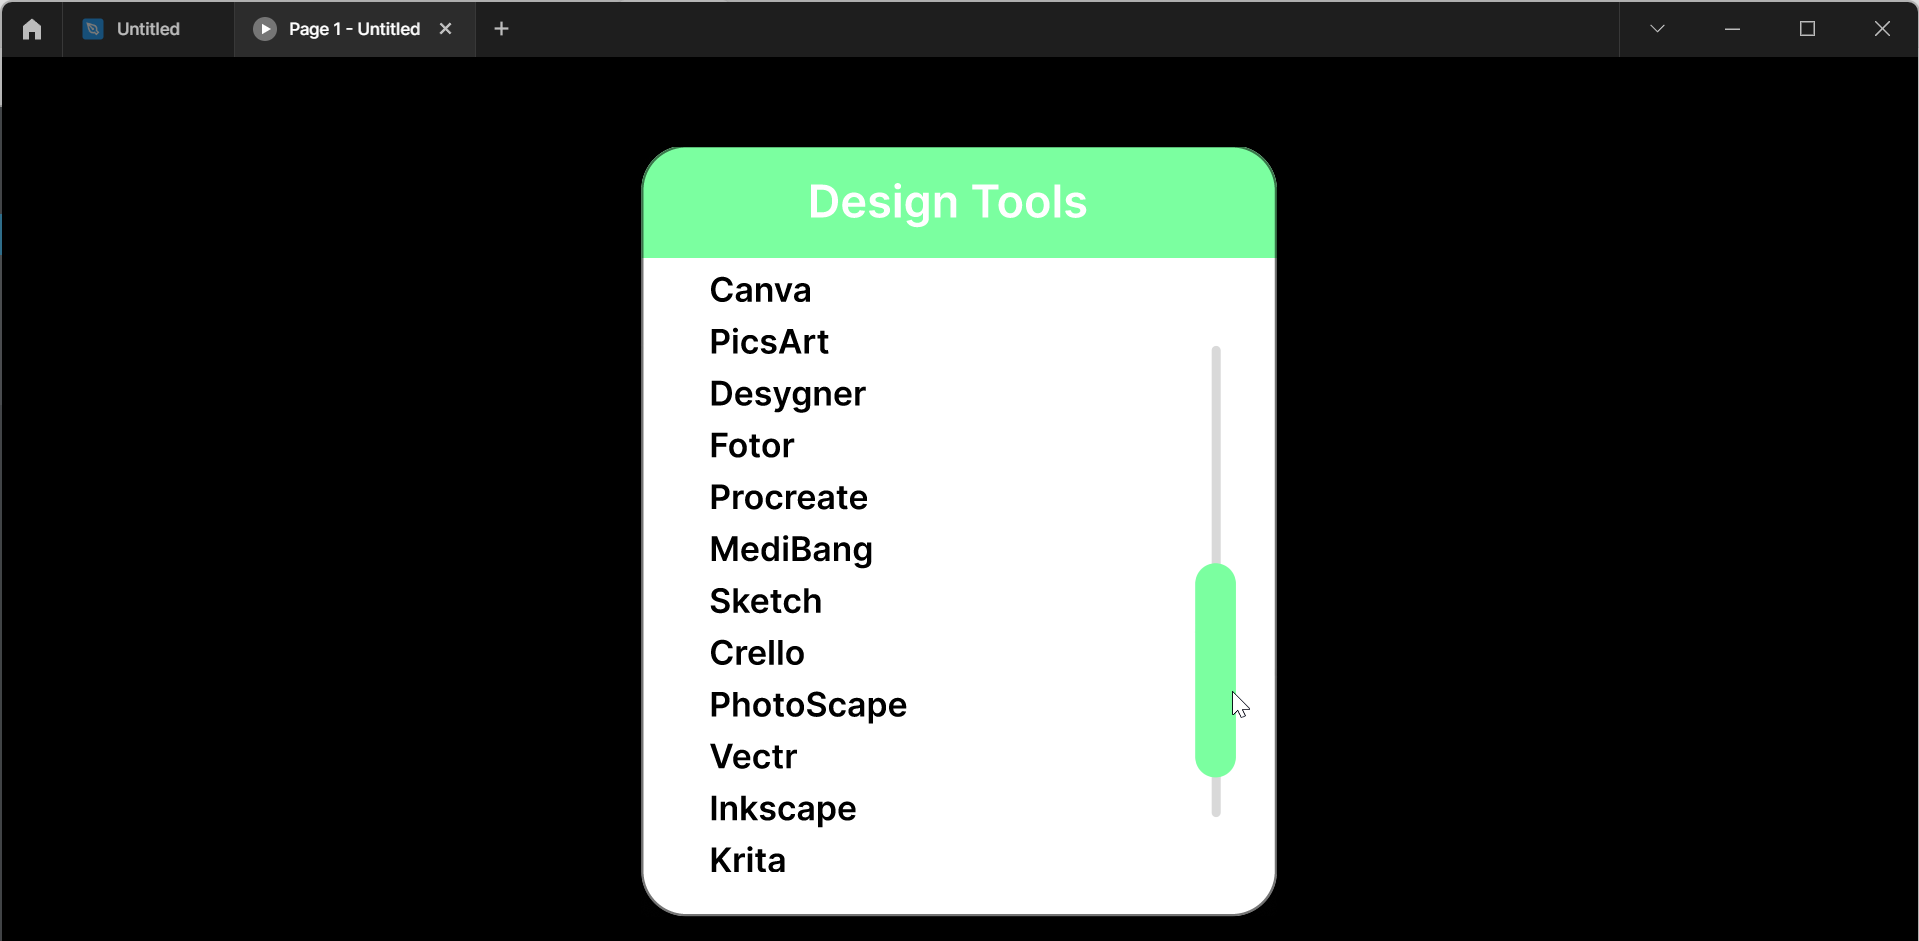
Adding a scroll bar in Figma is super simple. First, select the design or frame to that you want to add a scroll bar. Next, select “Shape Tools” in the upper-left corner of the screen, then select the rectangle.
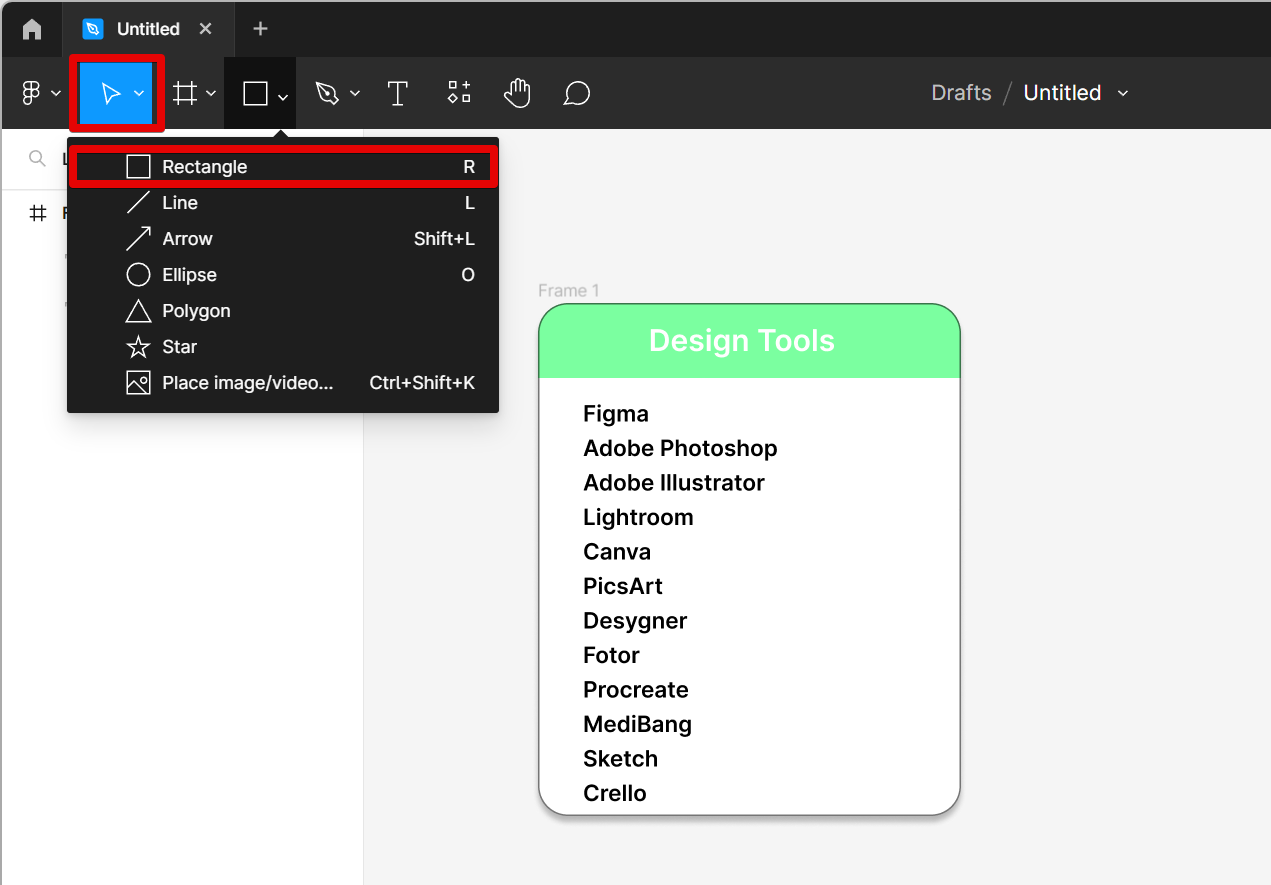
This will let you add a scroll bar of your desired shape and size to your frame. You may edit the design of your scroll bar using the menu on the right.
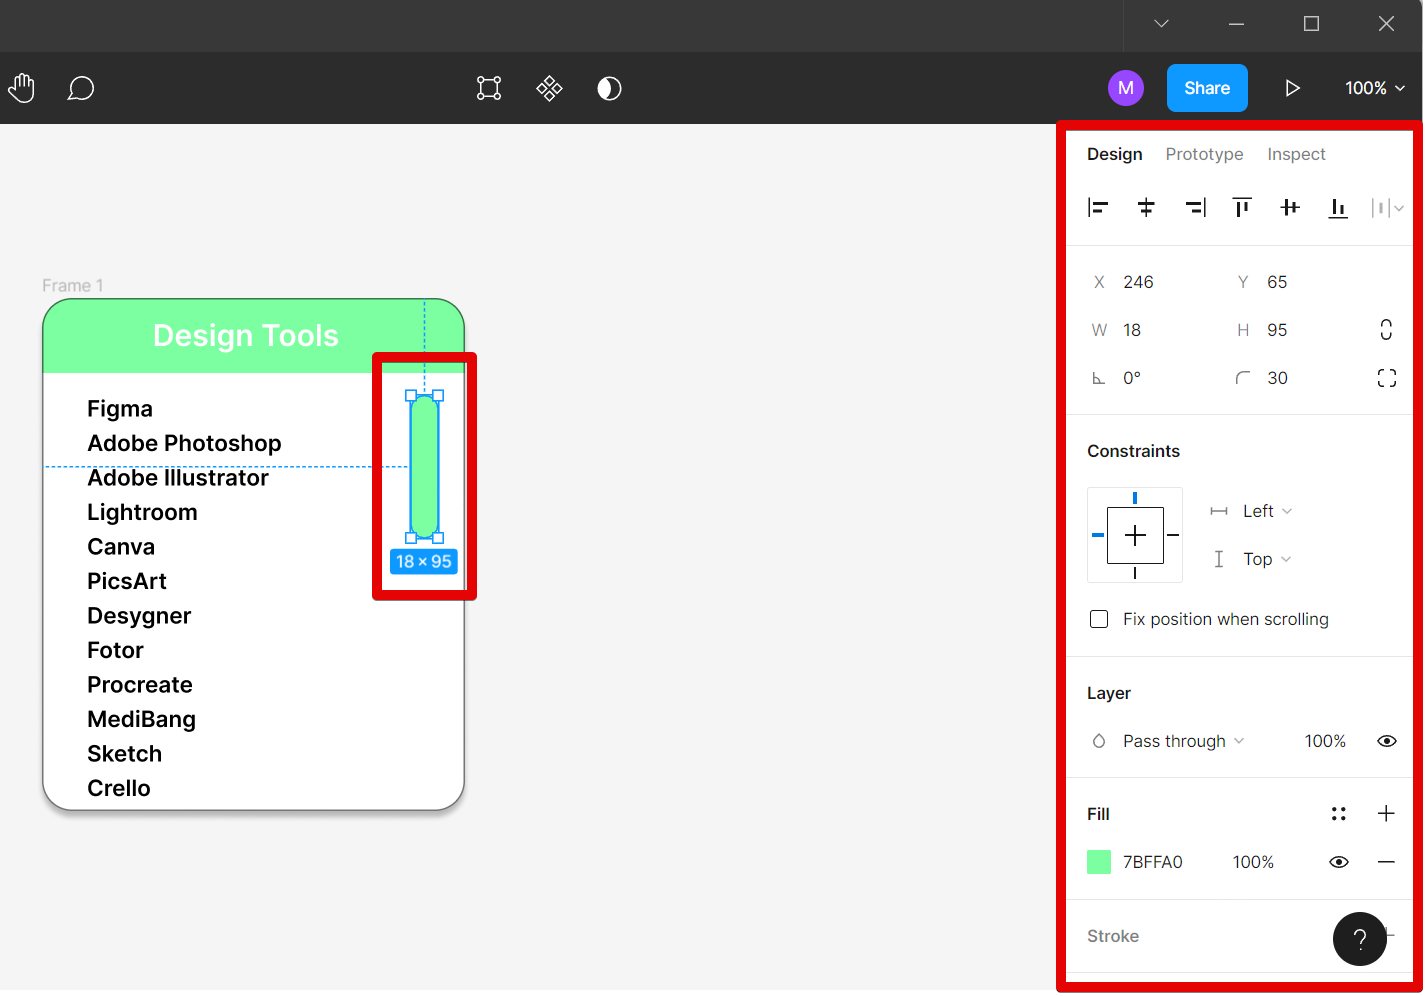
Add another thinner and longer rectangle to your frame which will serve as a scrolling guide. Make sure that it is behind the actual scroll bar. You can arrange that using the menu on the right by dragging the scroll guide layer below the layer of the scroll bar.
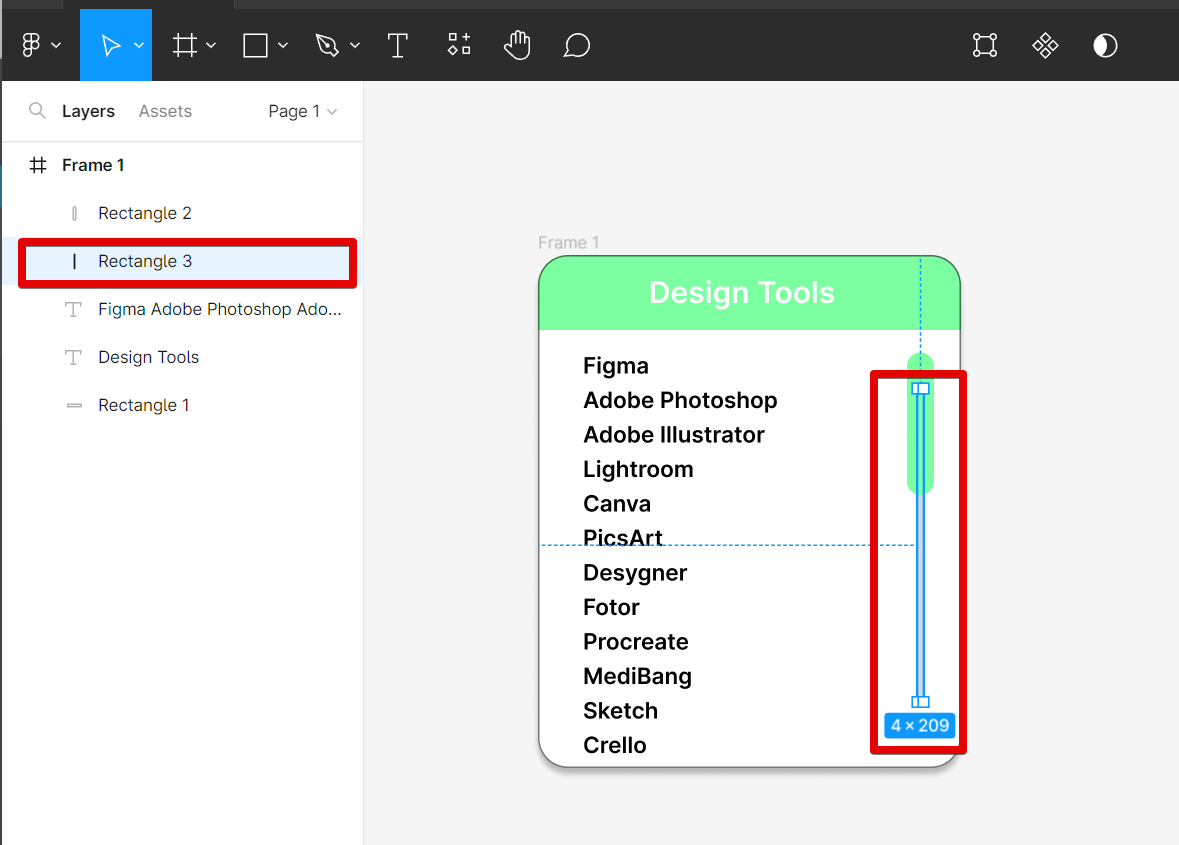
Now that you have your scroll bar, select the whole frame to copy it (Ctrl+C) and then paste it (Ctrl+V) on the same page. Now you can see two frames of the same design side by side.
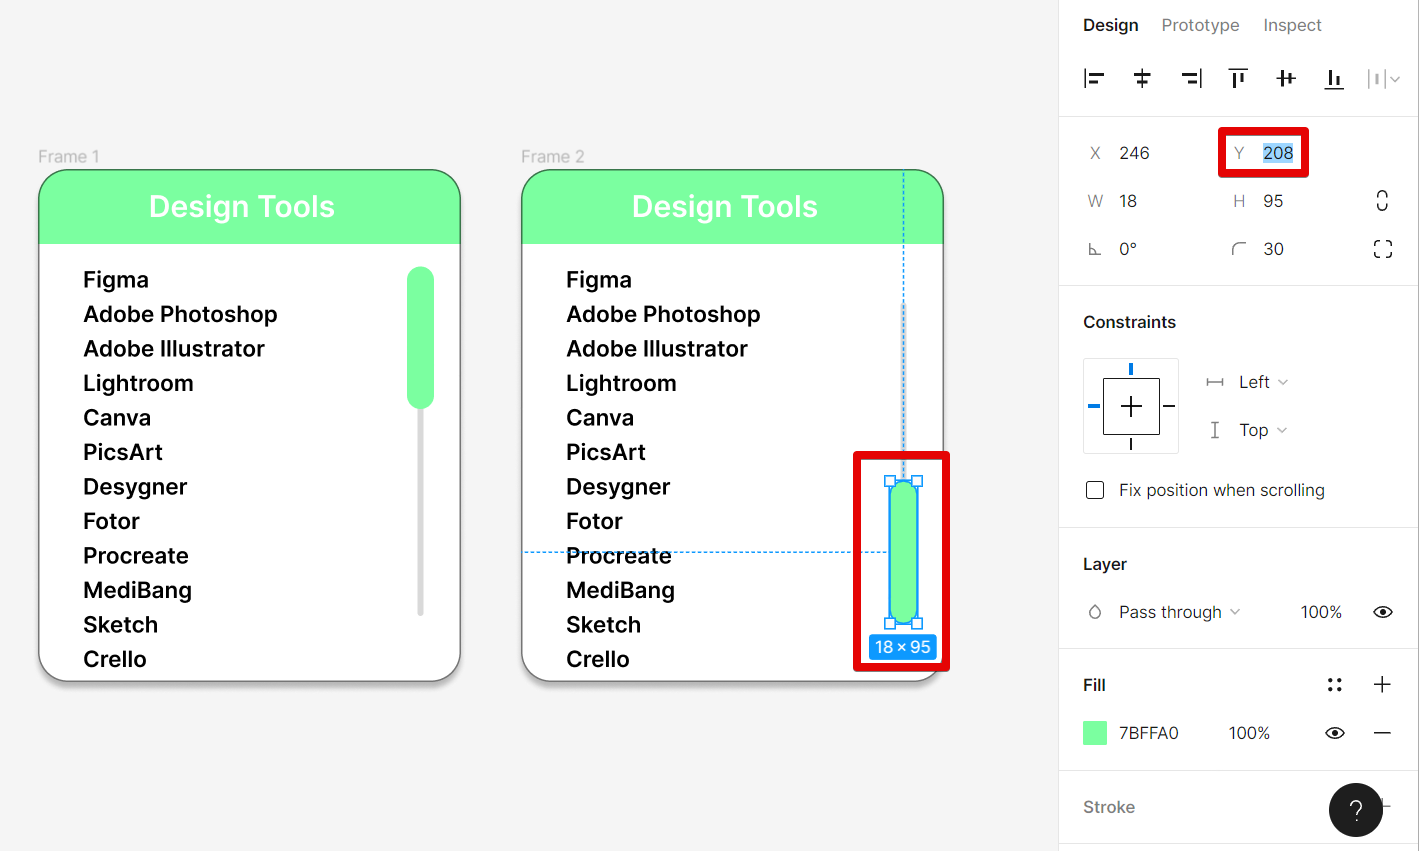
The second frame will be meant for the second part of the animation when you scroll down. For this, select the scroll bar and adjust the “Y” component.

Do this until it goes down to the bottom of the scrolling guide.
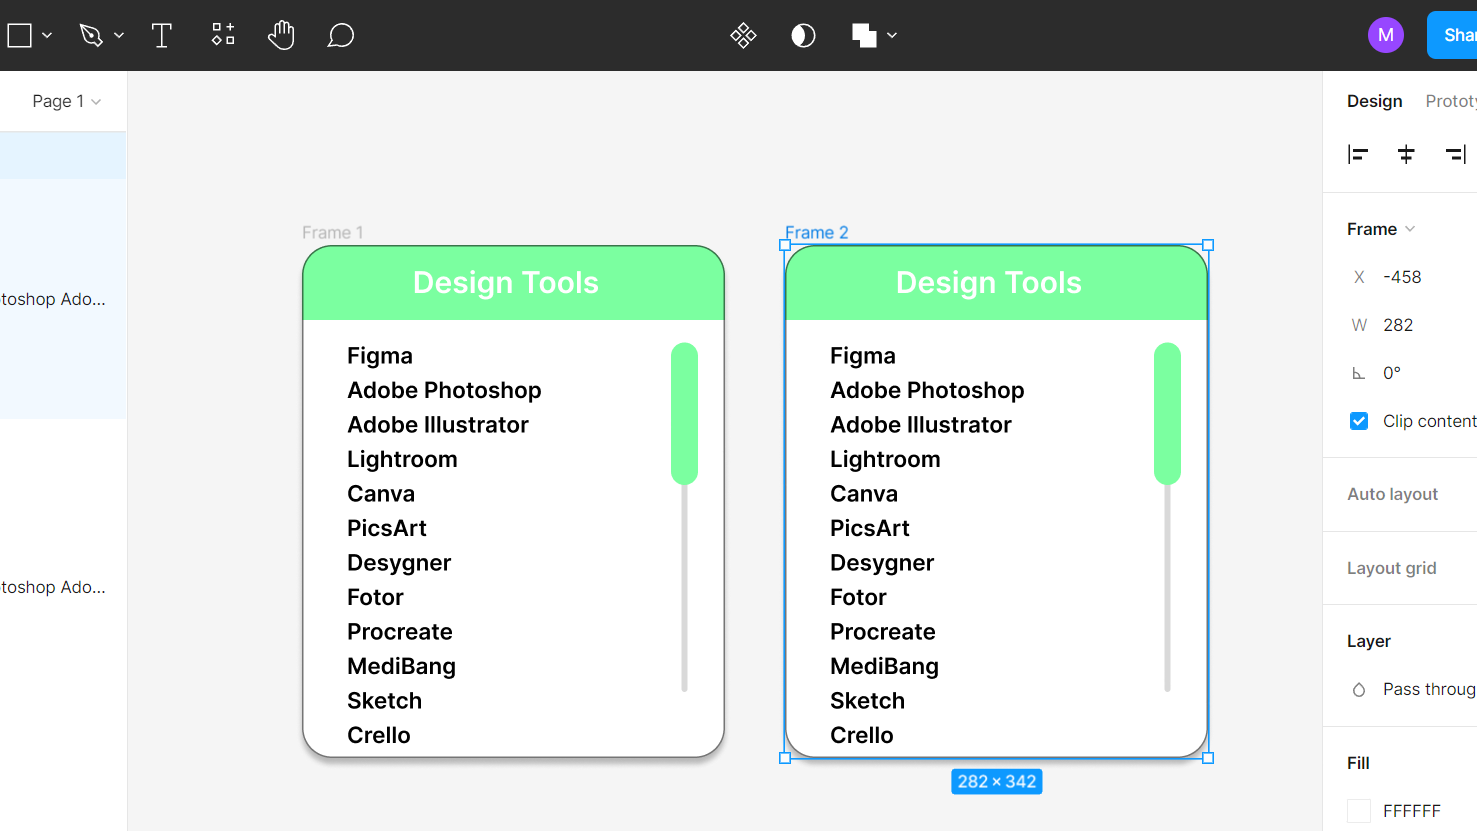
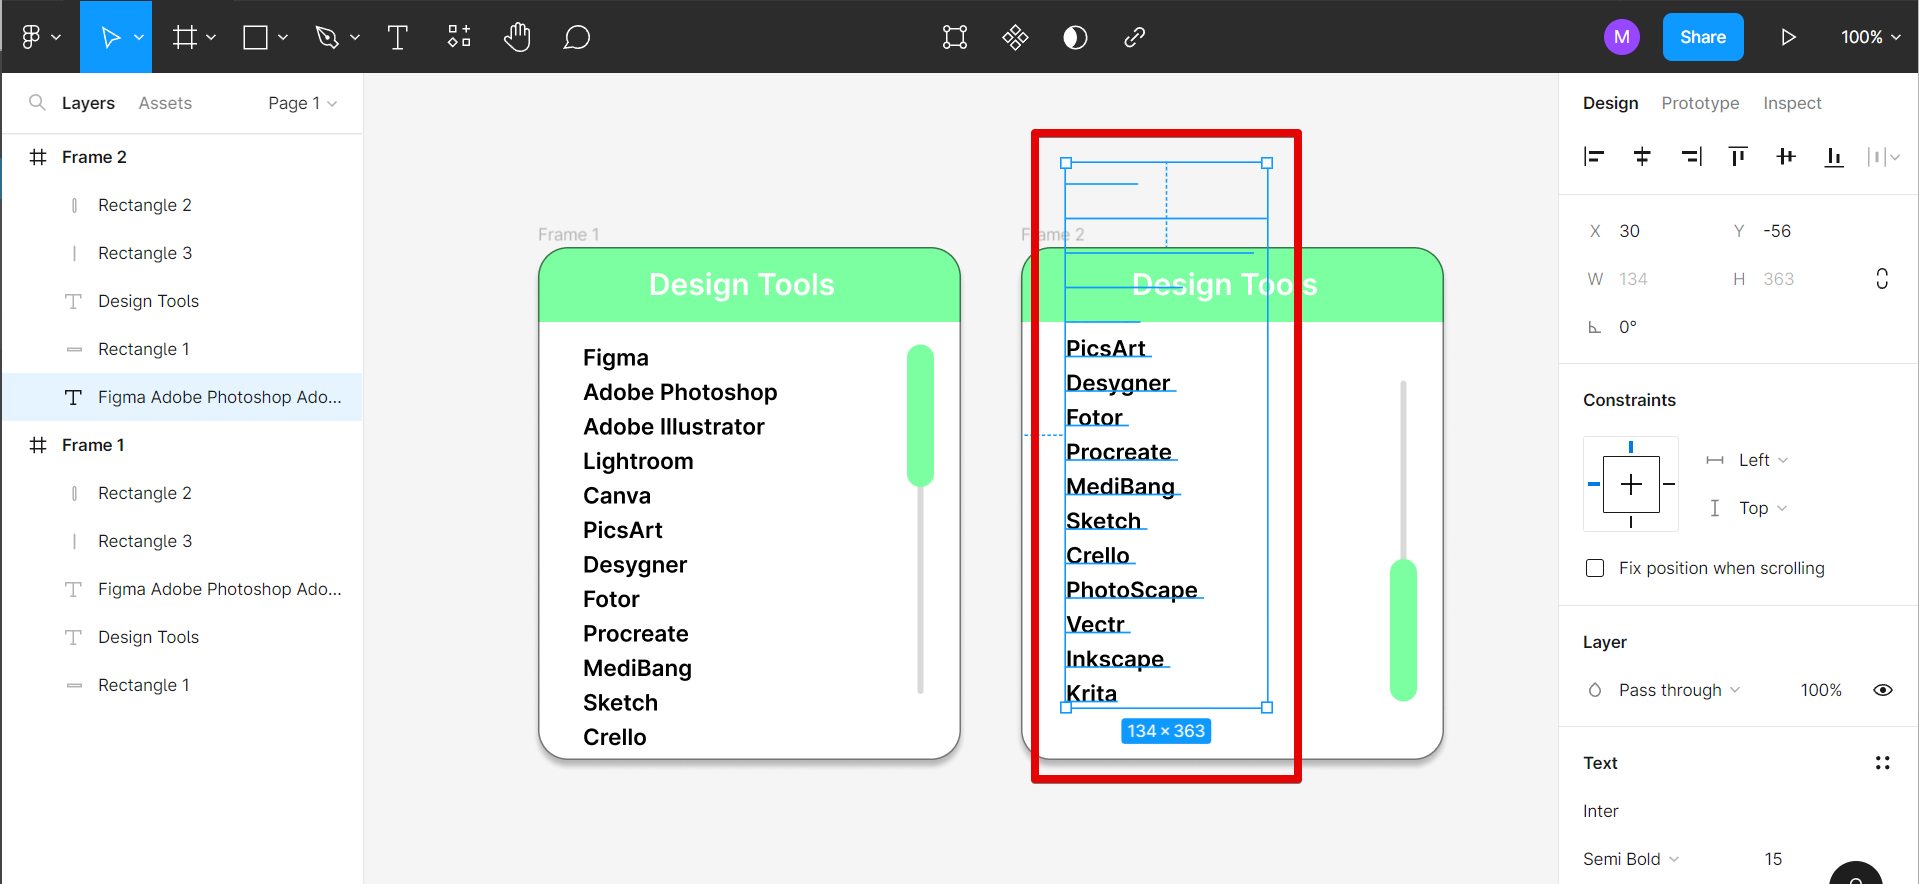
Next is to adjust the text to show what will happen after scrolling down.
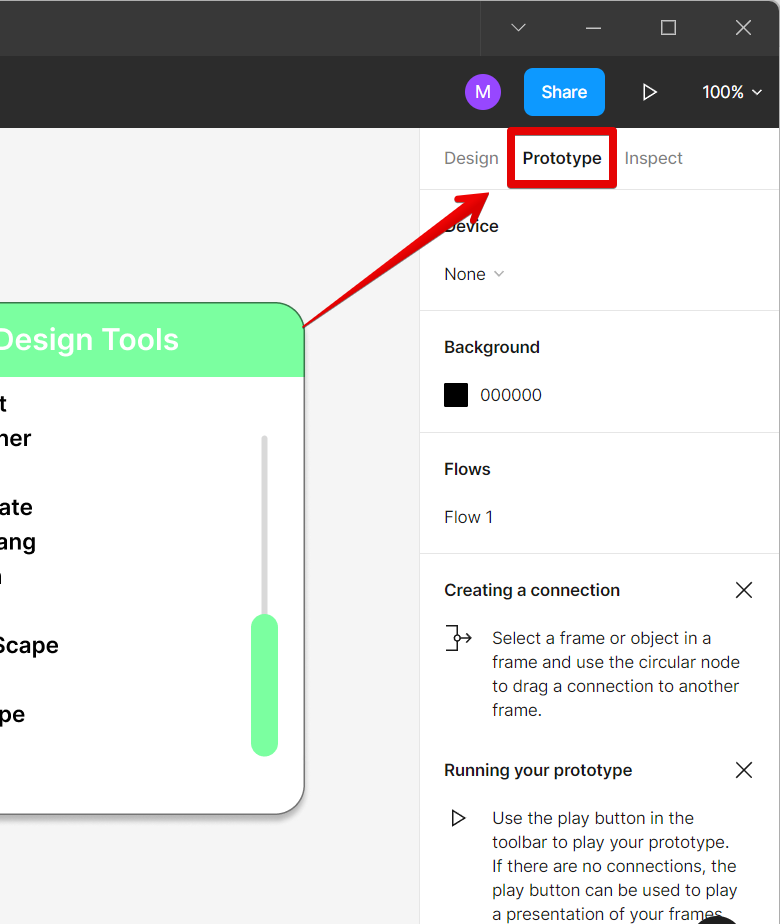
After that, you can now go to the “Prototype” option at the upper-right corner of the screen to manage the flow of your animation.
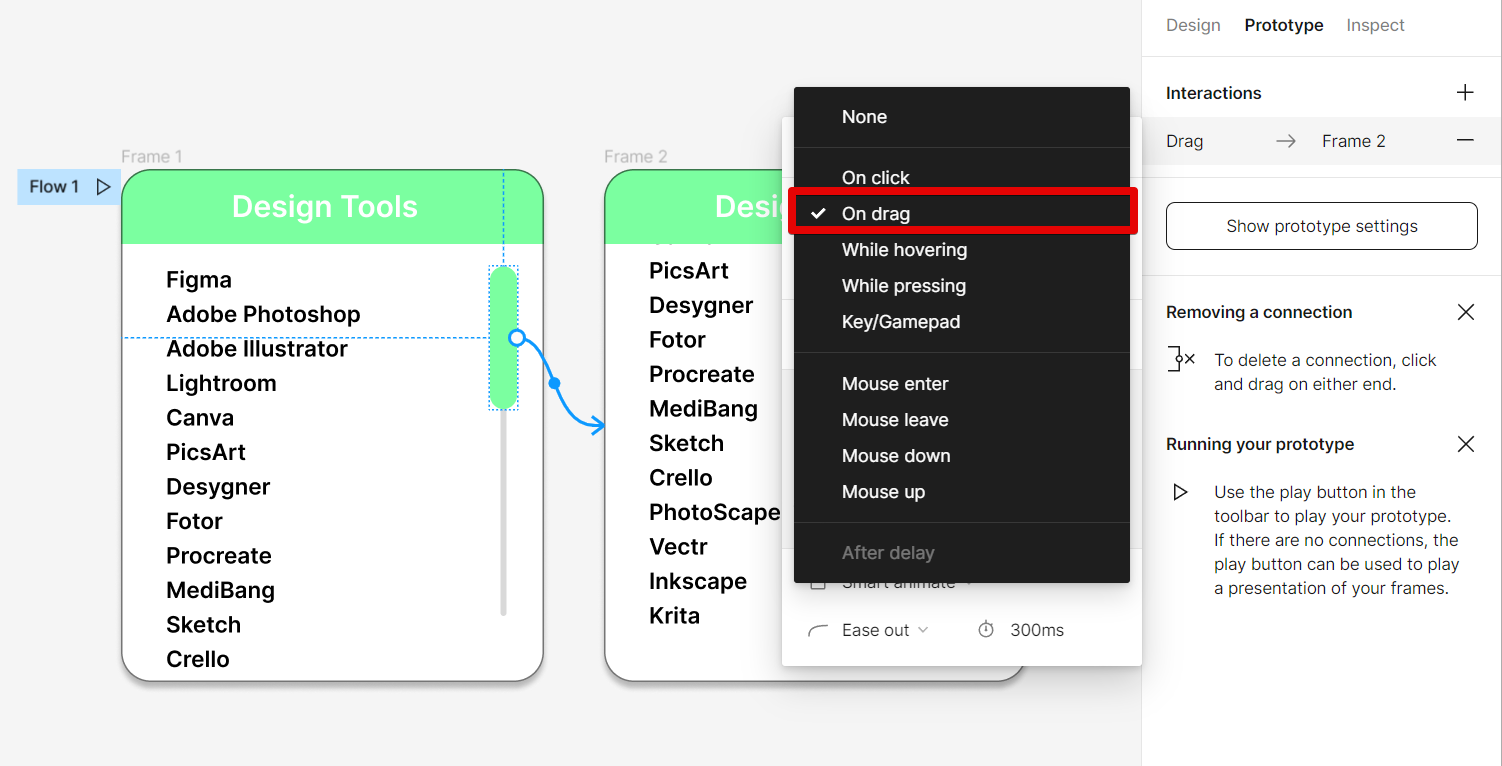
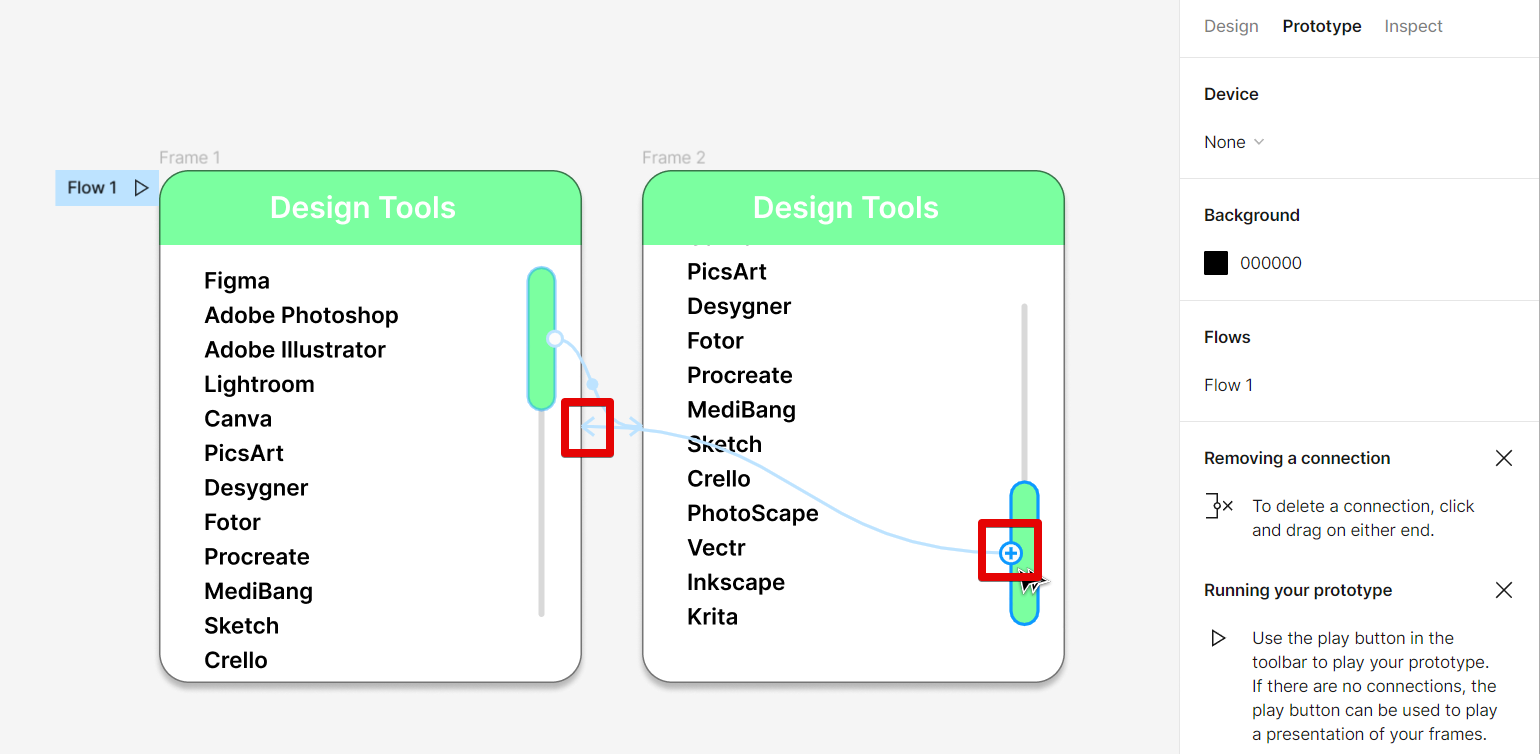
To create your flow, click on the “+” of the scroll bar in the first frame and connect it to the second frame. If you want to get really fancy, you can also add interactive scrollbars that allow your users to scroll by dragging on the screen.
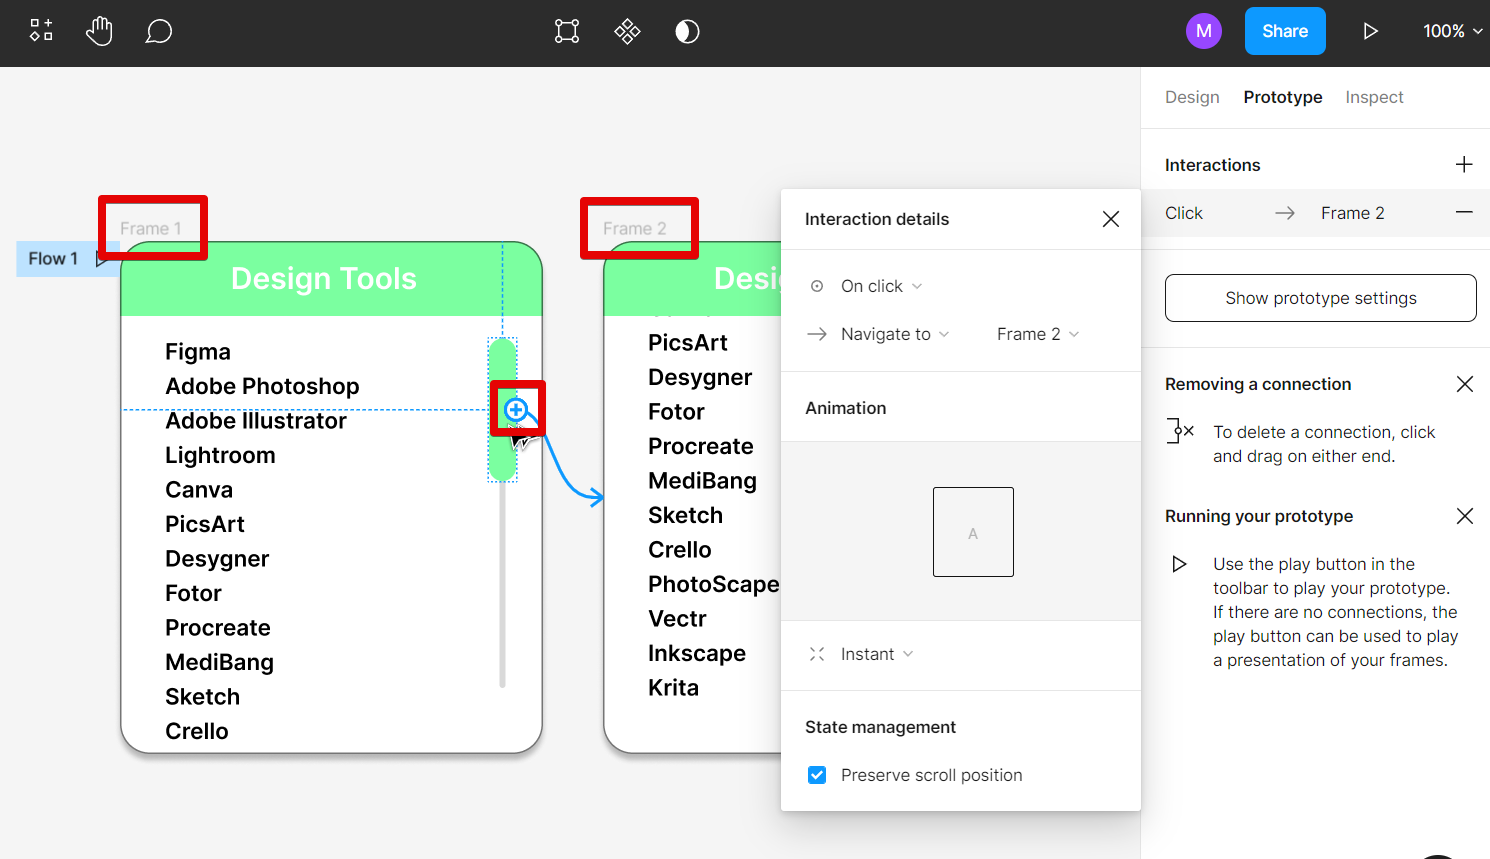
In the pop-up window of Interaction details, select “On drag”.
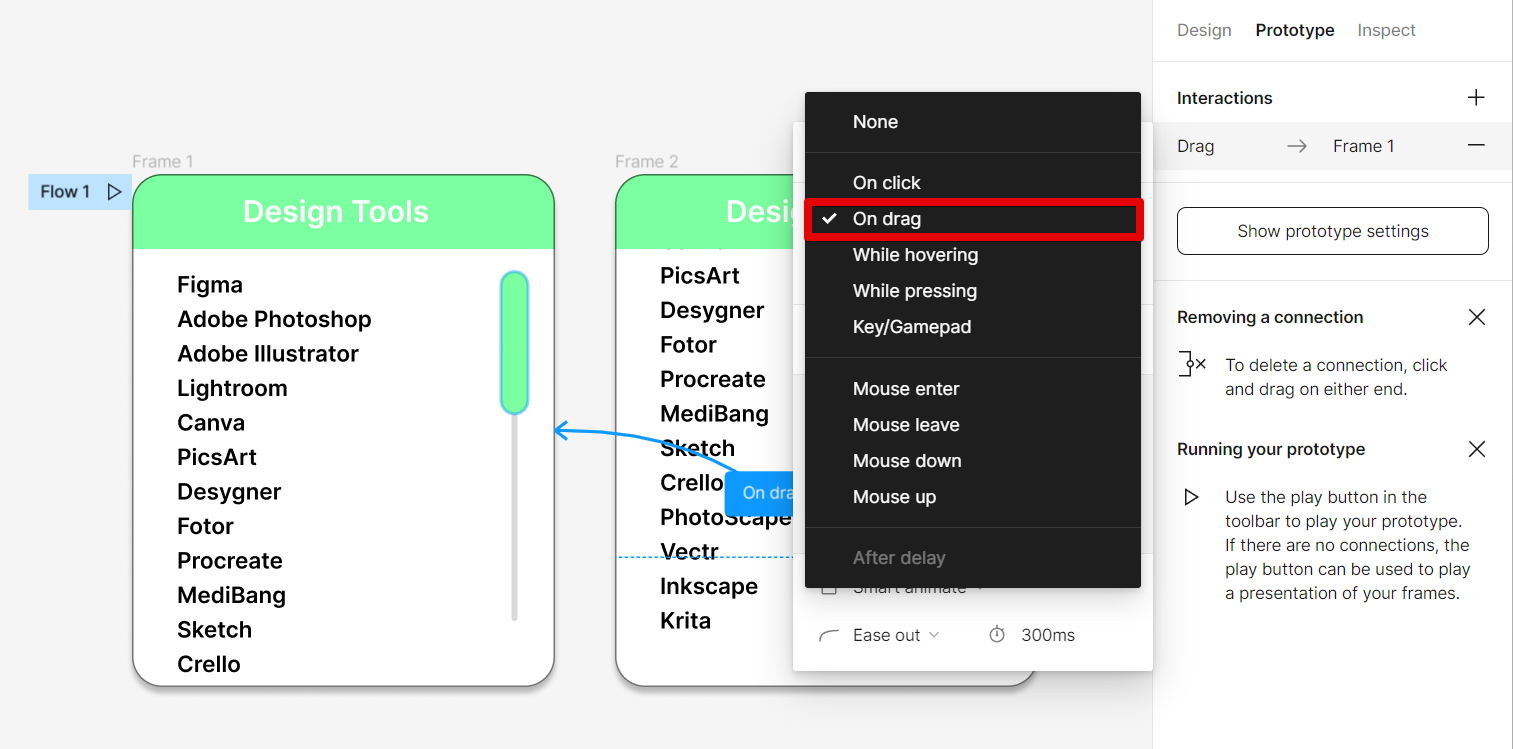
Next, click on the “+” of the scroll bar in the second frame and connect it to the first frame.
In the pop-up window of Interaction details, select “On drag”.
Once done, you can check if your scroll bar is working by clicking on the “Play” button found in the upper-right corner of the screen.
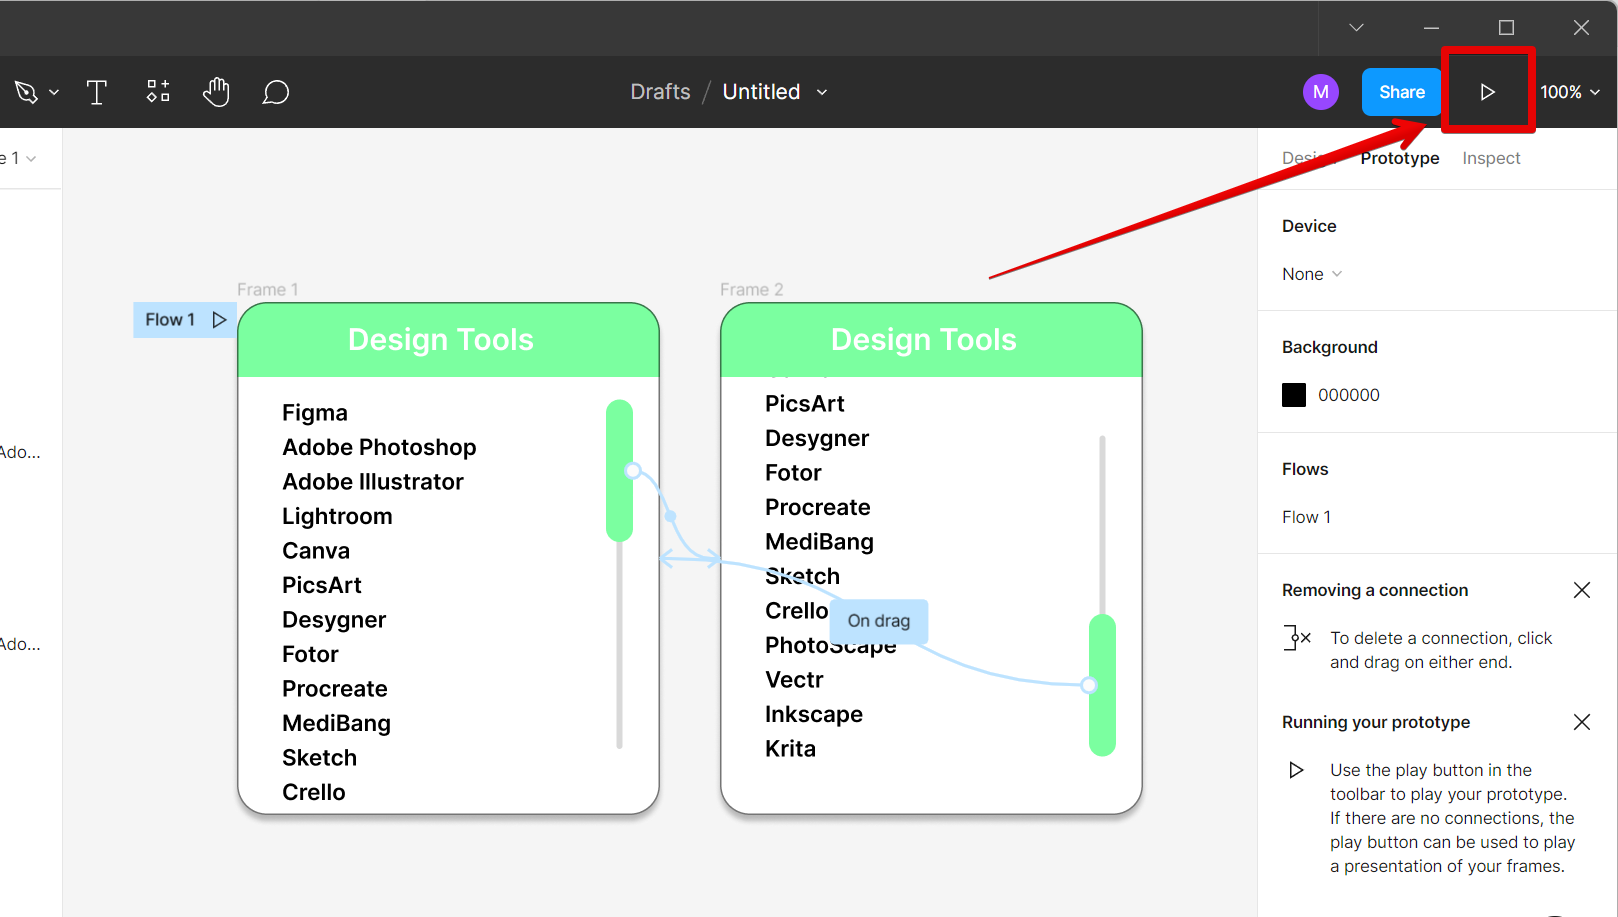
This will open a new window and you can see your scroll bar in action!
One last thing to keep in mind is that you can always style your scroll bars to match your design. Using the menu on the right, you can change the color, thickness, and other properties of your scroll bars. So there you have it – everything you need to know about adding scroll bars in Figma!