There are many reasons why you might want to batch convert JPG to PNG format in Photoshop. Perhaps you need to increase the file size of a group of images, or you want to change the file format to one that is more compatible with web browsers. Whatever the reason, it’s easy to do with just a few clicks.
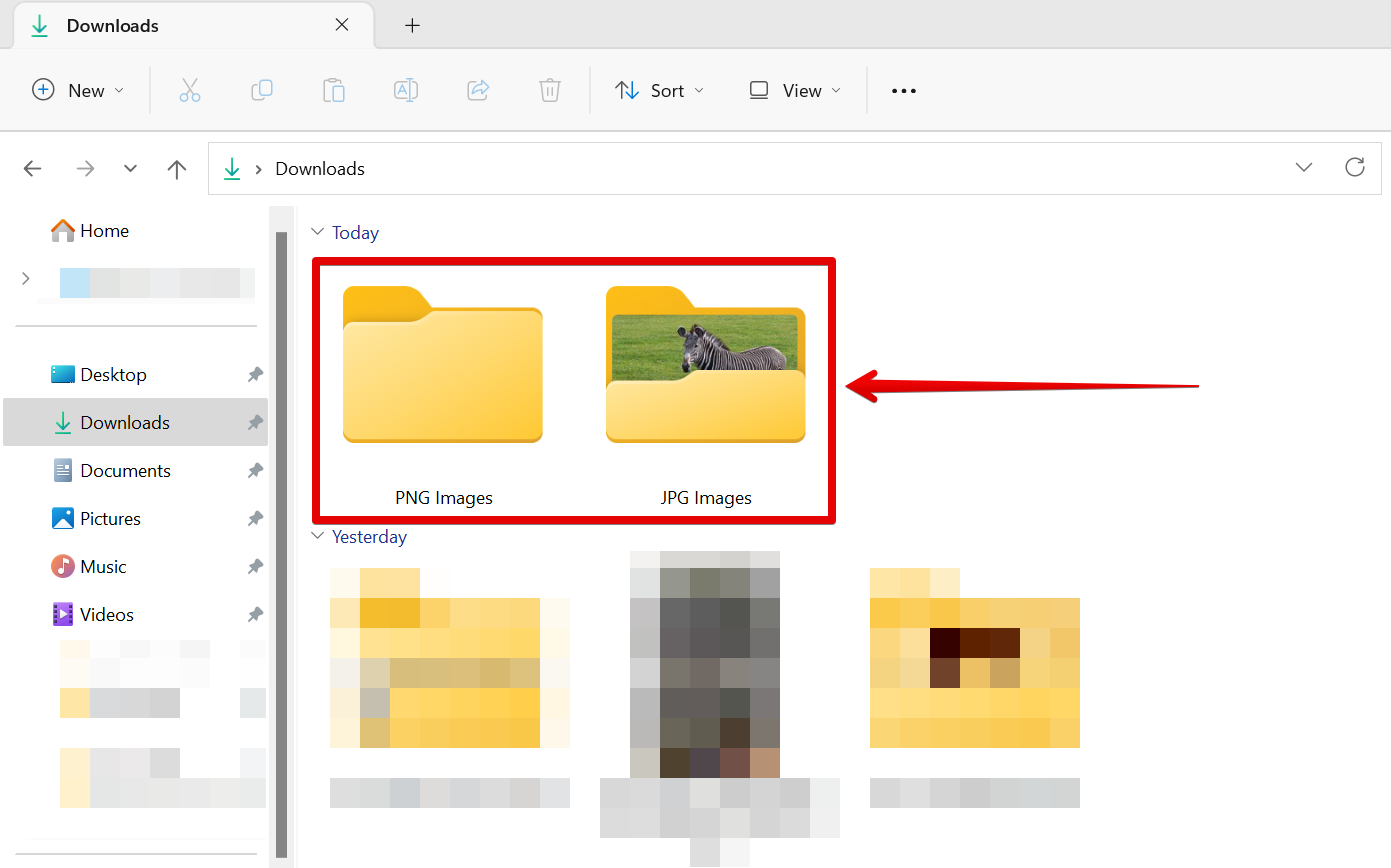
First, create two folders. One is the source folder containing the images in the JPG format and the second one is the destination folder where the converted PNG format images will be contained.
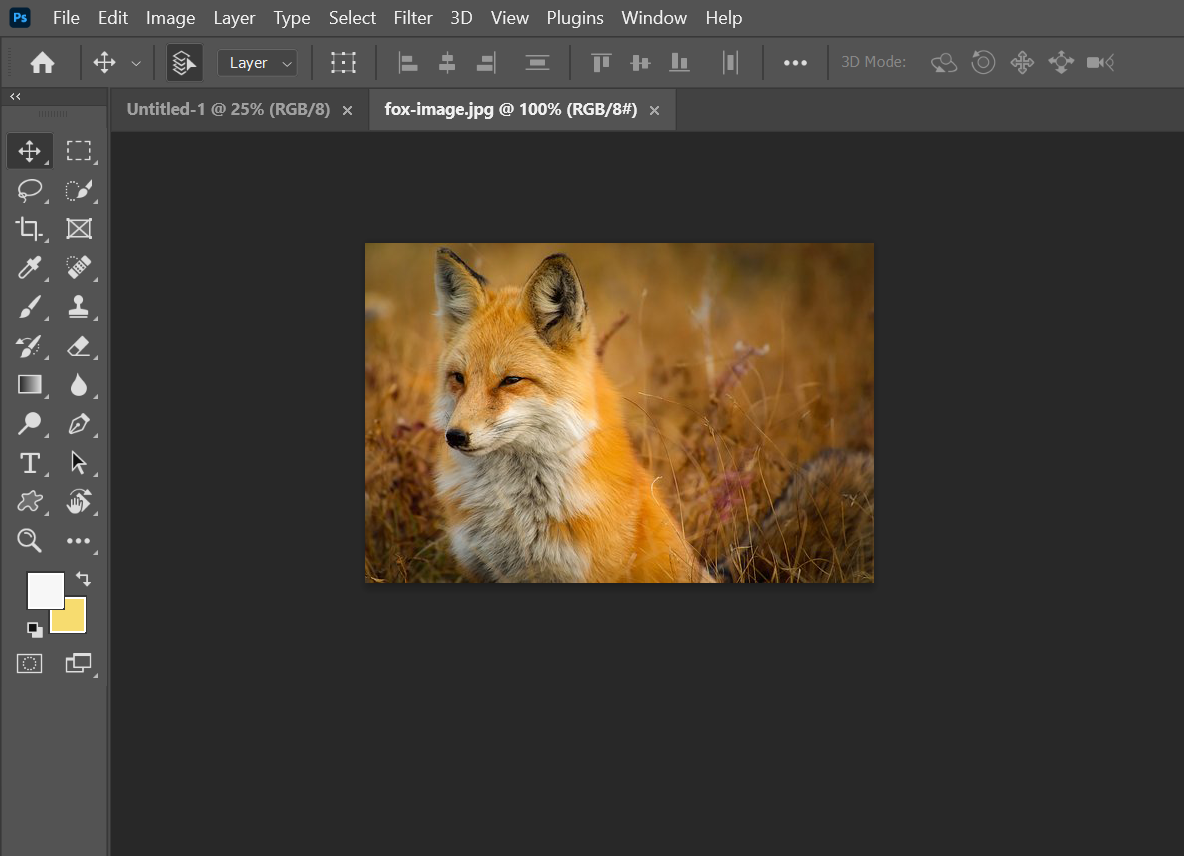
Now, open one of the images in the JPG format that you want to convert to a PNG format.
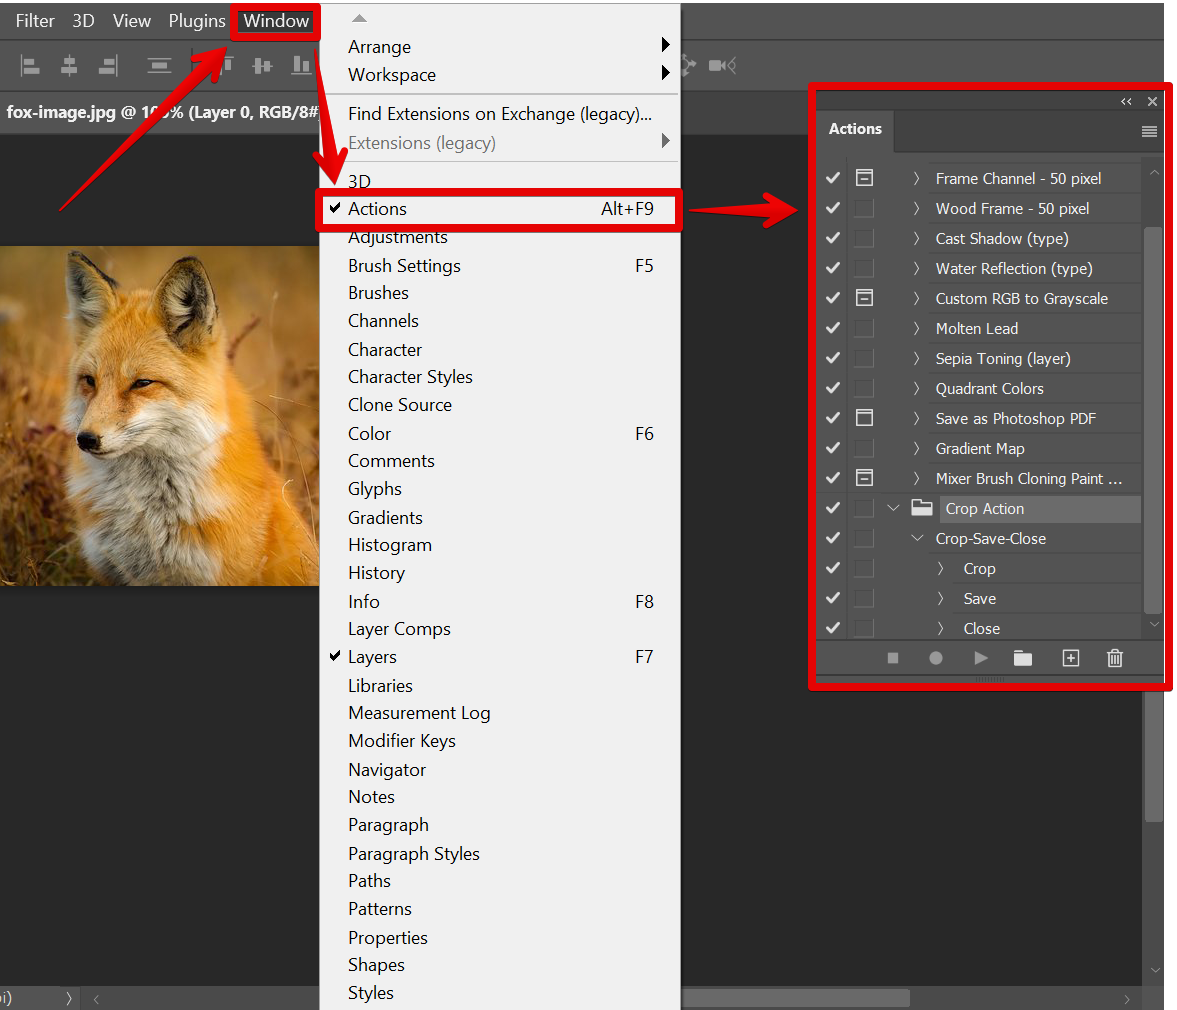
From there, open the “Actions” window by going to Window > Actions.
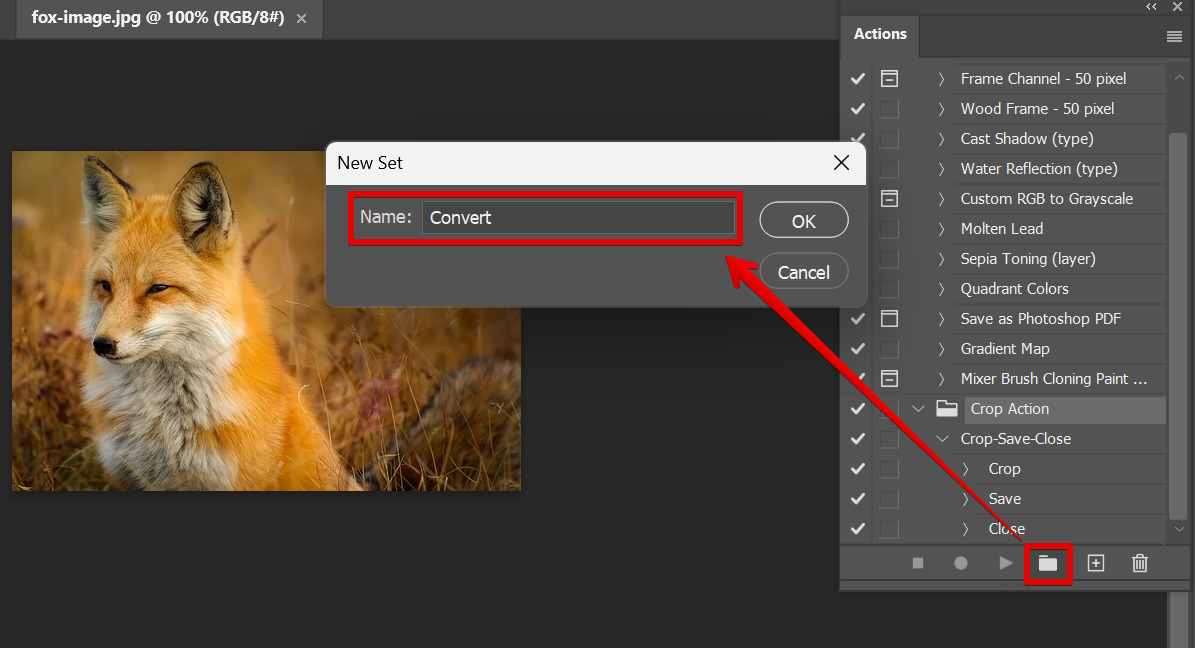
The next step is to add a new set. Just click on the folder icon at the bottom part of the window and type in the name for the new set in the pop-up window that will appear.
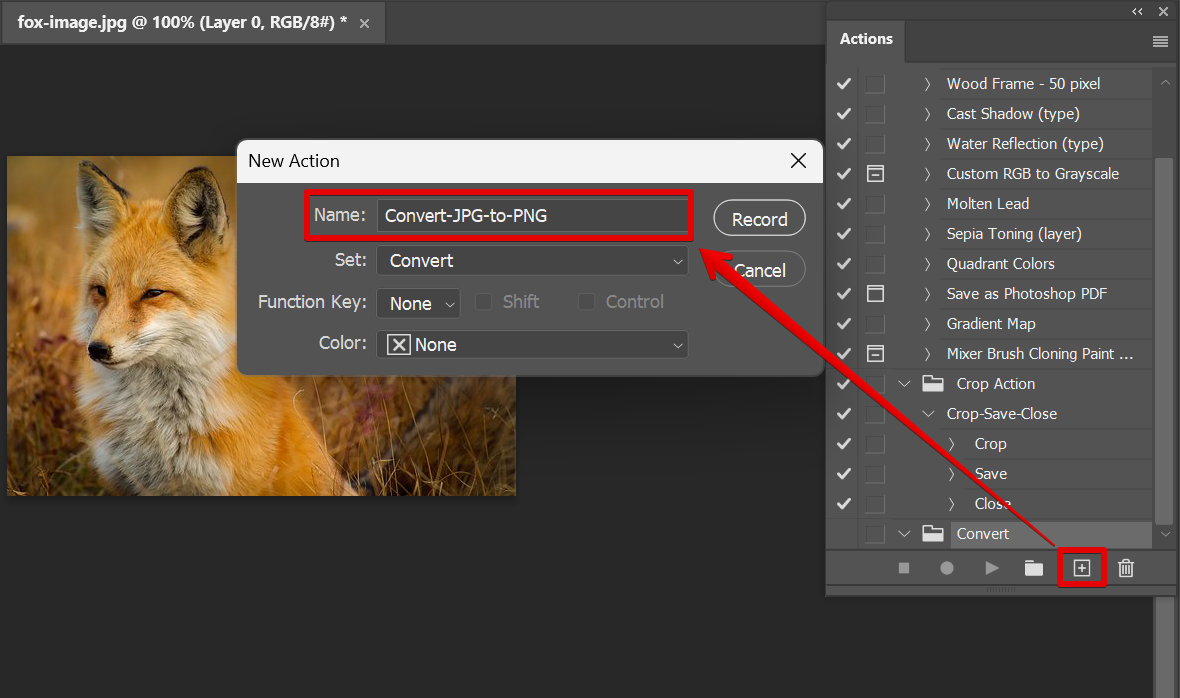
Next is to add a new action to the new set that you just created. To do this, select the “+” icon at the bottom part of the Actions window. Then, type in the name for your new action and click on the “Record” button to start recording.
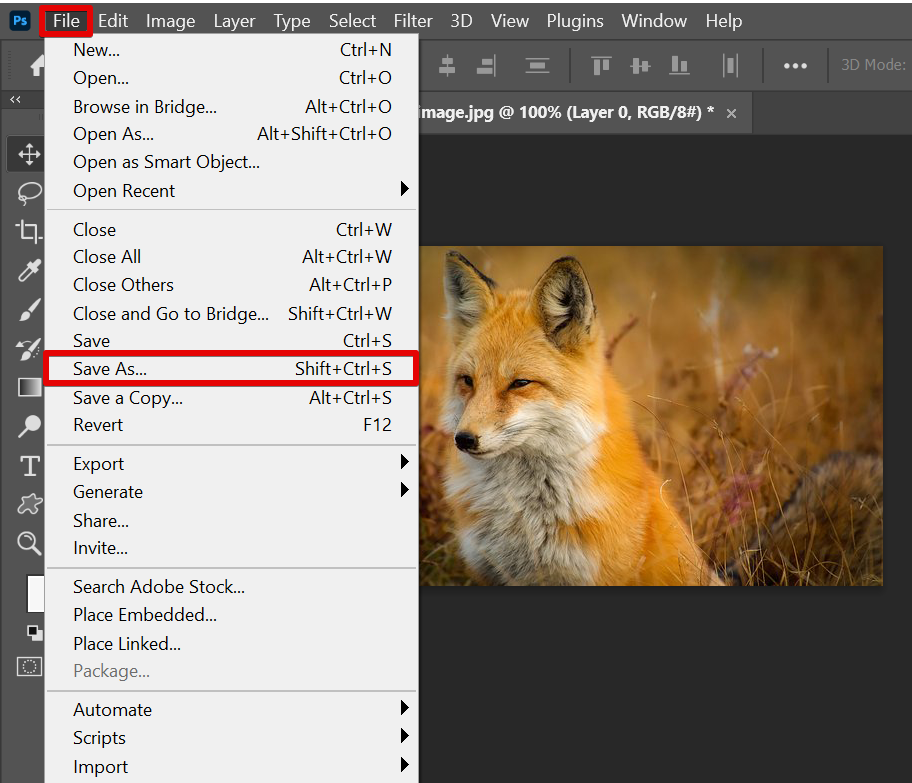
Now we can start recording the actions for converting our JPG format image to a PNG format. To get started, go to File > Save as.
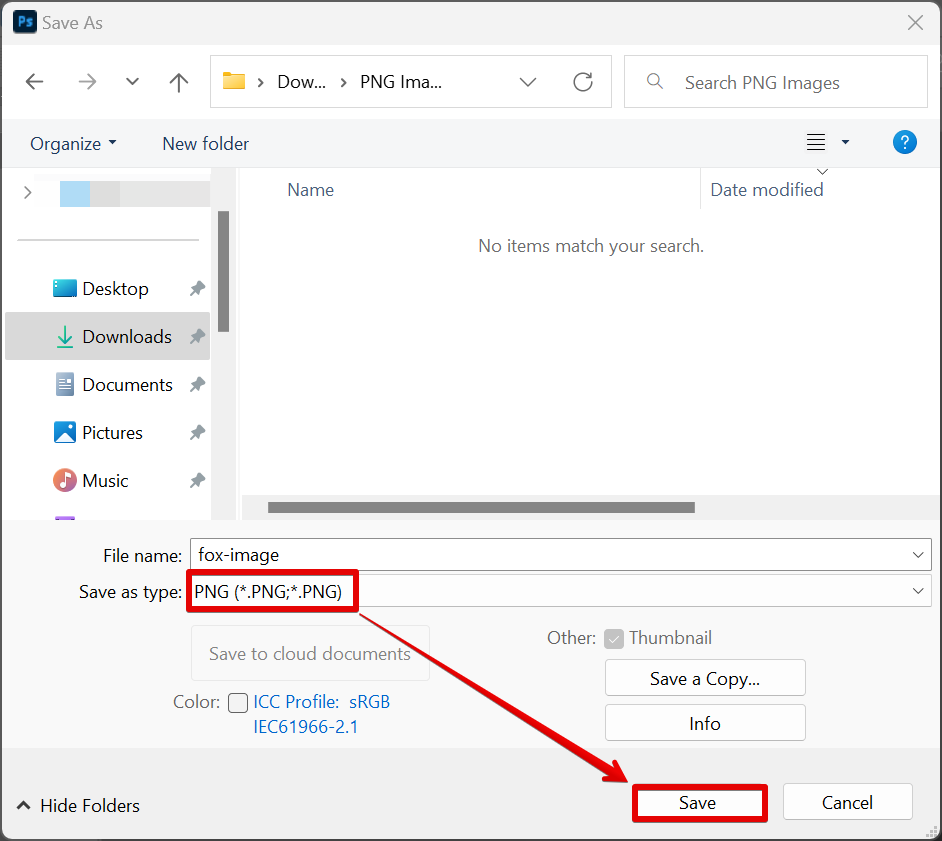
In the new window that will appear, select the PNG file format and click on the “Save” button.
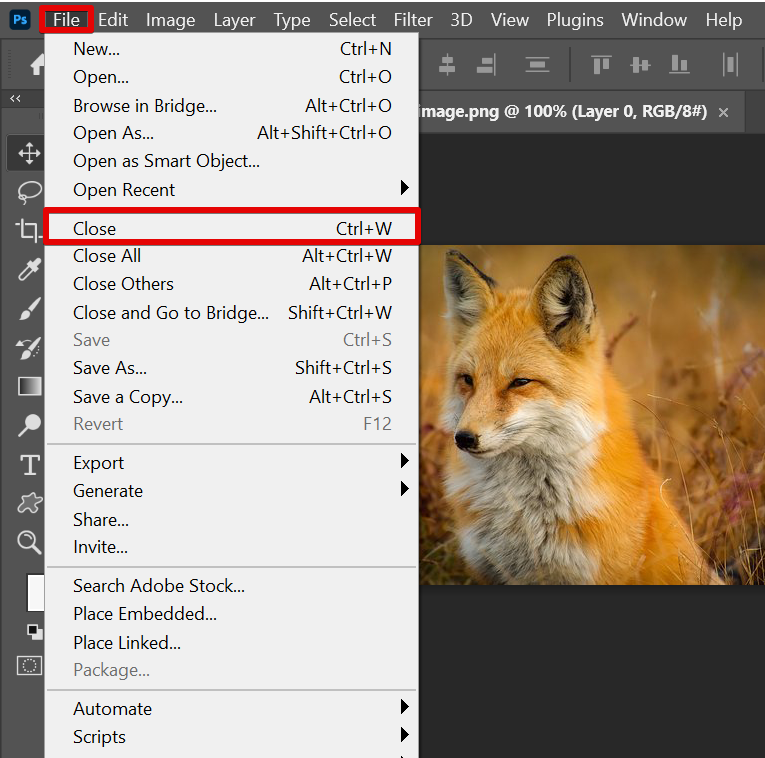
For the last step to record, go to the “File” menu again and select “Close” to close the image.
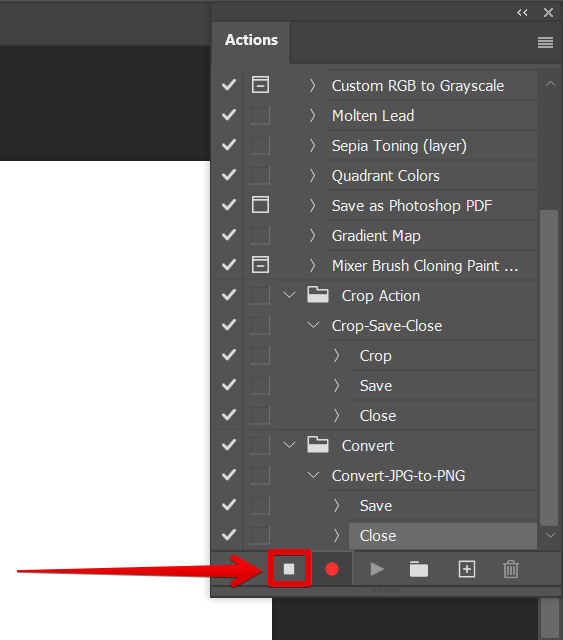
Once done, click on the “Stop recording” button in the Actions window.
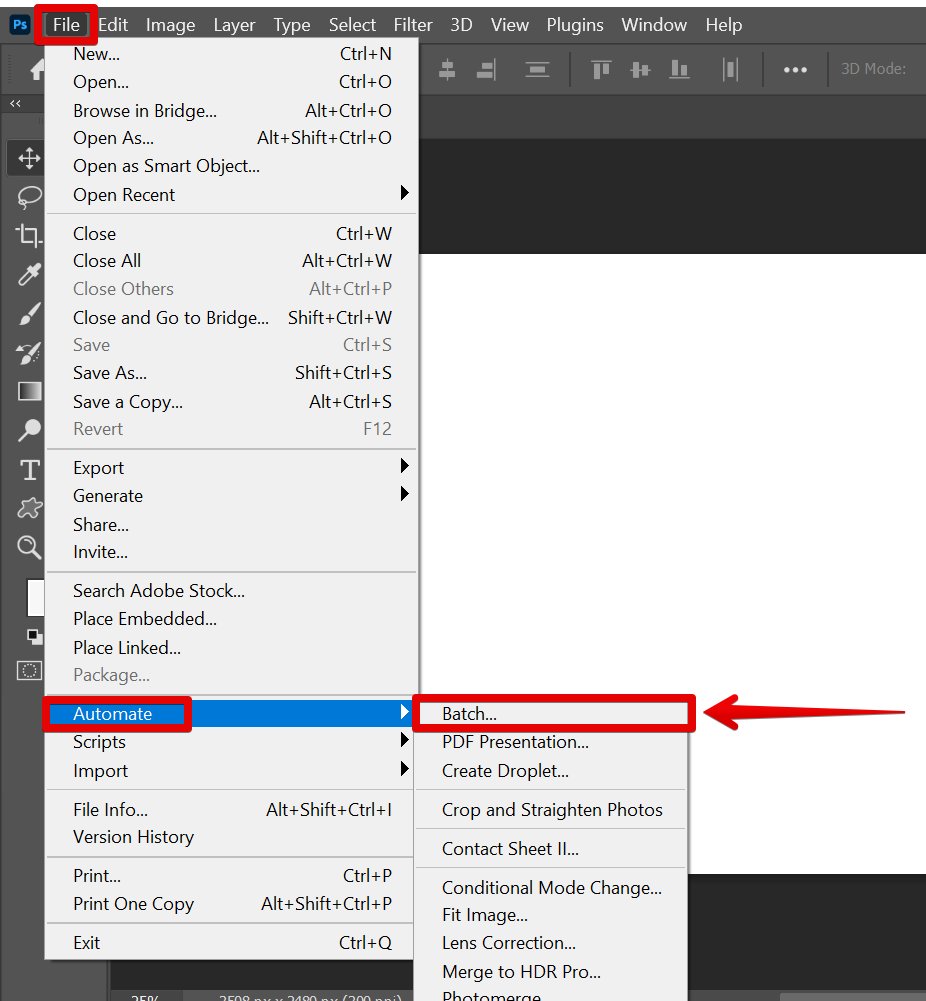
Now that we have recorded the actions to convert the JPG format image into a PNG format, we need to automate the process. To do this, go to File > Automate > Batch.
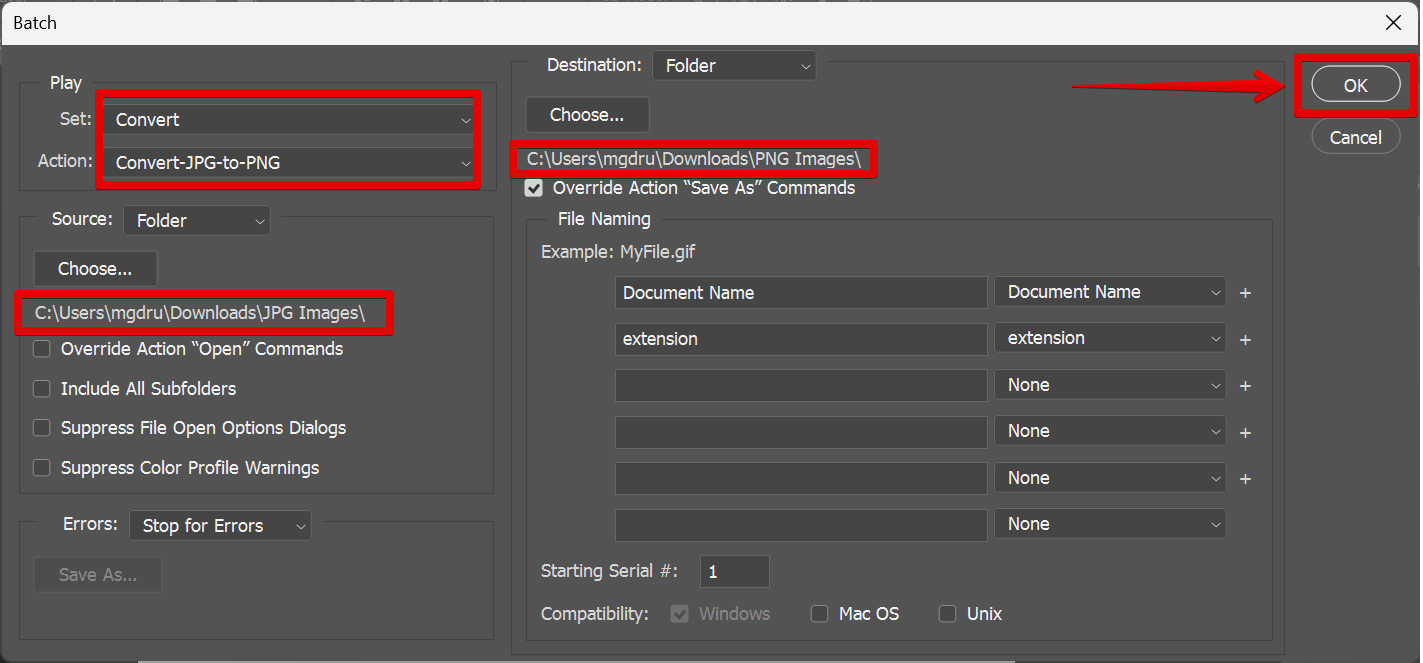
In the Batch window that will appear, set up the automation of the conversion process. In the “Play” section, select the set and action created earlier. For the “Source” section, choose the folder containing the images in the JPG format and for the “Destination” section, choose the folder where you want to save the converted PNG format images. Once done, click on the “Ok” button.
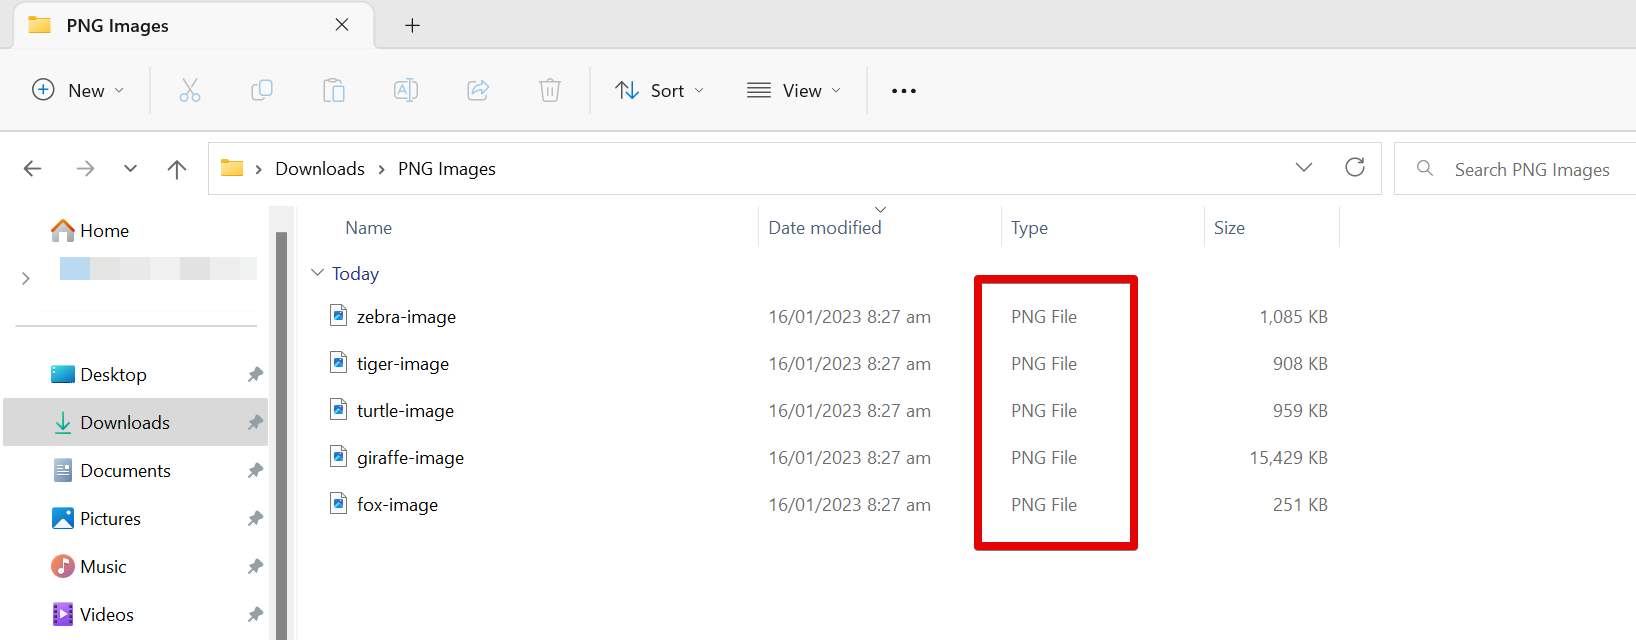
Photoshop will then proceed with the automated process of converting JPG to PNG format and there you have it! You can now easily convert bulk images of JPG format to PNG format.
Conclusion:
Batch converting JPG to PNG files in Photoshop is quick and easy. Just create two folders first which will serve as the source and destination of the images. Then, open one of the images in the JPG format that you want to convert and create a new set of actions in the Actions window. From there, start recording the “Save” action to save your image as a PNG format file and then the “Close” action to close the image once done converting. Once done recording, automate the process by opening the Batch window (File > Automate > Batch), then select the set of actions that you created earlier and choose the source and destination folders for your images. Photoshop will then start the automated process and that’s it! You can now easily convert bulk images of JPG format to PNG format.