Bump maps are grayscale images that are used to create the illusion of depth and texture on a 2D surface. When applied to a layer, they give the appearance of a 3D object.
You can create a bump map in Photoshop by using the ‘3D’ filter, which can be found in the ‘Filter’ menu.
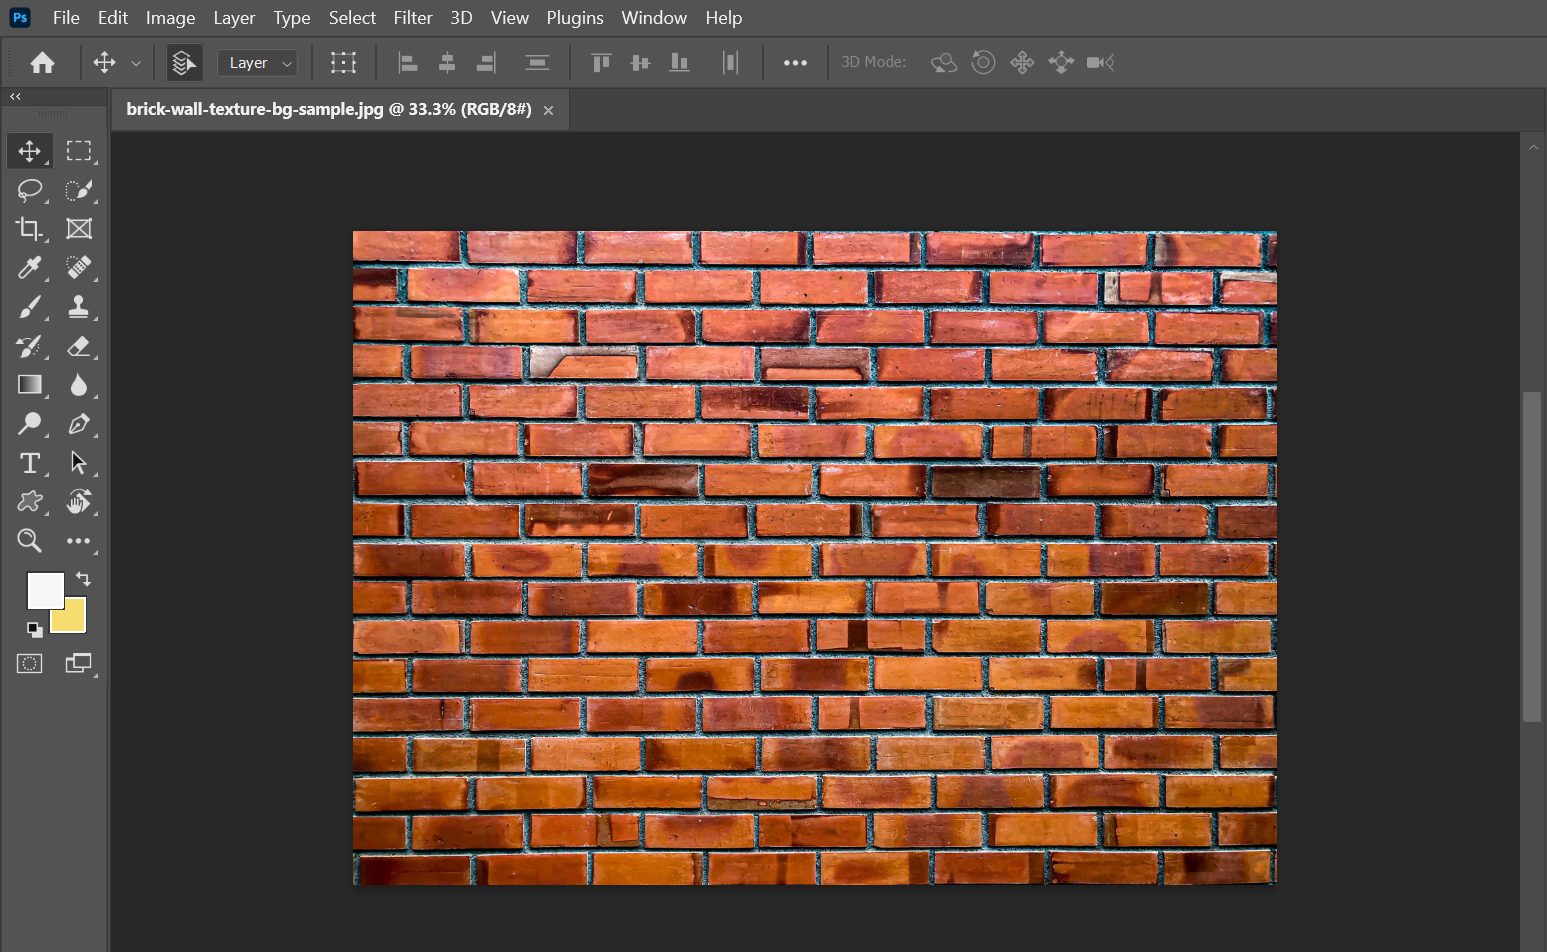
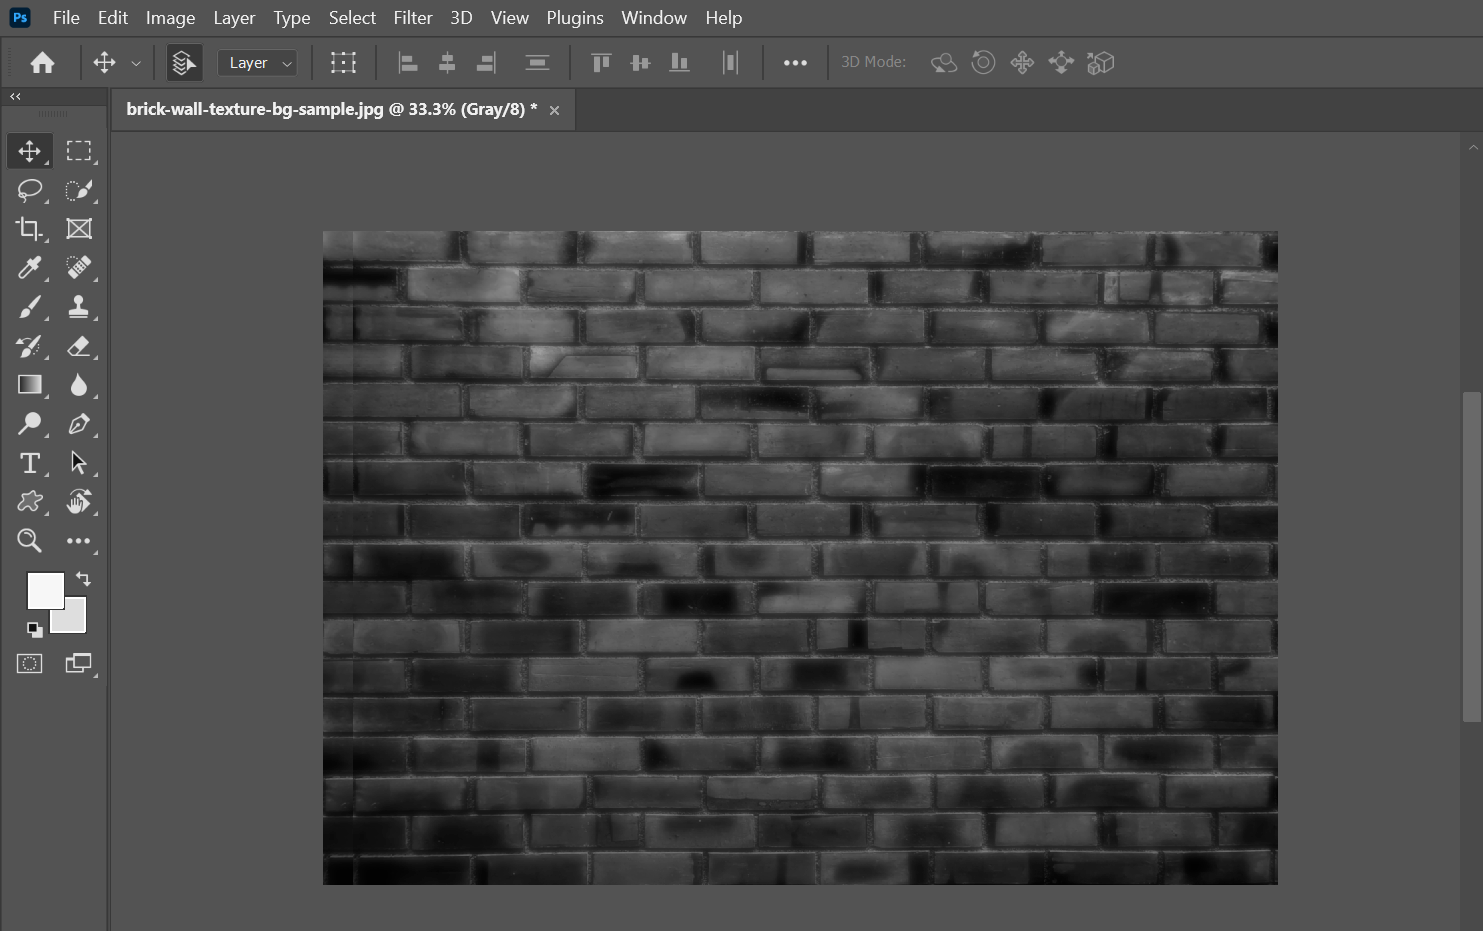
To create a bump map, first, you need to open the image you want to use as your base layer.
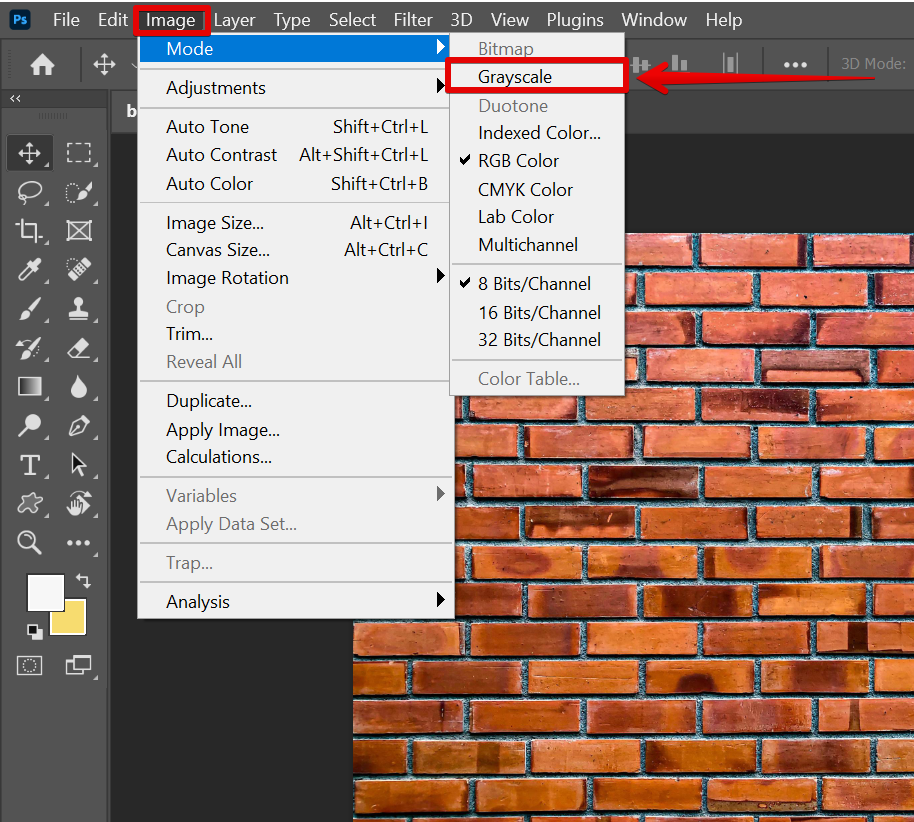
Then go to Image > Mode > Grayscale. This will alter the appearance of your image and change it to a grayish color.
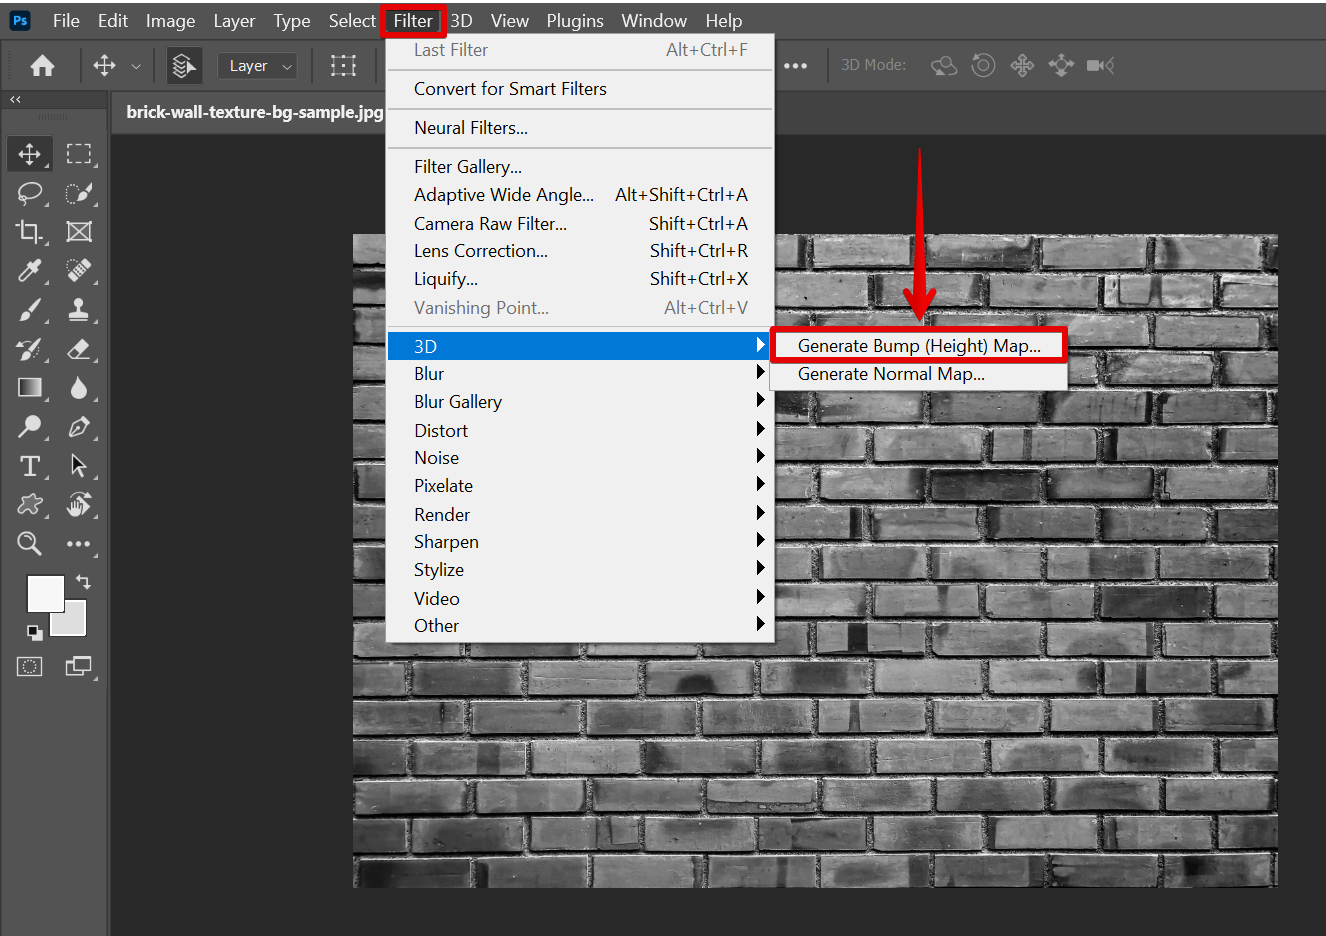
From there, go to the ‘Filter’ menu and select ‘3D’. In the menu that will appear, select the ‘Generate Bump Map‘ option.
PRO TIP: This article contains instructions on creating a bump map in Photoshop. Bump maps are images that are used to create the illusion of depth or texture on a surface. They are often used in 3D applications to add realism to models.
However, before you follow the instructions in this article, please be aware that creating a bump map in Photoshop can be a complex process. If you are not familiar with Photoshop, we recommend that you seek help from a professional before attempting to create a bump map.
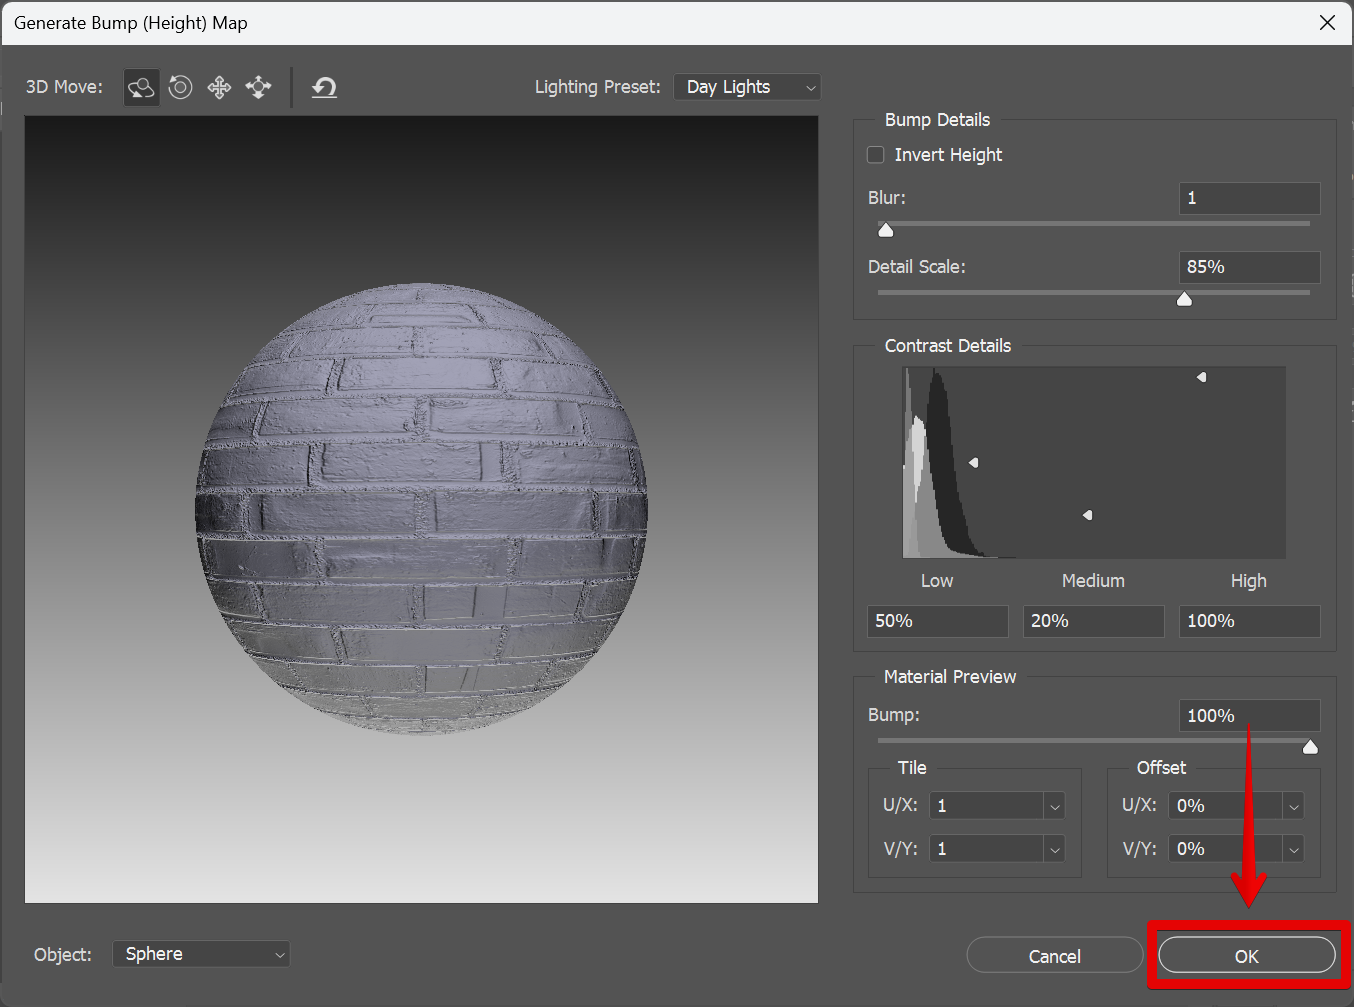
In the Generate Bump Map window, you can set up its appearance according to your preference. Here, you can adjust settings such as Lighting Preset, Bump Details, Contrast Details, and Material Preview. Once you’re happy with the results, click ‘OK’ to apply the effect.
Now you can create a bump map in Photoshop!
Conclusion:
Bump maps are a great way to add depth and texture to your images. Creating a bump map in Photoshop is simple! Just use either the ‘3D’ filter under the ‘Filter’ menu then select your desired layer to use as your bump map. You can then adjust settings like strength and scale to get your desired effect before clicking ‘OK’.
9 Related Question Answers Found
Bump maps are a great way to add extra detail and realism to your digital paintings and illustrations. They can be used to create the illusion of raised or recessed areas on a surface, and can even be used to create the appearance of wrinkles or other irregularities. Photoshop has a number of different ways to create bump maps, but the most straightforward way is to use the Normal Map filter.
In this tutorial, we will learn how to create a bump and specular map in Photoshop. A bump map is an image that allows you to simulate the appearance of raised or recessed areas on a surface. A specular map is an image that defines the level of brightness and reflectivity of a surface.
So, you’re expecting a baby! Congratulations! Whether this is your first child or your fifth, you’re probably wondering how to make a baby bump in Photoshop.
A normal map is an image that allows you to add extra detail to your models without having to increase the polygon count. You can create a normal map in Photoshop by using the ‘Generate Normal Map’ filter. To create a normal map, first open the image you want to use in Photoshop.
A normal map is an image that stores surface normals for an object. It’s used to add extra detail to 3D models by creating the illusion of more surface area. You can create a normal map in Photoshop by first creating a height map, which is an image that stores height information.
A normal map is an image that stores information about the surface normals of an object. This information can be used to create the illusion of depth on a 2D surface, such as a computer screen. Normal maps are often used in video games to improve the appearance of 3D objects.
Roughness maps are a great way to add some extra detail and variation to your textures. In this quick tip, we’ll take a look at how to create a roughness map in Photoshop. First, open up your texture in Photoshop.
There are a few different ways that you can make a map in Photoshop. The most common way is to use the ‘Create a New Document’ function in the ‘File’ menu. You can also use the ‘Open’ function in the ‘File’ menu if you have an existing image that you want to use as a base for your map.
Creating a pattern border in Photoshop is a relatively simple process. First, you need to create your pattern. This can be done by simply creating a new image file and filling it with the desired pattern.