Illustrator is a powerful vector graphics program that enables you to create detailed drawings and illustrations. One of the features of Illustrator is the ability to delete parts of objects.
To delete a part of an object in Illustrator, you can follow these steps:
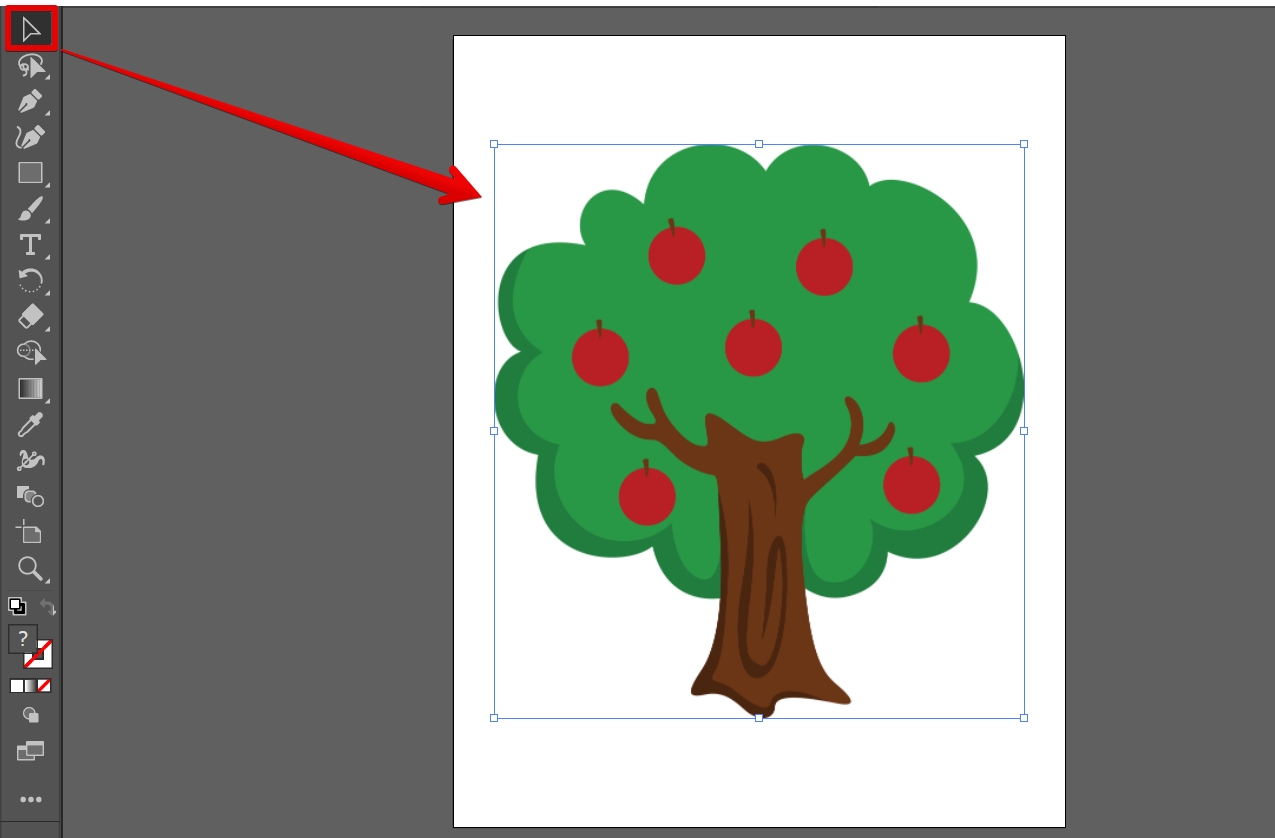
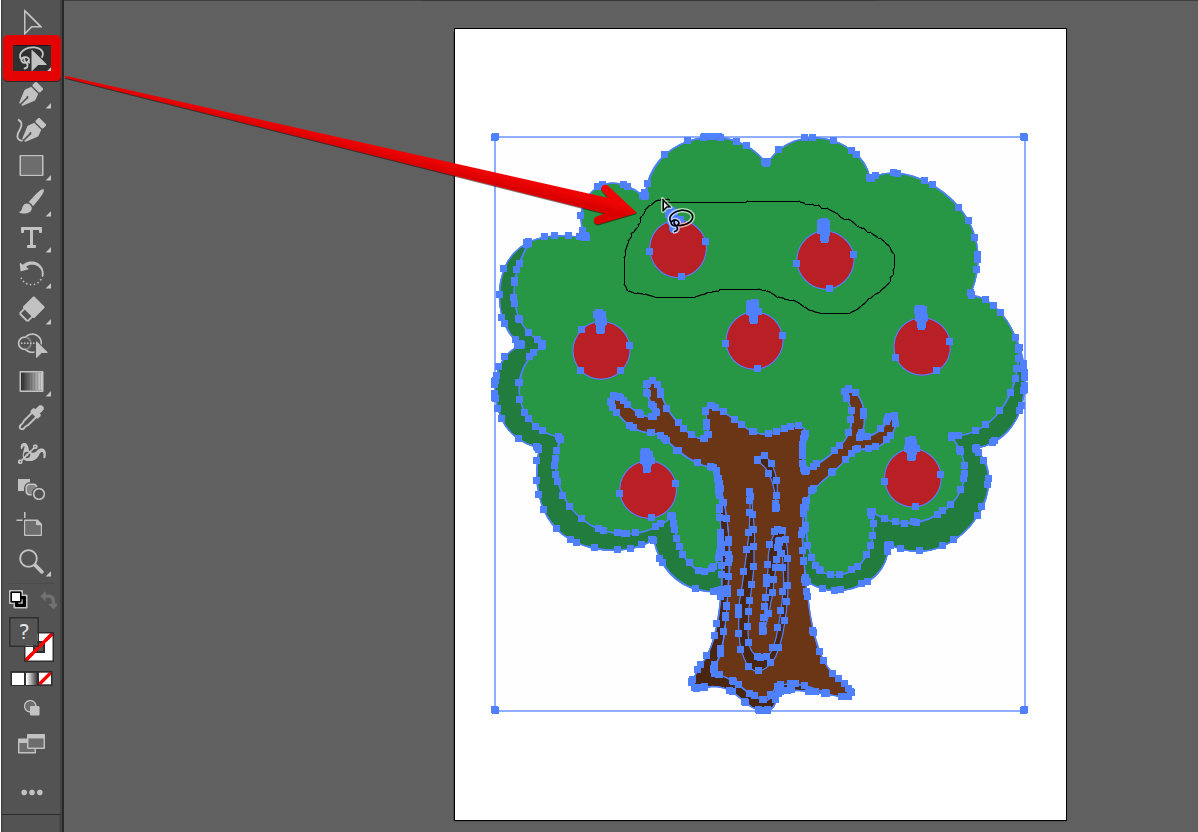
1. Select the object you want to delete a part of using the “Selection tool” from the toolbar on the left.
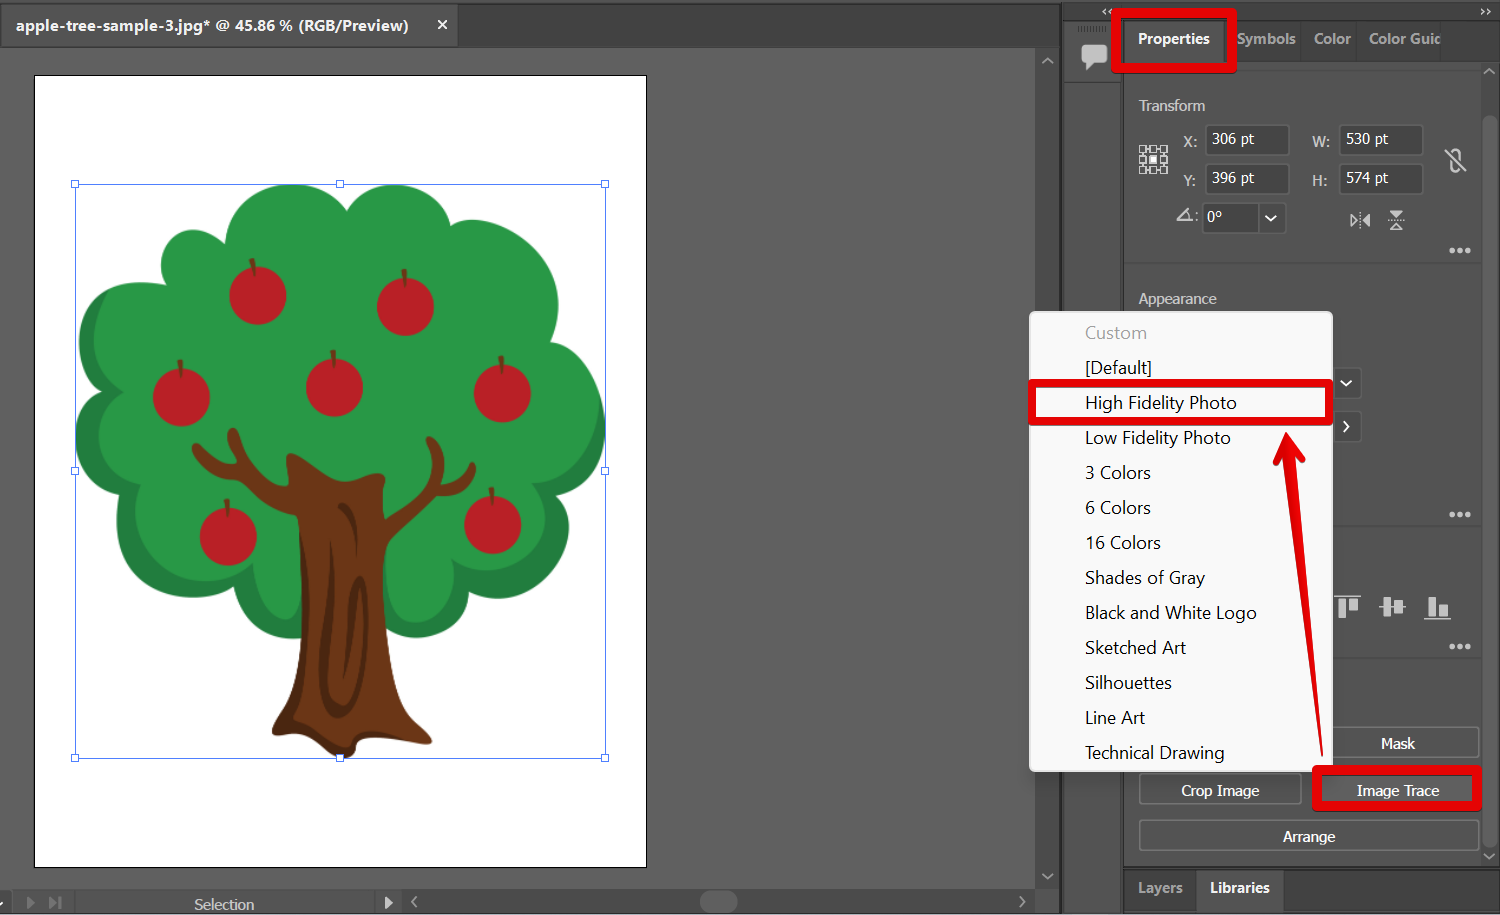
2. Click the “Image Trace” button located in the “Quick Actions” window under the “Properties” tab. From there, select “High Fidelity Photo”.
NOTE: If the “Image Trace” option is not available in your Properties tab, you can enable it by clicking on “Window” at the top menu and selecting “Control”.
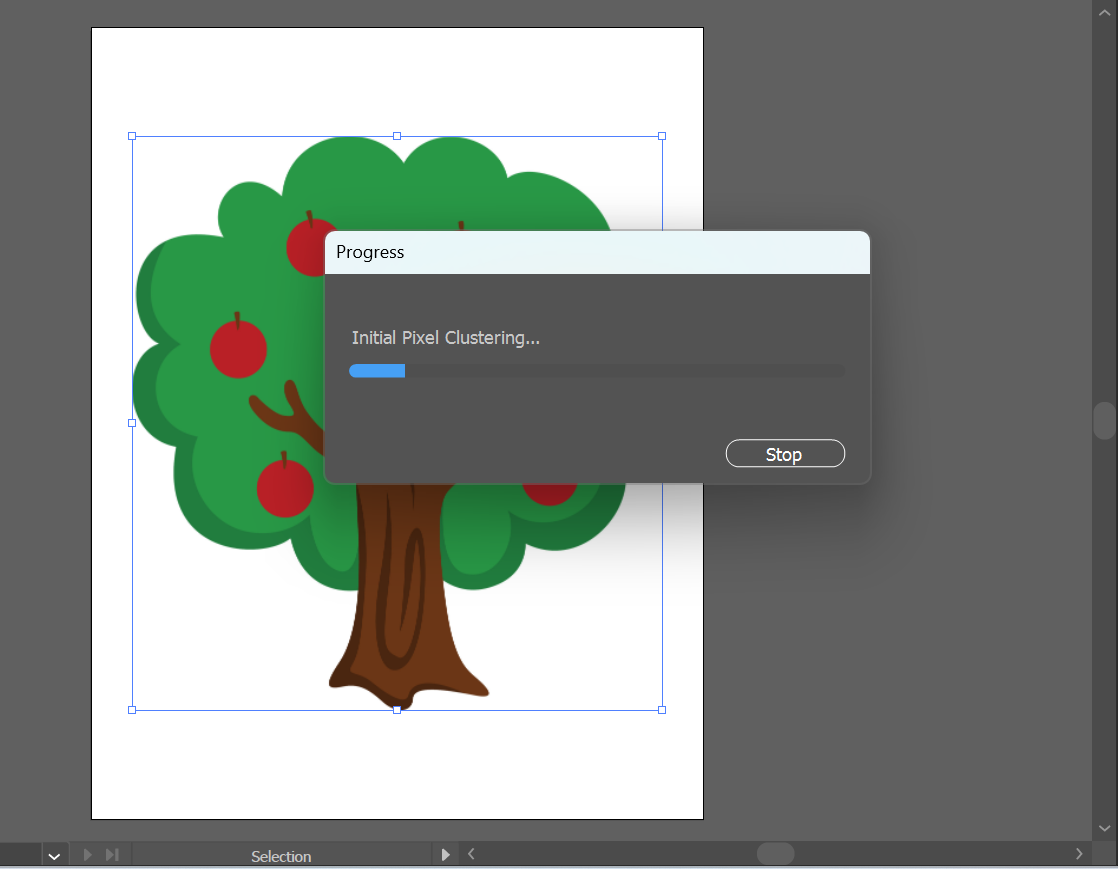
3. The Illustrator system will then start the conversion process which will take some time depending on the quality of the image you selected and also, the specifications of your machine.
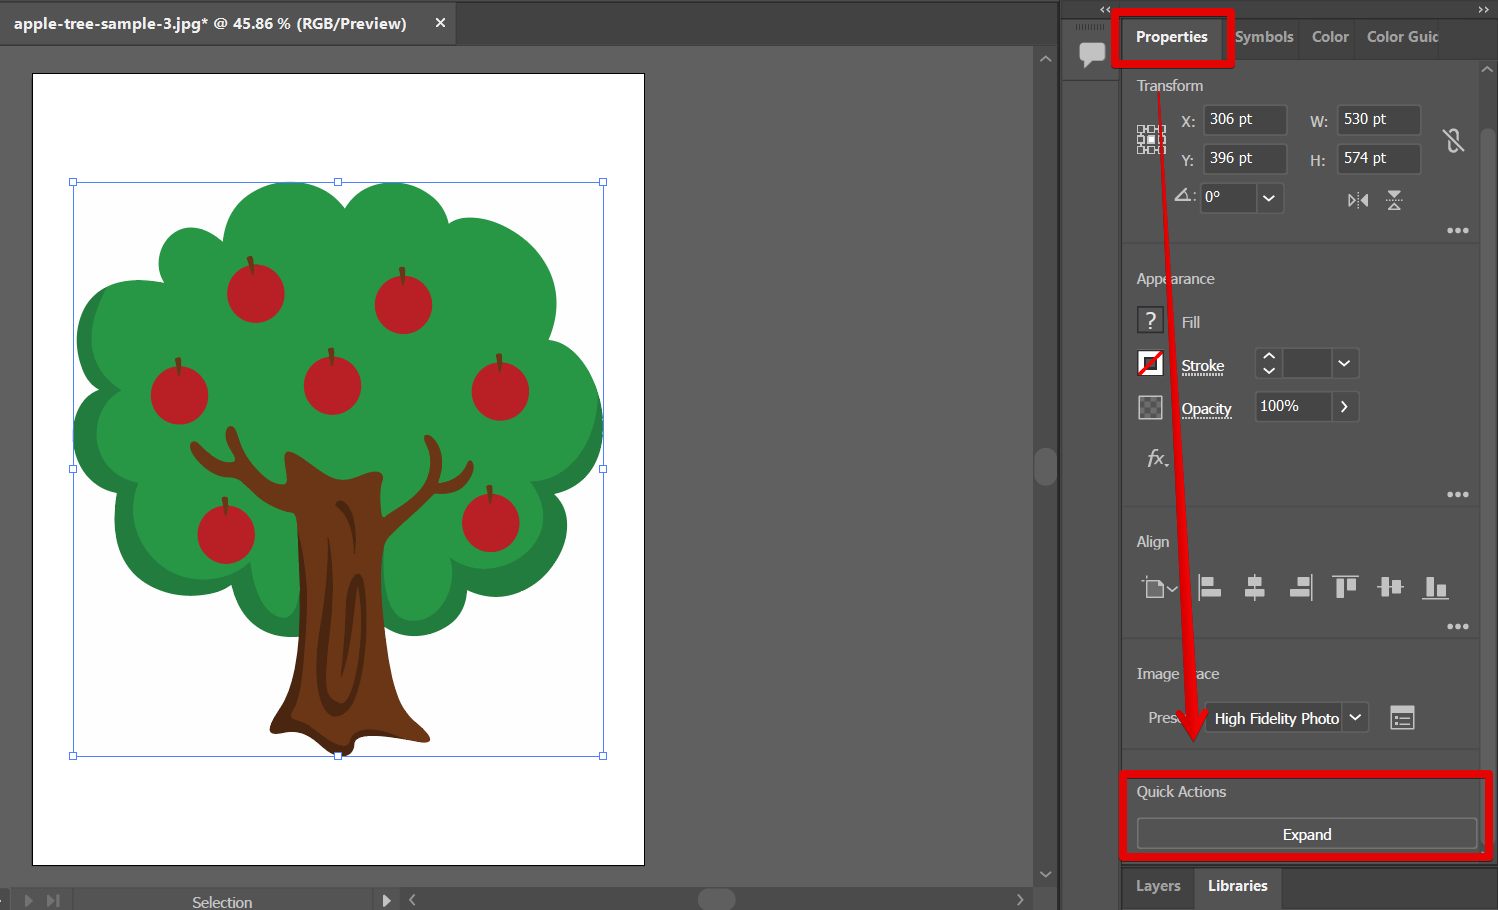
4. Once done, the “Expand” option will be available in the “Quick Actions” window in the “Properties” tab. Click on it.
NOTE: The “Expand tool” will convert the tracing object into a path.
5. From there, click on the “Lasso tool” from the left toolbar and use this to select the part of the object that you want to be deleted by drawing around it. Then, press the “Delete” button on your keyboard to delete the selected part of the object.
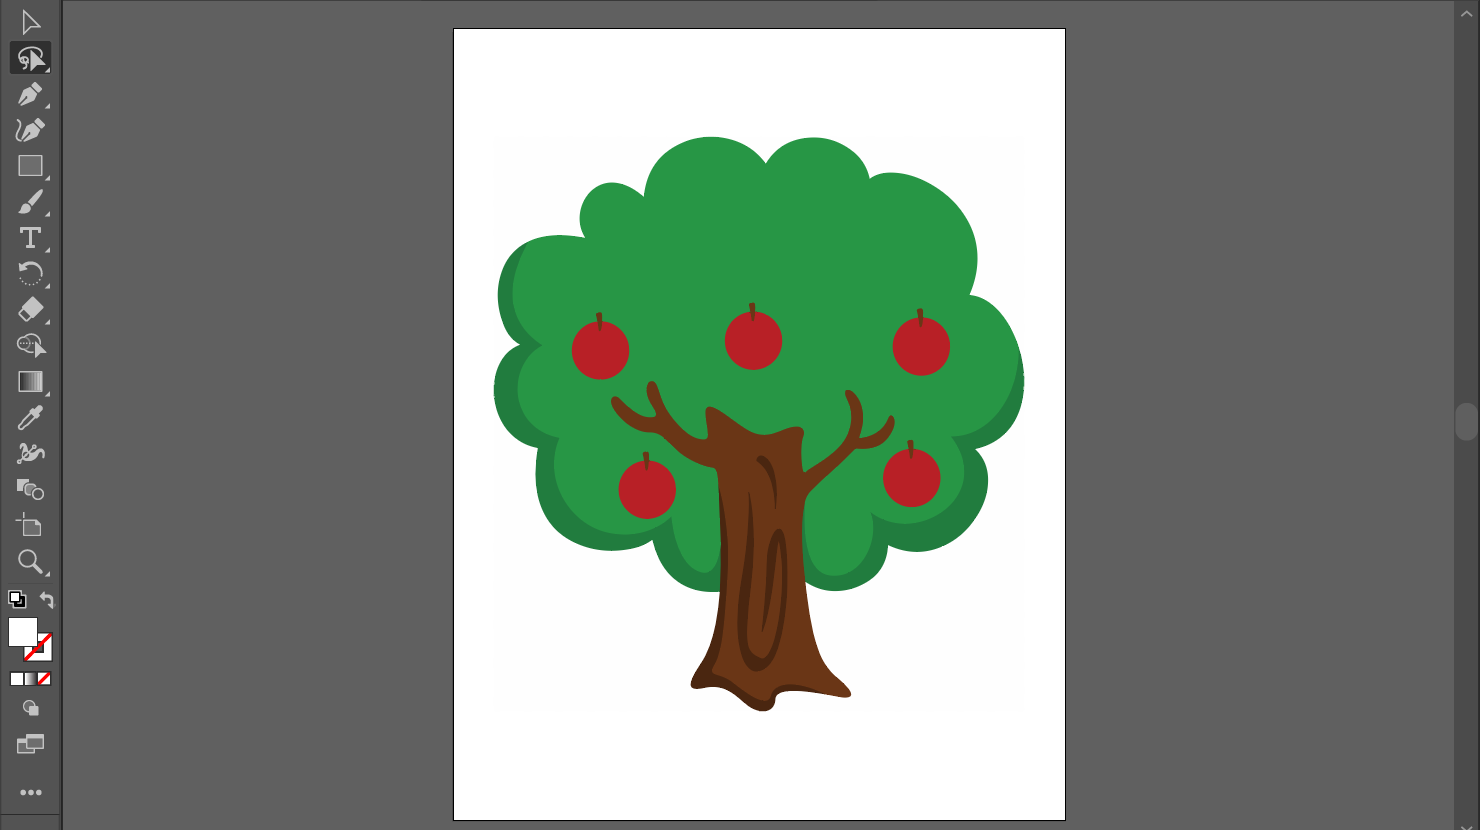
6. Now you have deleted a part of your object.
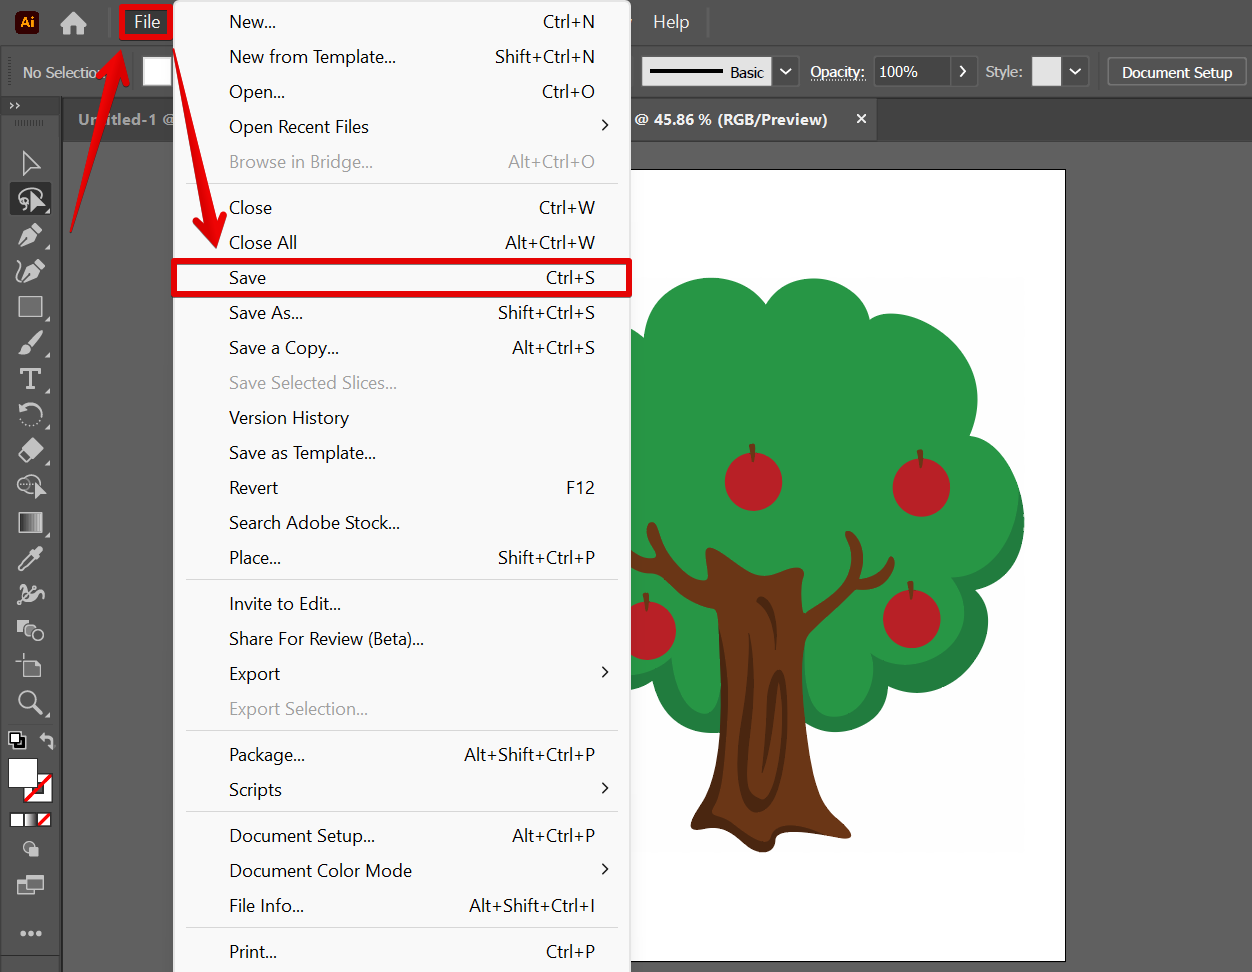
7. Once done, click the “Save” button to save your changes and download a copy.
PRO TIP: Deleting part of an object in Illustrator can be tricky and may result in unwanted results. It is best to use the “Lasso tool” to select the specific part of the object that you want to delete.
5 Related Question Answers Found
If you have a lot of anchor points in your Illustrator artwork, it can be difficult to delete them all at once. Here are three methods you can use to delete multiple anchor points:
1. Use the Direct Selection Tool (A) and select the anchor points you want to delete.
2.
When compared to other image editing and manipulation apps, Adobe Illustrator is in a league of its own. In contrast to Photoshop, the other mainstay of Adobe’s Creative Suite, Illustrator relies on vectors (lines and curves) to construct graphics. Therefore, erasing an area of an image is handled differently than it is in other editors.
How to Remove an Effect in Illustrator
If you want to remove an effect from an image in Illustrator, there are a few different ways to go about it. You can use the Effect menu, the Stroke panel, or the Blur tool. The Effect menu has a number of different effects that you can apply to your image.
Illustrator is a great tool for creating shapes and illustrations. One of the features that make Illustrator so versatile is the ability to erase parts of a shape. In this article, we will explore how to erase part of a shape in Illustrator.
Illustrator is a powerful vector graphic design application that allows users to create images and illustrations using a variety of tools and features. One of the tools that Illustrator users frequently use is the eraser. However, there are times when users experience difficulty erasing specific portions of an image.