In Illustrator, you can create a map by inserting it into your design using the Place command. The Place command can be found in the File menu, and it allows you to place a map in your design.
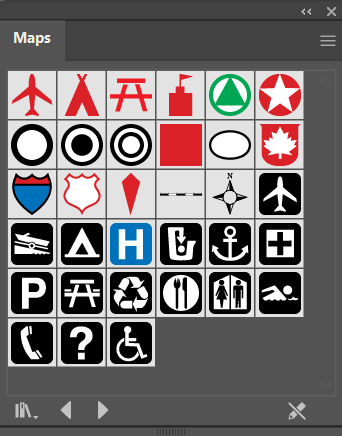
You can also use the Map window to add icons and symbols to your map.
To place a map in a design with the Place command, follow these steps:
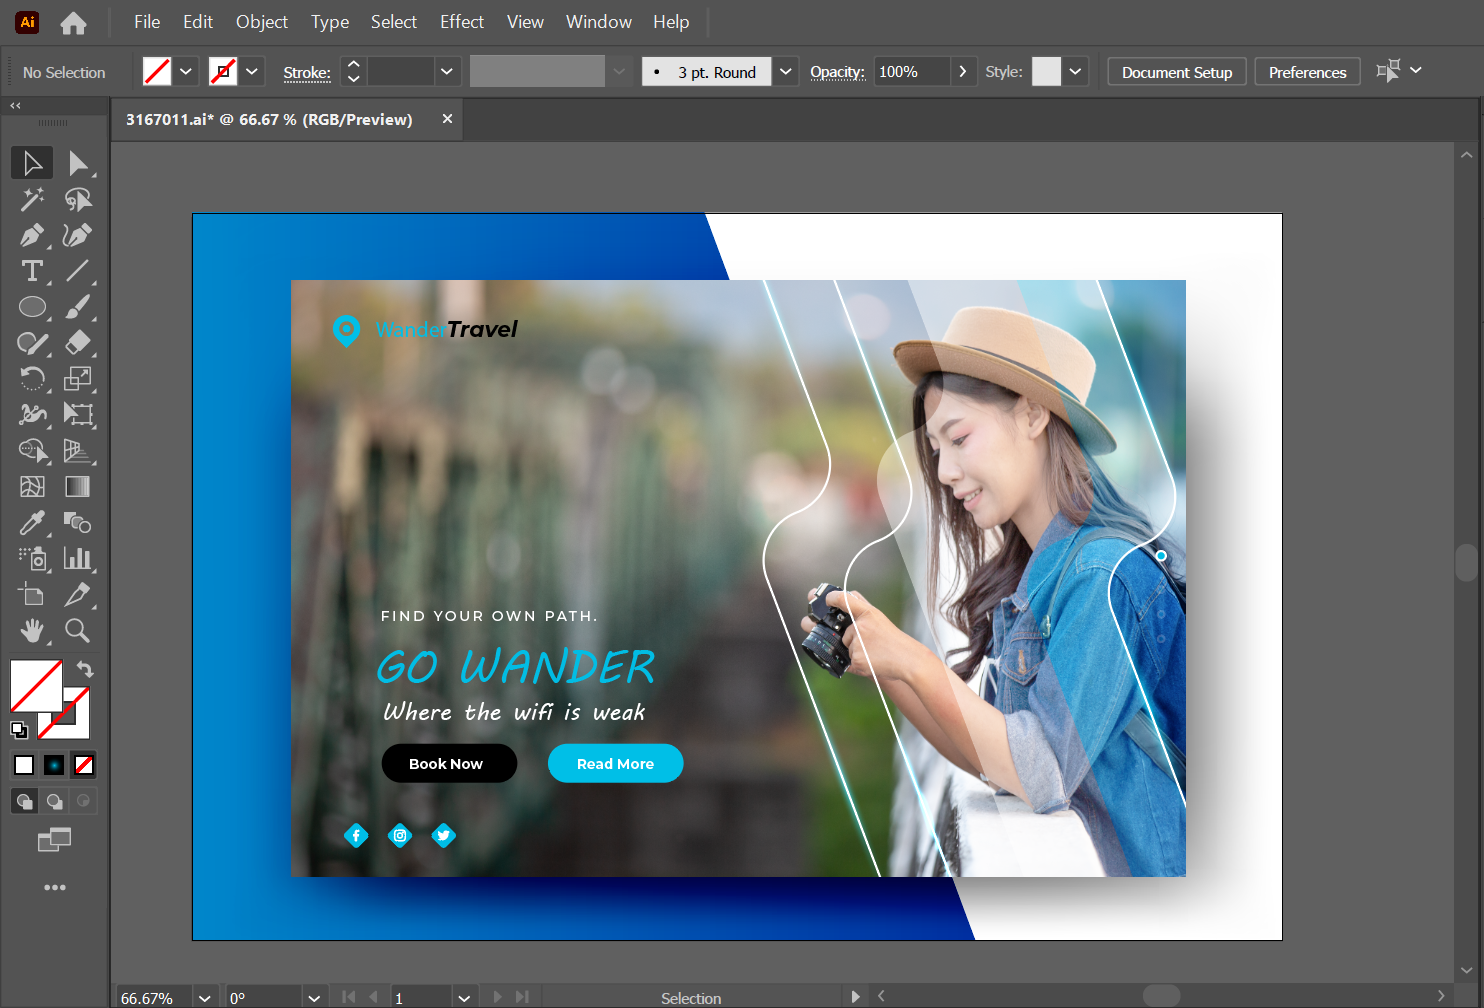
1. Open the Illustrator file you want to create a map in.
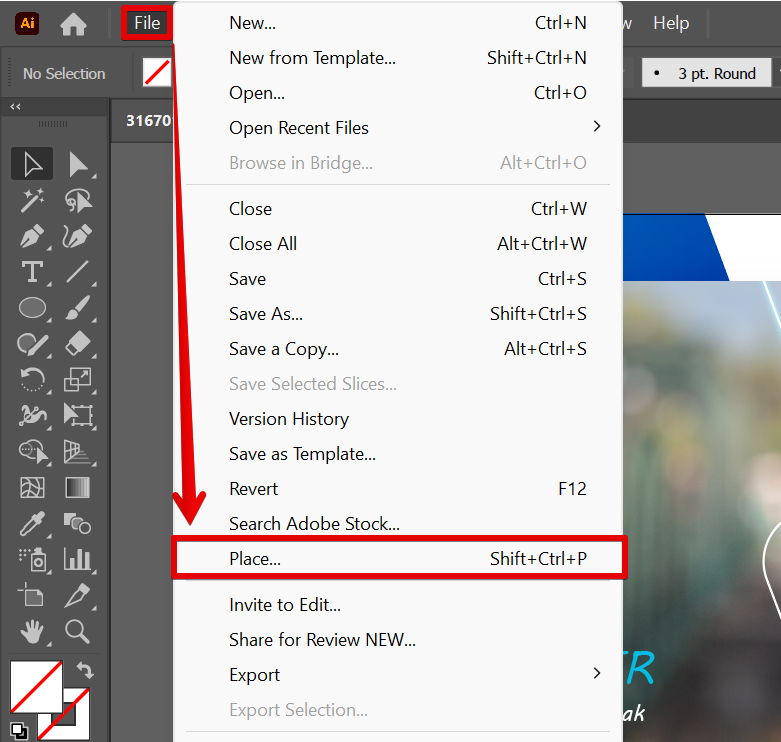
2. Insert a map image file into your design using the Place command. To do this, go to the File menu and select “Place” from the options.
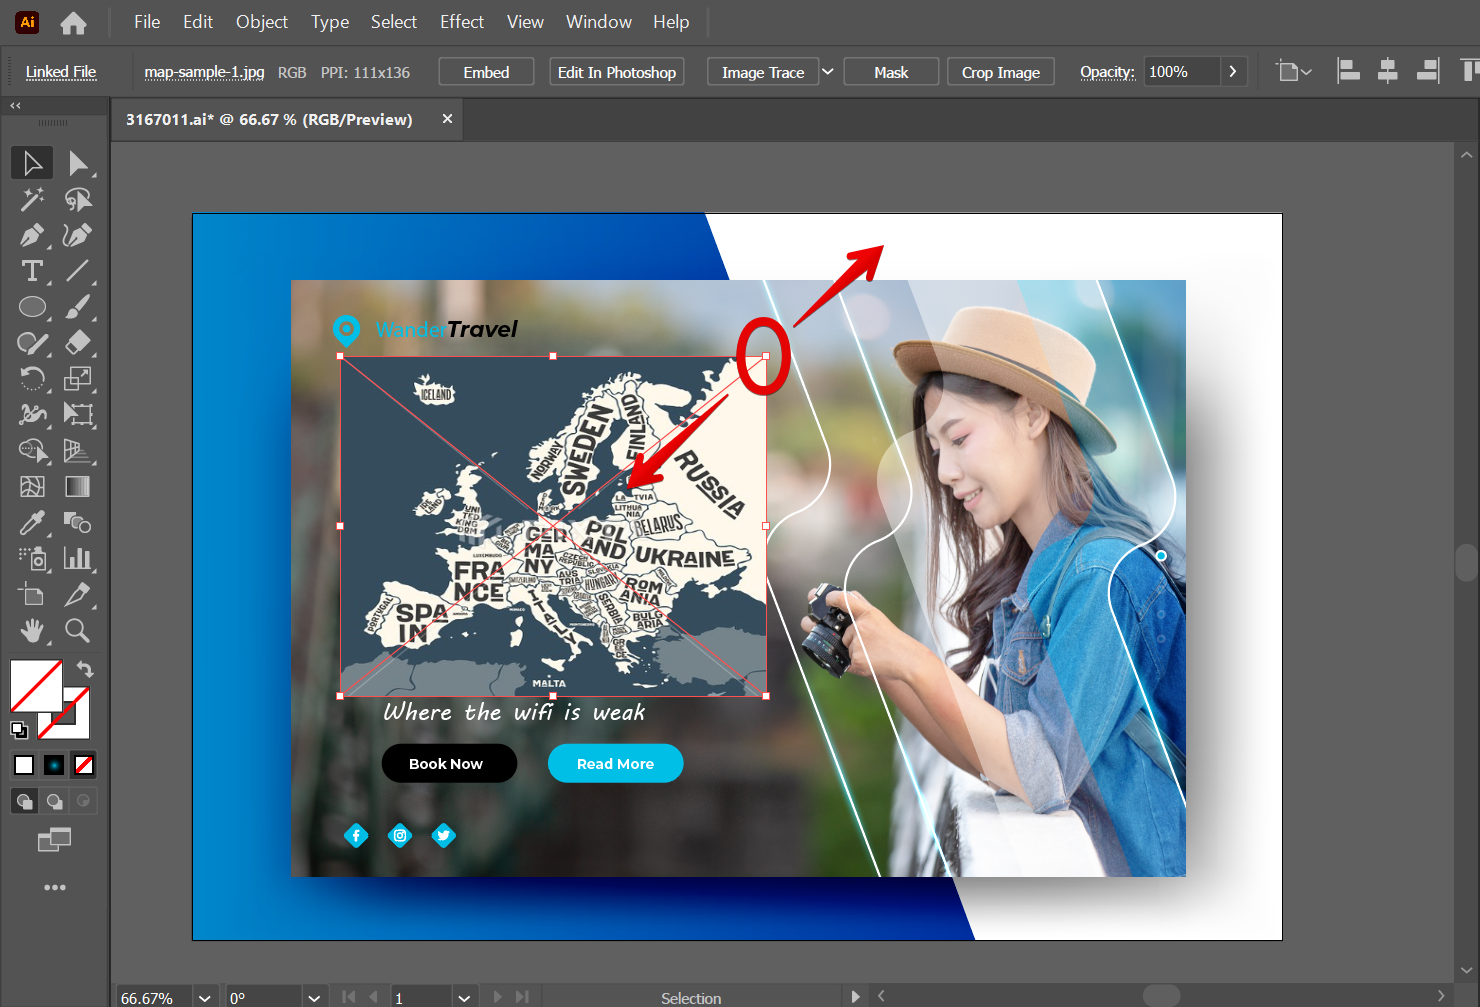
3. Click and drag on the document to start drawing your map over the design. Make sure that the areas you want to show are included on your map. You can resize this by clicking and dragging on the handles around it.
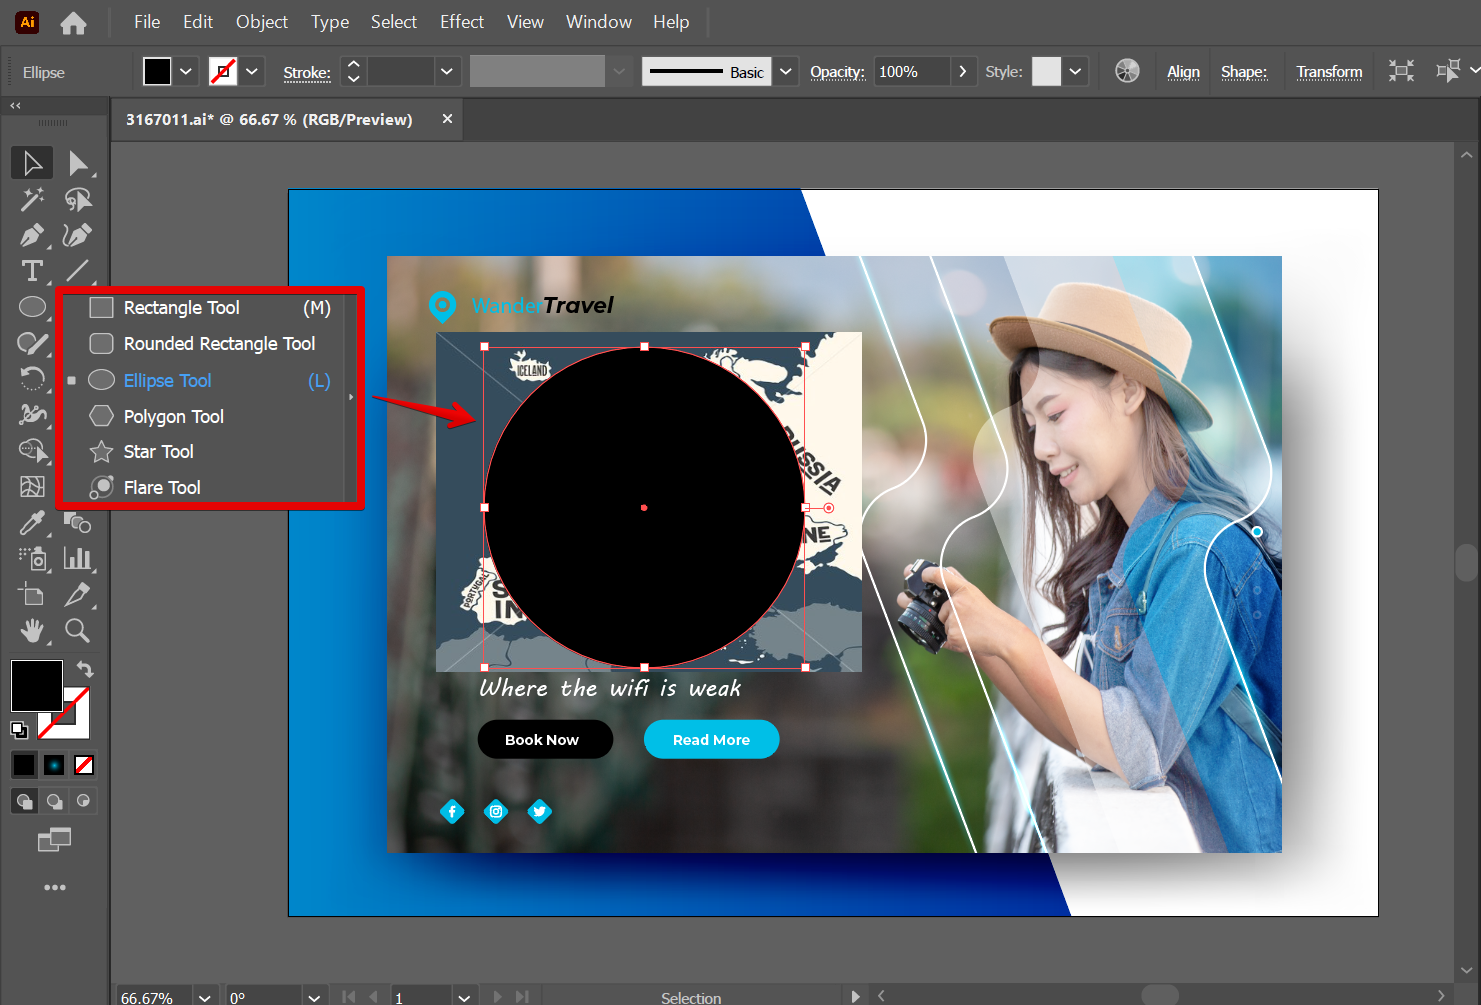
4. To add style to your map, you can insert it into a shape using the Clipping Mask Tool. To do this, select any of the Shape Tools that you want to use to style your map and place it above your map just enough so that the text and symbols in your map are visible.
NOTE: Choose a dark foreground color to apply to your shape to easily identify it.
5. When you’re finished, select both the map and the shape using the “Direct Selection Tool” then right-click on them and choose “Make Clipping Mask” from the options.
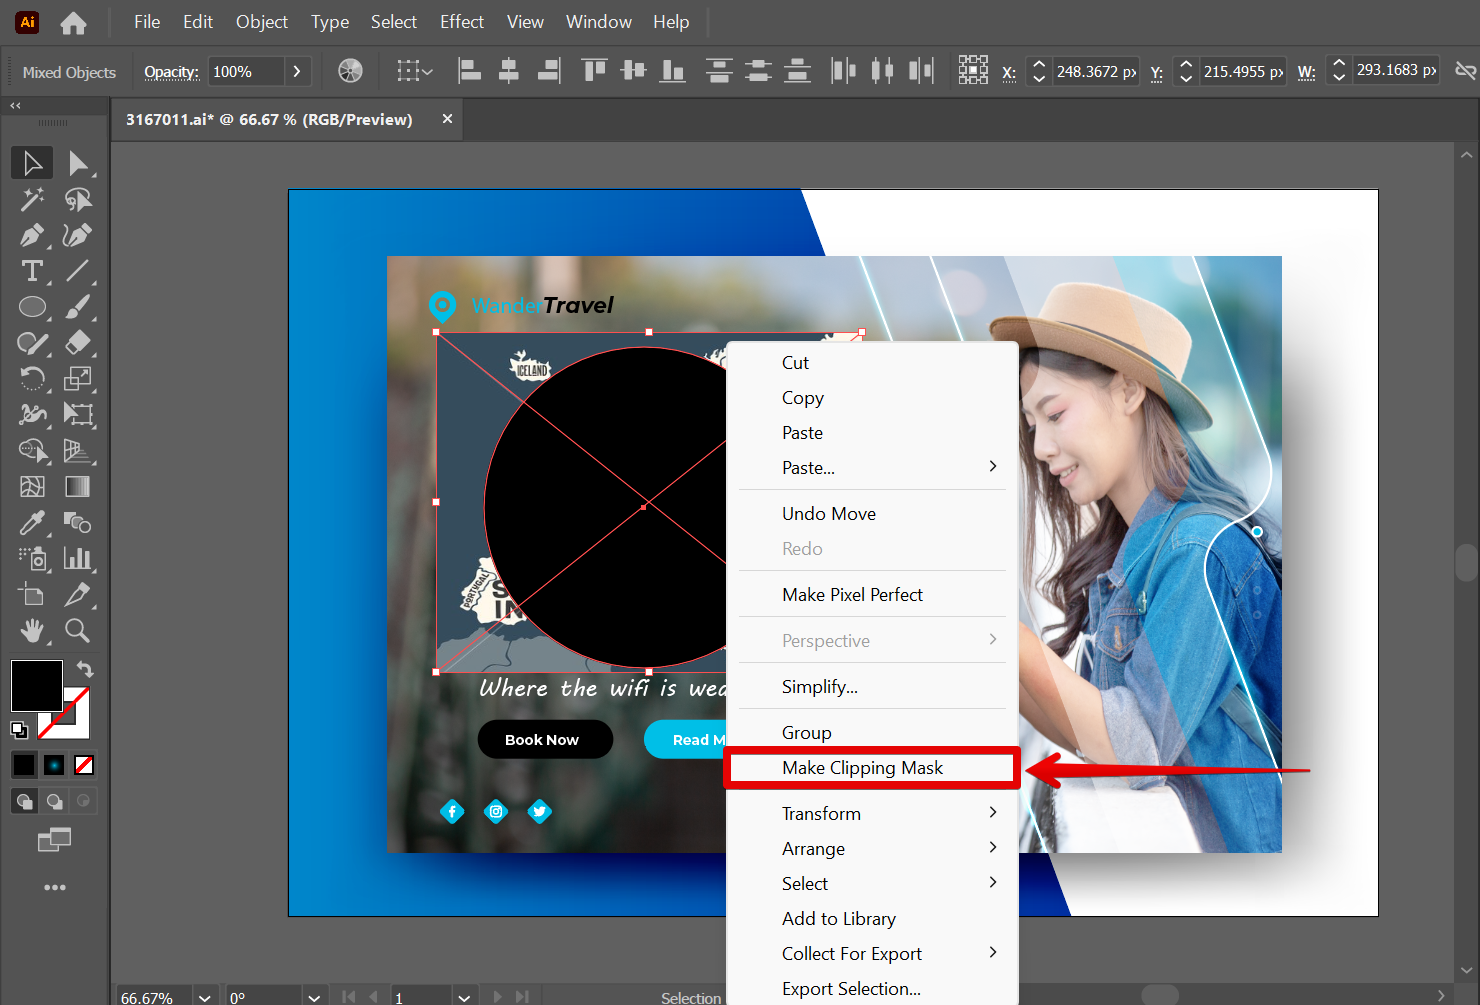
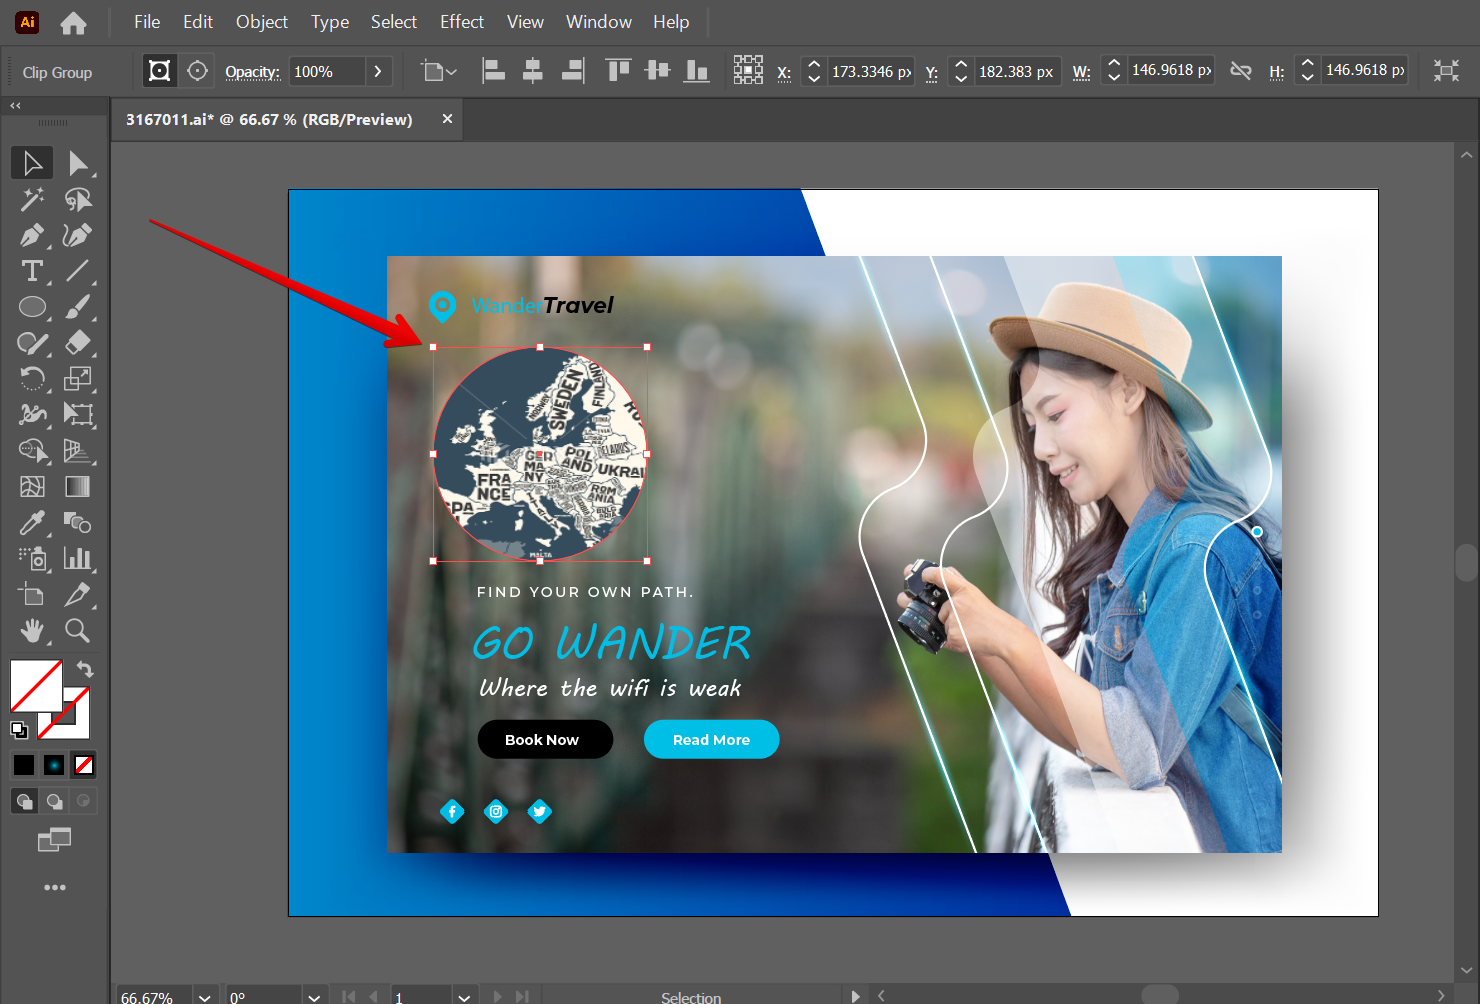
6. This will make the map take the shape of the object above it.
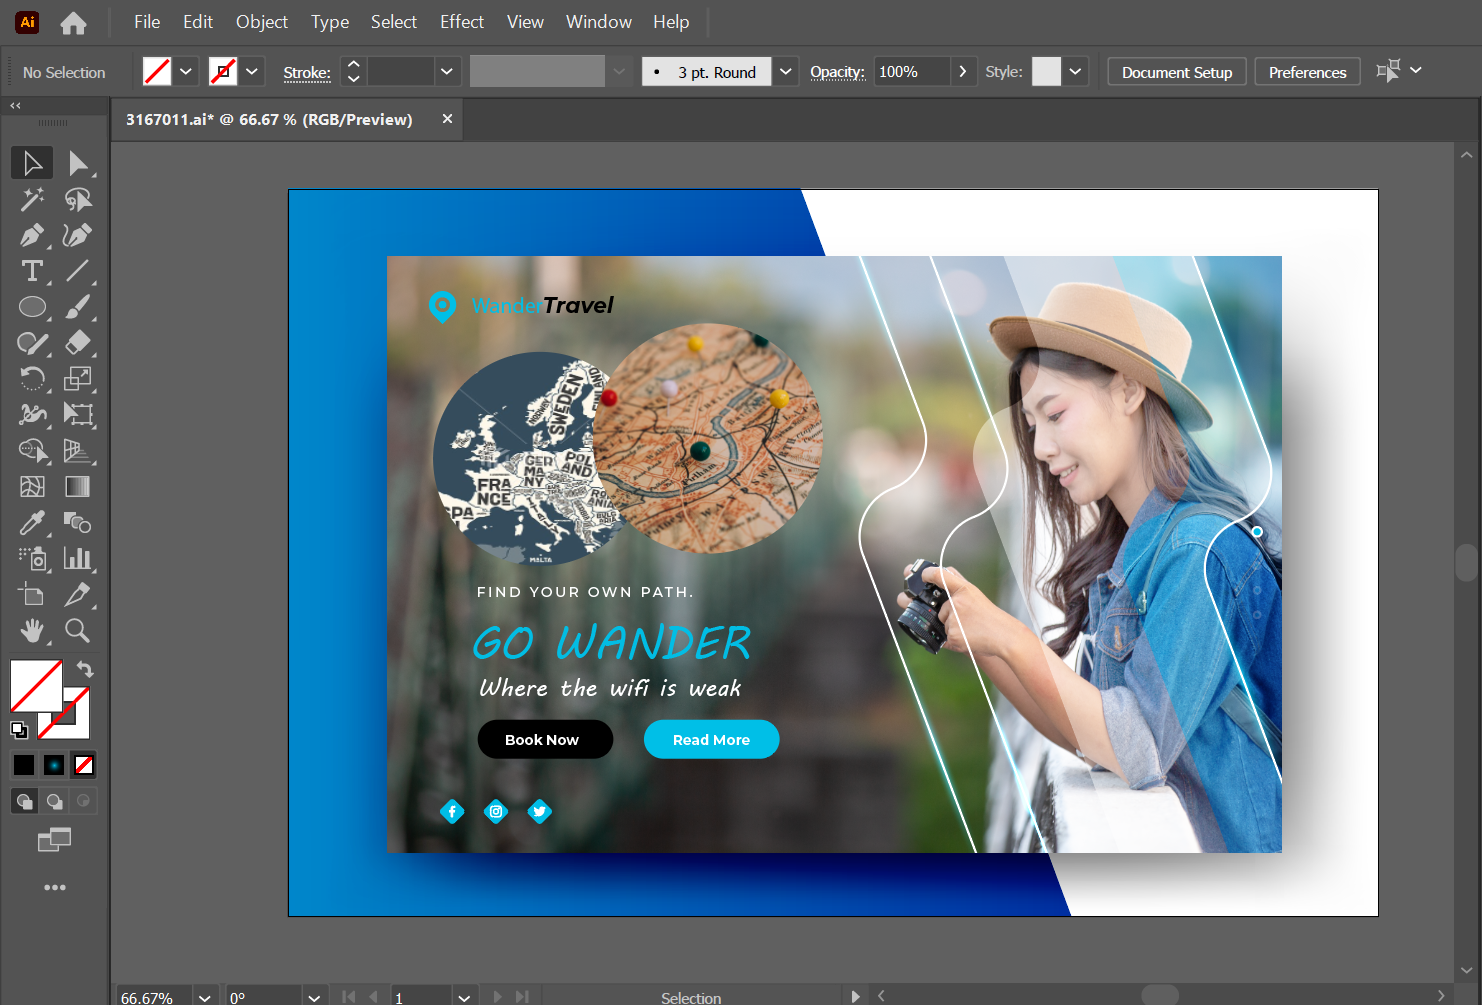
7. You can also add more maps to your design. Just select a new image and follow the steps above. And there you have it!
PRO TIP: Please be warned that making a map in Illustrator can be a very complex and time-consuming task. There are a lot of details that need to be taken into consideration, and it is easy to make mistakes that can ruin the final product. If you are not confident in your ability to create a map in Illustrator, it is best to seek out professional help.
10 Related Question Answers Found
Making a topographic map in Illustrator can be done in a few simple steps. First, create a new document with a desired map size (in inches or centimeters) and a resolution of 300 ppi. Next, select the Base Map layer and click on the Add Layer Mask button (in the Layers panel).
Creating a city map in Illustrator is relatively easy. First, create a new document in Illustrator and make sure the artboard is set to the desired size. Then, use the Rectangle Tool (M) to create a basic outline of the city.
Vector maps are a fantastic way to illustrate your maps. They are easy to create and allow you to customize the look and feel of your map. There are a few steps that you need to take to create a vector map in Illustrator.
An elaborated article about how to make a calendar in Illustrator:
In this tutorial, we will show you how to make a simple calendar in Illustrator. The finished product should look like the image below.
1. First, start by creating a new document in Illustrator.
There are a few ways to make a landscape in Illustrator. One way is to use the Rectangular Marquee tool and draw a Rectangular selection around the area you want to make a landscape in. Then use the Transform tool to stretch the selection out so that it is the same width and height as your document window.
Illustrator is a vector-based graphic design application that allows users to create images, logos, and illustrations. The program has a user-friendly interface that is easy to learn, and the tools available allow users to create sophisticated designs. To create an image in Illustrator, users first need to create a vector file.
Making a Floor Plan in Illustrator
There are a few different ways to make a floor plan in Illustrator. You can use the Draw tool to create a perspective view of your space, or you can use the Rectangle tool to manually create your floor plan. The first option is best if you want to create a detailed perspective view of your space.
An elaborated article on how to make a stamp in Illustrator:
1. Open Illustrator and create a new document.
2. Click on the Stamp tool in the toolbar and select the Stamp Size option.
3.
In this Illustrator tutorial, we will be learning how to graph an area in Illustrator. We will be using the Rectangle tool to create the shape, and then we will be using the Pathfinder to create the smooth lines. Finally, we will add a gradient to the path to create the desired effect.
Illustrator is a vector graphic design application that allows users to create images and illustrations. There are a variety of tools that are available to cut an image, but the most common is the Crop tool. To use the Crop tool, first select the image that you want to cut and then click on the Crop tool in the toolbar.