In Photoshop, there are a few different ways that you can overlay color on an image.
1. Using the Color Overlay Layer Style
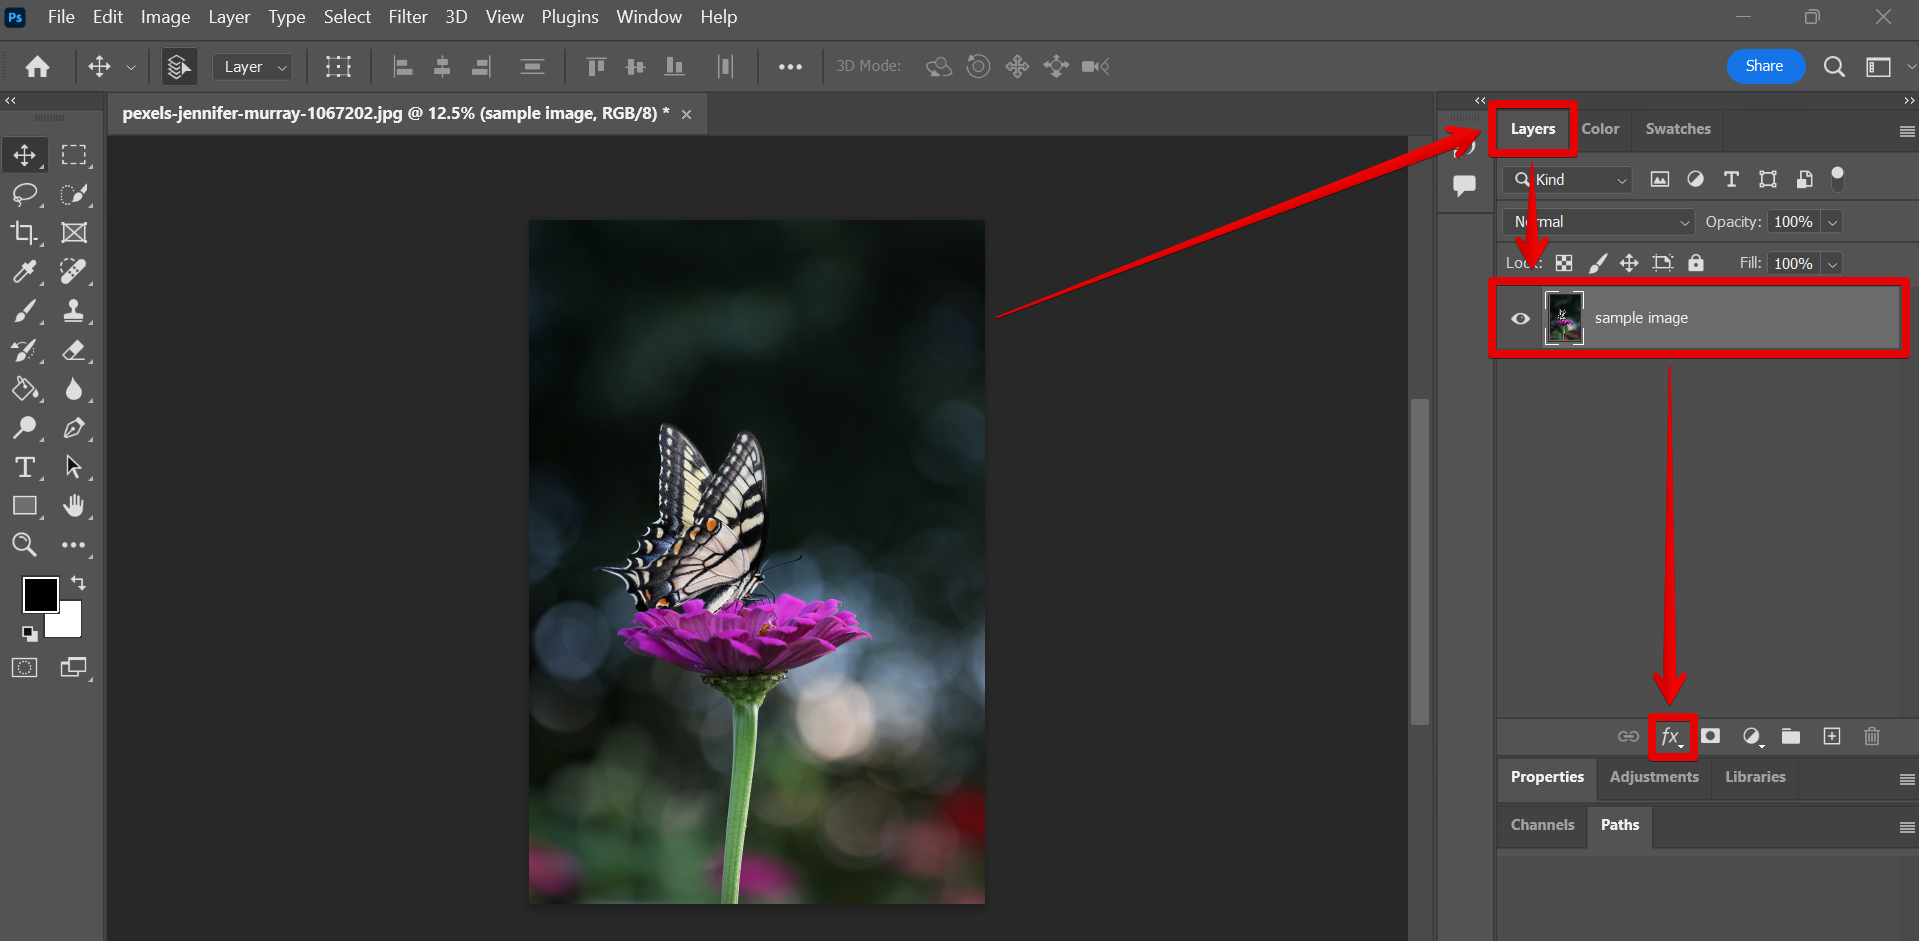
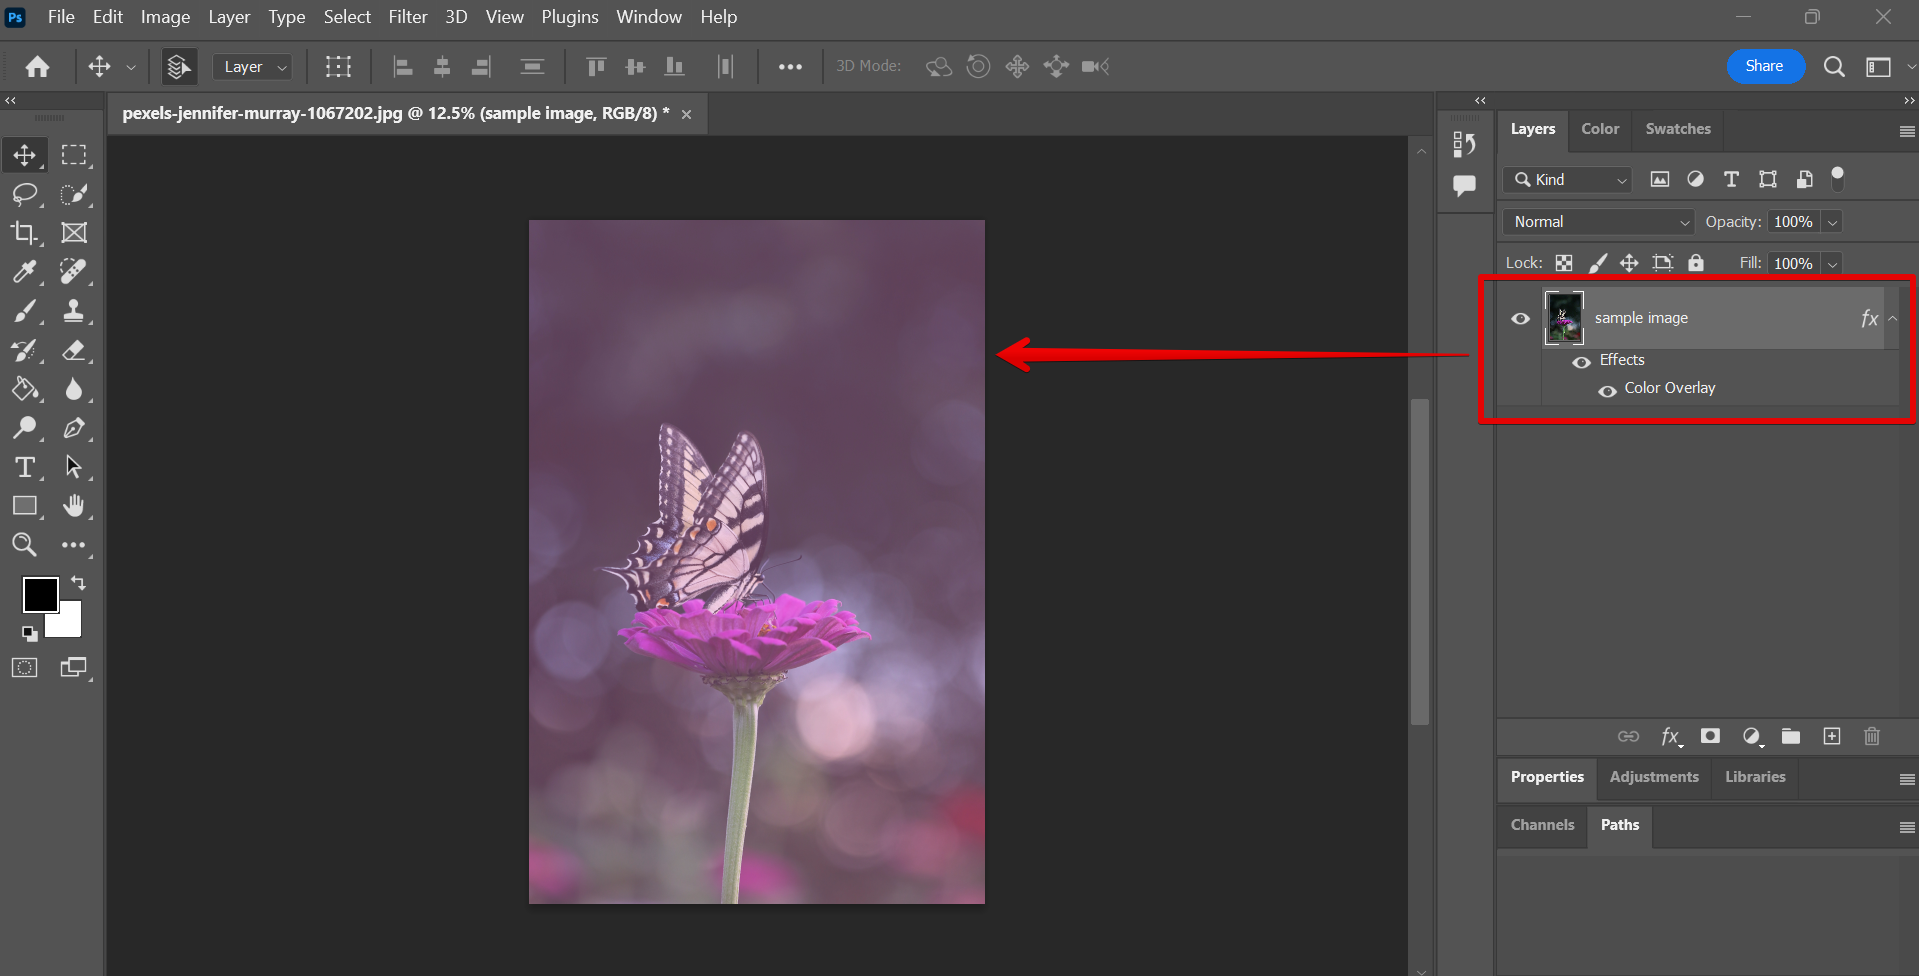
One way is to use the ‘Color Overlay’ layer style. To do this, simply double-click on the layer that you want to add the color overlay in the ‘Layers’ panel. You can also select the ‘fx’ icon in the lower part to open the Effects menu.
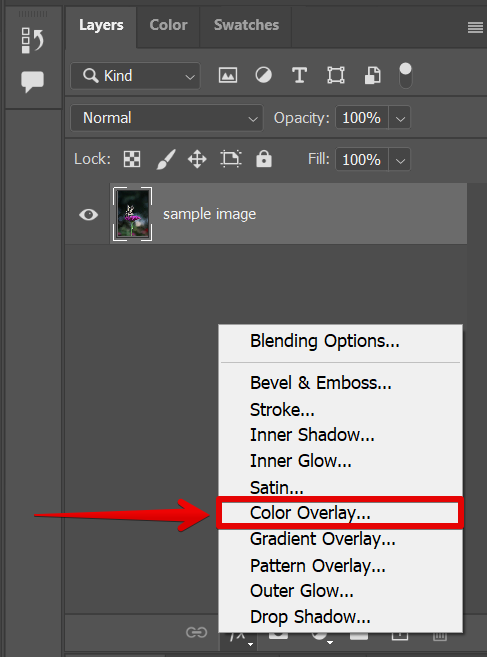
In the Effects menu, select the ‘Color Overlay’ option.
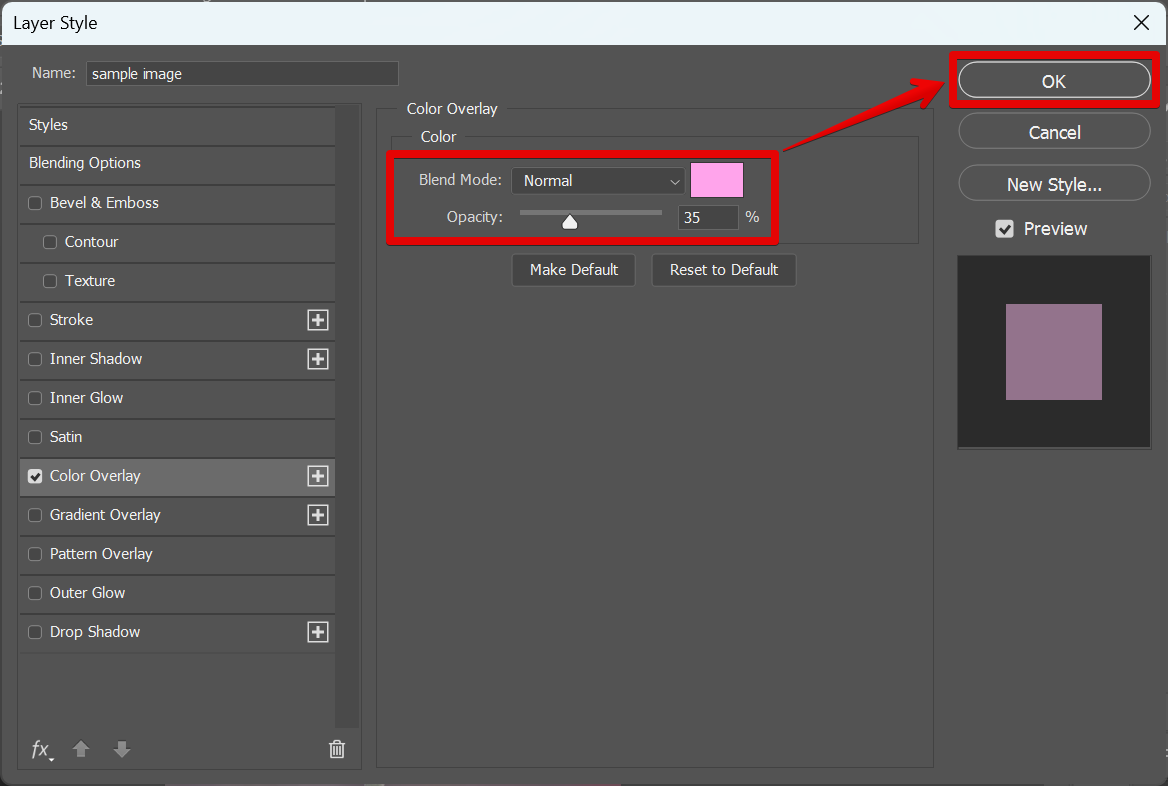
This will bring up the ‘Layer Style’ window. Then, click on the ‘Color Overlay’ option and choose the color that you want to use from the ‘Color’ picker. You can also adjust the ‘Opacity’ and ‘Blend Mode’ of the color overlay from this window. Once done, click on the ‘OK’ button.
The Color Overlay Effect should now be applied to your image.
2. Using a Solid Color Layer
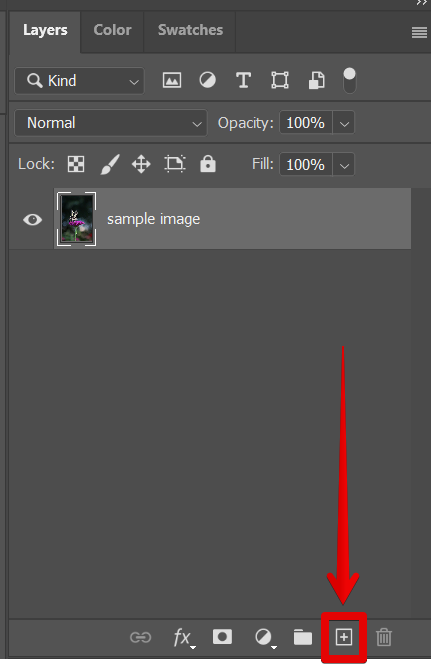
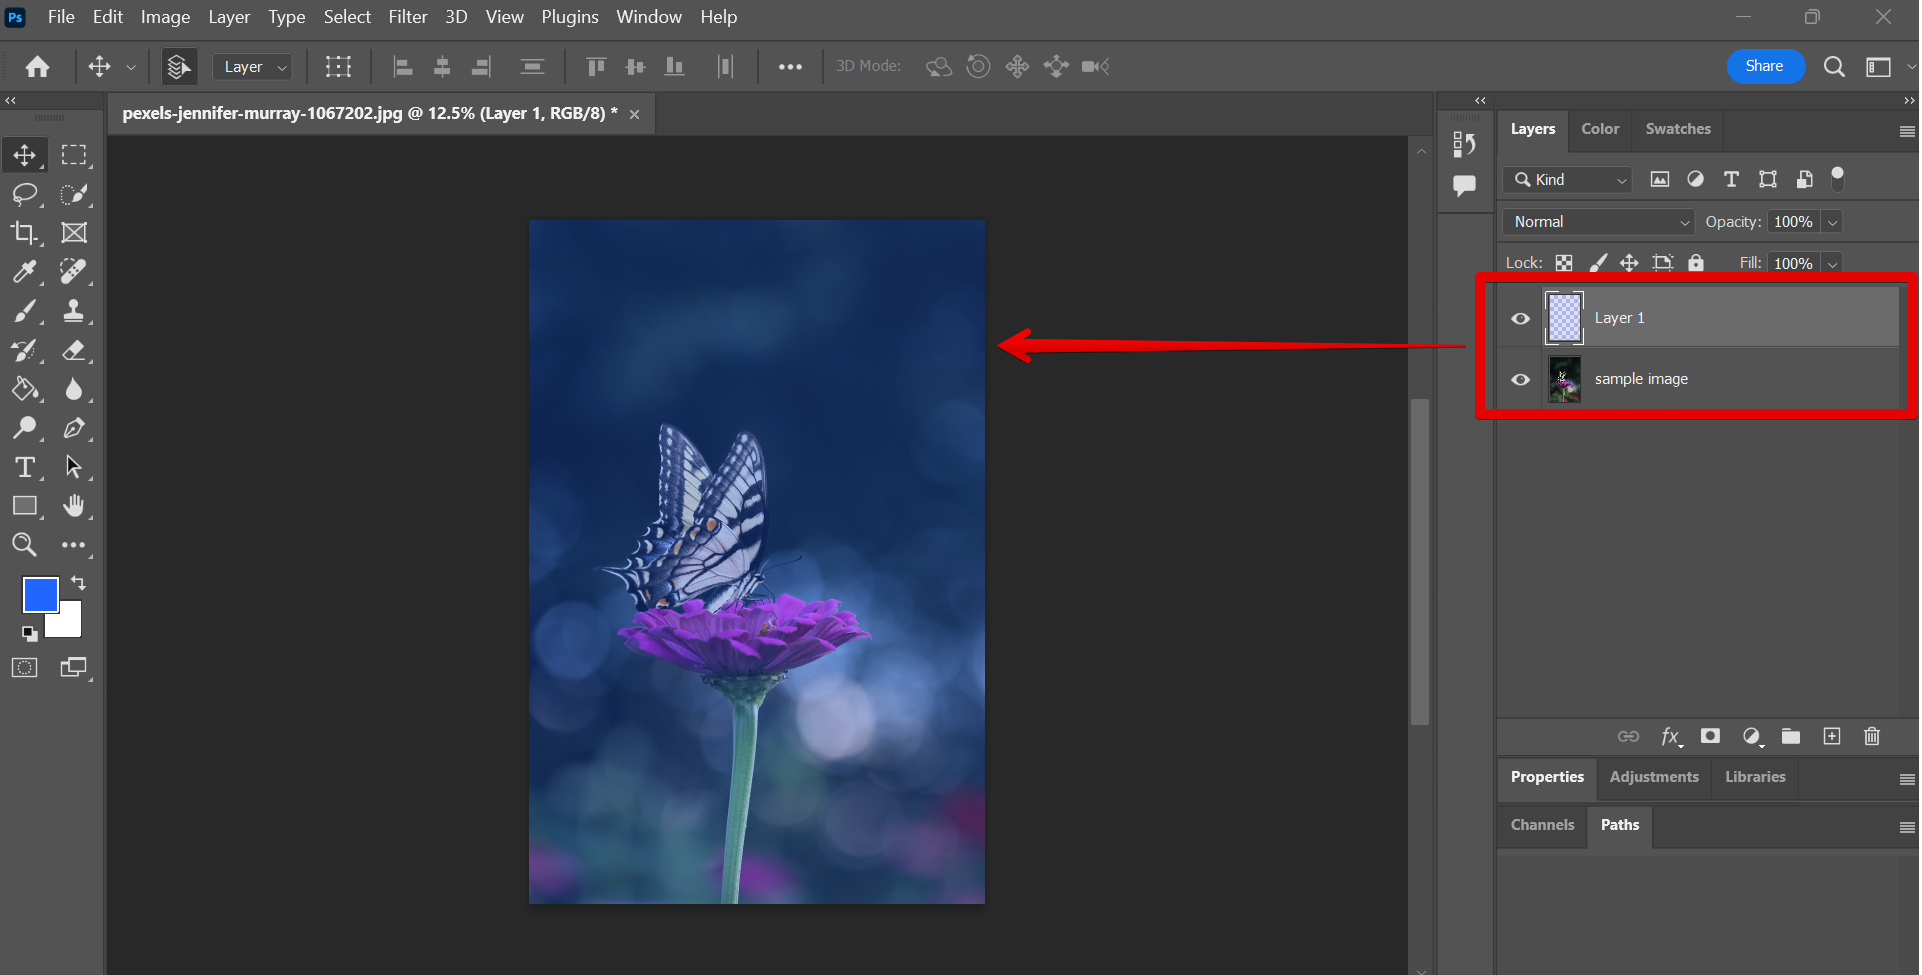
Another way to overlay color on an image is to use a solid color layer. To do this, create a new layer by clicking on the ‘Create a new layer’ icon at the bottom of the ‘Layers’ panel.
Overlaying color on an image in Photoshop can result in a loss of quality if the image is not properly prepared beforehand. Make sure to flatten the image and increase the canvas size to avoid any unwanted pixelation.
Then, choose a color from the ‘Foreground Color’ picker.

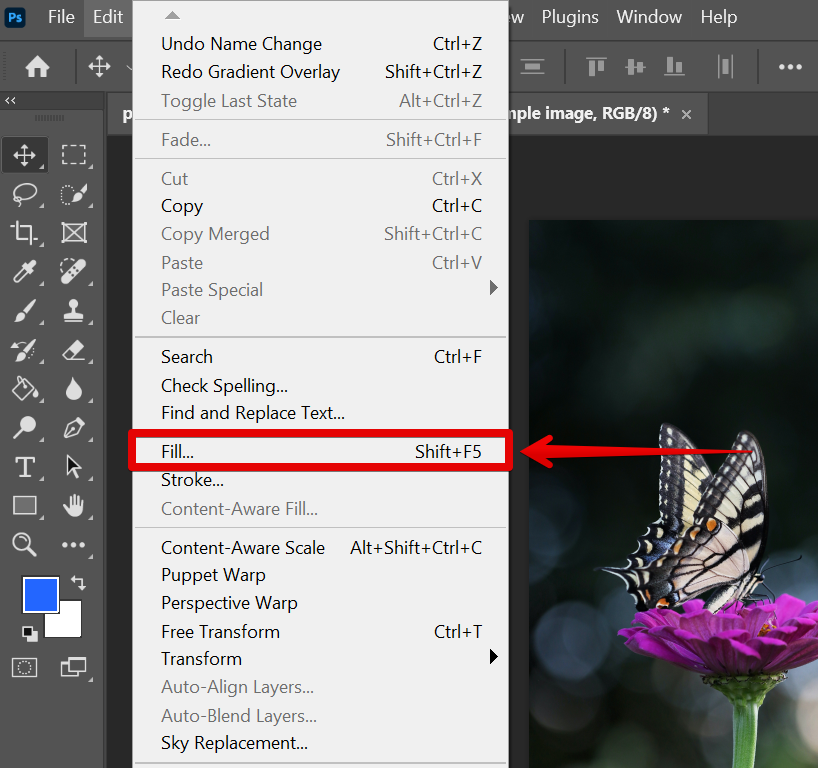
Once done, click on the ‘Fill’ option from the ‘Edit’ menu.
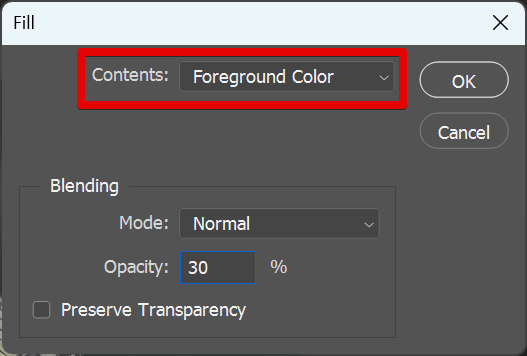
In the Fill dialog box that will appear, adjust the fill color settings. Make sure that the ‘Foreground Color’ is selected in the Contents section. You can also adjust the Blending Mode and Opacity of the color overlay to be applied. Once done, click on the ‘OK’ button.
This will fill your new layer with the chosen color. You can then adjust the opacity and blend mode of this layer to get the desired effect.
3. Using a Gradient Map Adjustment Layer
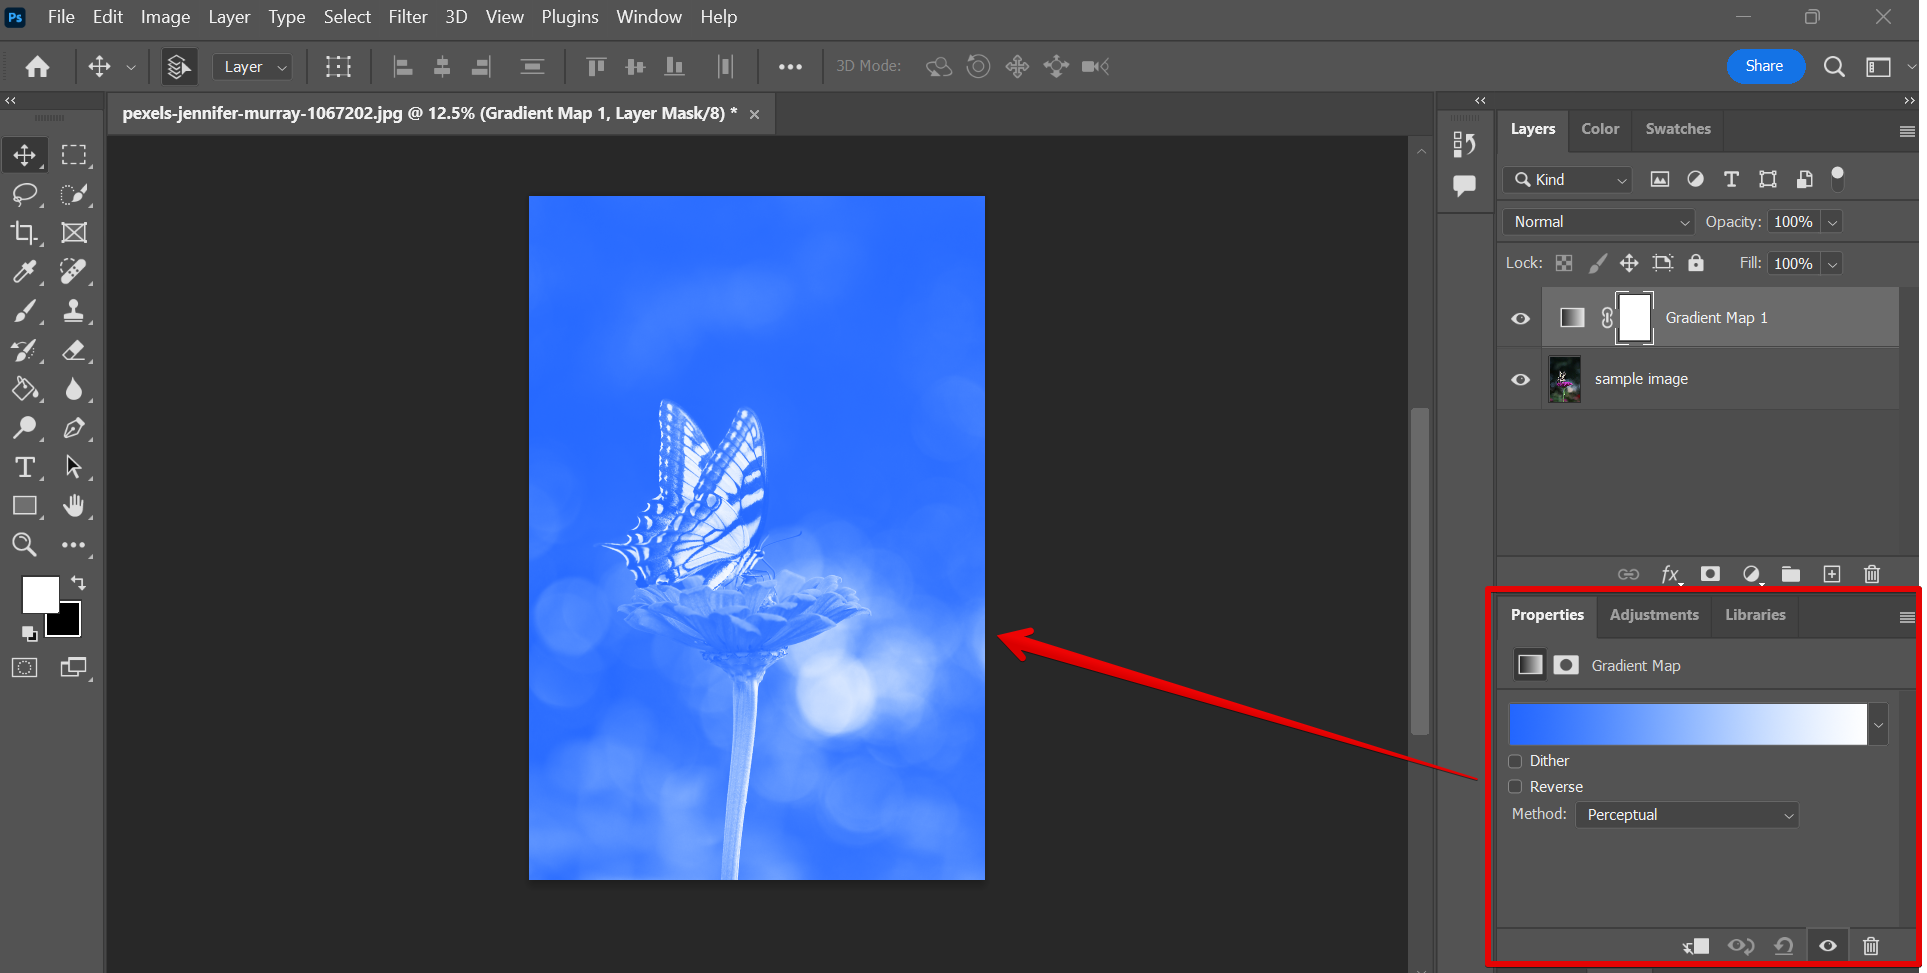
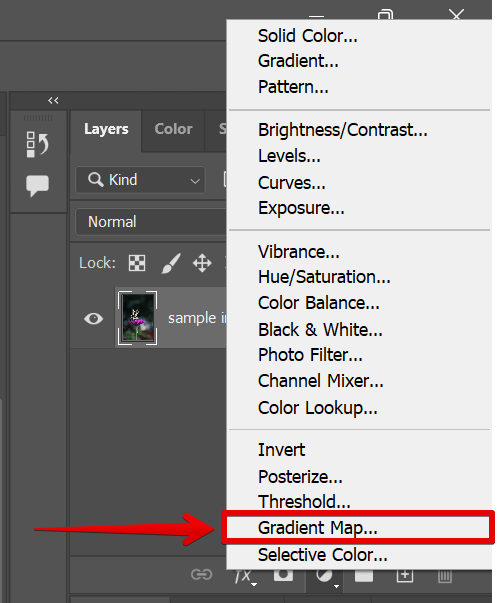
Finally, you can also use a gradient map to overlay color on an image. To do this, create a new gradient map layer by clicking on the ‘Create new fill or adjustment layer’ icon at the bottom of the ‘Layers’ panel.

From there, choose ‘Gradient Map’ from the list.
This will automatically apply the Gradient map as a color overlay to your image. You can choose your desired colors from the ‘Gradient’ picker in the Properties panel. You can also adjust the opacity and blend mode of this layer to get the desired effect.