Adding a black border in Photoshop is a simple way to make your images pop. The best part about this technique is that it’s easy to do and only requires a few steps. Here’s how:
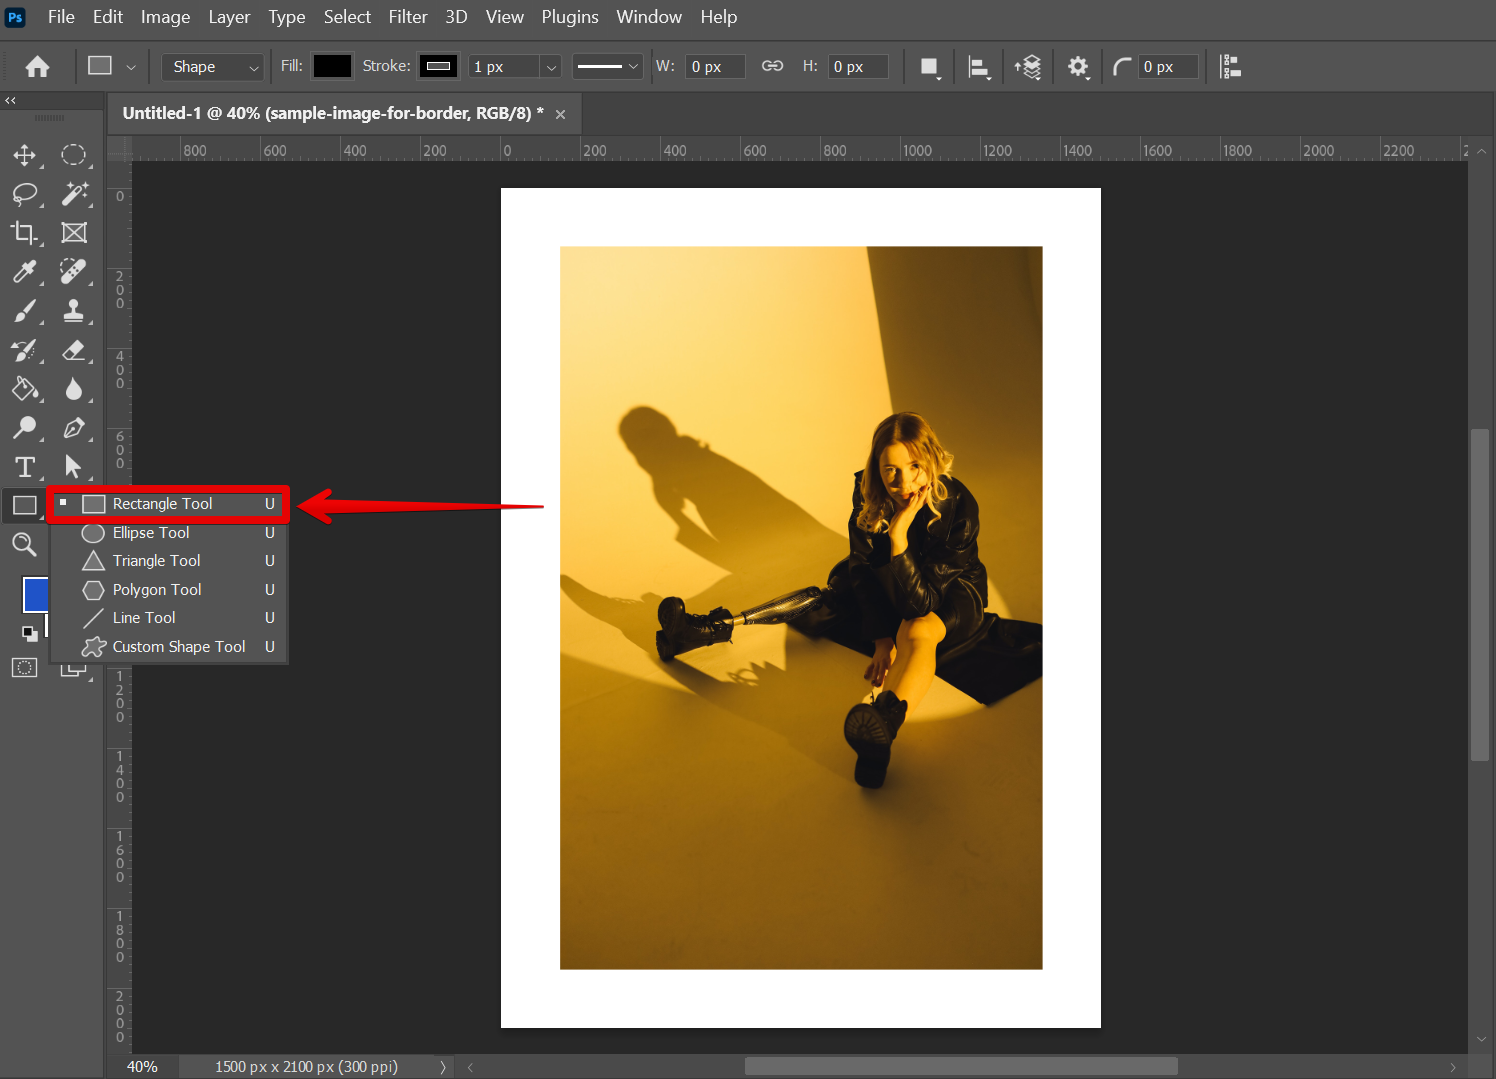
1. Open your image in Photoshop and select the “Rectangle Tool” from the toolbar.
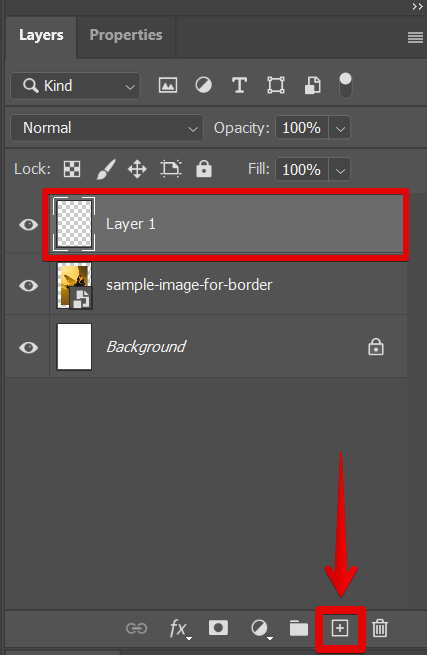
2. Click on the “Create a new layer” icon in the Layers panel.
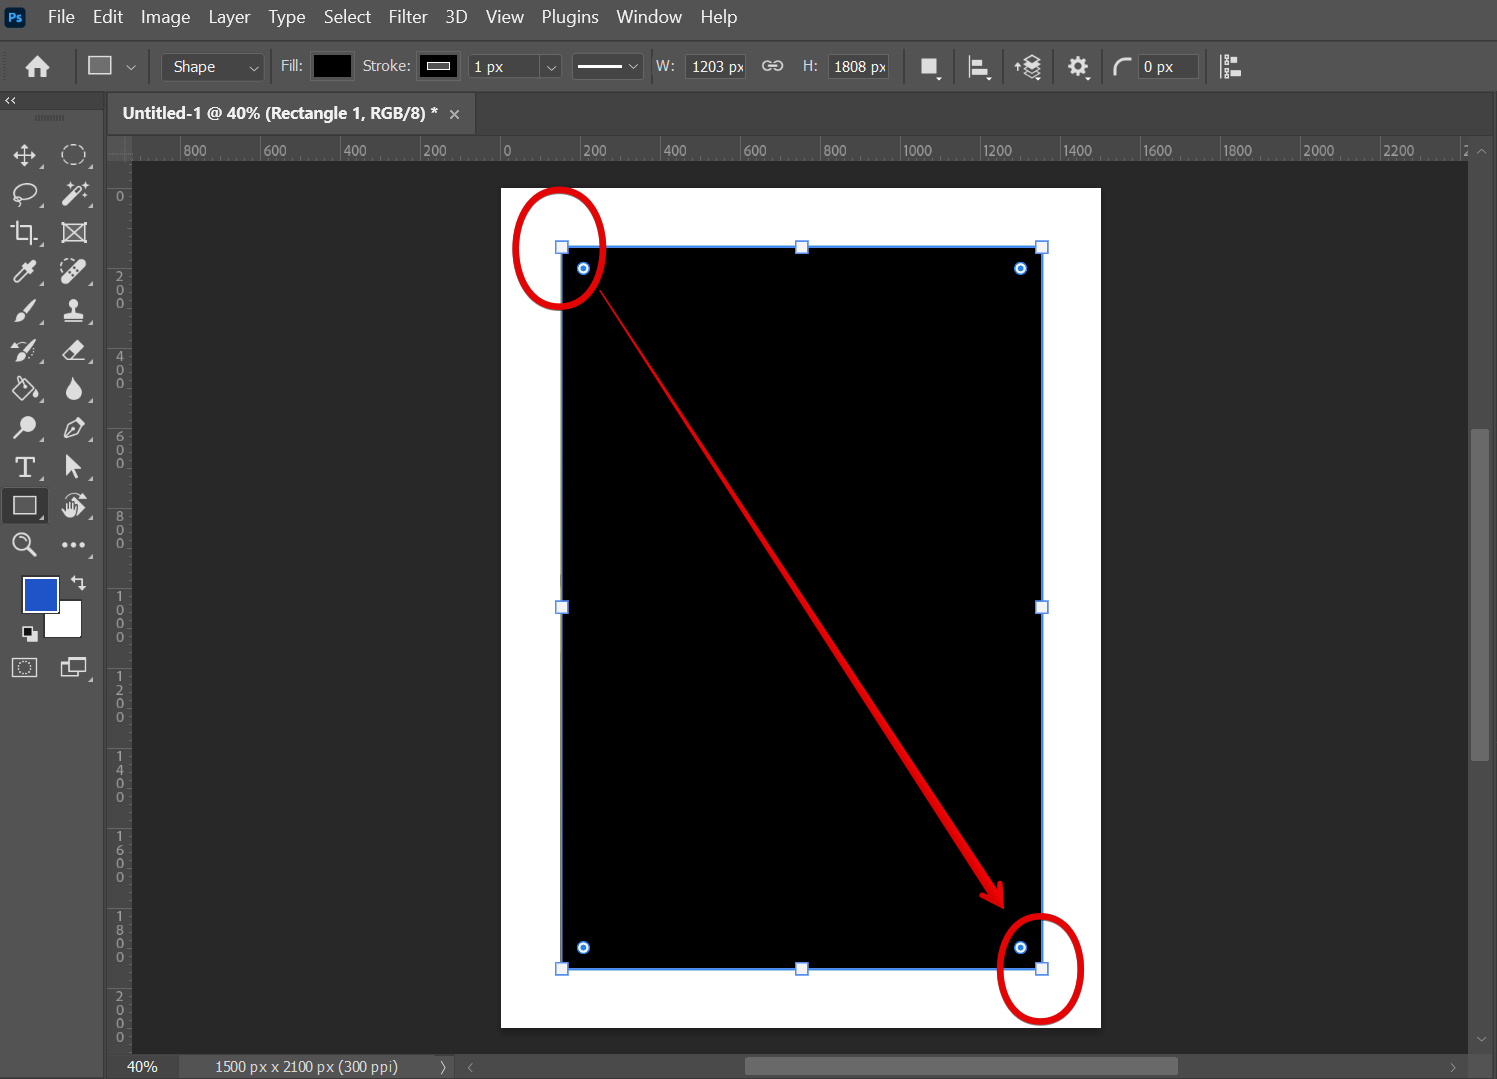
3. Draw a rectangle around the edge of your image. To do this, click and drag your mouse around the edge of the image.
PRO TIP: If you are not familiar with Photoshop, do not attempt to add a black border. You may unintentionally damage the image.
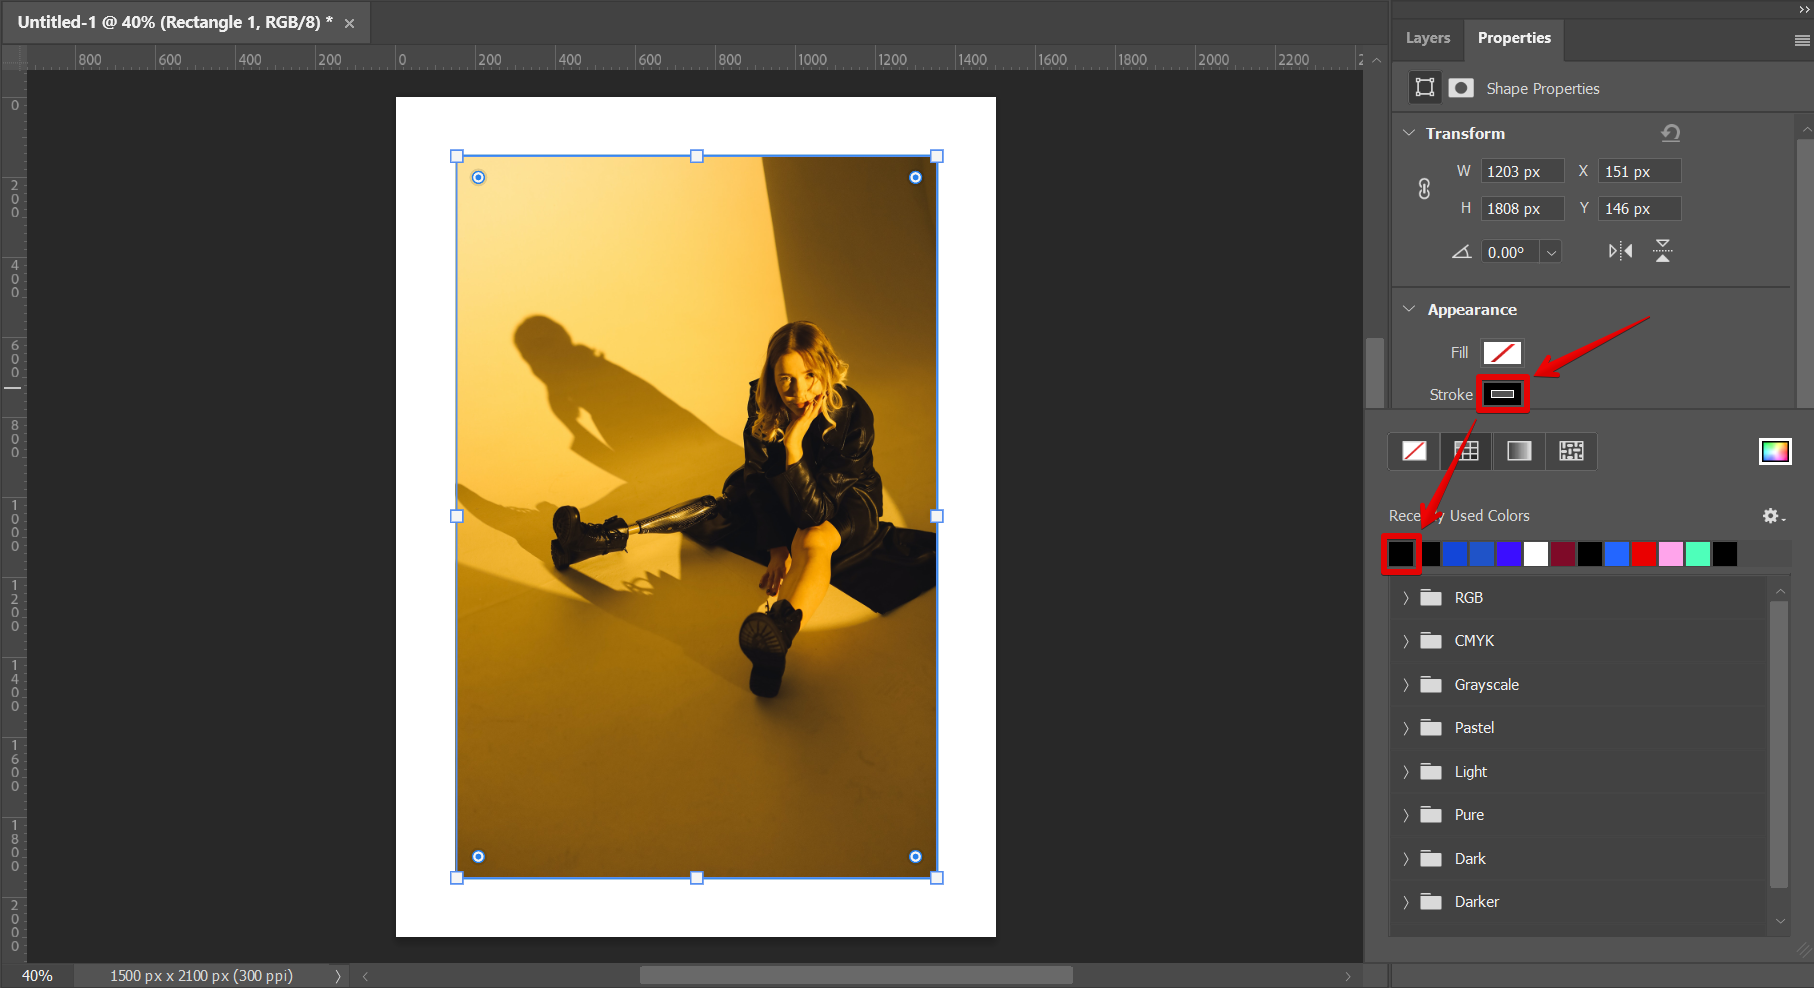
4. With the rectangle still selected, go to the “Appearance” section under the Properties window and select “Fill.” Then click on the “No color” option to disable any color filling in the rectangle.
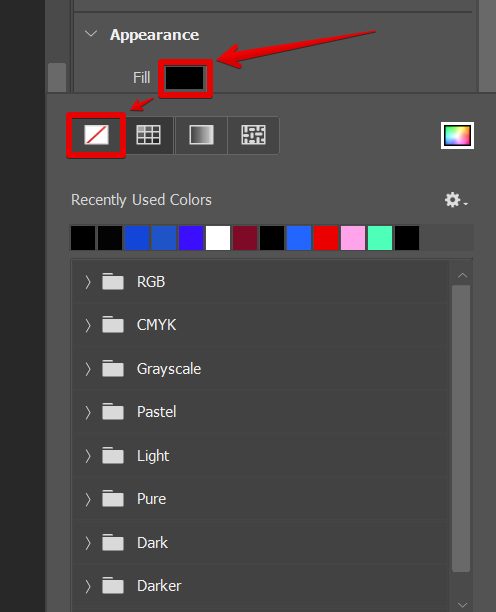
5. Now, click on the “Stroke” option still in the Appearance section and select the color “Black” from the Color Picker.
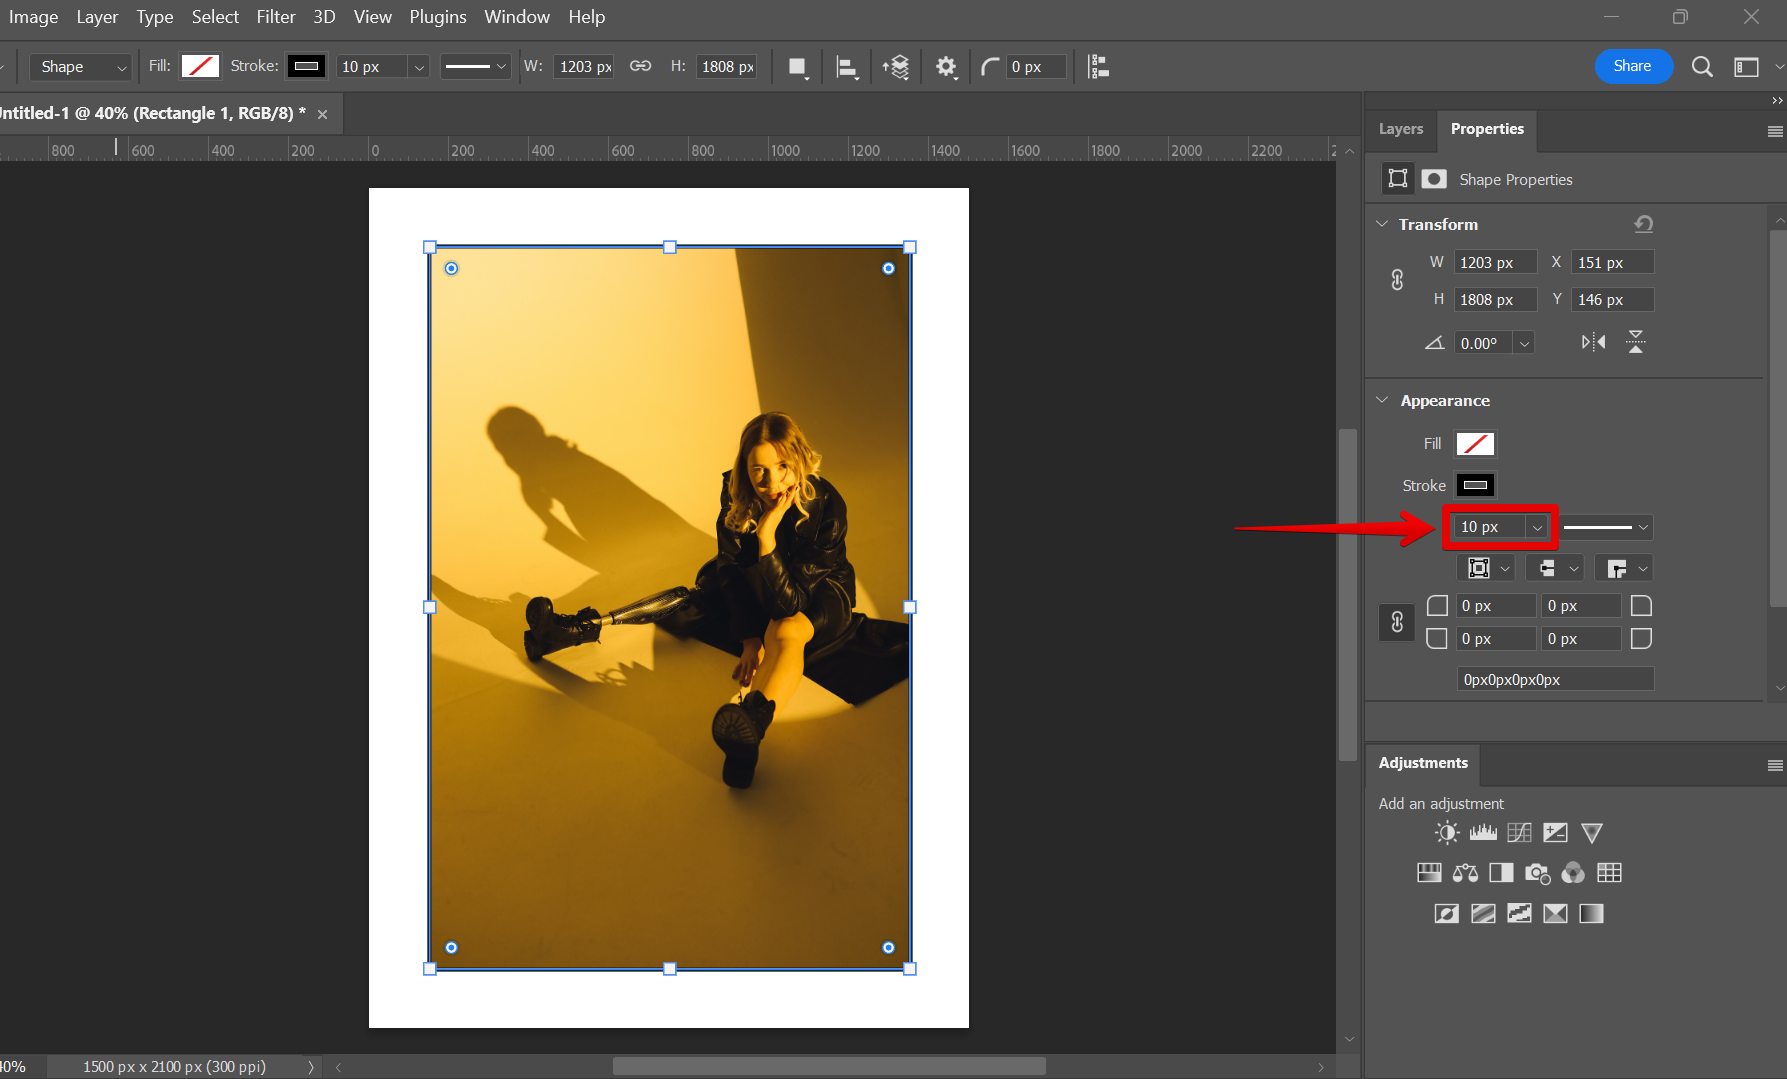
6. Finally, in the “Stroke” section, set the width of the stroke to 10 pixels. And that’s it!
NOTE: You can set the Stroke width of the border to your preference. Just keep in mind to set the thickness accordingly.
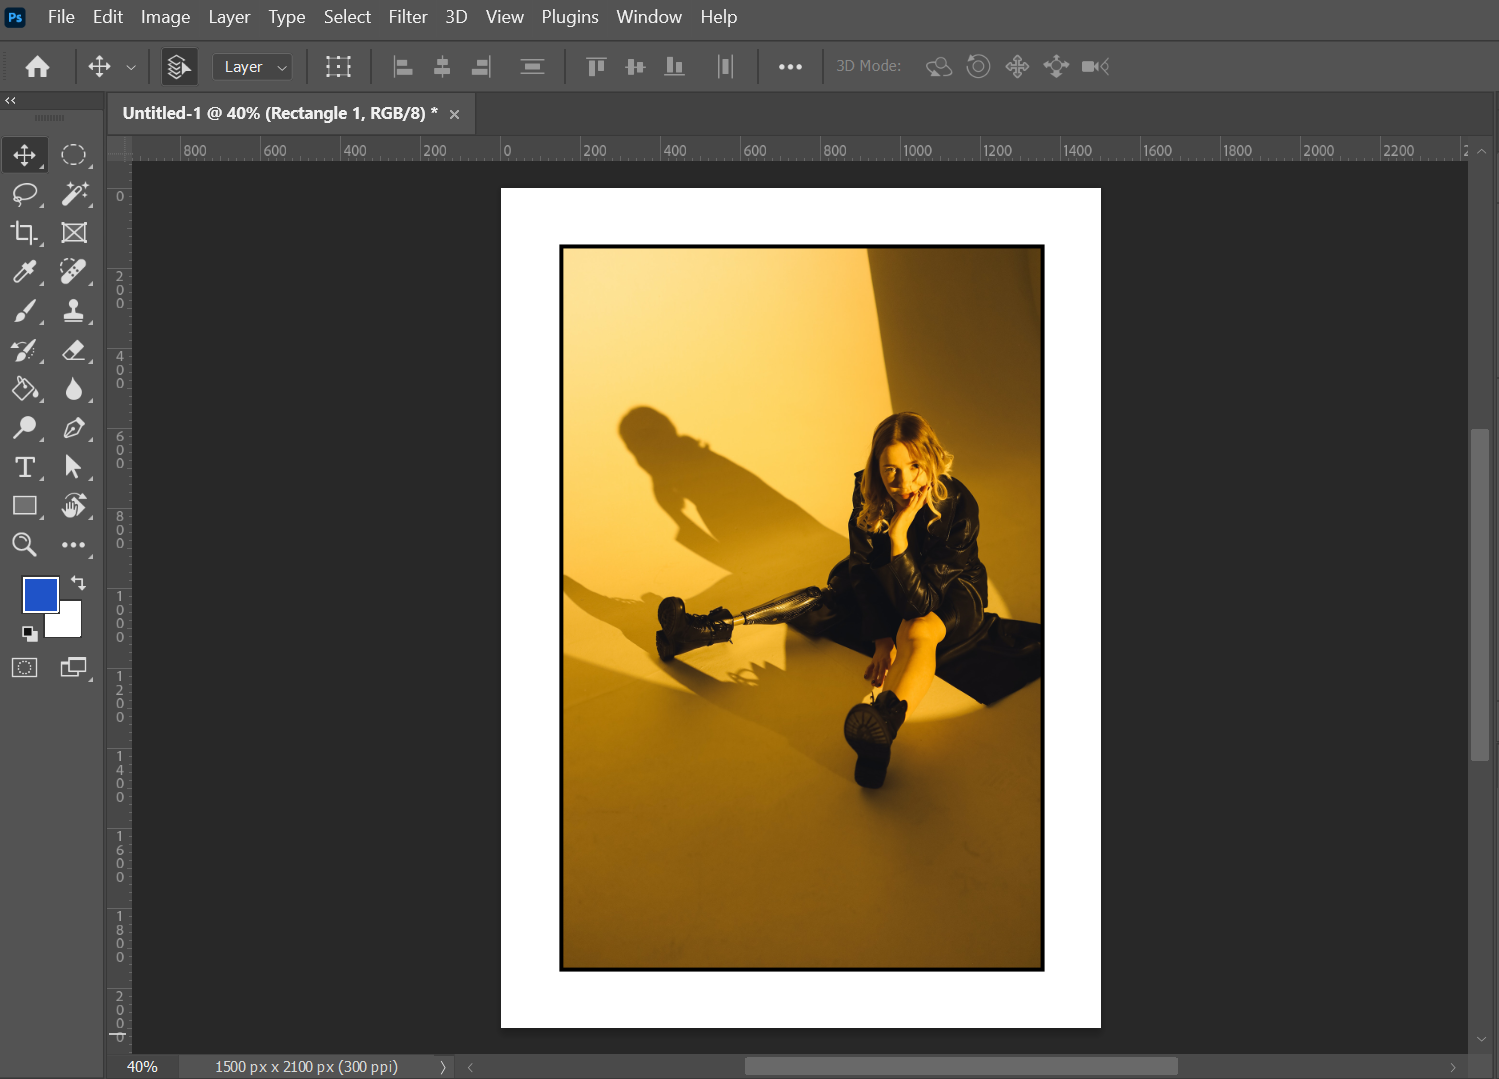
Your image should now have a black border!
Adding a black border in Photoshop is an easy way to make your images stand out. You can do this by using the Rectangle Tool to draw a rectangle around the edge of your image, and then going to the Appearance section and selecting Stroke. In the Stroke section, set the width of the stroke to 10 pixels and select Black from the color picker.
7 Related Question Answers Found
Borders are a great way to add visual interest to your images and webpages. You can create borders in Photoshop by using the Stroke command. The Stroke command allows you to add a line around the edge of your images or selections.
Creating a pattern border in Photoshop is a relatively simple process. First, you need to create your pattern. This can be done by simply creating a new image file and filling it with the desired pattern.
Adding a border to a selection is a common task that is performed in Photoshop. There are a few different ways to do this, and the method you choose will depend on the results you are trying to achieve. One way to add a border to a selection is to use the ‘stroke’ command.
Assuming you have an image open in Photoshop:
1) Select the “Rectangle Tool” from the left toolbar. It looks like a square.
2) In the top menu, click on “View” and then “New Guide Layout.” A new window will pop up.
3) Enter the number of pixels you want for your border in the “Columns” field and the “Rows” field. For example, if you wanted a 2 pixel border, you would enter “2” in both fields.
Borders are a great way to add interest and style to your images, and Photoshop makes it easy to add them to your photos. Here’s how:
1.Open the image you want to add a border to in Photoshop.
2.Click on the “Layer” menu at the top of the screen and select “New” and then “Layer.”
3.A new layer will appear in your Layers palette. Select the “Foreground Color” tool from the toolbar.
4.Click on the color you want your border to be in the color picker that appears.
There are a few different ways that you can put a border around an image in Photoshop. One way is to use the ‘stroke’ tool. With the stroke tool selected, simply click on the edge of the image that you want to add a border to.
There are a few different ways that you can change a color to black in Photoshop. One way is to use the Hue/Saturation tool. With this tool, you can adjust the hue, saturation, and lightness of a color.