If you need to change the linetype in Illustrator, there are a few different ways to do it. The easiest way is to go to the Brushes window where you can see various line types that are brush-like. To open this, simply go to the Window menu and select the “Brushes” option.
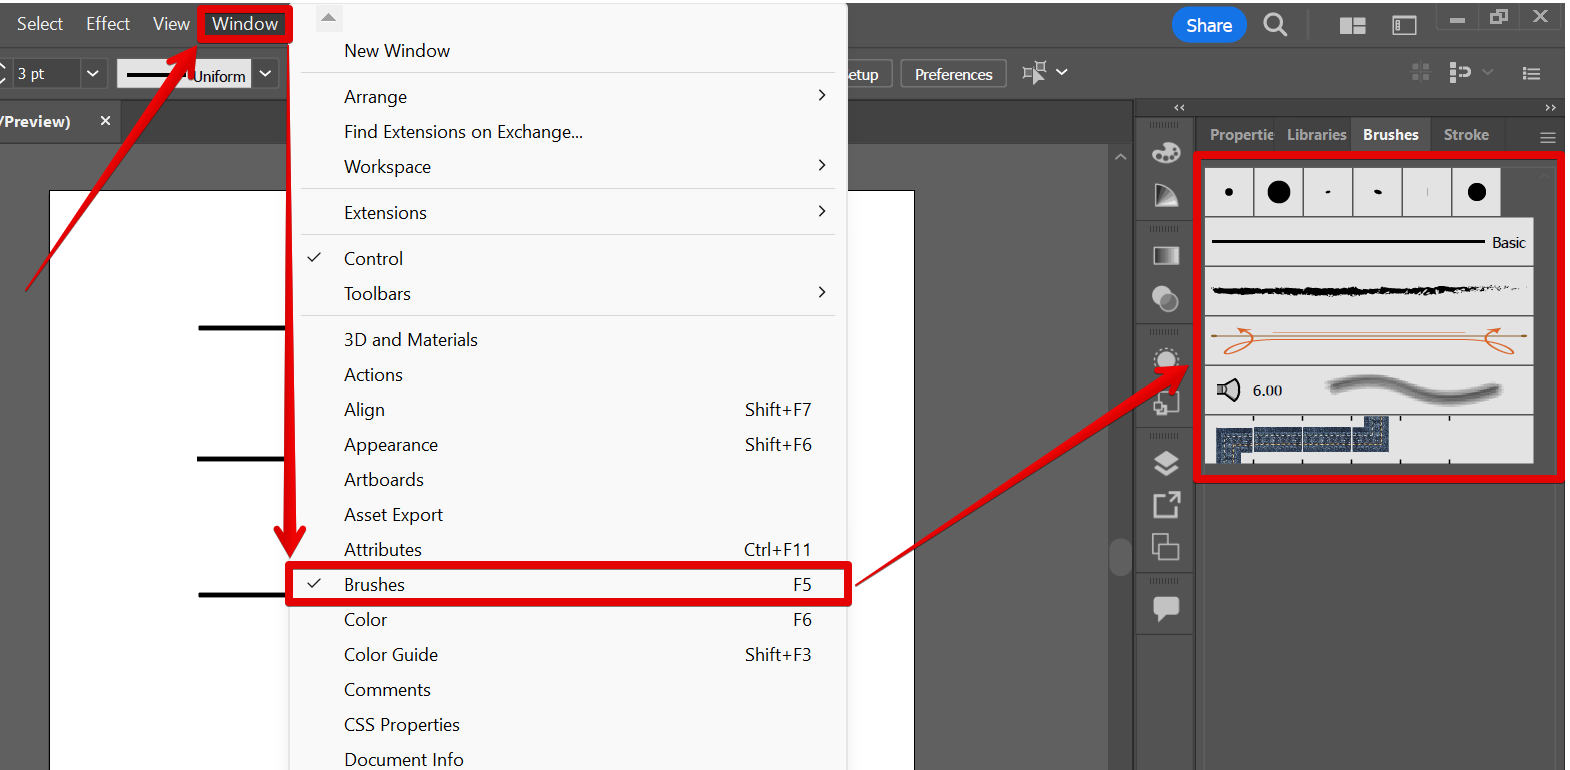
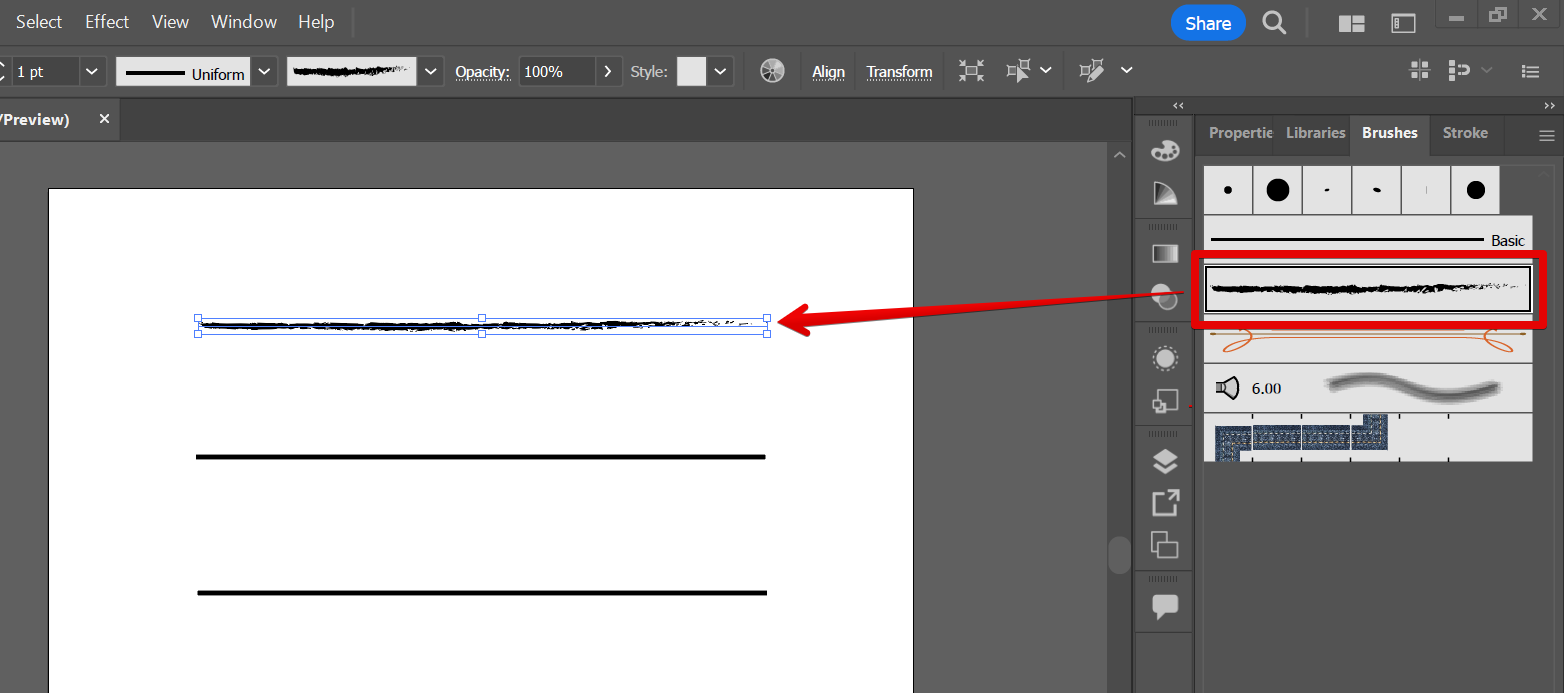
This will open the Brushes window, where you can select the new linetype from the list.
PRO TIP: If you are not careful, changing the linetype in Illustrator can result in losing your work. Always save your work before changing the linetype, and be sure to export a copy in a format that can be opened in other vector editing software, just in case.
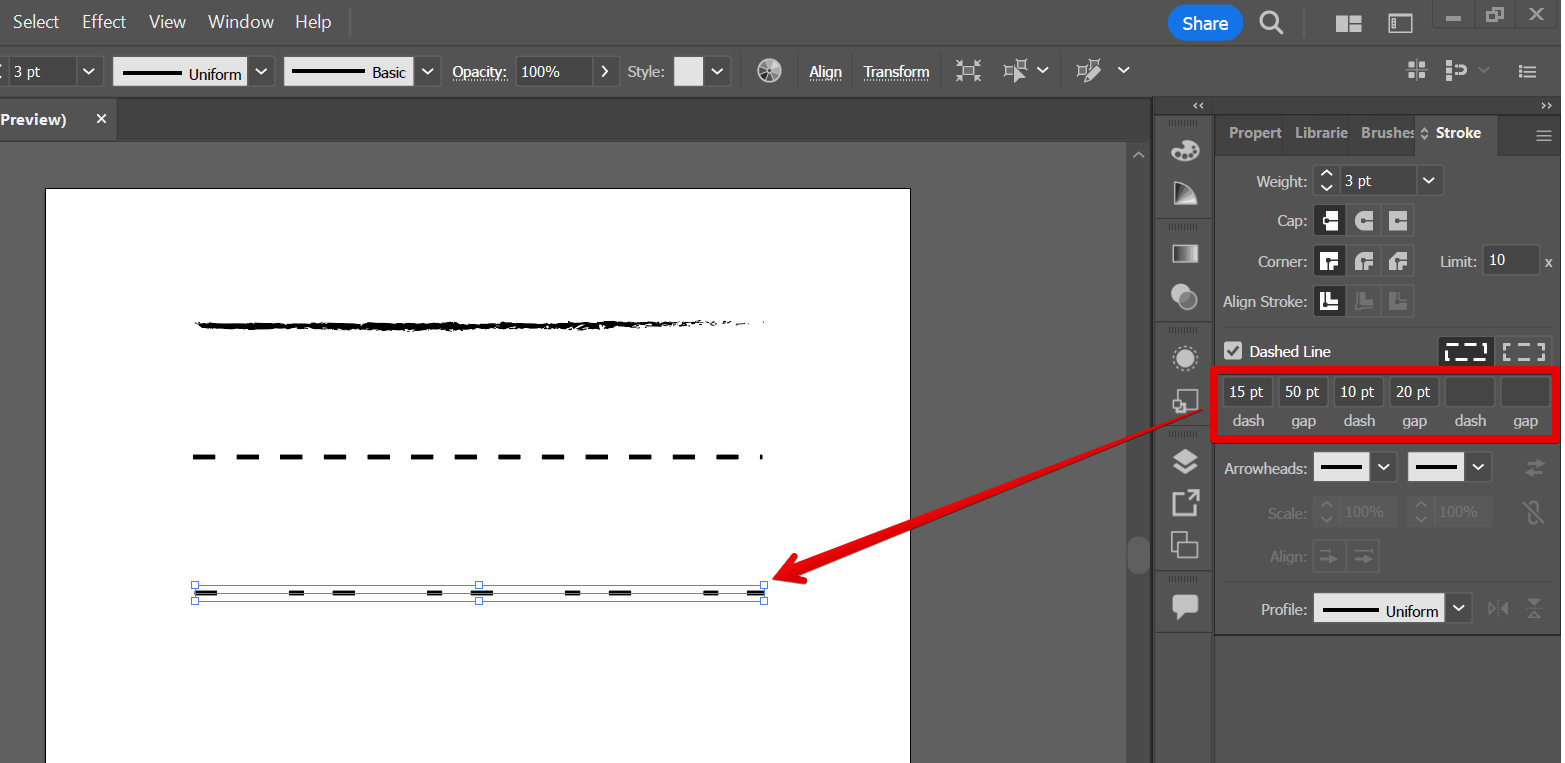
If you need to change the linetype to a dash-like appearance, you can use the Stroke Window (Window > Stroke).
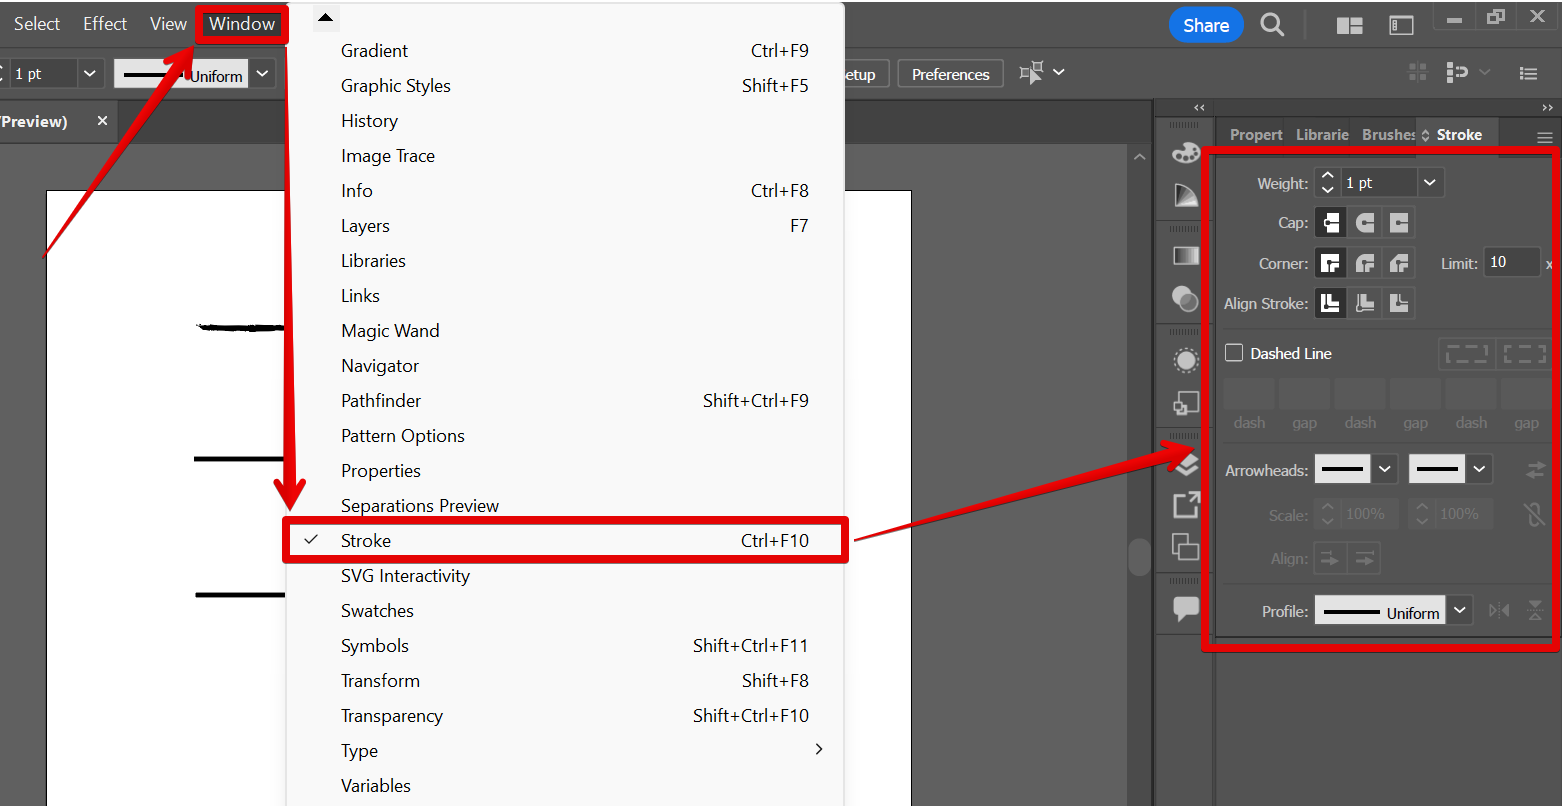
In the Stroke window on the right panel, click on the checkbox beside the “Dashed Line” option and this line type will be automatically applied to your line.
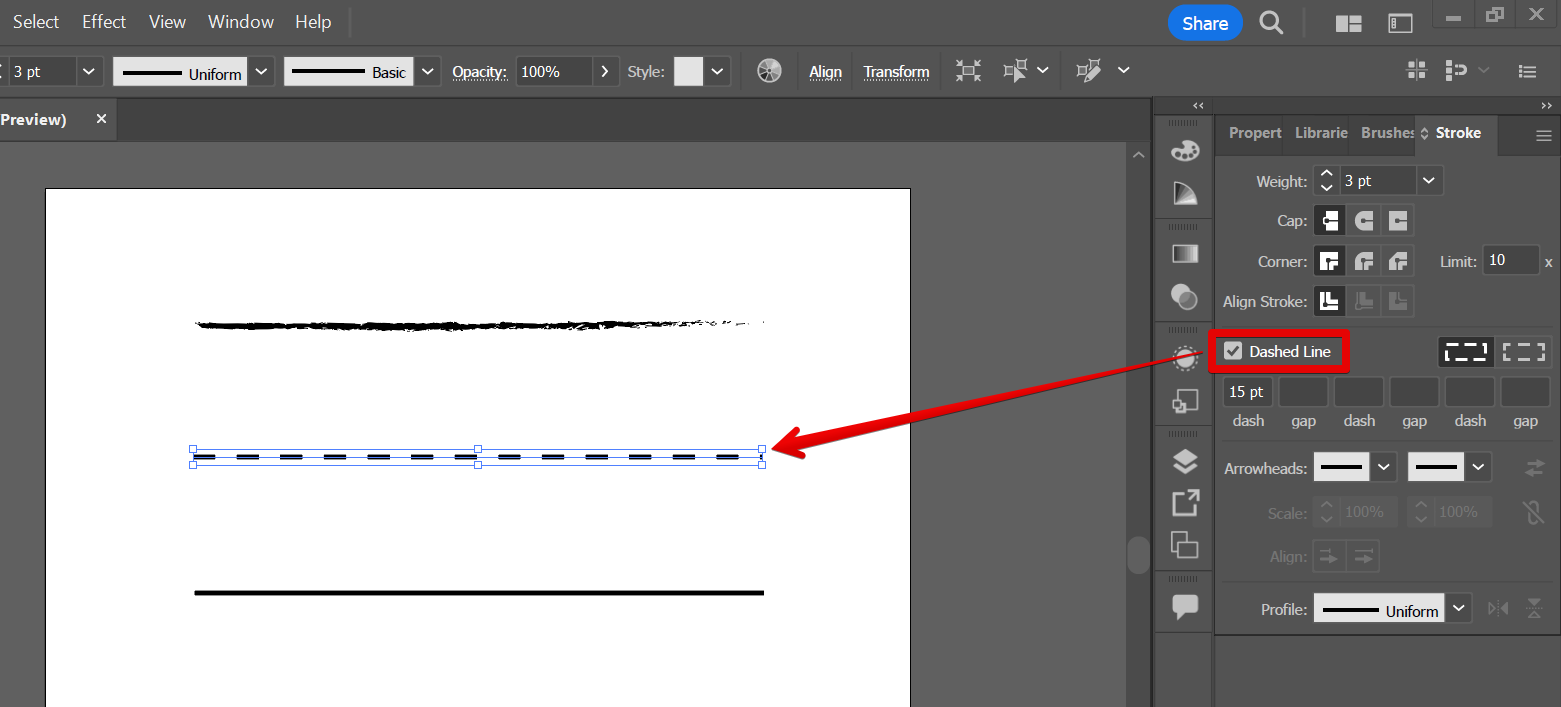
Finally, you can also use the Dashed Line settings to adjust the length of the dashes and how much gap there is in between the dashes. This will form another line type that you can adjust according to your preference.
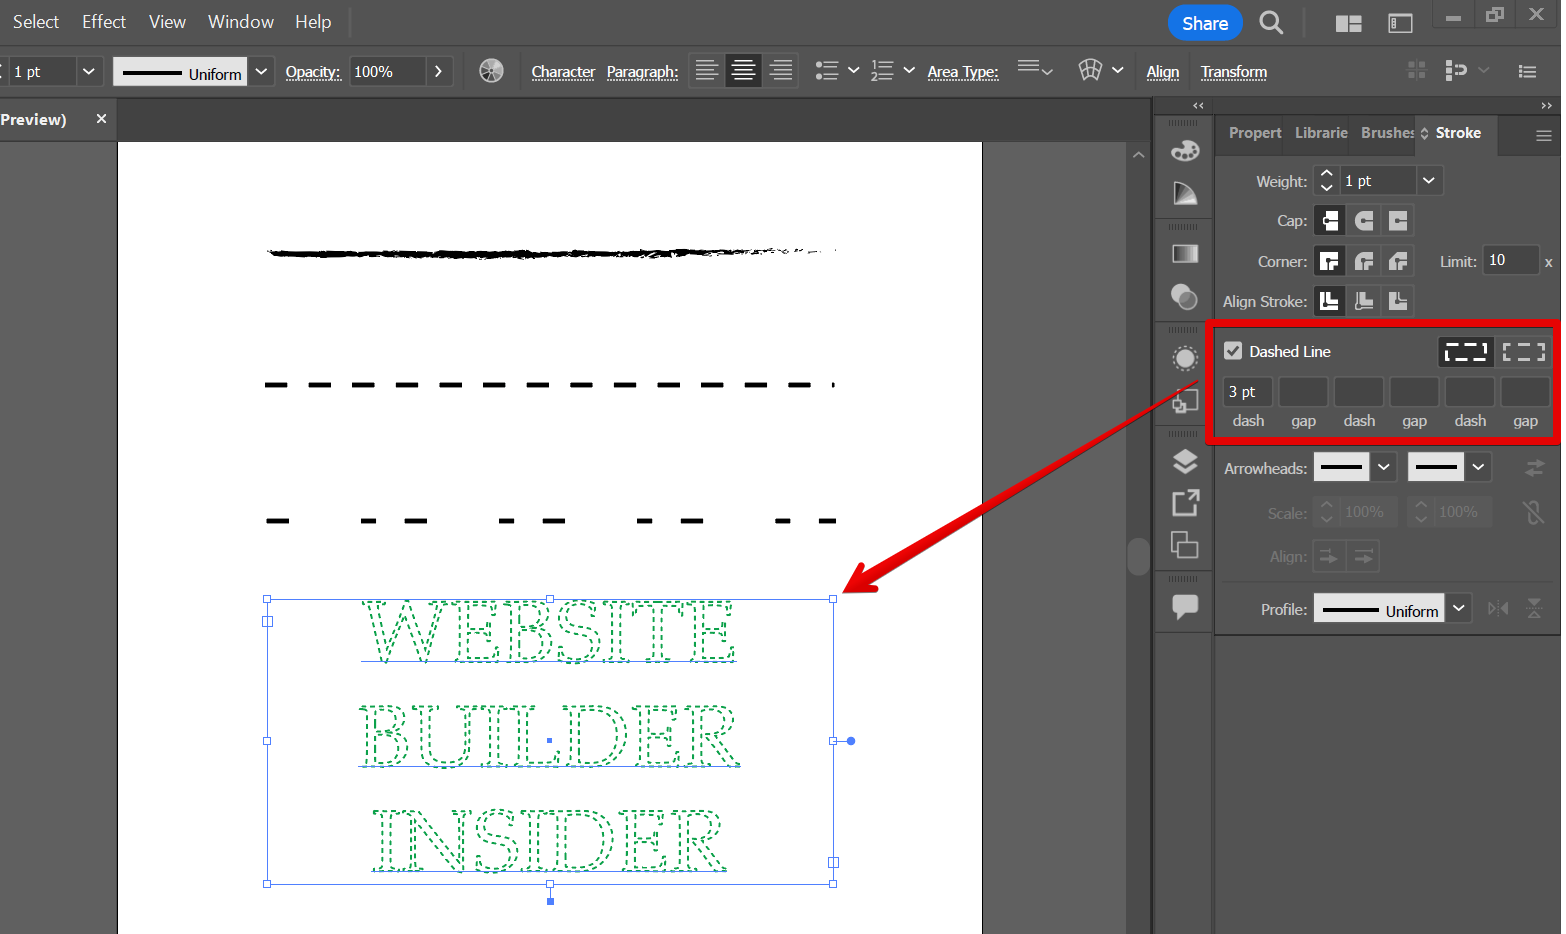
Line type can also be applied to your text using the Stroke window! Just adjust the Dashed Line settings to make it readable.
NOTE: Make sure that you have set the Fill color of the text to “None” and the Stroke to any solid color that you want, to achieve the best results!
7 Related Question Answers Found
There are a few ways to change colors in Illustrator. You can use the Color Picker, or the Color Panel. The Color Picker is found in the Tools Panel, and the Color Panel is found in the Window menu.
If you’re working in Illustrator and need to type special characters, there are a few things you can do. First, you can use the Character panel. This panel can be found in the Window > Character panel menu.
How to get different brushes in Illustrator
One of the most common tasks in Illustrator is to get different brushes to create different effects. There are a few ways to do this.
1. Use the Brush Library
One way to get a wide variety of brushes is to use the Brush Library.
Color matching can be a daunting task for those new to Illustrator. There are many different ways to approach the task, and the best way to find what works best for you is to experiment. Here are a few tips to get you started:
– Start by using the built-in color swatches.
Illustrator is a powerful vector graphics program that allows you to create stunning designs and illustrations. One of the most common tasks that you may need to create a petal shape is to create a flower. In this tutorial, we will show you how to create a petal shape in Illustrator using the Ellipse tool.
Illustrator provides a wide variety of brushes for creating textures, gradients, and other effects. To create a brush, first open the Brush palette and select the desired brush type from the list on the left. (For more information on brush types, see the Illustrator brush tutorials on the Illustrator website.) Next, select the desired size and shape from the list on the right.
(For more information on brush size and shape, see the Illustrator brush tutorials on the Illustrator website.) Finally, click the Add Brush button to create the brush.
Resizing an artboard in Illustrator is easy. Open the artboard you want to resize, and select the “Artboard” menu item from the Illustrator toolbar. From the “Artboard” menu, choose the “Resize Artboard” command.