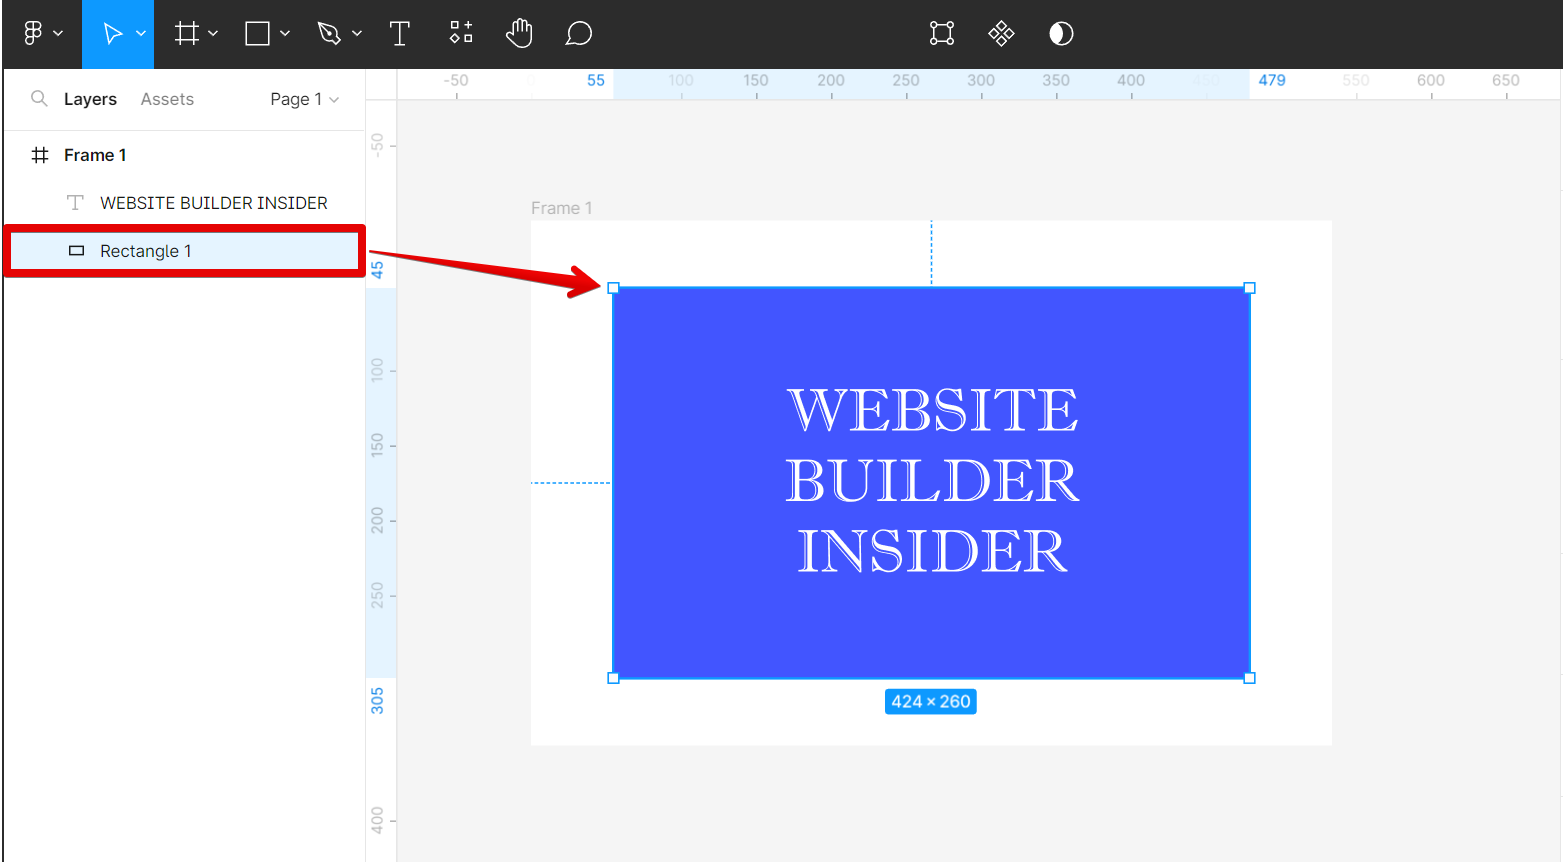
There are a few steps to distort shapes in Figma. The first step is to select the shape you want to distort.
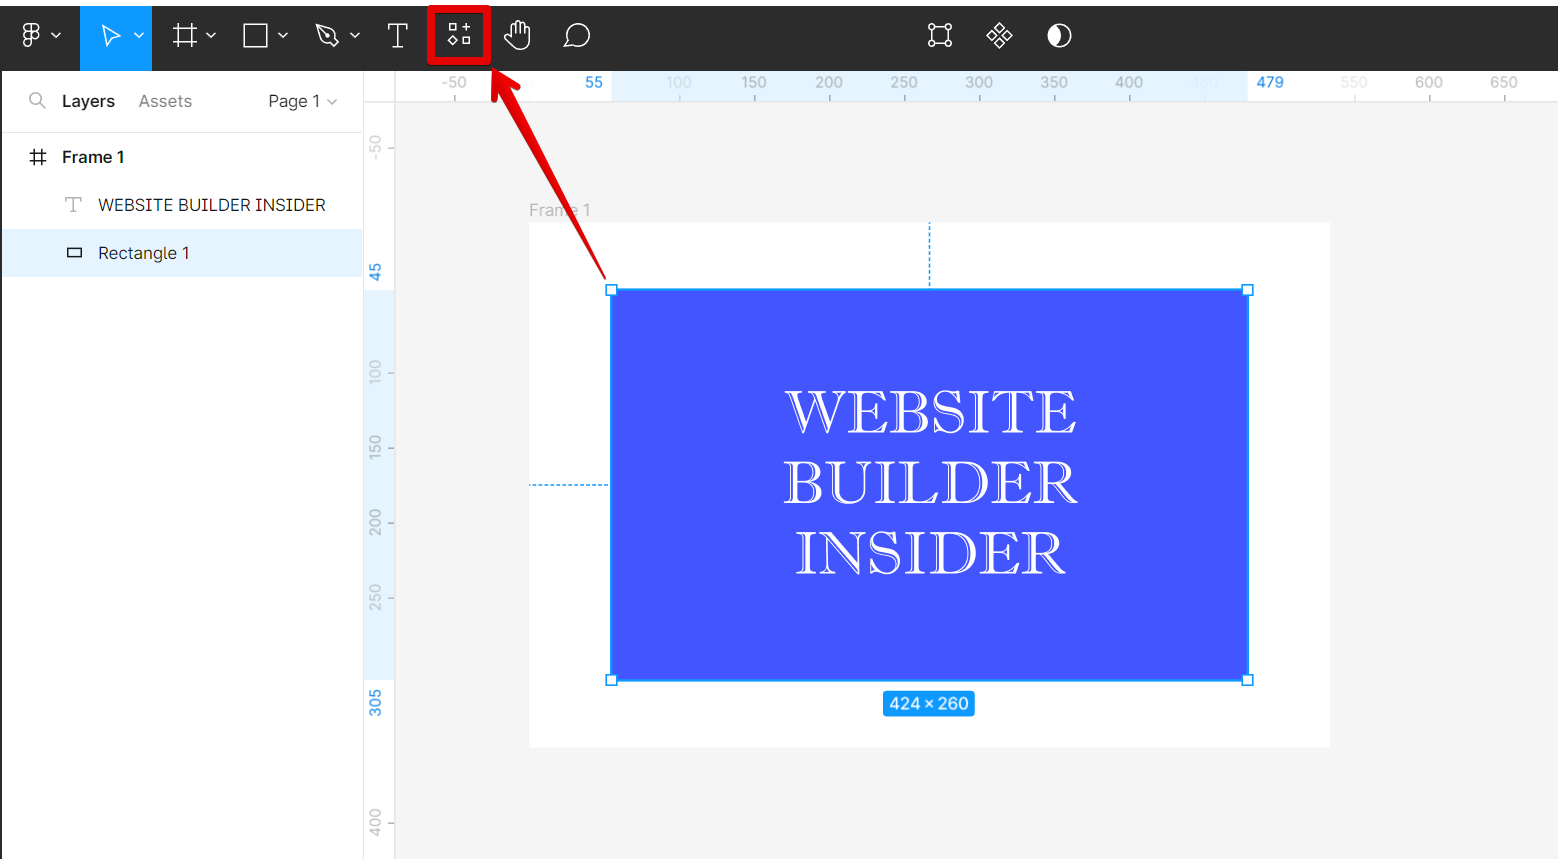
From there, open the Resources window in the top menu.
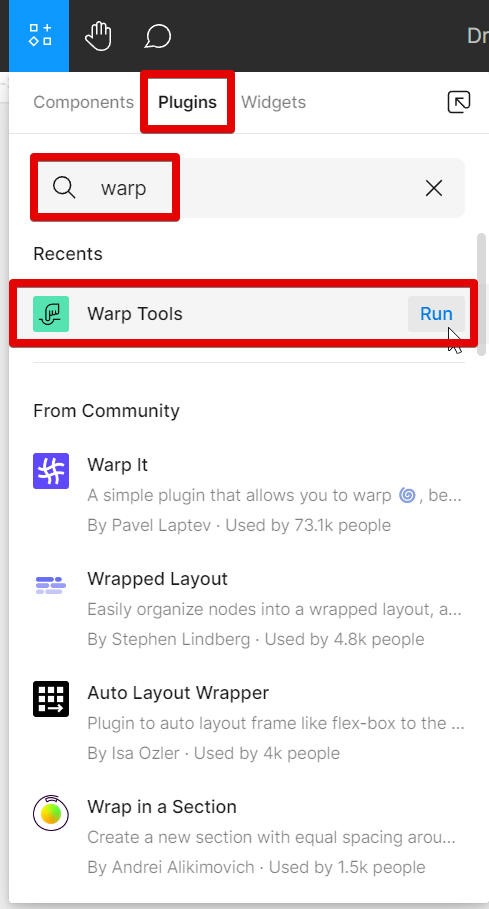
Then, search for the “Warp Tools” plugin and run it. This is the plugin that we will be using to distort the shape.
In the Warp Tools plugin window, you can find various Warp Tool options to choose from such as the Smudge Tool, Twirl Tool, Bulge Tool, Pinch Tool, Free Transform Tool, and Arc Transform Tool. Select the type of Warp Tool that you want to use to distort the shape.
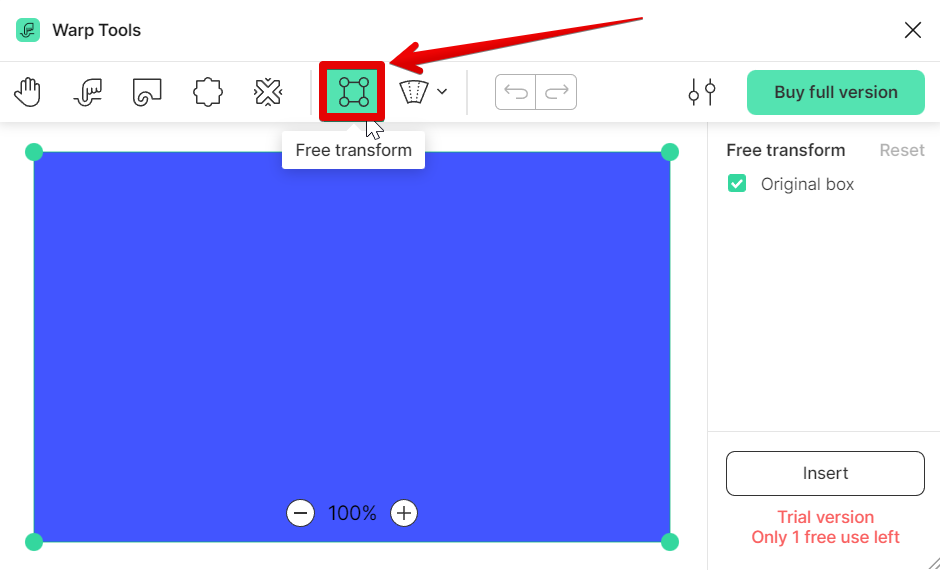
In this example, we will be using the Free Transform tool. With the Free Transform tool, you can click and drag on any point of a shape to distort it. Once done, just click on the “Insert” button.
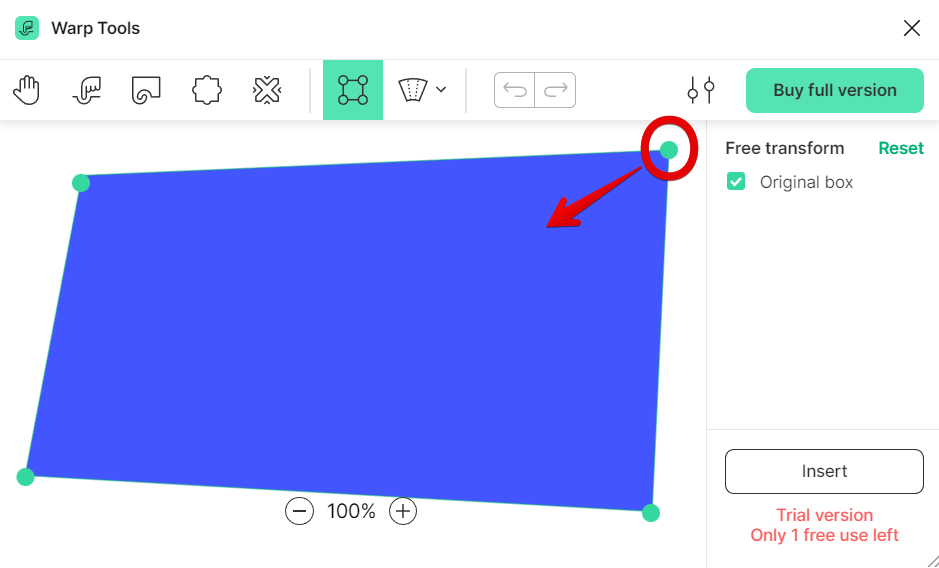
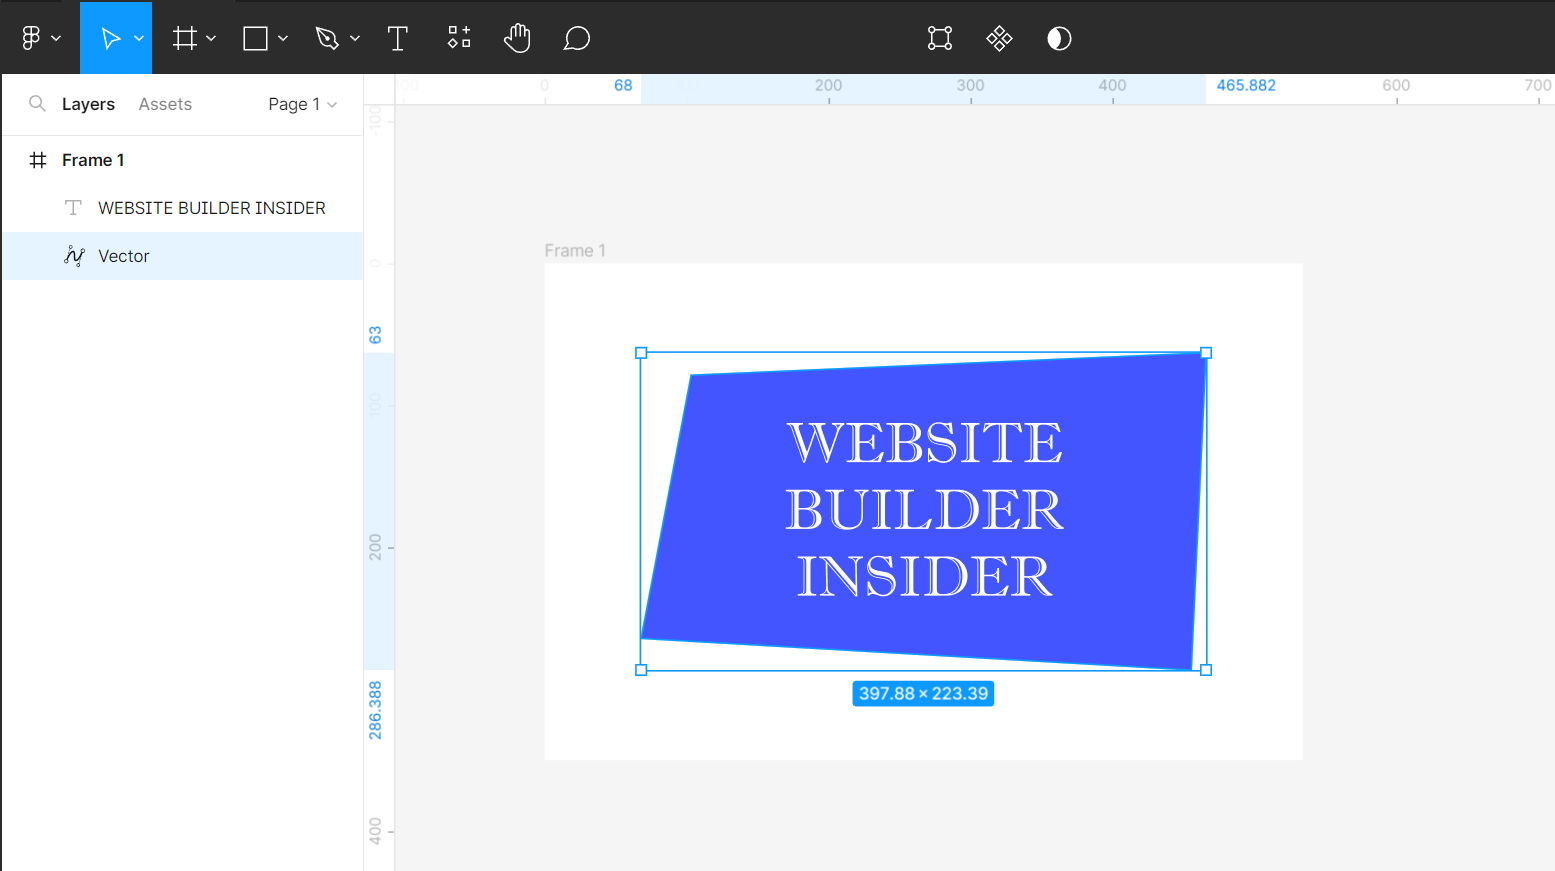
A new shape will then be inserted into your canvas. You can use this to replace the previous shape in your design.

And there you have it! You can now distort shapes in Figma!
PRO TIP: There are a few things to keep in mind when distorting shapes in Figma:
1. Make sure the shape you’re working with is selected.
2. Select the Warp Tool according to your preference.
3. Adjust the properties of the Warp Tools before using them.
4. Repeat steps 2-3 for each shape or image that you want to distort.
All of these distortion tools are essential to create interesting effects and add personality to your designs. Experiment with different warp techniques to see what works best for you.
6 Related Question Answers Found
Figma is a vector-based design tool that is gaining popularity in the design community. One of the reasons for its popularity is its ability to easily export designs into code. This means that developers can take a Figma design and turn it into working HTML and CSS code with little effort.
There are a few different ways that you can subtract a shape in Figma. The first way is to use the Subtract From Shape mode. This mode can be found in the top toolbar, under the Edit menu.
If you’re looking to add some flair to your Figma designs, one way to do so is by adding custom shapes. Fortunately, Figma makes it easy to create custom shapes using the vector tools. In this article, we’ll show you how to create custom shapes in Figma.
To cut shapes in Figma, you can use the “Subtract” function in the toolbar at the top of the screen. Here is a step-by-step tutorial on how to do this:
Open Figma and create a new frame or select an existing frame on the canvas. Draw the shape that you want to cut, or select an existing shape on the canvas.
There are a few different ways that you can outline a shape in Figma. One way is to use the stroke tool. With the stroke tool selected, you can click on the edge of the shape that you want to outline.
Figma is a vector drawing and animation software. It’s used by designers to create illustrations, user interfaces, and animations. One of Figma’s most powerful features is its ability to animate vector shapes.