Creating a metallic effect in Illustrator is relatively easy. The first step is to create a new document with a resolution of at least 300 dpi. Next, select the Appearance panel and click the Textures tab.
From the list of textures, select Metallic. This will add a new texture to the document.
PRO TIP: If you are working on a design project that requires a metallic effect, be aware that there are a few things you need to keep in mind. First, when choosing your colors, remember that metallics tend to be quite light-reflective, so you’ll want to avoid using colors that are too dark or too bright. Second, when creating your design, keep in mind that the metallic effect will be most pronounced in areas that are smooth and uninterrupted – if your design has a lot of small details, the metallic effect may be lost. Finally, when saving your file for print, make sure to use a high-resolution setting to ensure that the metallic effect is reproduced accurately.
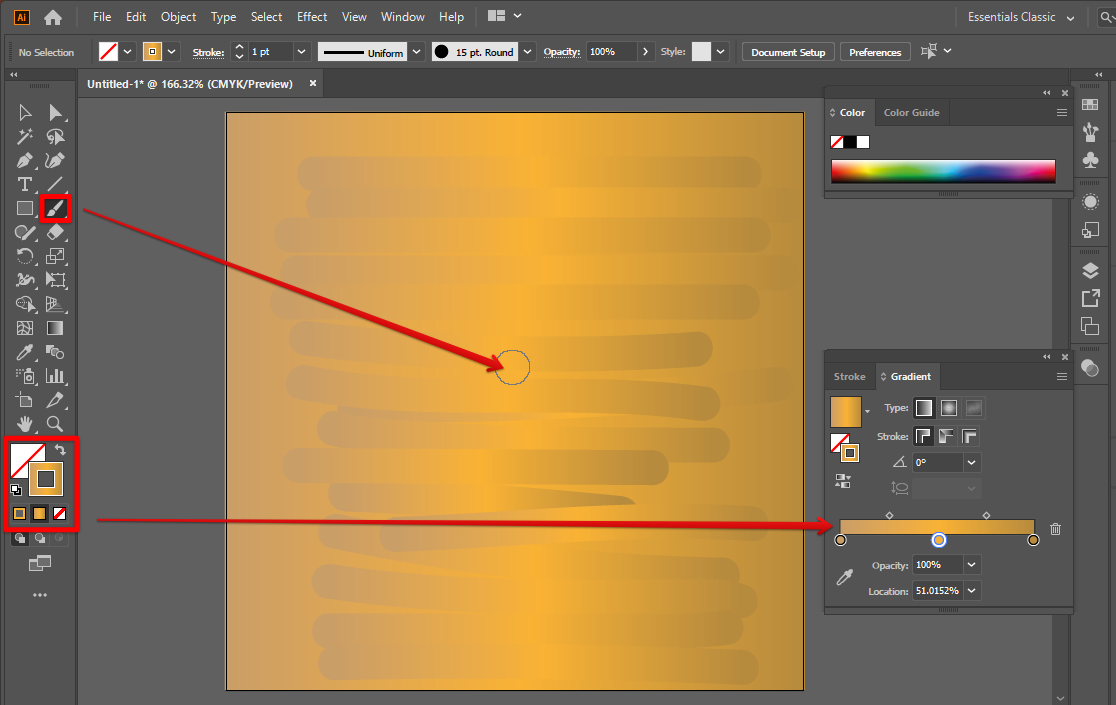
To create the metallic effect, first, use the Brush tool to paint a light gold color over the entire document.
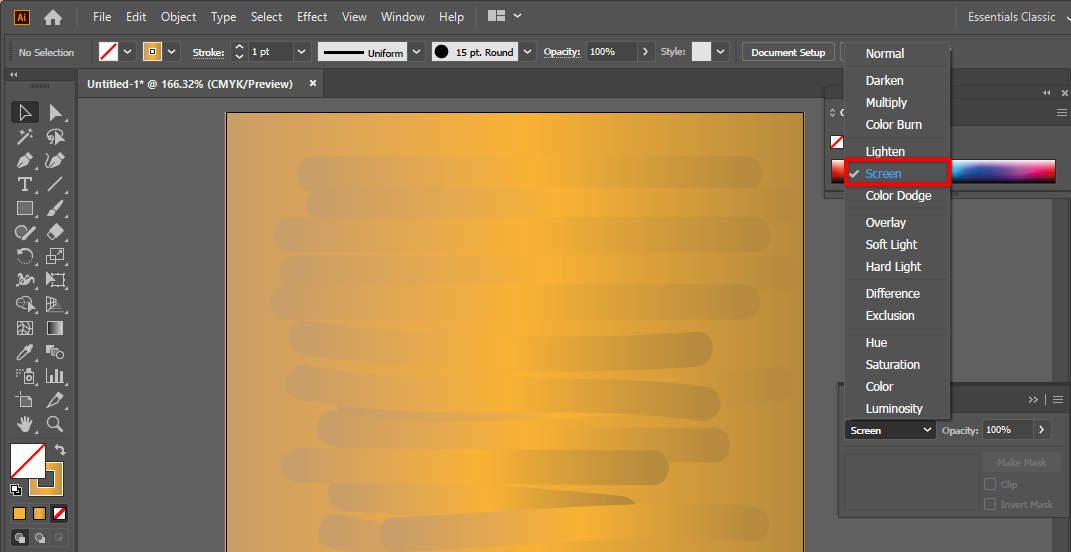
Next, use the Effects panel to change the blending mode of the metallic texture to Screen.
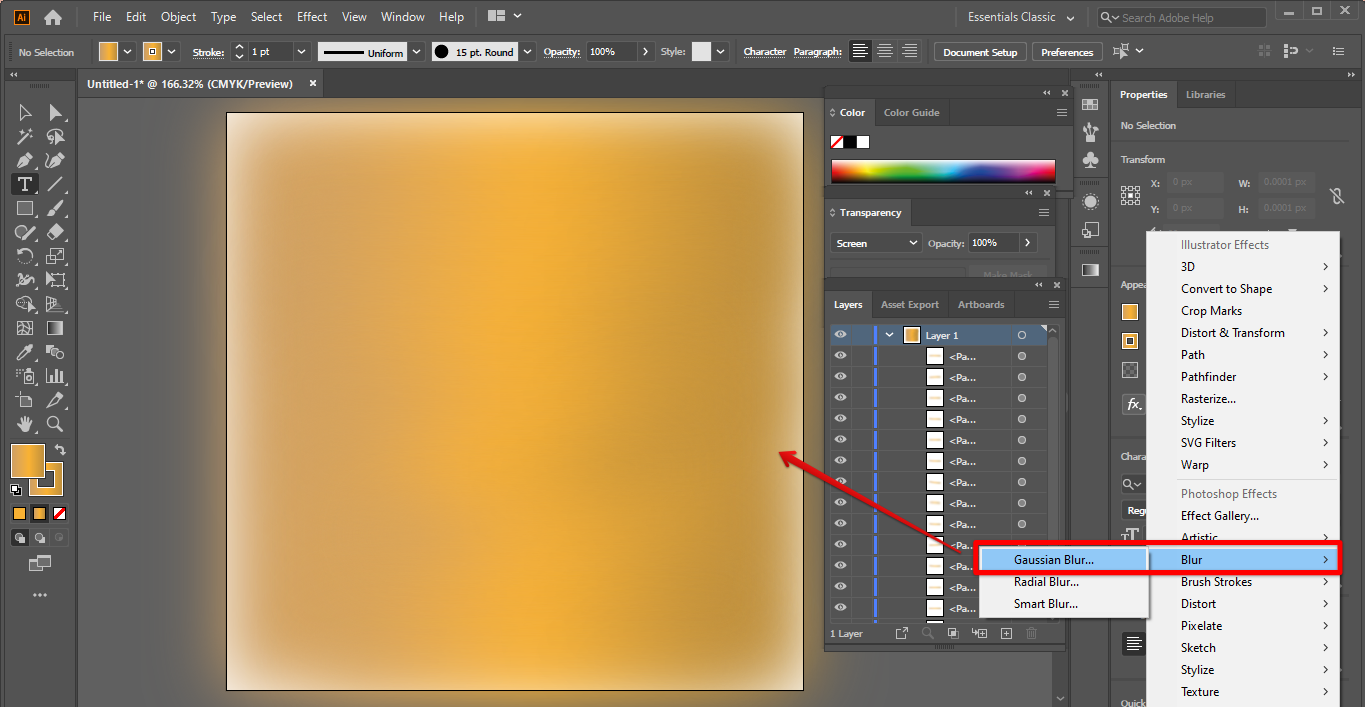
Finally, use the Blur tool to soften the edges of the gold paint.
As you can see, creating a metallic effect in Illustrator is relatively easy. By using the techniques outlined in this article, you can create stunning metallic effects in your designs.
8 Related Question Answers Found
Illustrator is a great tool for creating metallic effects. Metallic effects can be created in a few different ways in Illustrator. The first way to create a metallic effect is to use the metallic shader.
Illustrator is a great program for creating graphics that look metallic. There are a few ways to do this, and each method has its own set of pros and cons. One way to make something look metallic in Illustrator is to use the Metal typeface.
When creating a metallic gradient in Illustrator, you will first need to create a gradient palette. To do this, open the Gradient Editor by clicking on the Gradient tool in the Toolbar and selecting the Gradient palette from the menu that pops up. Next, create a new gradient using the linear gradient tool and select the first color from the gradient palette.
Making metallic silver in Illustrator is a fairly simple process. First, create a new document with a size that will accommodate your desired effect. Next, use the Silver tool to create a metallic layer over your document.
In this tutorial, we will show you how to create a grunge effect in Adobe Illustrator. This effect can be used to add a bit of grunge style to your illustrations. To create the grunge effect, we will first use the Burn tool to create a dark effect on the selected objects.
Illustrator is a great tool for creating vector illustrations. To create a heart, start by creating a new document in Illustrator and setting the width and height to 500px. Draw a circle using the Rectangle tool (M) and fill it with a dark color such as black.
Making a 3D heart in Illustrator is a relatively easy process. First, create a New File in Illustrator and name it “heart.ai”. Select the Rectangle Tool and create a 300 by 300px Rectangle.
Illustrator is a great tool for creating lightning bolts. There are a few different ways to do it, depending on your desired result. One way to create a lightning bolt is to use the Rectangle Tool (M), and draw a rectangle that’s about twice as wide as it is tall.