In this tutorial, we will show you how to create a glass effect in Illustrator. This effect can be used in a variety of designs, such as logos, buttons, or web graphics.
To create the glass effect, we will use the Bevel and Emboss plug-in in Illustrator.
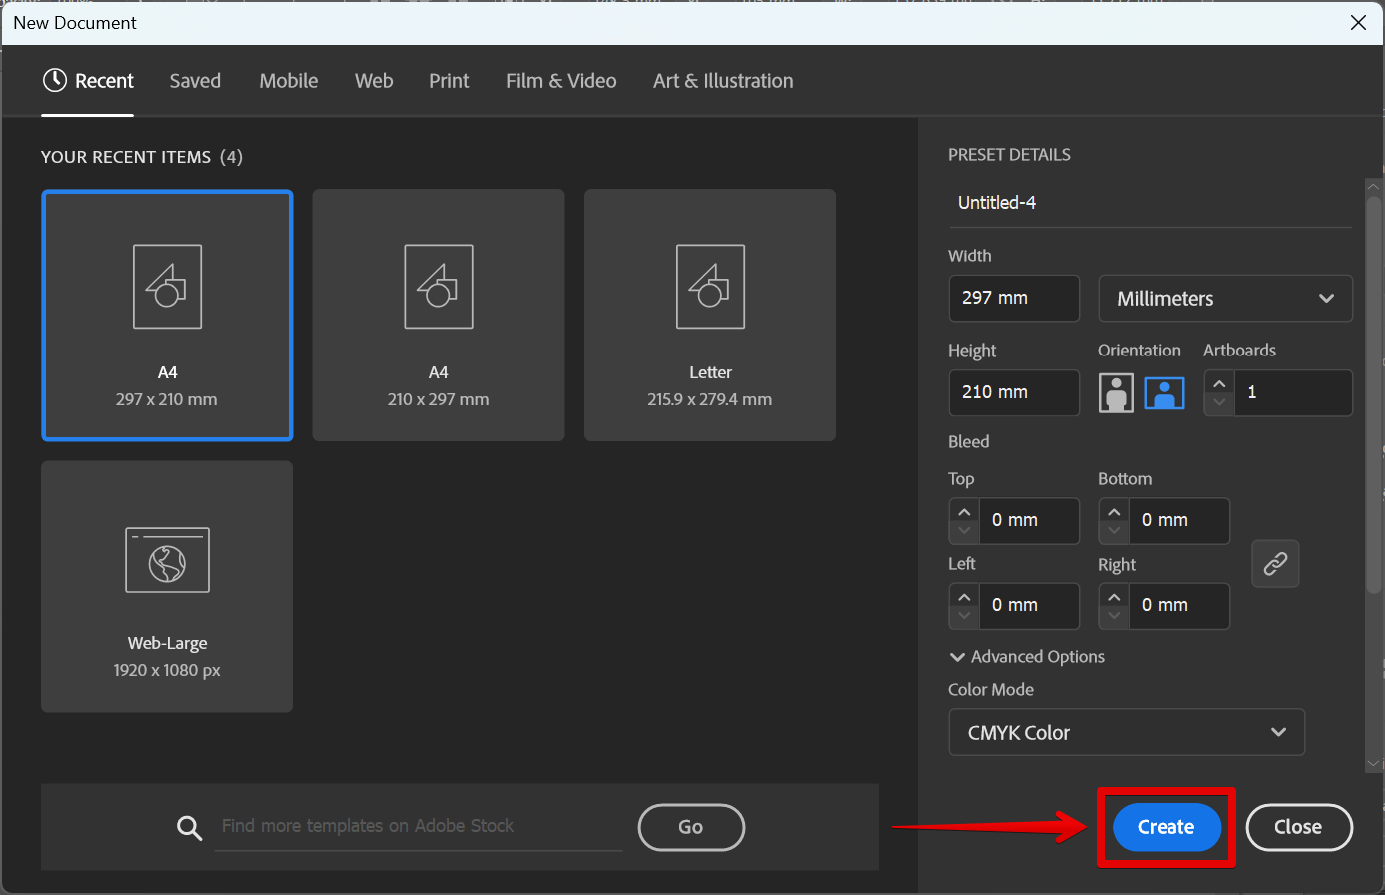
1. Begin by creating a new document in Illustrator.
You can use any size or shape for your document, but we recommend using a relatively large size so that the glass effect will be noticeable.
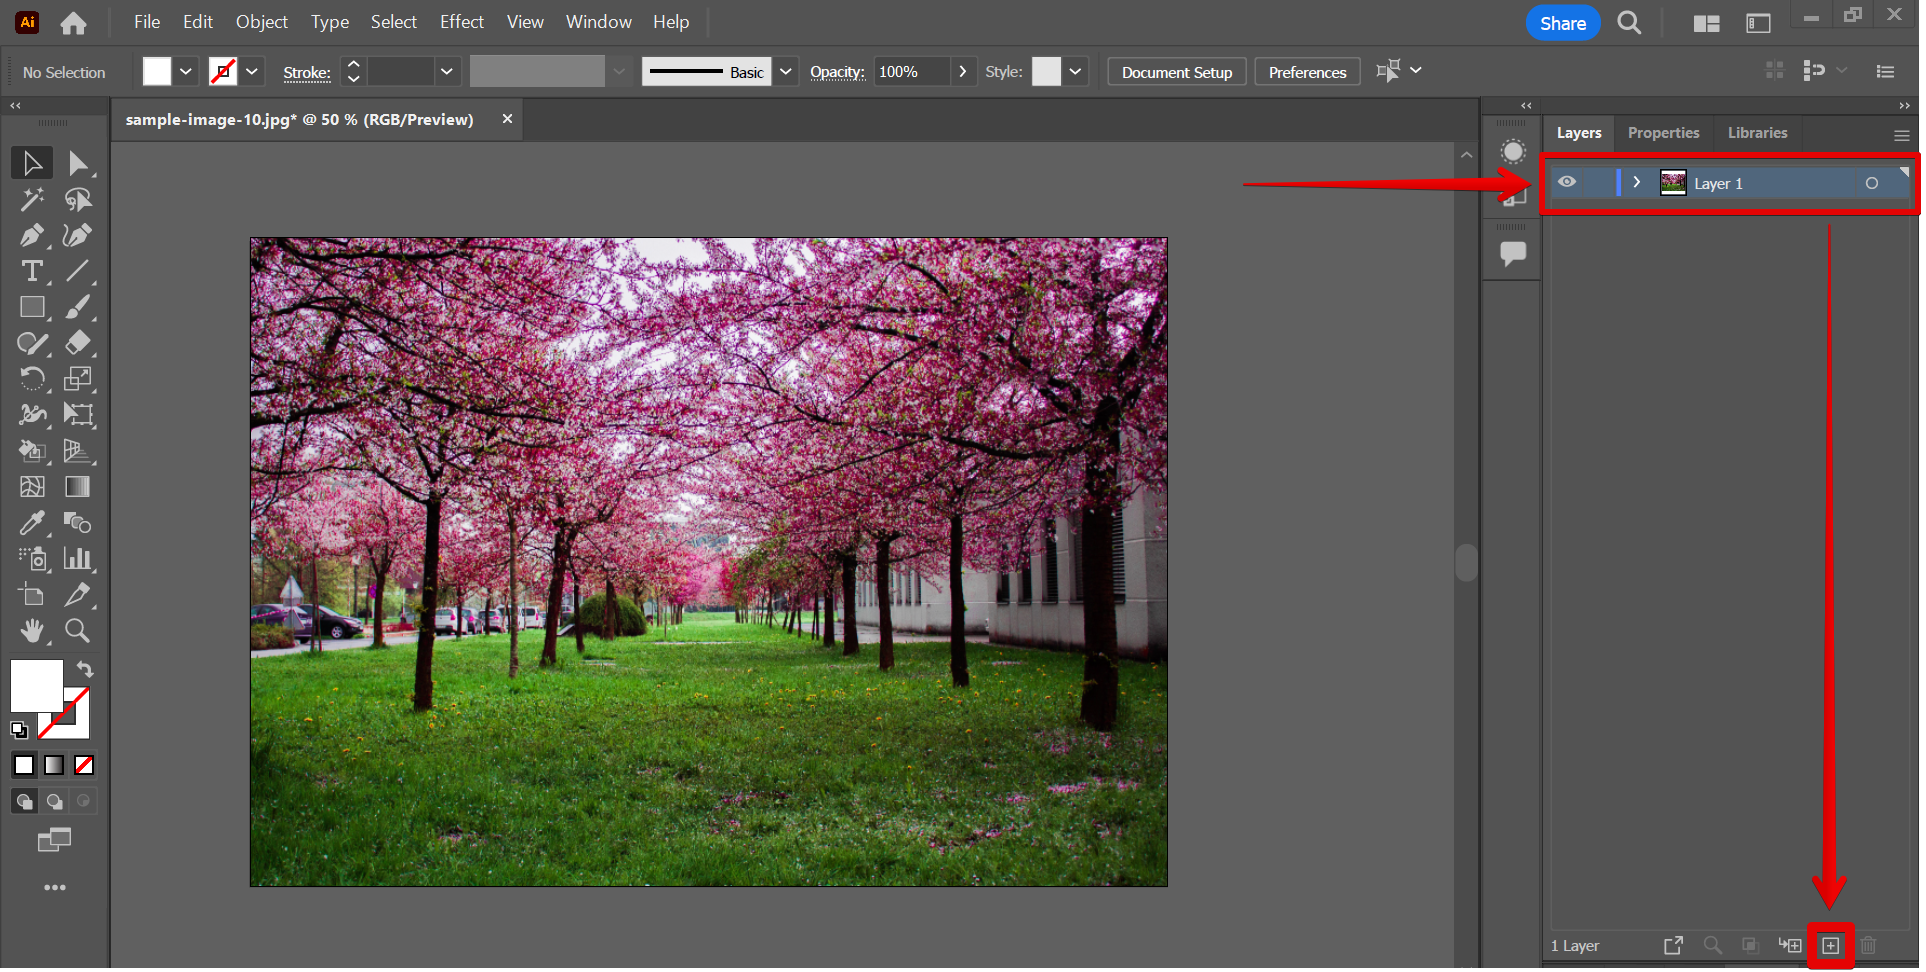
2. Next, add a background picture and duplicate it.
You can duplicate the Background layer by going to the Layers window and dragging the layer to the plus icon at the bottom part of the window.
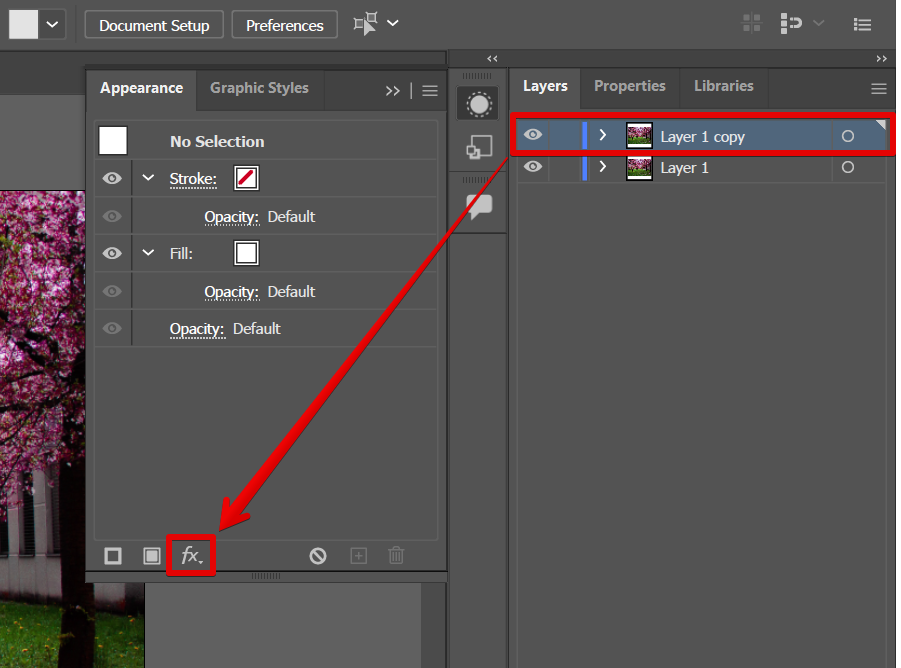
3. Add Gaussian Blur and Glass Effects to the duplicate layer.
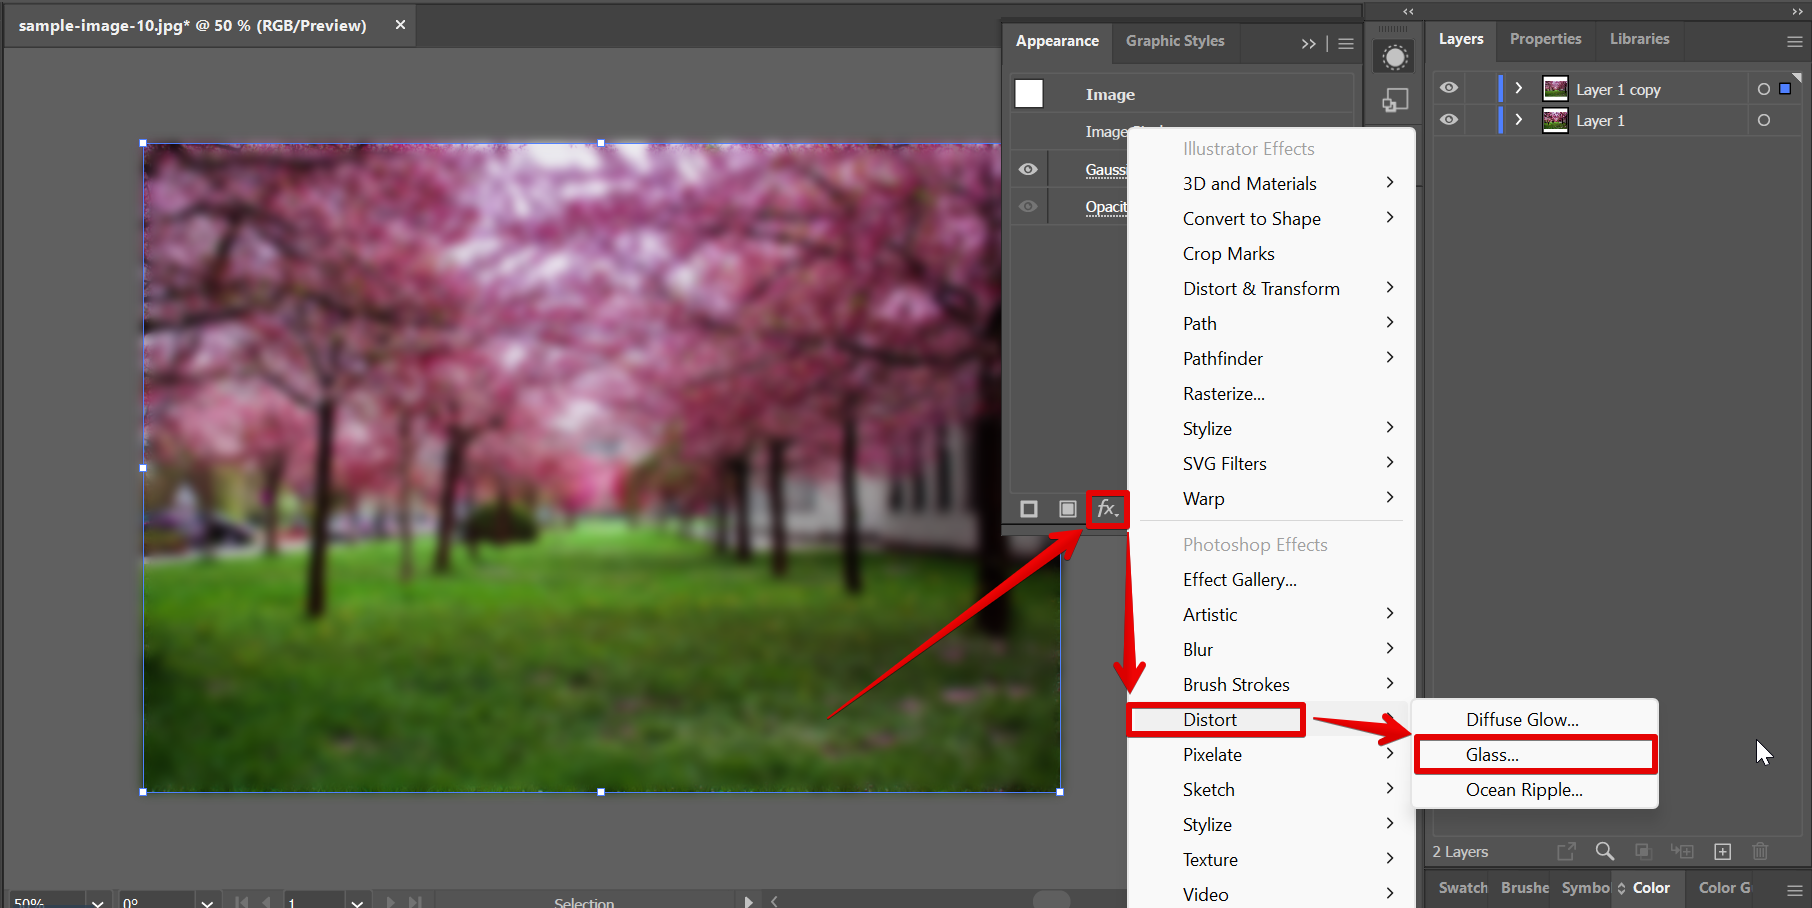
To add the Gaussian Blur to your duplicate layer, first, select the duplicate layer on your canvas, then go to the Appearance window and select the “fx” icon to open the Effects menu.
From there, open the Blur menu and select “Gaussian Blur” from the options.
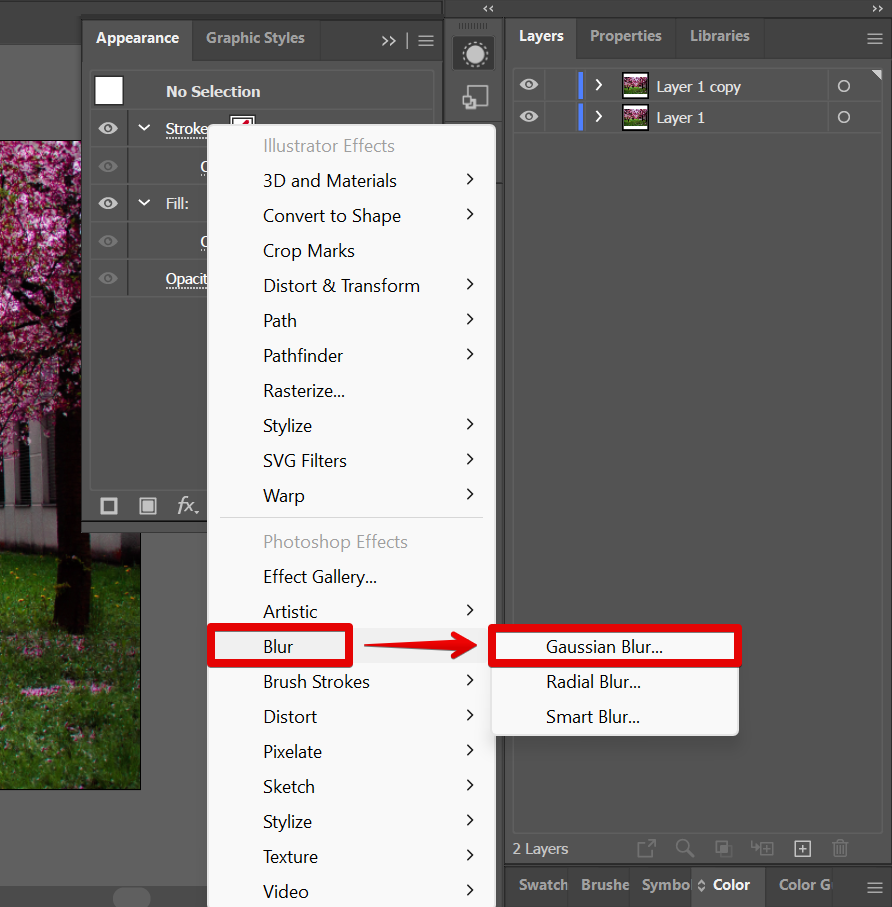
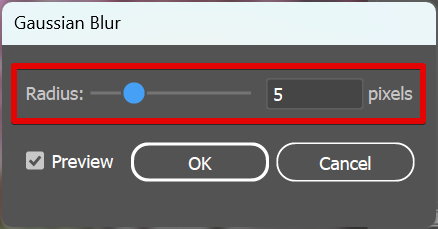
In this example, we will set the Radius of the Gaussian Blur to 5. You can also adjust this to your preference.
Next is to apply the Glass Effect to the duplicate layer. To do this, go to the Effects menu again by clicking on the “fx” icon. Then, go to Distort > Glass to open the Glass Effect window.
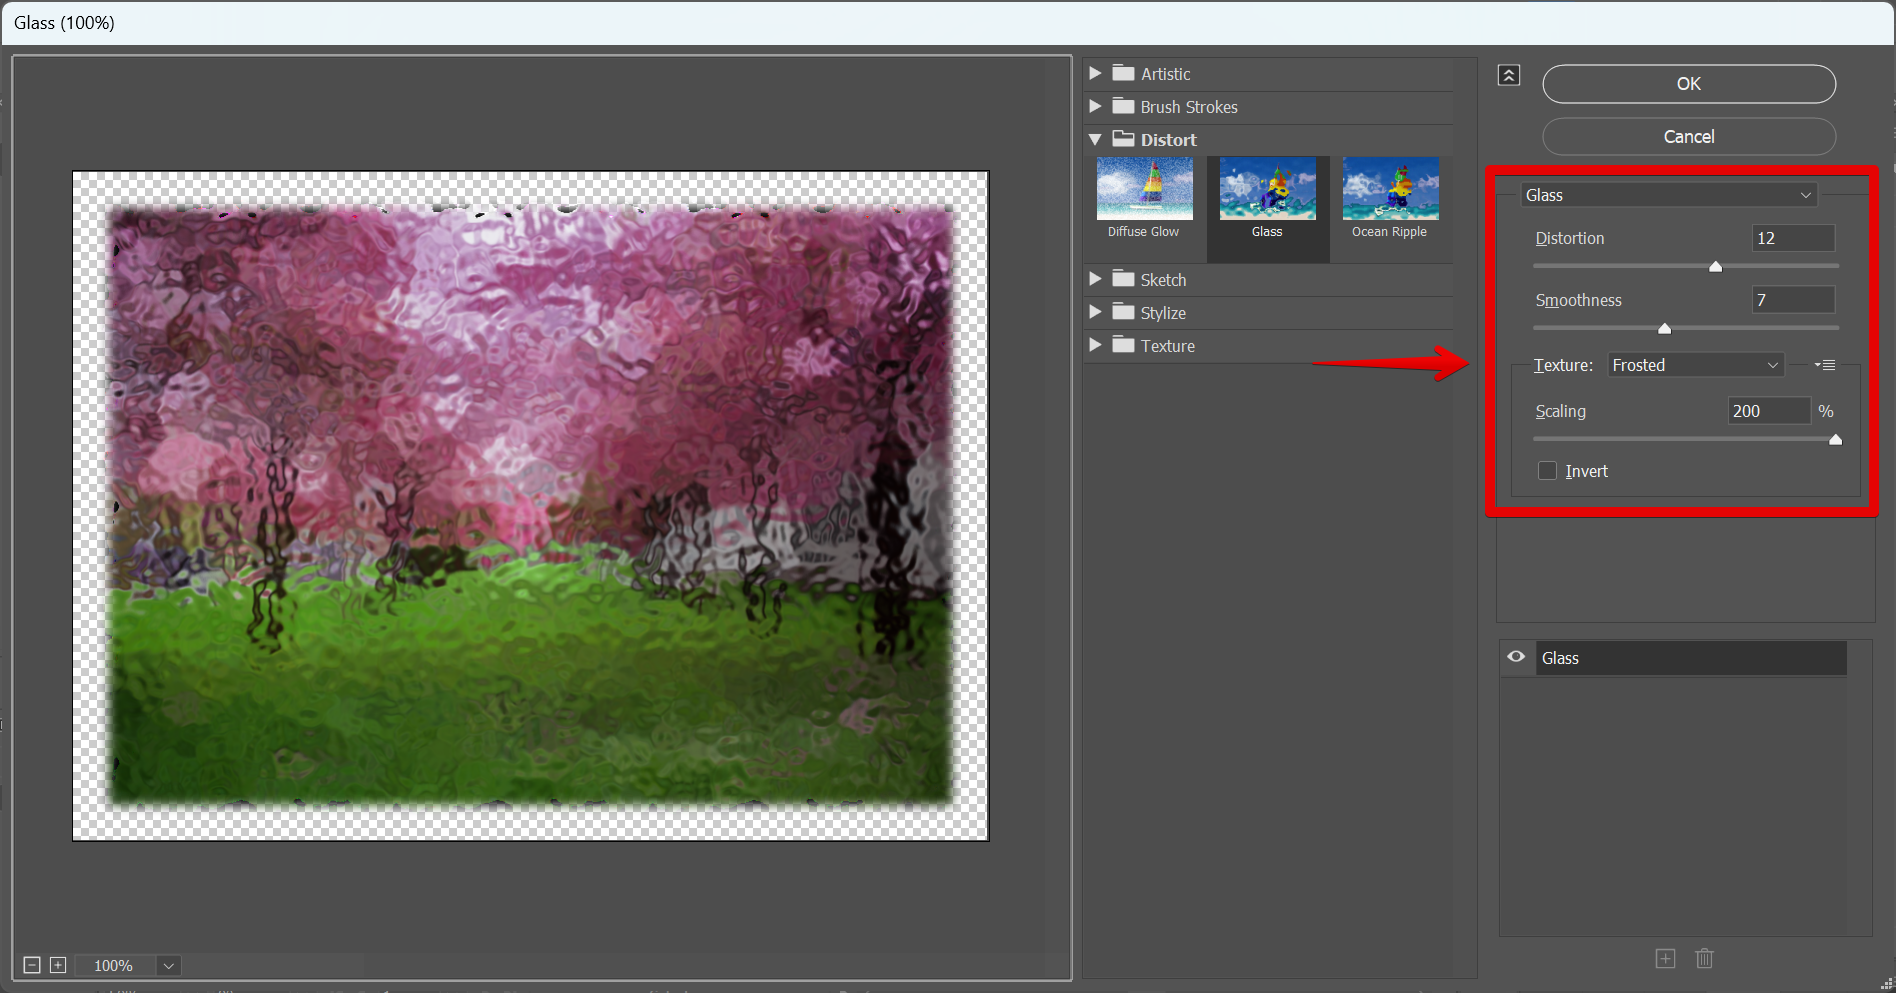
In the Glass Effect window, adjust the settings to your preference. In this example, we recommend using the following settings:
Distortion: 12
Smoothness: 7
Glass Texture: Frosted
Scaling: 200%
4. Apply the Glass Effect to an object.
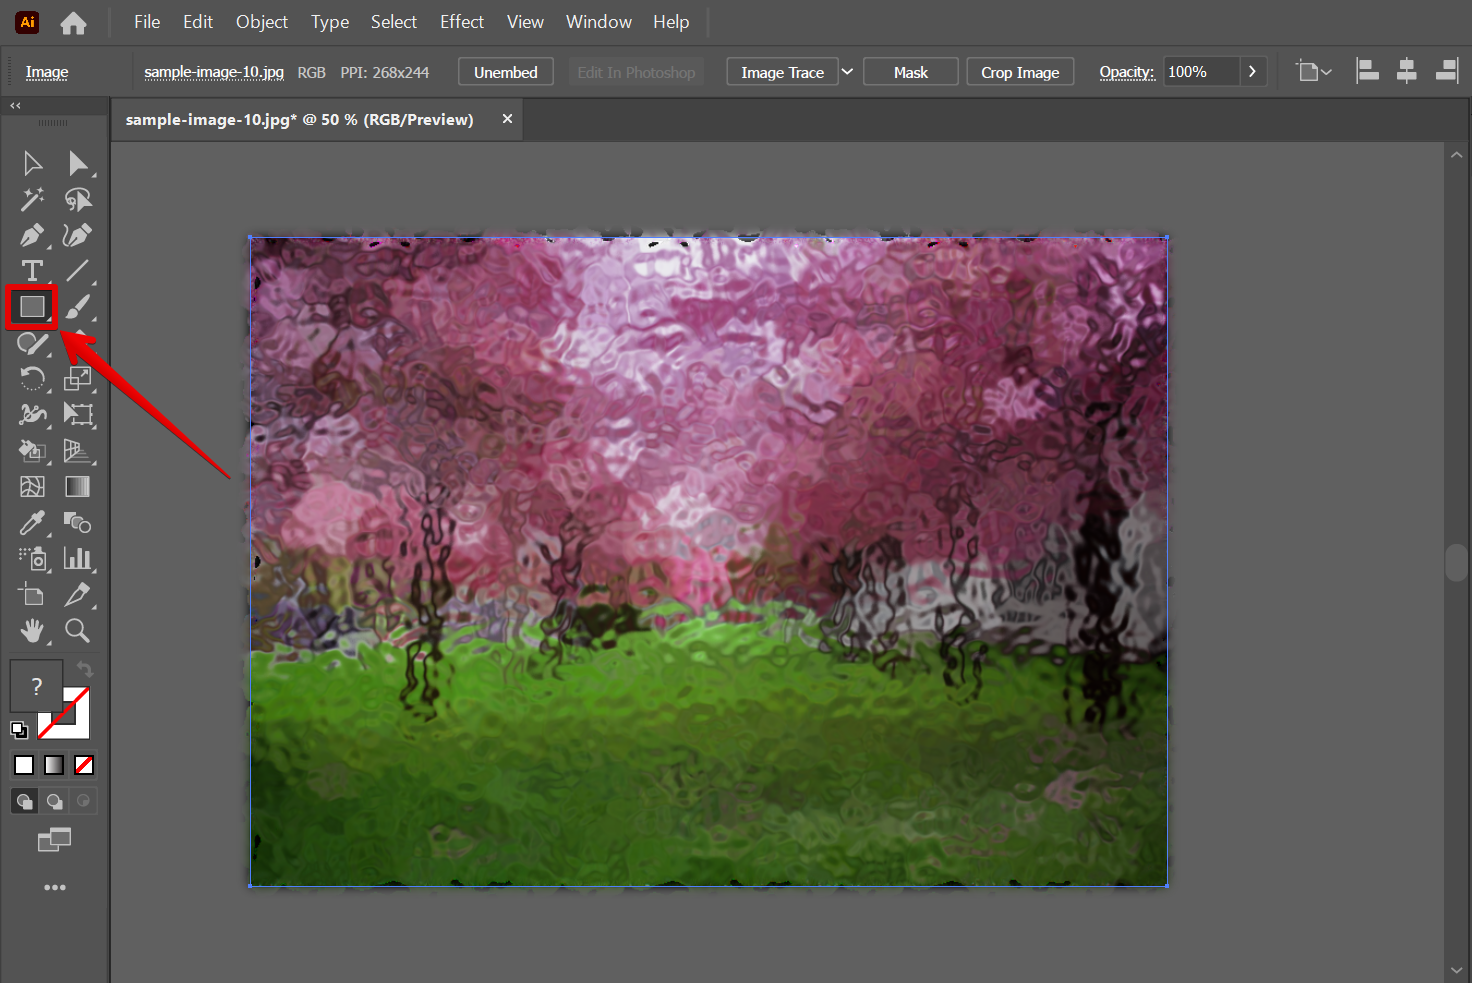
Once the Glass Effect has been applied to the duplicate layer, you can now try combining this with shapes or text.
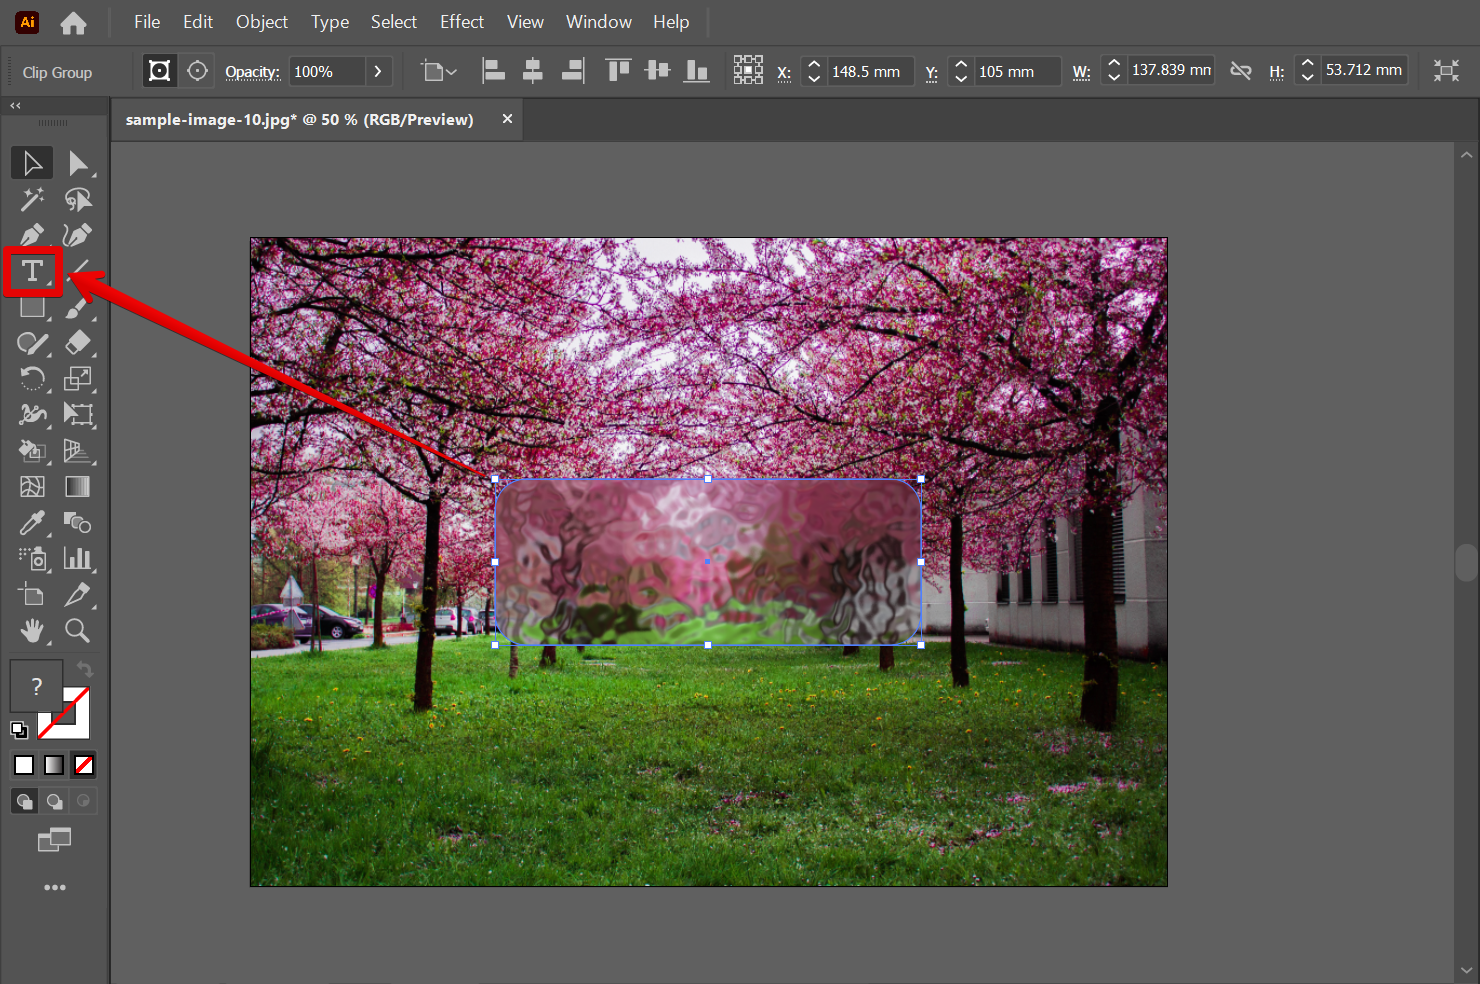
To do this, select the Rectangle Tool from the left toolbar to create the shape.
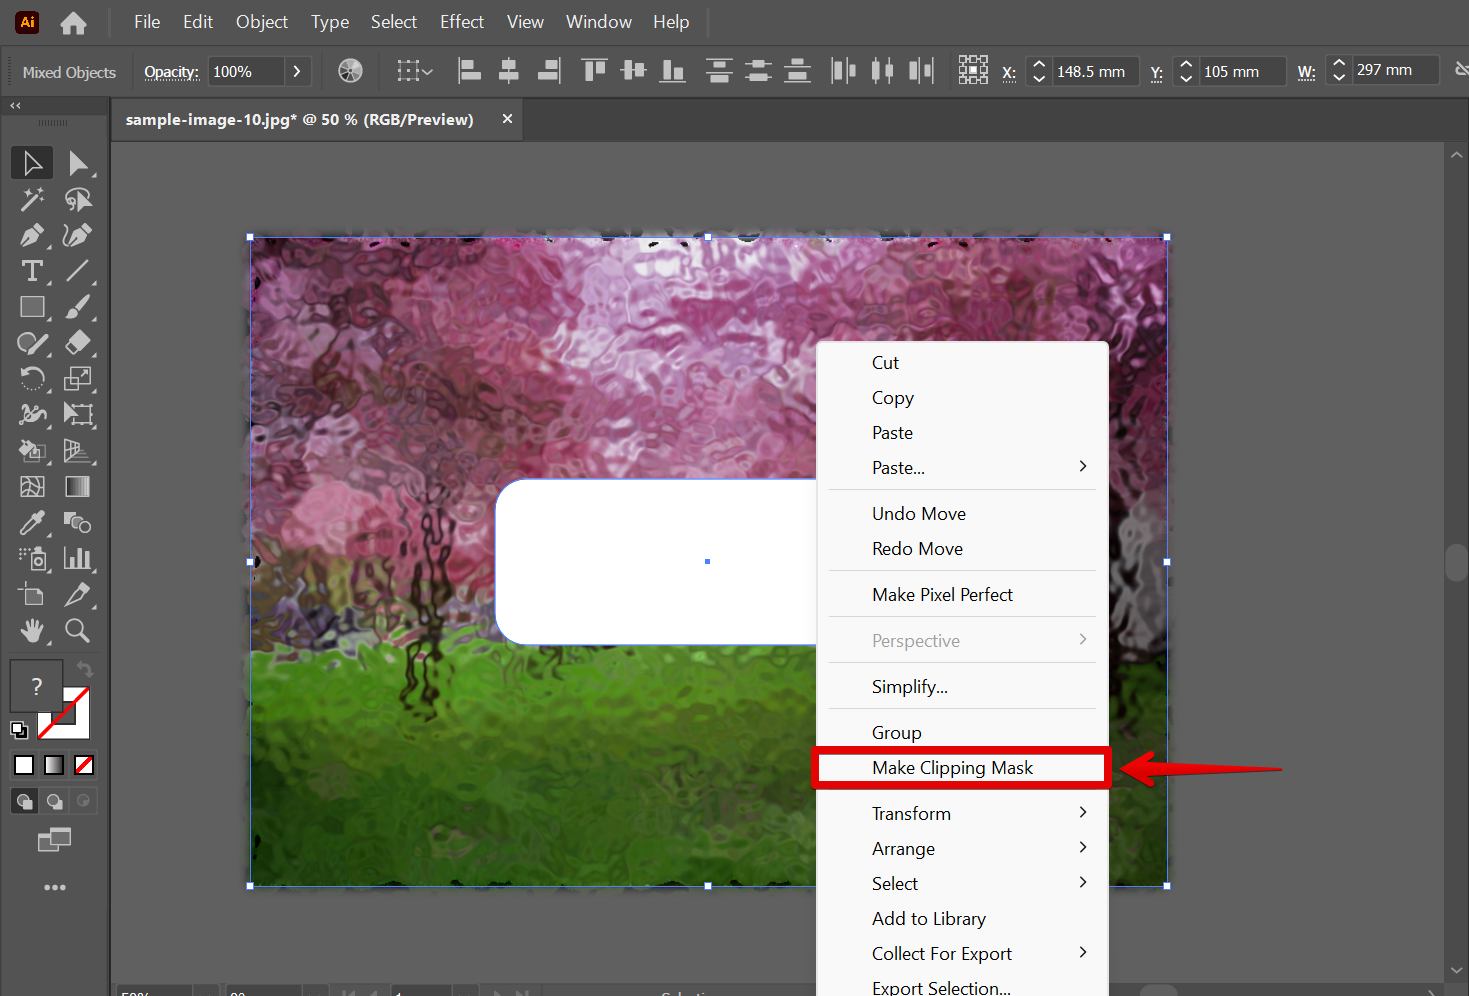
Next, select both the shape created and the duplicate layer, then right-click on them and select “Make Clipping Mask” from the options that will appear.
NOTE: This will create a clipping mask between the duplicate layer with the glass effect and the created shape, resulting in the shape absorbing the glass effect of the layer.
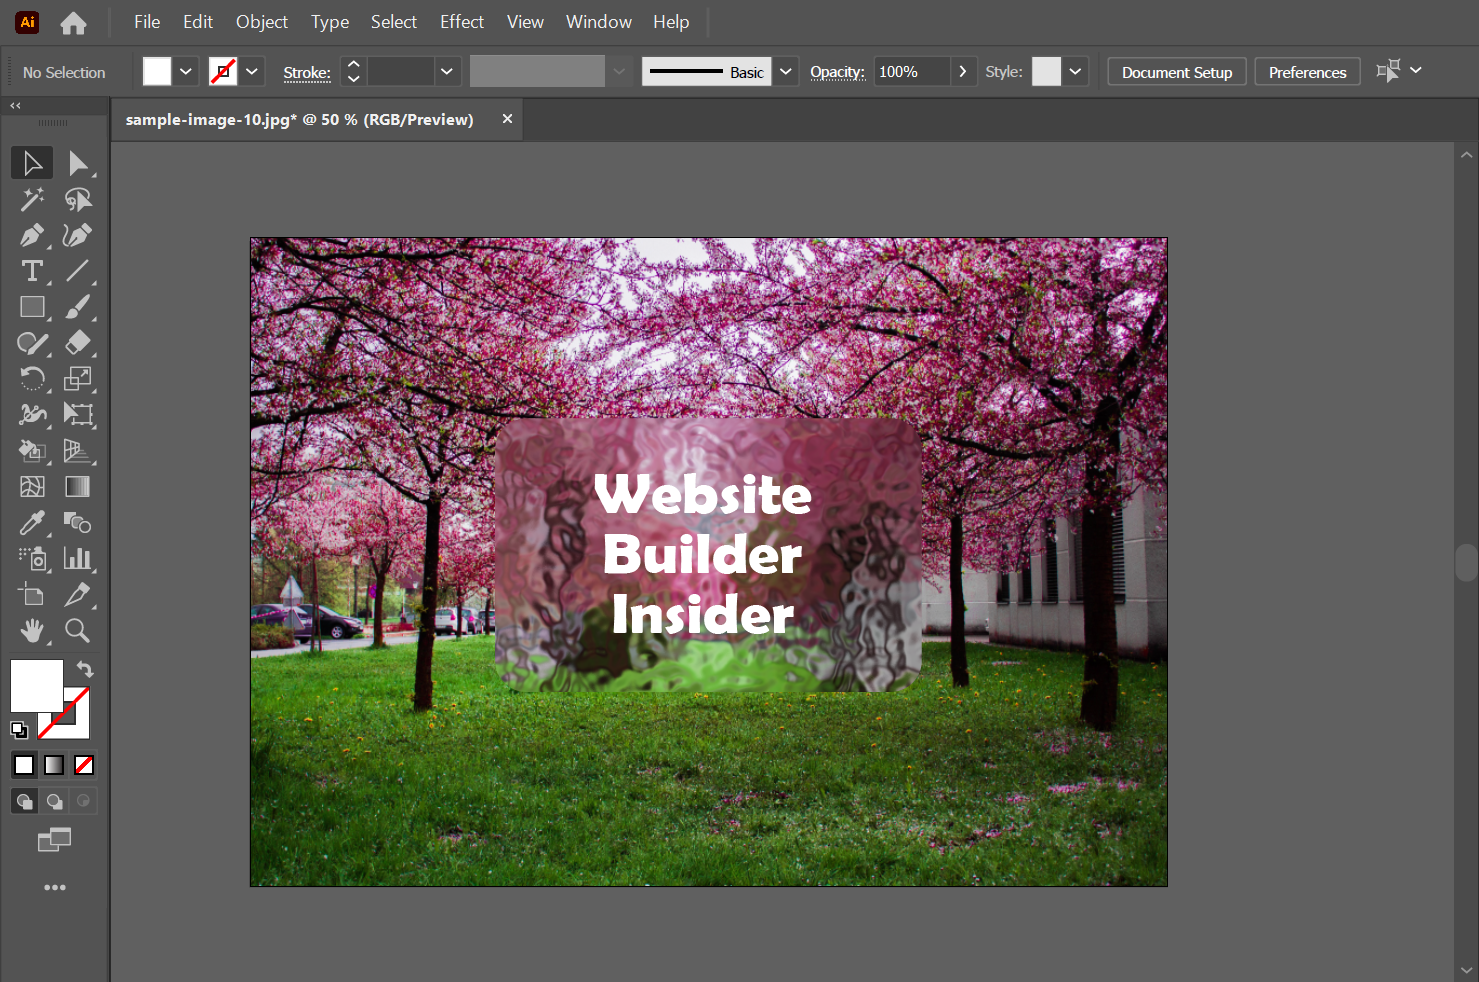
The glass effect should now be applied to the shape object. To finalize the effect, we recommend adding a bit of text or graphics to the document and using the glass effect to create a subtle effect.
And there you have it! You have successfully created the Glass Effect in Illustrator!
PRO TIP: This question is often asked in the Adobe Illustrator help forums. The answer is simple: there is a “glass effect” in Illustrator. However, there it is recommended to combine it with other additional effects like Gaussian Blur to make the illusion of glass more evident.
10 Related Question Answers Found
Illustrator is a great tool for creating waves. There are a few different ways to create waves, depending on your desired outcome. One way to create waves is to use the Rectangle Tool and create a square or rectangular shape.
Making a vintage effect in Illustrator is a fairly easy process. The first step is to create a basic background using a solid color. Once you have your background, you can start adding in the effects.
An elaborated article about how to make a flowchart in Illustrator:
1. Open Illustrator and create a new document.
2. Select the Rectangle tool and create a 100 x 100 square in the middle of the document.
3.
Making a video in Illustrator can be a bit daunting, but it’s not as difficult as you might think. In this article, we’ll walk you through the process of creating a simple video with Illustrator. First, we’ll create a basic video timeline and storyboard, then we’ll use Illustrator’s animation tools to create the animations.
Illustrator is a great tool for creating videos, but it can be difficult to enhance a video to make it look its best. Here are a few tips to help you make your videos look their best:
1. Use the right colors.
Psychedelic patterns are a popular design trend in the digital arts world. They can be created using a variety of Adobe Illustrator tools, including the Pathfinder, the Pen Tool, and the Draw Tool. To create a psychedelic pattern, start by drawing a basic rectangle or ellipse.
In order to create a bar graph in Illustrator, you will first need to create a vector graphic. Once your graphic is created, you can begin to add bars to it. To create a bar graph, you will first need to create a vector graphic. .
Making a cube in Illustrator is easy. First, create a new Illustrator file and open it. Next, select the Rectangle tool (R) and draw a rectangle that is the size of the cube you want to make.
Making a sound wave in Illustrator is simple. You can create a waveform using the Pen tool, or you can use the Draw tool to create a vector object that can be used as a sound wave. The steps for creating a sound wave with the Pen tool are as follows:
1.
In this tutorial, we will show you how to create a spray effect in Adobe Illustrator. This effect can be used to create a realistic water droplet effect in your illustrations. To create the spray effect, we will use the Pathfinder panel and the Drop Shadow filter.