A grid table is a great way to organize information in Canva. Here’s how to make one:
1. Create a New Canva Design and Import your Table
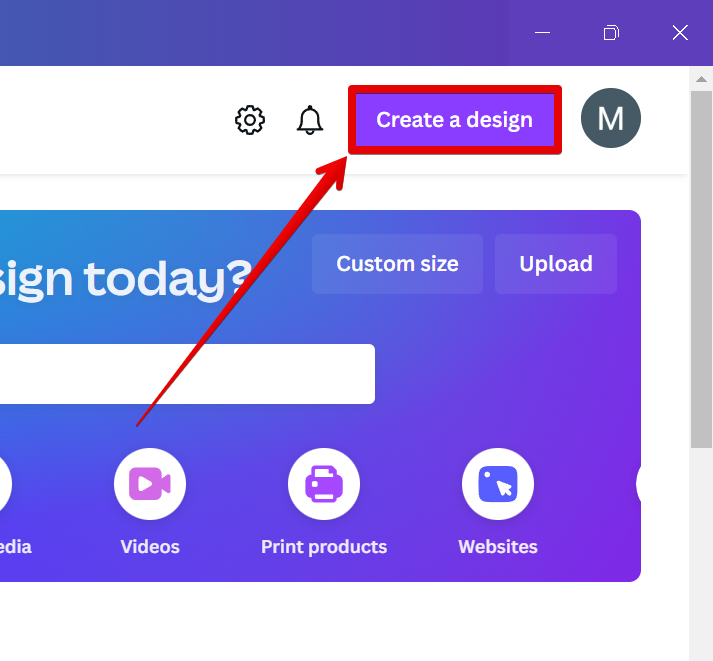
Start by creating a new design in Canva.
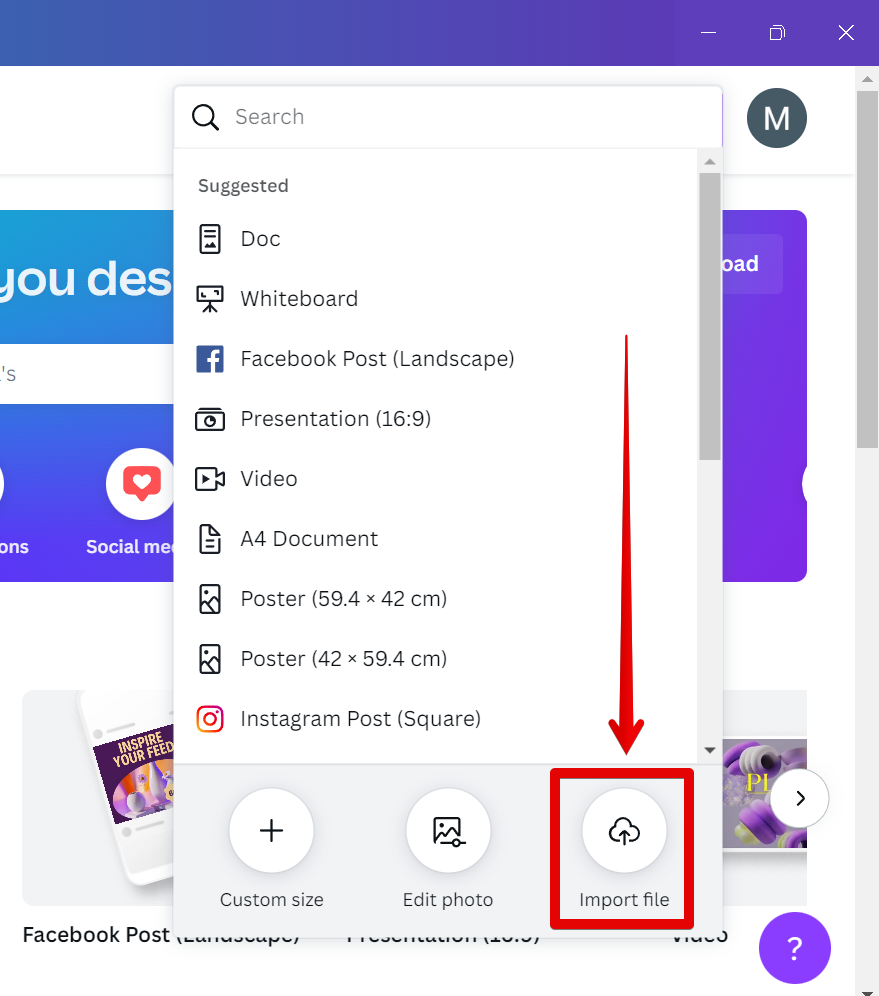
Then, select the “Import file” option at the bottom of the list that will appear.
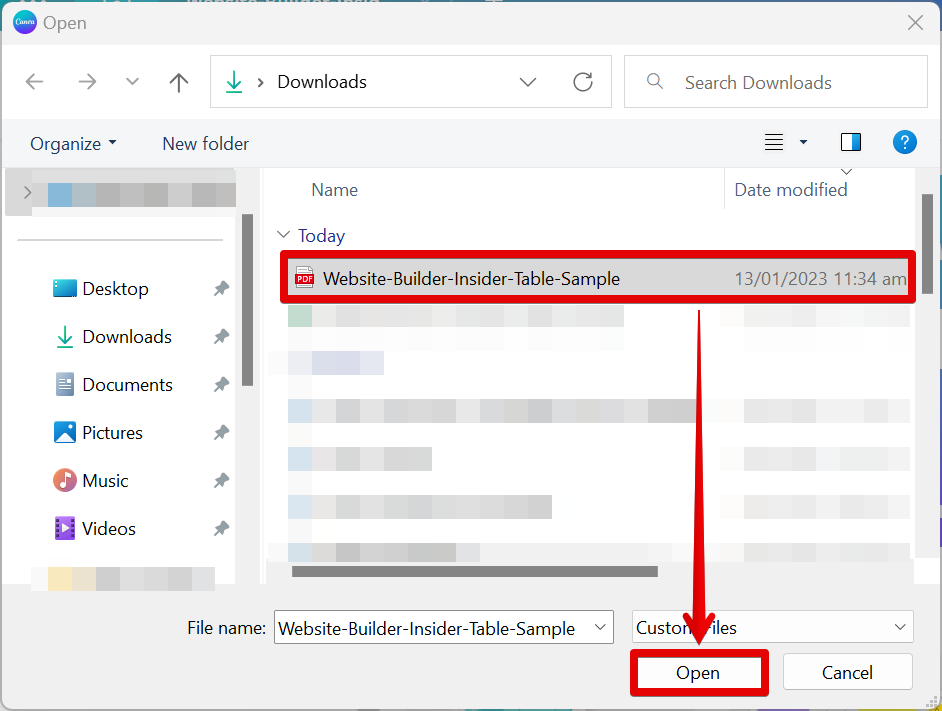
In the File Manager window, select the file containing the grid table that you would like to design in Canva and click on the “Open” button.
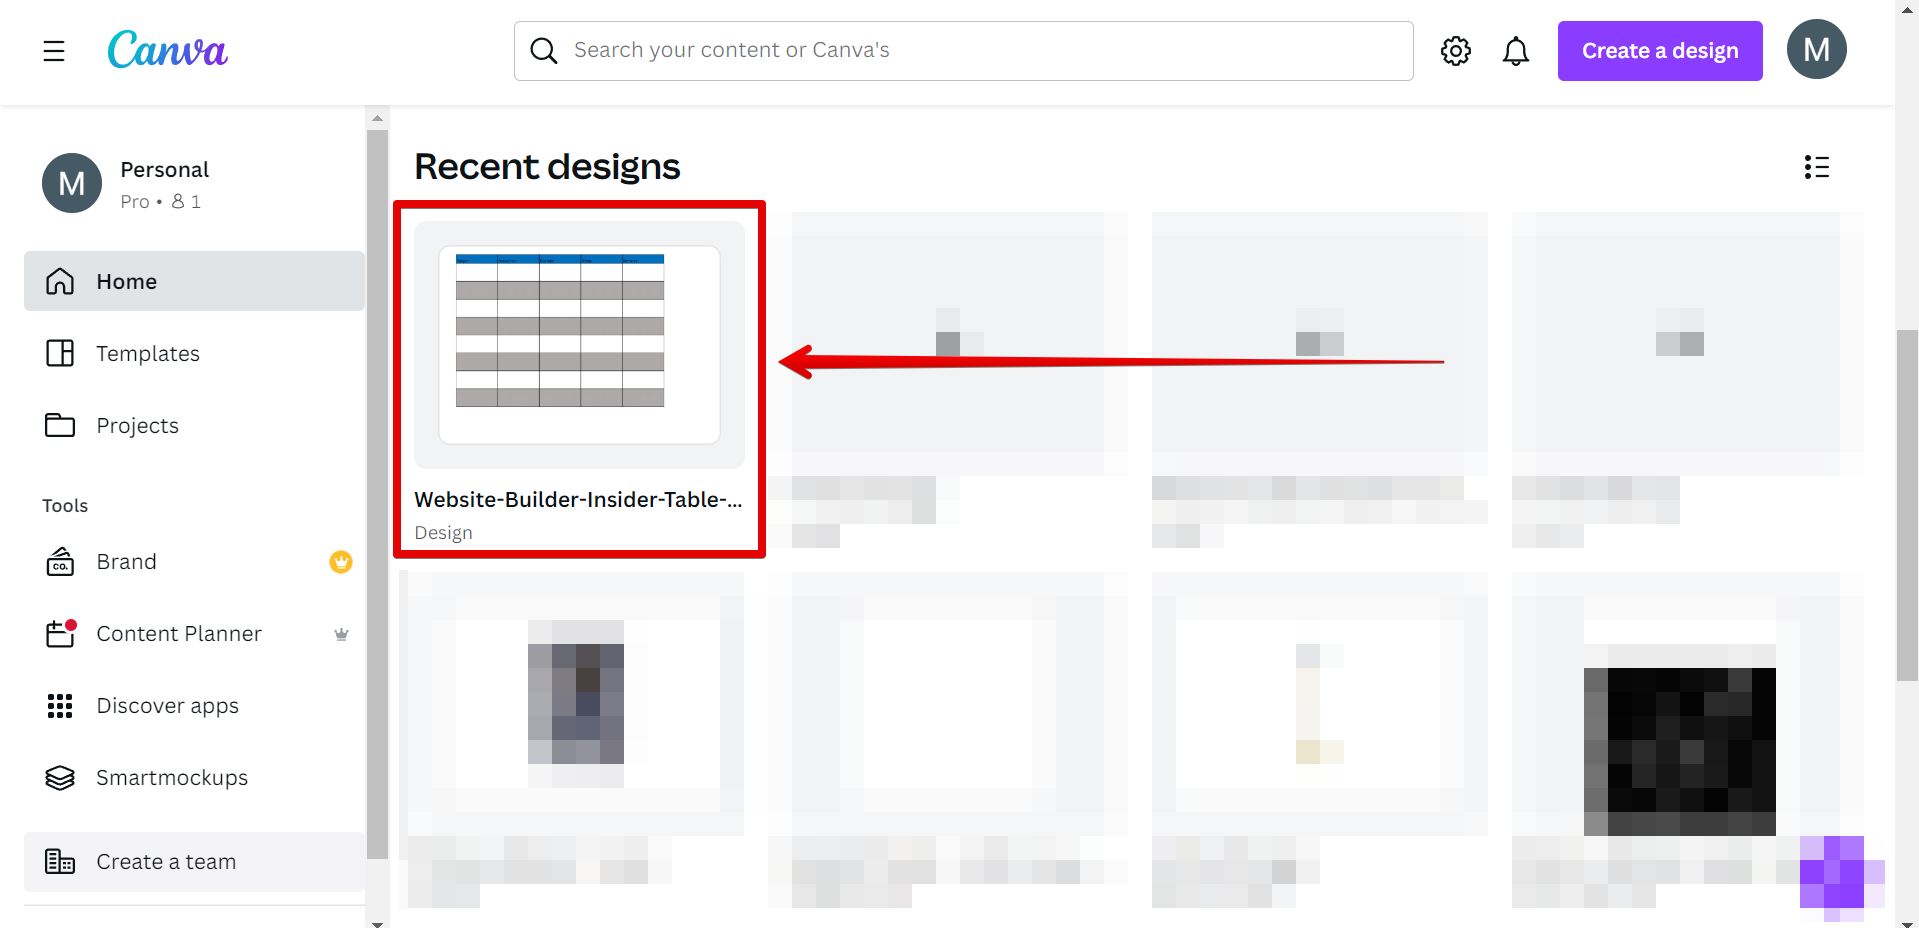
The imported grid table’s file can be found in the “Recent Designs” section. Just click on it to open the design file.
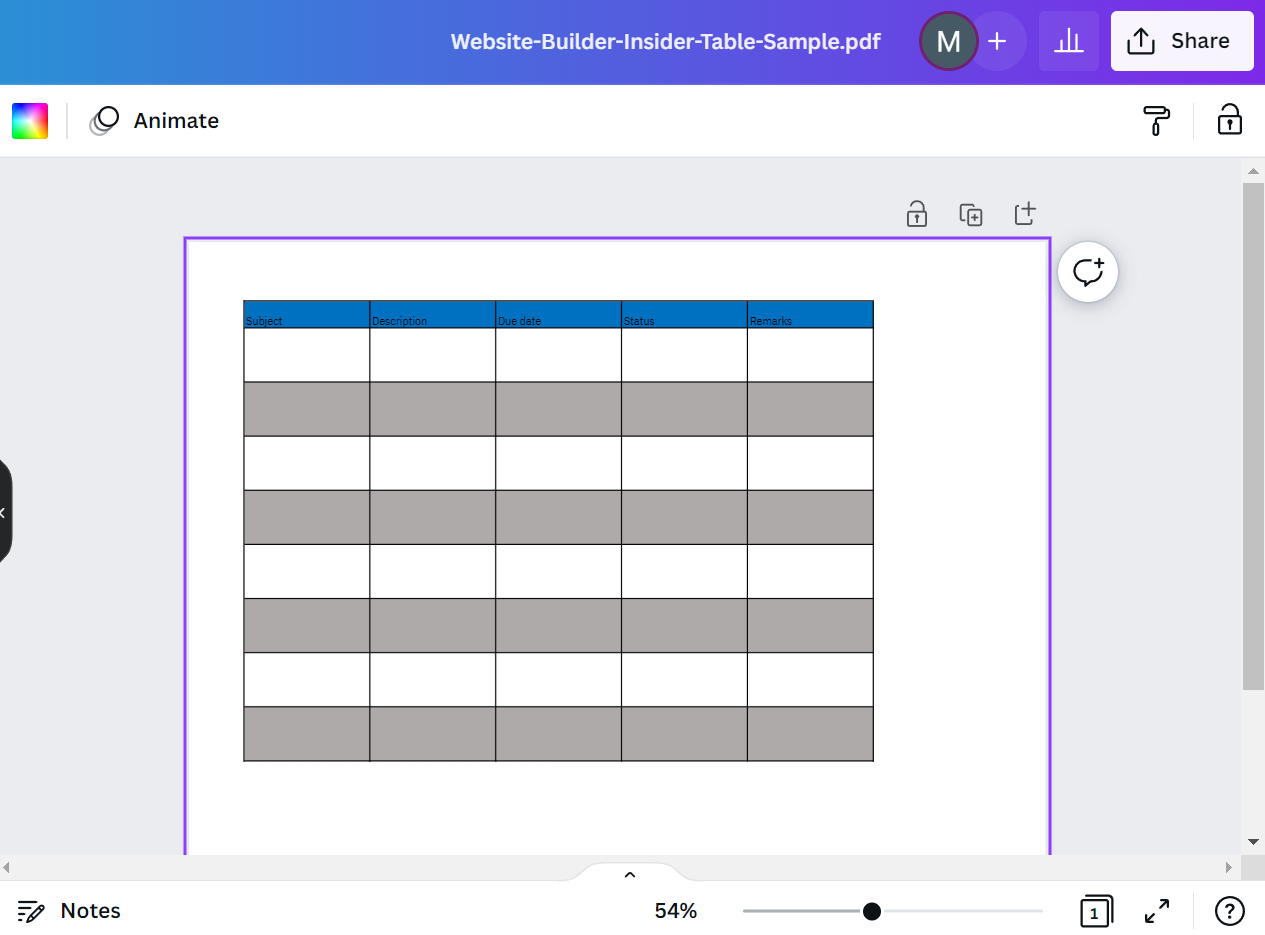
Your grid table should now be loaded in the canvas. The table imported is editable so you can design it according to your preference.
PRO TIP: This article contains instructions on how to make a grid table in Canva, but does not offer any warnings about the potential risks of doing so. Grid tables can be very helpful for organizing information, but they can also be very confusing and difficult to read. If you are not careful, you may end up with a messy grid that is hard to interpret.
2. Edit your Grid Table
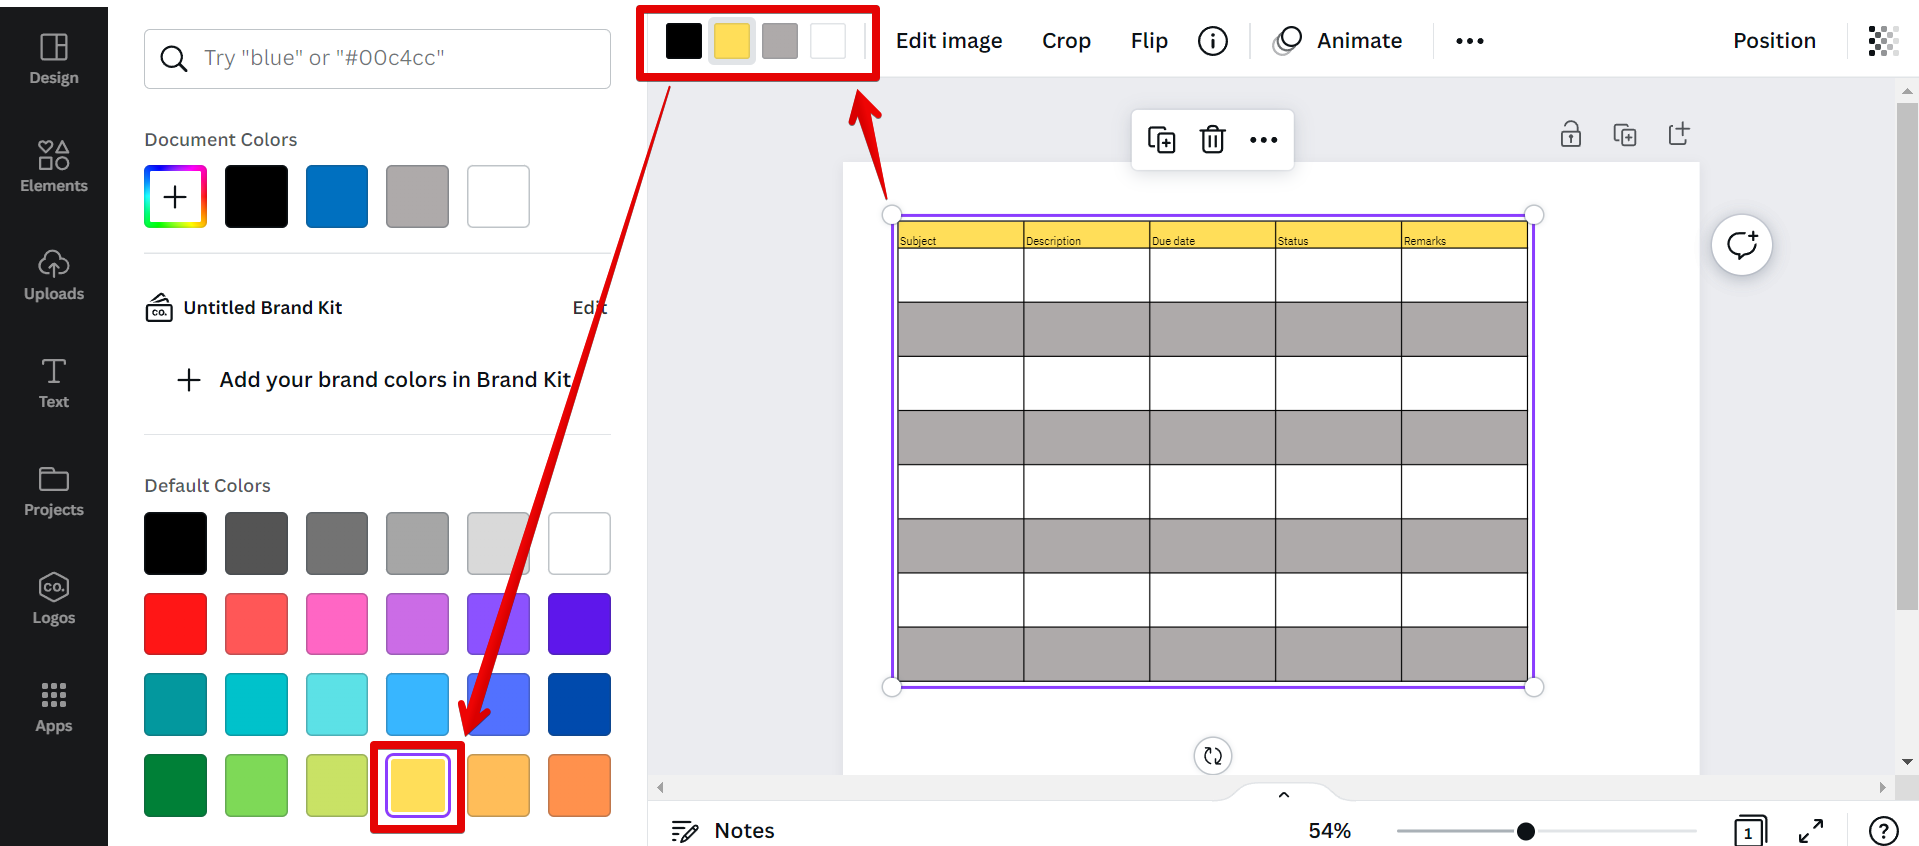
Since the grid table is completely editable, you can simply click on it and change the table’s color. Just select the color boxes in the top menu and click on your preferred color from the options in the left panel.
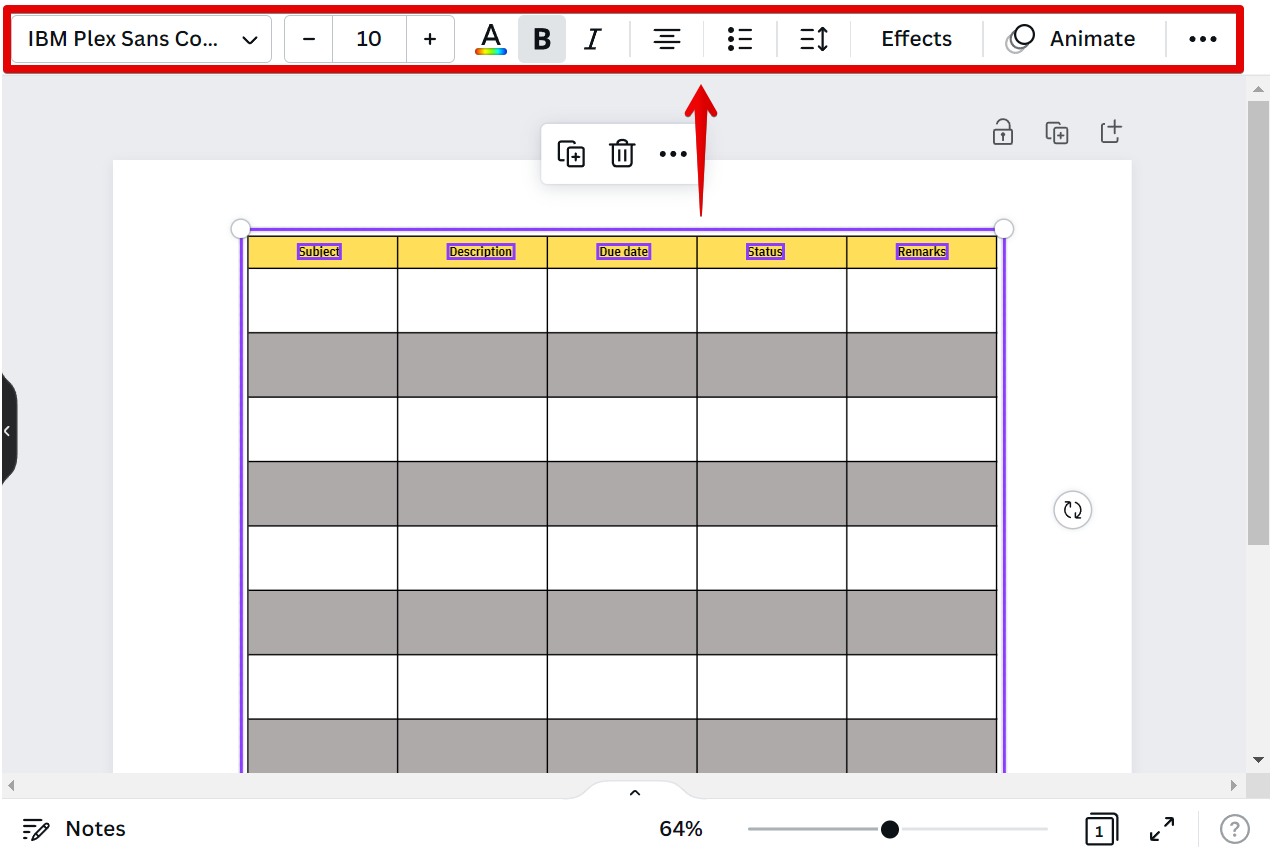
You can also add or edit the text in your table. Simply select the text that you want to edit and use the top menu to style your text.
A grid table is a great way to organize information in Canva. You are also free to design it however you want with Canva’s various features!
6 Related Question Answers Found
Creating a grid on Canva is a quick and easy way to add structure to your designs. To create a grid, simply click on the “Create a Grid” button in the left sidebar. You can then adjust the number of columns and rows, and the spacing between each cell.
Tables are a great way to present data in an easy to read format. Canva makes it easy to create tables with their drag and drop editor. Here’s how:
Creating a table in Canva
1.
Adding a grid to your design in Canva is a great way to keep your elements aligned and organized. Here’s how to add a grid to your design:
1. first, create a new design or open an existing one
2.
Ever wanted to make a table but didn’t want to deal with the hassle of setting up Microsoft Word or another word processor? Well, now you can easily make a table using the online design platform Canva! To get started, log in or create an account at www.com.
There are a few different ways to create a calendar grid in Canva. The first way is to use the built-in grid tool. To do this, simply click on the “Grid” tool in the left sidebar and then click on the “Create Grid” button.
There are a few different ways that you can make a table of contents in Canva. The first way is to use the built-in table of contents feature. To do this, click on the “Text” menu and then select “Table of Contents.” This will insert a table of contents into your design.