Yes, you can certainly wrap text around a shape in Canva.
This can be a great way to add some interest and flair to your design in 2024.
There are a few different ways that you can do this, so let’s take a look at how to wrap text around a shape in the Canva app.
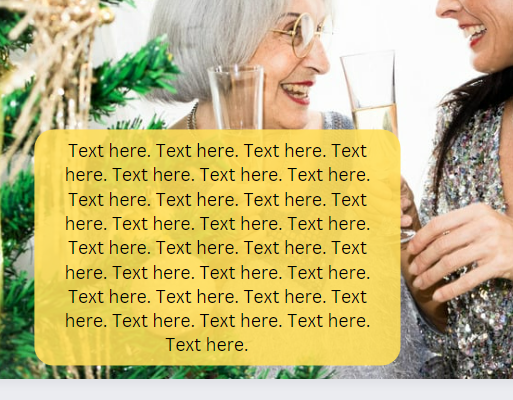
One way to wrap text around a shape is to use the Text Wrap tool. To do this, simply select the Text Wrap tool from the left toolbar, then click and drag your cursor around the shape that you want to wrap your text around. As you can see in the image below, this will cause the text to flow around the shape.
Another way to achieve a similar effect is to use the Crop tool. To do this, select the Crop tool from the left toolbar and then click and drag your cursor around the shape that you want to crop your text to.
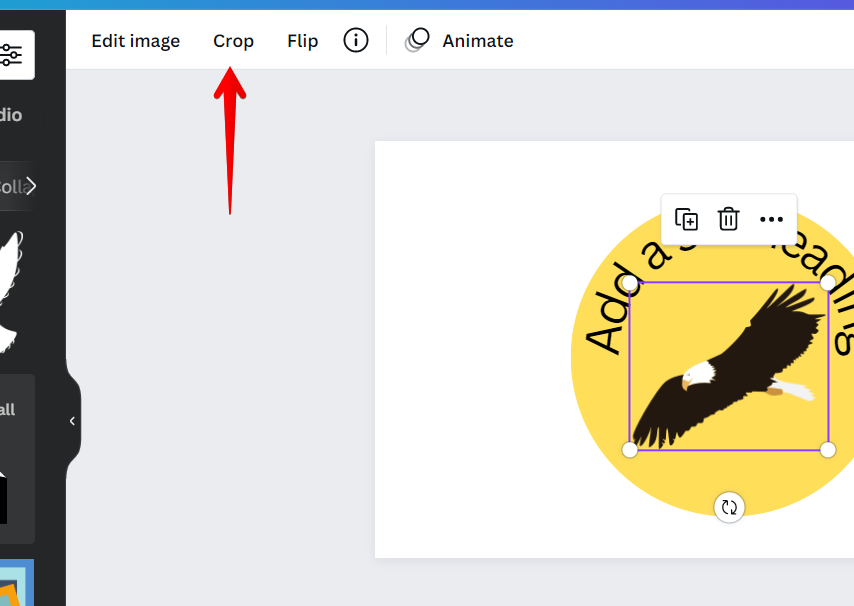
This will cause the text to flow around the shape as well.
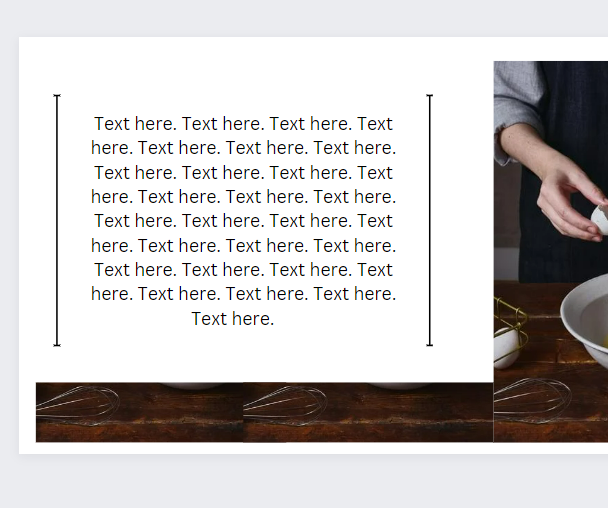
If you want more control over how your text flows around your shapes, you can also use the Line tool. To do this, select the Line tool from the left toolbar and then click and drag your cursor around the shape that you want to create a line around. This will create a line that will flow around your shape, and you can then type your text next to this line.
As you can see, there are a few different ways to wrap text around a shape in Canva. Experiment with each of these methods to see which one works best for your particular design.
All the types of text wrapping you need to know
Control the presentation of images and charts by adjusting the text wrapping of a document.
Square
To achieve the effect of a rectangular box surrounding the image, the text is wrapped around it at right angles on all sides. This method of wrapping text is by far the most popular.
Behind
It puts an image behind the text so you can use it as a watermark or page background.
Tight
Like Square, but without the box, the image itself serves as the container for the text. Useful for pictures with unusual shapes.
Through
Similar to tight, it adds the ability to fill white space in an image with text.
In line with the text
With this setting, the image will appear alongside the text. In contrast to the other choices, in which the image remains in place while the text shifts and “wraps” around it, the image will shift as words are added or removed.
In front of the text
Flips the text and image around. With this, you can draw a ring around a selection of text or insert an arrow to draw attention to a specific section.
Top and bottom
Images are separated from the text by wrapping both above and beneath the image. Most pages benefit from this when featuring large images that fill the entire width of the page.
Importance of text wrapping in designs
Readability is greatly improved by enabling text wrapping settings for images with text. Putting some breathing room around images softens the readability of the text.
Images can be emphasized more depending on your preferences when using text wrap. Distancing text from images helps both stand out more clearly. The overall look and readability can benefit greatly from providing space above, below, and on either side of an object embedded in the text. You can give your documents a more professional look and draw more attention to the most important parts by wrapping text around figures, also known as graphic objects or images.