Creating engaging and visually appealing designs is an important aspect of graphic design.
Animation is a powerful tool that can take your design to the next level by adding movement and bringing your design to life. Canva is a popular graphic design platform that provides a variety of animation effects that you can use to make your designs stand out. However, controlling the animation sequence can be a bit challenging for some users.
In this article, we will explore the different methods of controlling the animation sequence in Canva and how you can use them to create stunning designs that capture your audience’s attention. Whether you’re a beginner or an experienced designer, this article will provide you with the knowledge you need to take your Canva animations to the next level.
Understanding the Basics of Animation in Canva
Canva is an online design tool that allows users to create stunning visual content, including graphics, presentations, and social media posts. One of the features that makes Canva stand out is its built-in animation tool, which enables users to add motion and interactivity to their designs.
Animations can bring your designs to life by adding movement and visual interest. They can help draw attention to specific elements, create a sense of rhythm, and guide the viewer’s eye through the design. Animations can also make your designs more engaging and memorable, helping to increase user engagement and retention.
Canva offers a range of animation effects, including fades, slides, and spins, that you can apply to different design elements, such as text, images, and shapes.
You can control the timing, duration, and direction of the animation, and preview your design in real-time to see how the animation will look when published.
Animations are particularly useful for creating presentations, social media posts, and marketing materials, where you want to capture the viewer’s attention and communicate your message effectively. By adding subtle animations to your designs, you can create a professional and polished look that will help your content stand out in a crowded online space.
Applying different types of animations in your Canva designs
Canva offers a variety of animation types that can be applied to elements in a design, such as text, graphics, and illustrations.
The different types of animations available in Canva include:
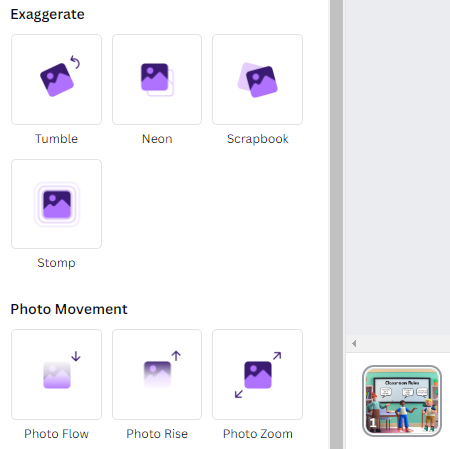
Entrance animations: These animations bring an element into view. Canva offers a range of entrance animations, including bounce, fade, slide, and zoom.
Emphasis animations: These animations are used to draw attention to a particular element. Canva offers several emphasis animations, including pulse, shake, and spin.
Exit animations: These animations make an element disappear from view. Canva provides several exit animations, including fade, slide, and zoom.
To apply an animation in Canva, follow these steps:
- Select the element you want to animate.
- Click on the “Animate” button in the top toolbar.
- Choose the animation type you want to apply to the element.
- Adjust the animation’s duration, delay, and other settings, if necessary.
- Preview the animation to ensure that it looks the way you want it to.
- Once you are satisfied with the animation, click “Apply” to add it to your design.
Animations can help make your designs more dynamic and engaging. However, it’s important to use them sparingly and thoughtfully to avoid overwhelming your audience.
Importance of timing and sequence in creating effective animations
Timing and sequence are crucial elements in creating effective animations. Timing refers to the amount of time each action or movement takes to complete, while sequence refers to the order in which actions and movements occur. In animation, timing and sequence work together to create the illusion of motion and convey a sense of rhythm and fluidity.
Here are some reasons why timing and sequence are important in creating effective animations:
Conveying meaning
Timing and sequence can help convey meaning in an animation. For example, a slow movement may suggest caution or uncertainty, while a quick movement may suggest excitement or urgency.
Emphasizing key actions
Proper timing and sequence can help emphasize key actions in an animation. For example, a slight pause before a character jumps can create a sense of anticipation and make the jump seem more impactful.
Creating a sense of realism
Proper timing and sequence can make an animation feel more realistic. For example, if a character is walking, the timing and sequence of the steps should match the character’s weight and balance to create the illusion of natural movement.
Maintaining consistency
Consistent timing and sequence can help maintain the viewer’s engagement and prevent confusion. For example, if a character’s movements are inconsistent or erratic, it can be difficult for the viewer to follow the story or understand what is happening.
In summary, timing and sequence are crucial in creating effective animations..
They can help convey meaning, emphasize key actions, create a sense of realism, and maintain consistency. Good timing and sequence are essential to creating an engaging and effective animation that captures the viewer’s attention and communicates a message effectively.
How to Control the Animation Sequence in Canva
One of the essential features of Canva’s animation tool is the “Animate” panel, which enables users to control the sequence and timing of animations. The “Animate” panel in Canva provides a range of tools to control the animation sequence, duration, and delay. Here’s how to use the “Animate” panel in Canva to control the animation sequence:
1. Select the object you want to animate: Click on the object you want to animate, and select the “Animate” option from the top toolbar.
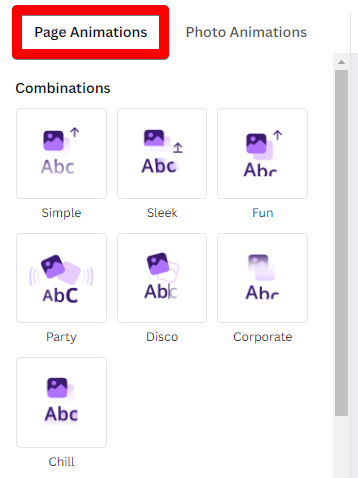
2. Choose the animation effect: In the “Animate” panel, select the animation effect you want to apply to the object. Canva offers a range of animation effects, such as fade, slide, bounce, and more.
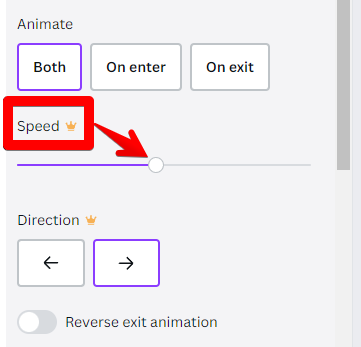
3. Set the animation duration: Adjust the duration of the animation effect by moving the slider in the “Animate” panel. This controls how long the animation will take to complete.
4. Adjust the order of animations: If you have more than one animation effect, you can change their order by dragging and dropping them in the “Animate” panel. This allows you to control the sequence in which the animations occur.
5. Set the delay between animations: To create a pause between animations, set a delay by clicking the “+” button in the “Animate” panel. This will add a new animation effect, but you can adjust the duration to zero, creating a pause in the animation.
6. Preview your animation: Once you have set up your animations, you can preview them by clicking the “Play” button in the “Animate” panel. This will show you how the animations will look when you export your design.
Tips for Creating Engaging Animations in Canva
By following these tips, you can create effective and engaging animations in Canva that enhance the overall message and tone of your design.
Use subtle animations: Animations can add visual interest to your design, but they should not distract from the main message. Use subtle animations, such as a gentle fade-in or slide, to draw attention to specific elements in your design. Avoid using flashy or complex animations that can be overwhelming or distracting to the viewer..
Consider the message and tone of the design: The type of animation you use should be appropriate for the message and tone of your design. For example, if you’re creating a serious business presentation, using playful or cartoonish animations may not be appropriate. Conversely, if you’re creating a design for children, using fun and whimsical animations can be effective.
Use animations to guide the viewer: Animations can be used to guide the viewer’s attention to specific parts of your design. For example, using a subtle animation to draw attention to a call-to-action button can increase the chances that the viewer will click on it.
Limit the number of animations on a page: While animations can be an effective design element, too many animations on a page can be overwhelming and reduce the effectiveness of your message. Limit the number of animations on a page to a few key elements that you want to draw attention to.
Use Canva’s built-in animations: Canva has a range of built-in animations that can be easily applied to elements in your design. These animations are designed to be subtle and effective, making it easy for you to create professional-looking animations even if you have limited animation experience.
Preview and test your animations: Before finalizing your design, preview your animations to make sure they work as intended. Test your design on different devices to ensure that the animations look good on all screen sizes and types.
Conclusion
Controlling animation sequences in Canva is an essential aspect of creating engaging and visually appealing designs.
By utilizing features such as the animation timeline, easing options, and animation delay, designers can create smooth and dynamic animations that effectively communicate their message. With the tips and techniques discussed in this article, users can enhance their designs and bring their ideas to life with the power of animation.
Happy editing!