Can You Turn a Selection Into a Shape in Photoshop?
It’s a common question asked by Photoshop users: “Can I turn my selection into a shape?” The answer is yes, but there are a few things you need to know first. In this article, we’ll show you how to turn your selection into a shape in Photoshop, and we’ll also give you some tips on how to get the best results.
First, let’s take a look at how to turn your selection into a shape. To do this, first, make a selection using any of the Selection Tools in Photoshop. In this tutorial, we will be using the Direct Selection Tool.
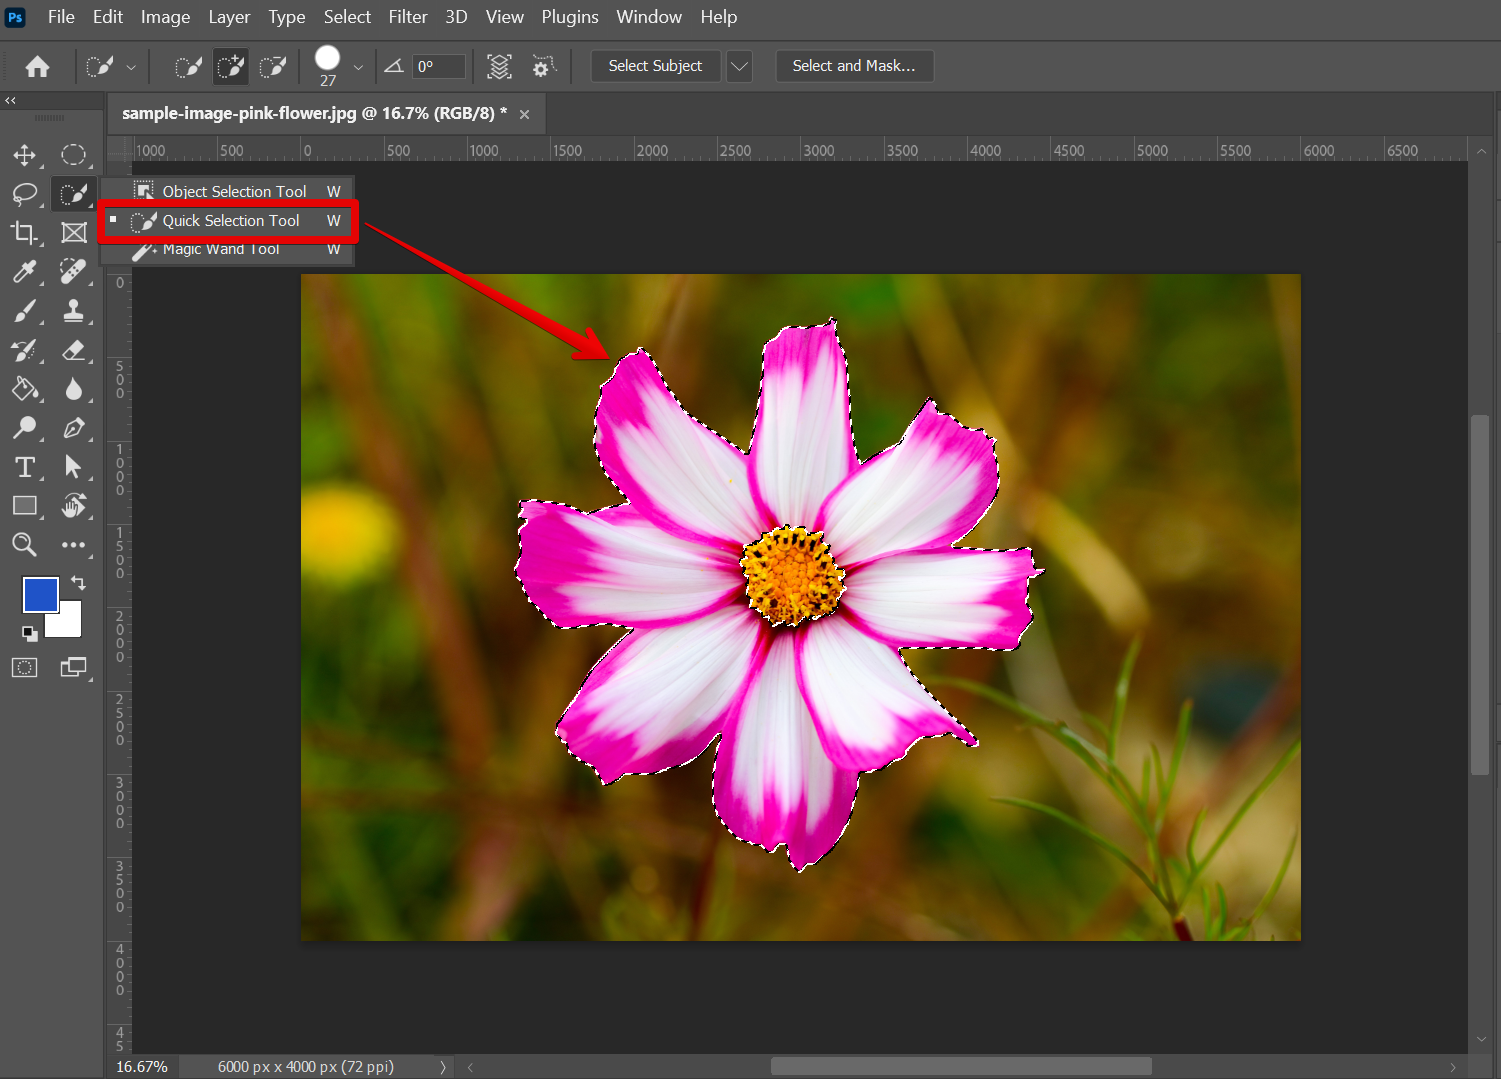
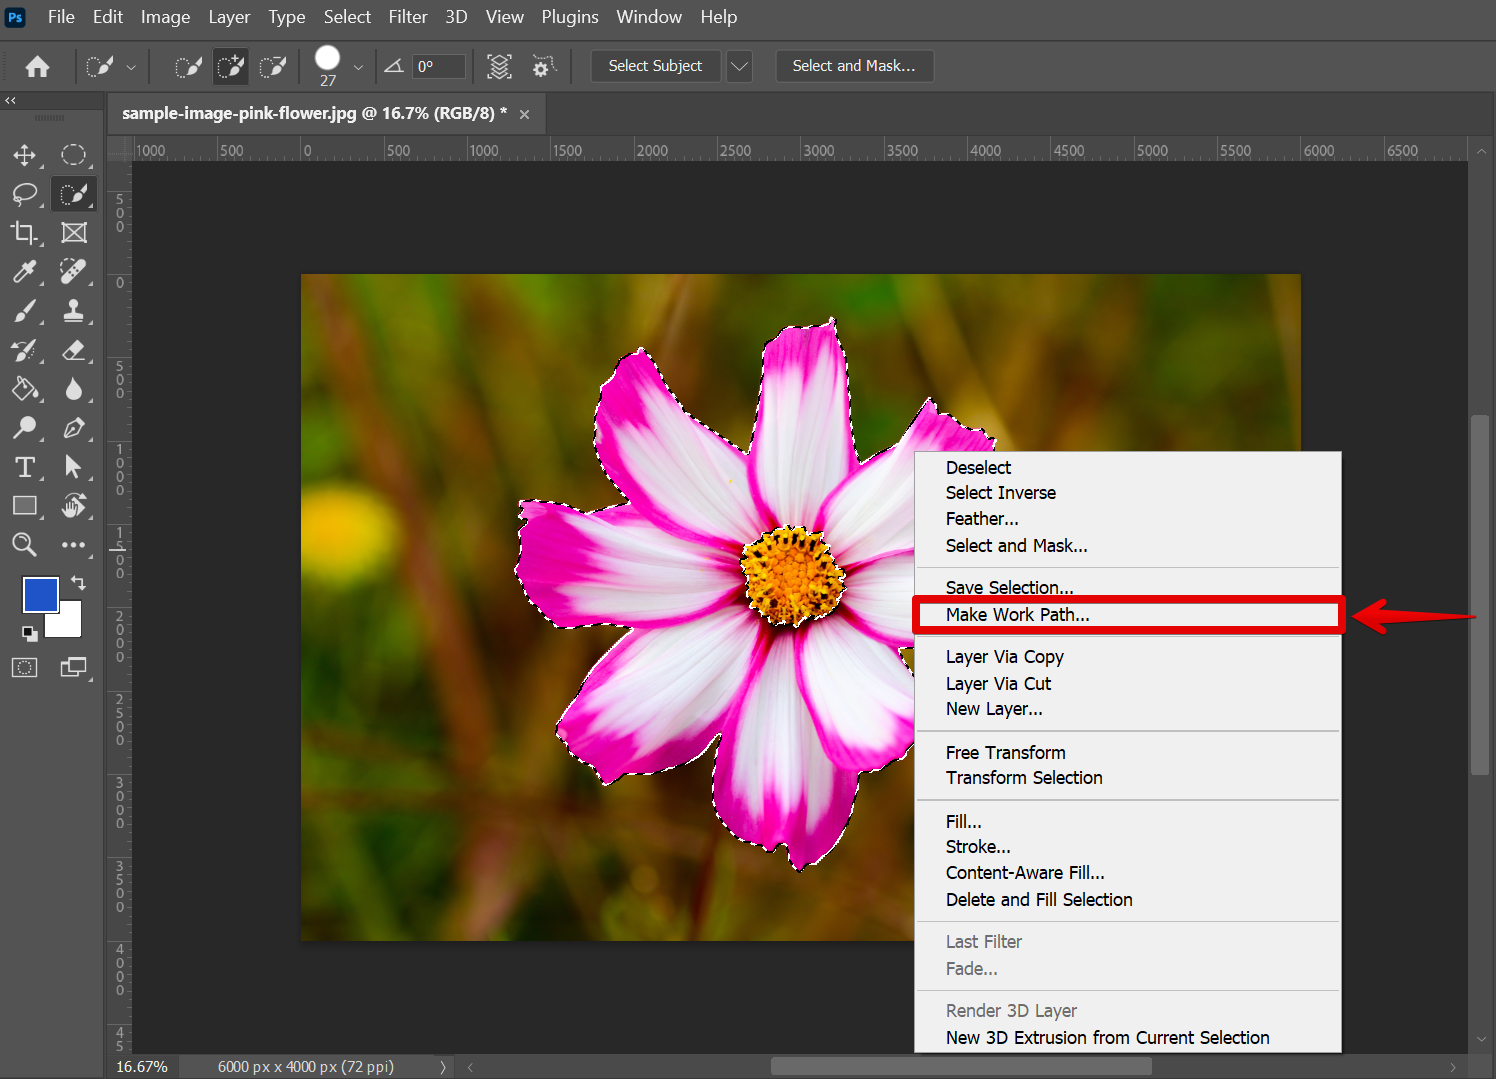
This will then make a selection on your image. Now we need to turn this selection into a path. To do this, right-click on the selection and select the “Make Work Path” option from the menu that will appear.
In the Make Work Path dialog box that will pop up, we need to set the Tolerance of the path. In this example, we will set the tolerance to 5 pixels.
![]()
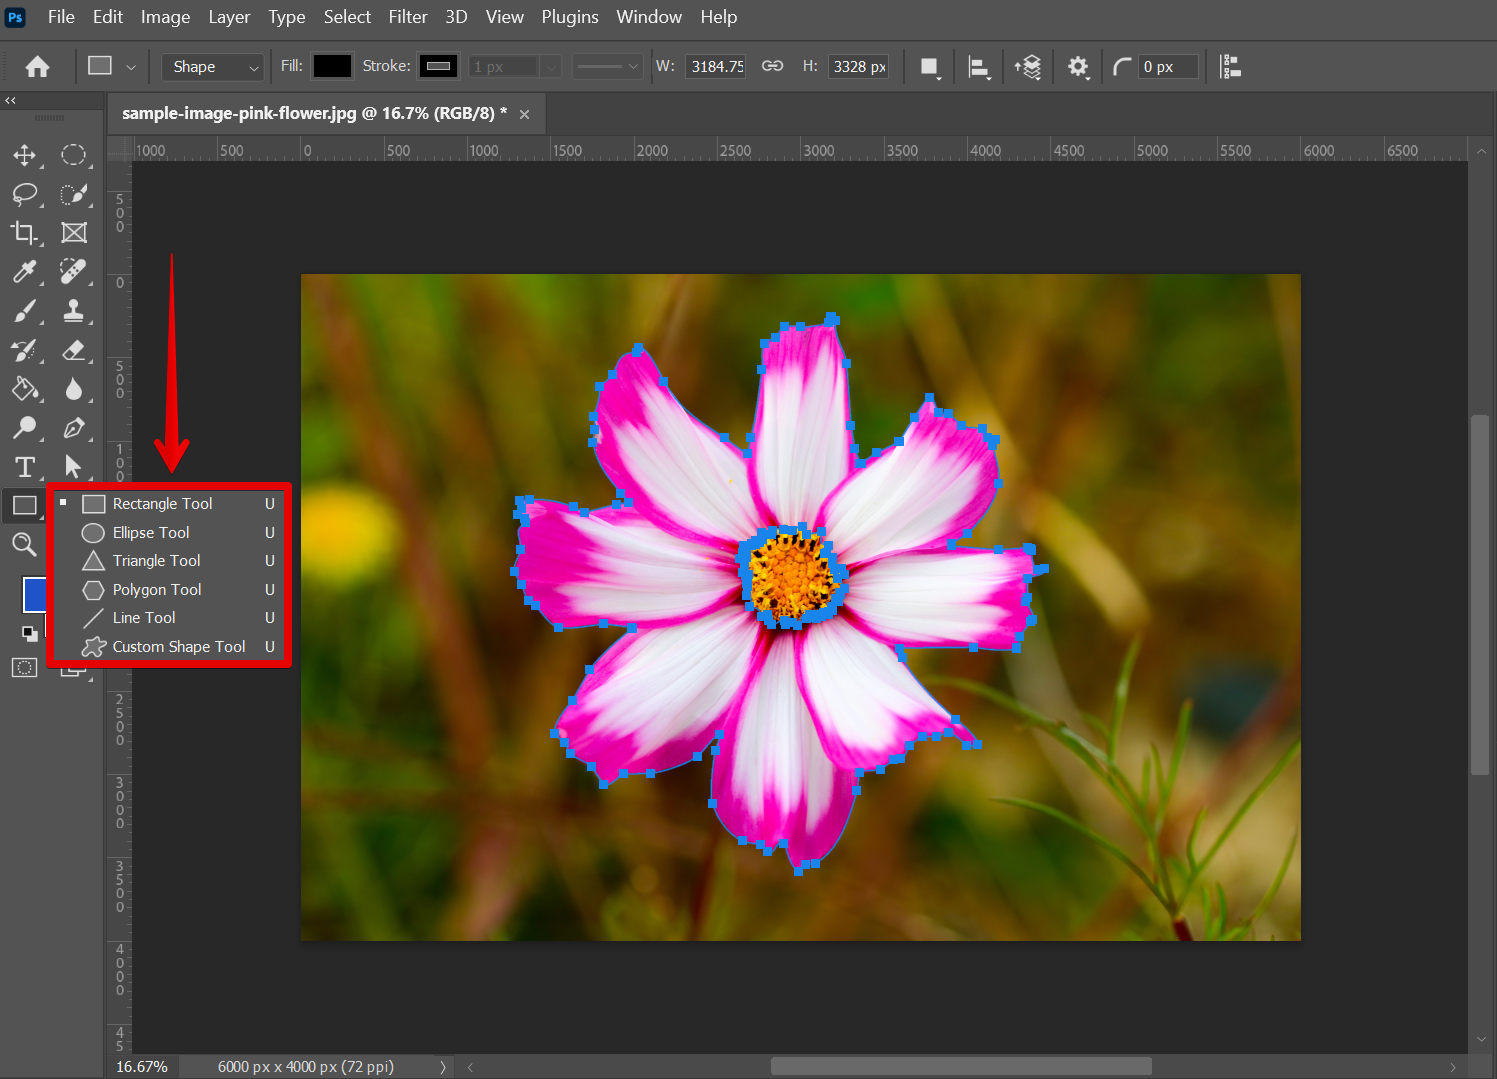
Your selection should now have anchor points around it indicating that it was converted into a path. From there, we can now convert the path into a shape. To do this, select any of the Shape Tools to enable the shape settings.
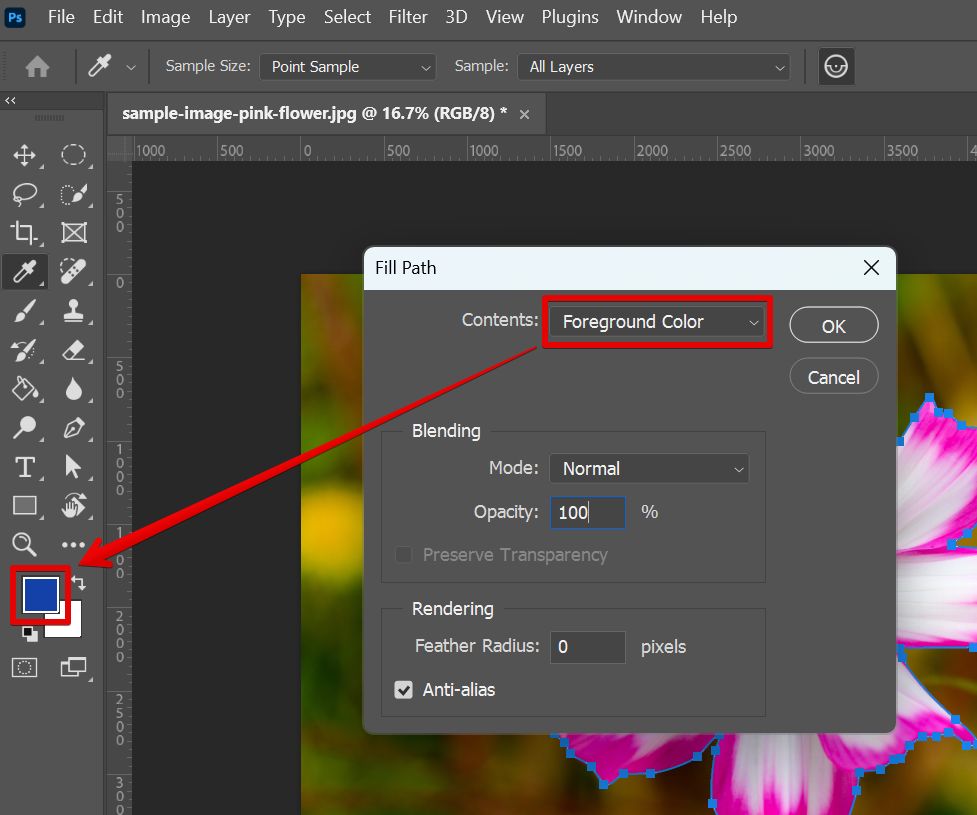
Then, right-click on the path and select the “Fill Path” option.

This will open the Fill Path window where you can choose what you want to fill in the path. In this case, we will be using the Foreground Color. You can change this by opening the Color Picker window using the upper color box in the left toolbar.
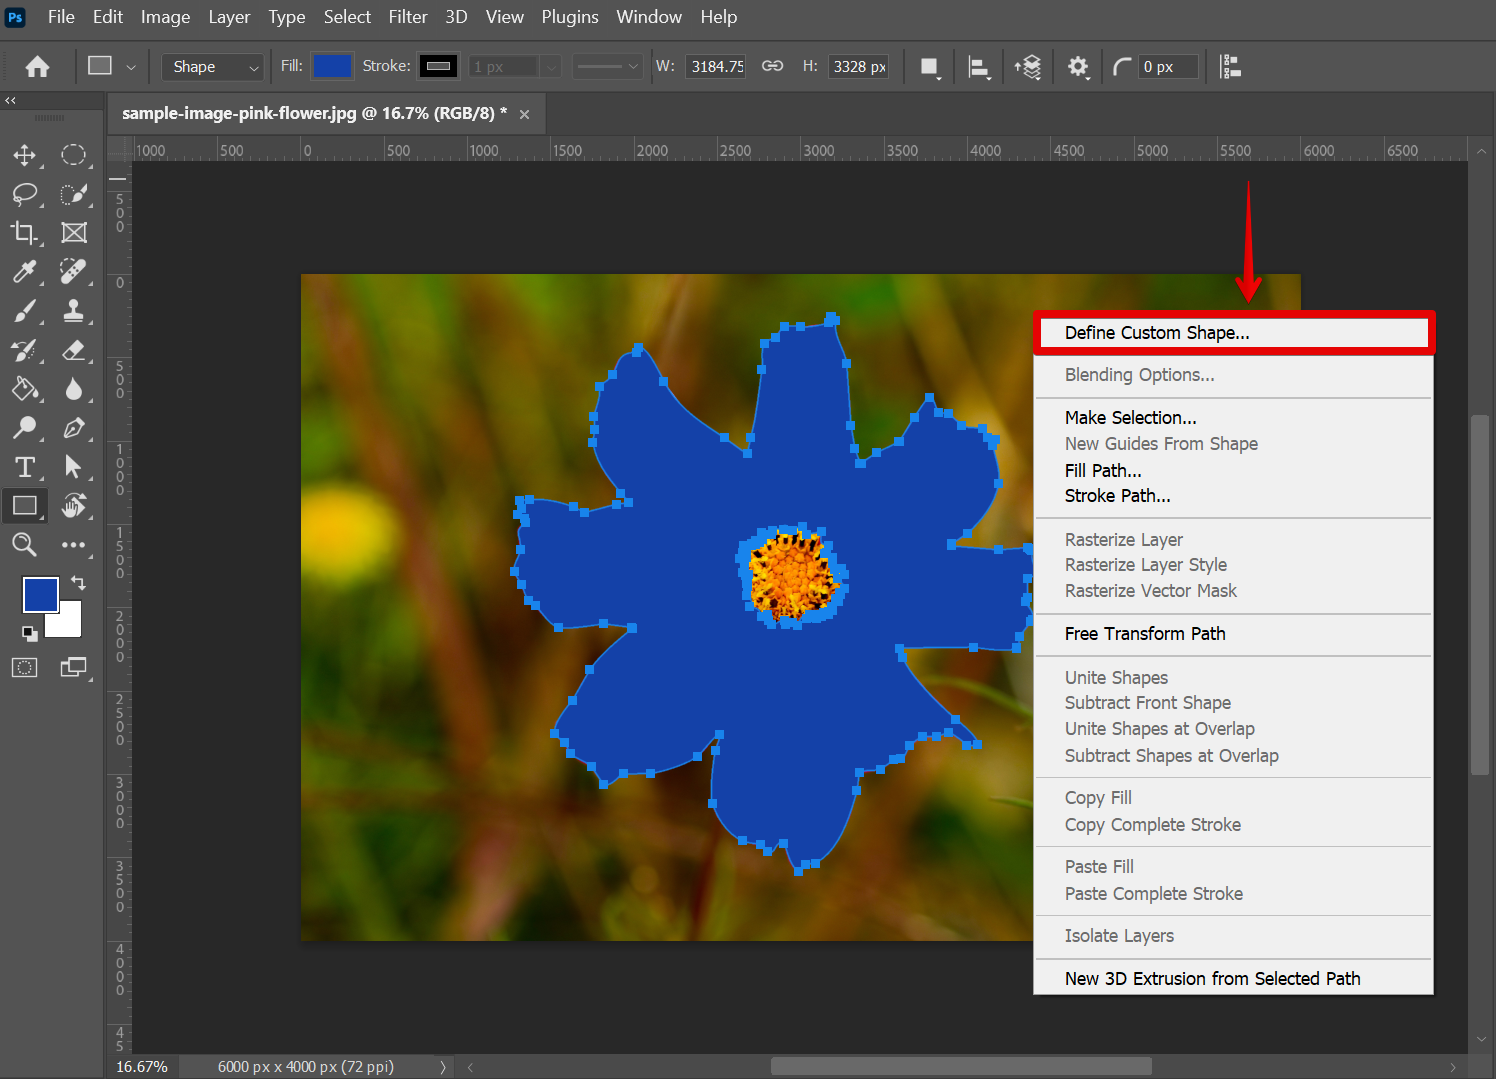
Your path should now be filled with color. To turn this path into a shape, right-click on it and select the “Define Custom Shape” option.
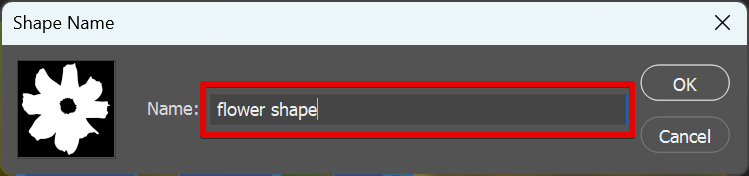
Then, type in the name of your shape in the pop-up window and click on the “OK” button.
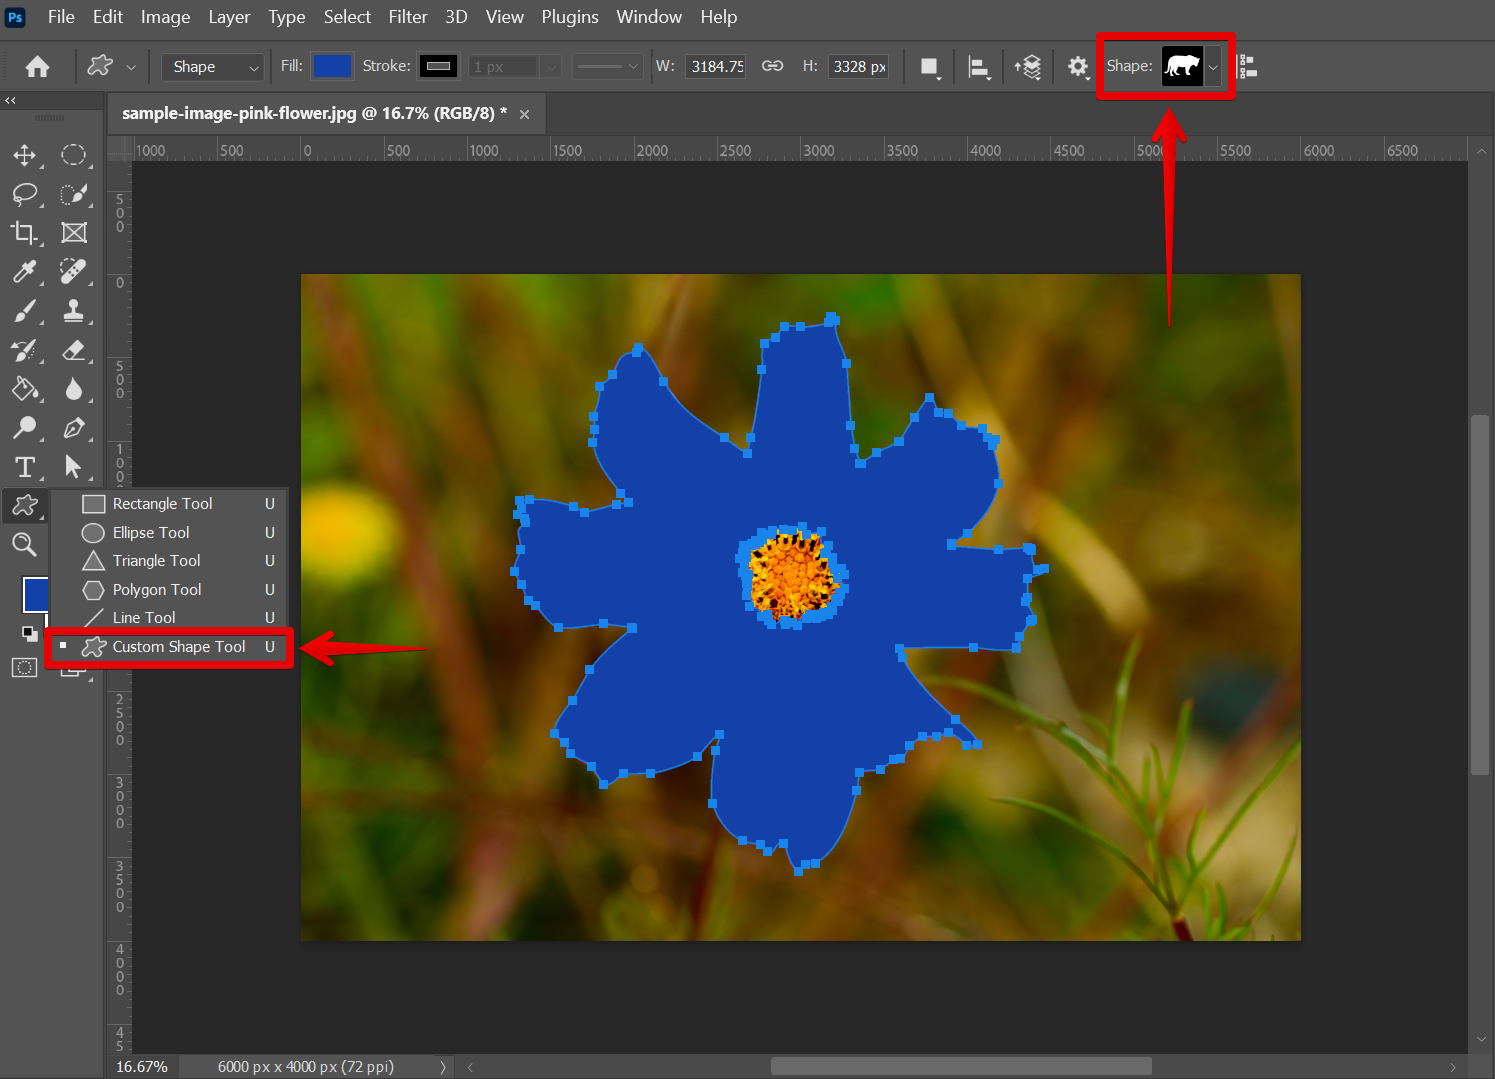
Your selection should now be available as a shape! To check this, first, select the Custom Shape Tool from the left toolbar then go to the top menu to open the Custom Shape Picker.
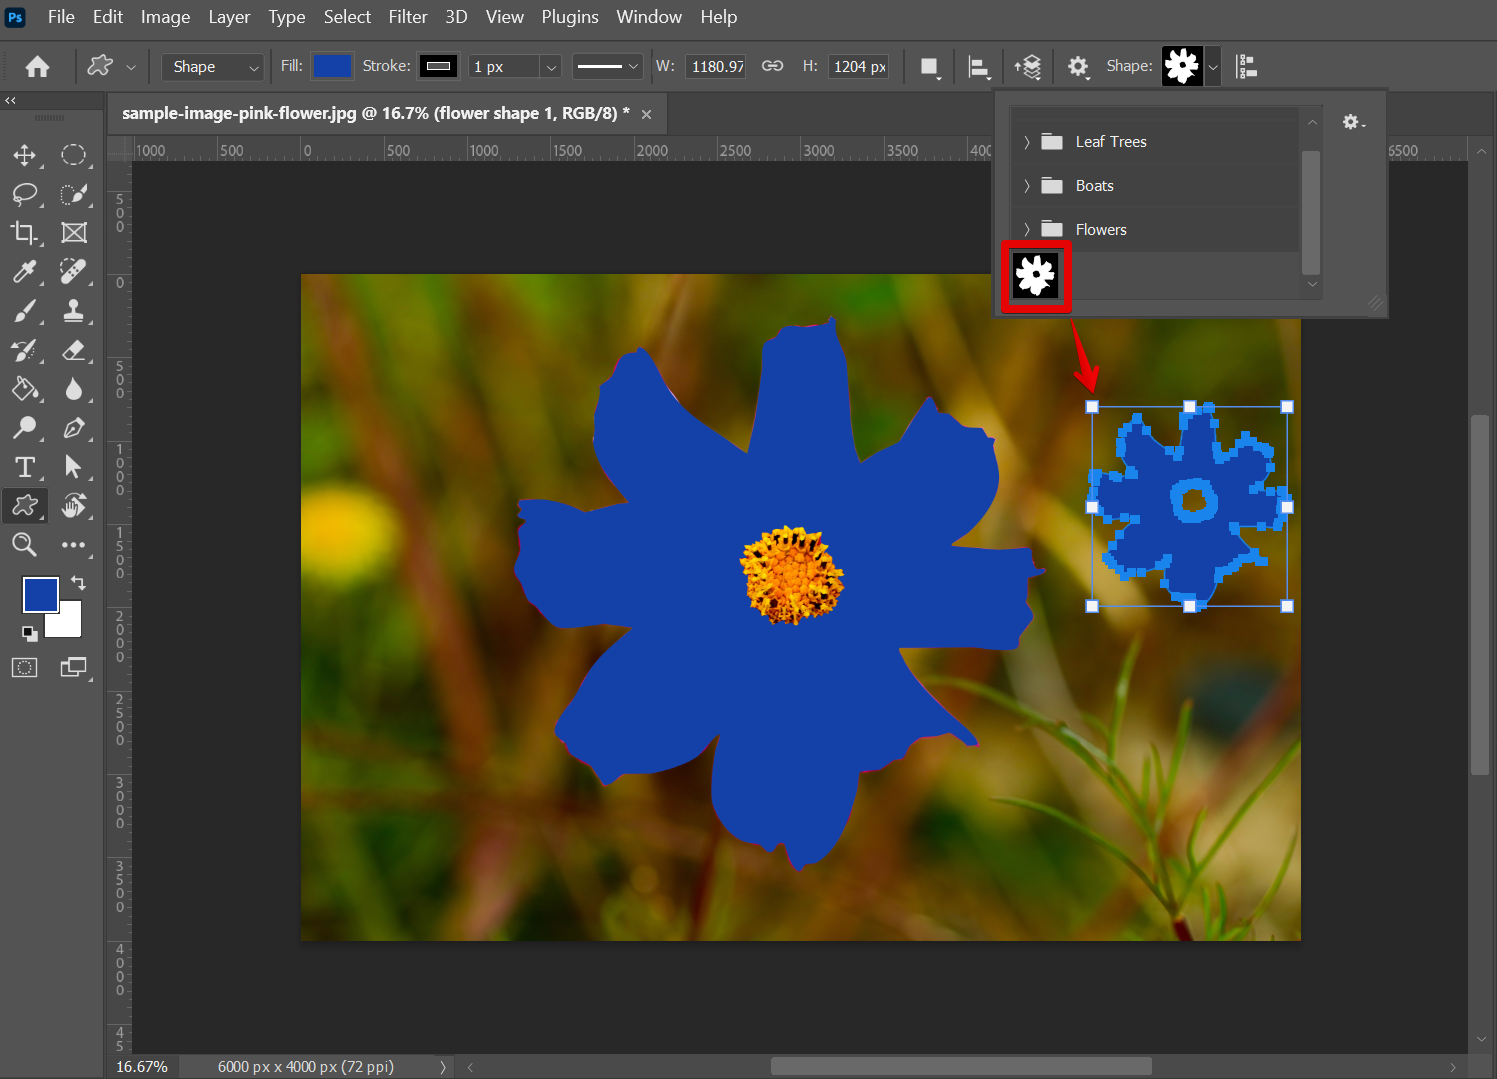
And there you have it! To use this new shape, just click on it and then click and drag over your canvas to insert the shape in your design.
Now that you know how to turn your selection into a shape, let’s take a look at some tips to help you get the best results.
First, try to make your selection as accurate as possible. The more accurate your selection is, the better your results will be.
Second, if you’re having trouble making a precise selection, try using the Lasso Tool or the Polygonal Lasso Tool. These tools will give you more control over your selection.
Finally, don’t forget that you can always use the Magic Wand Tool to fine-tune your selection.
Conclusion:
In conclusion, yes you can turn a selection into a shape in Photoshop by first turning the selection into a path using the “Make Work Path” command. From there, fill the path with color using the “Fill Path” command and finally turn it into a shape using the “Define Custom Shape” command. There are however a few things you should keep in mind such as making your selection as accurate as possible for better results.