PNG files are great for storing graphics, but they can be difficult to edit in Illustrator. Vector files are the perfect solution because they can be edited in any vector software, and they are resolution independent.
To convert a PNG to a vector in Illustrator, follow these steps:
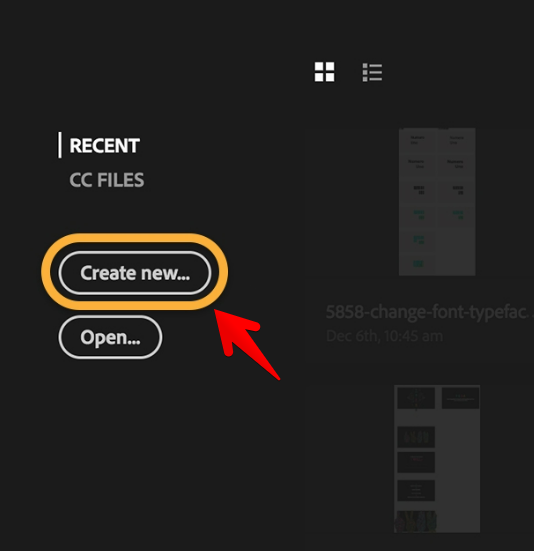
1. Open Illustrator and create a new document.
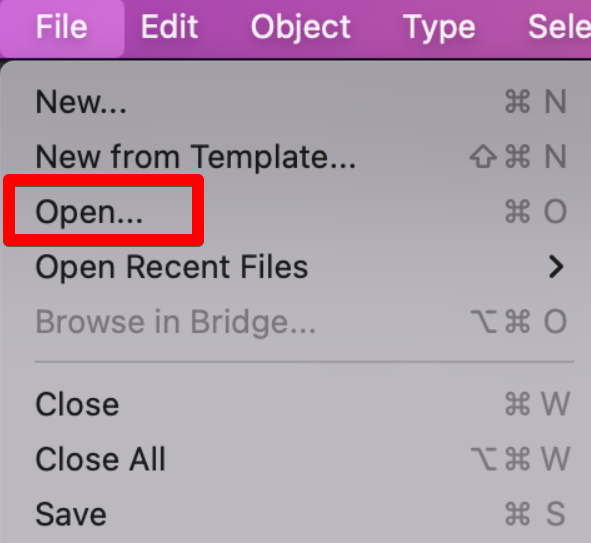
You can also import a PNG file directly to Adobe Illustrator. The process is the same as opening any other image file:
- Import a PNG file by clicking on its icon in the Files panel or by dragging it onto your document (you can also select multiple files). If you want to convert all of your PNGs at once, select them all before pressing Ctrl + I (Command + I on Windows).
2. To convert your PNG file into a vector, follow these steps:
- Select “Image Trace” then “Make” in the Layers panel to convert the image into a vector. This will save you time later when you need to edit it again or repurpose it for another purpose!

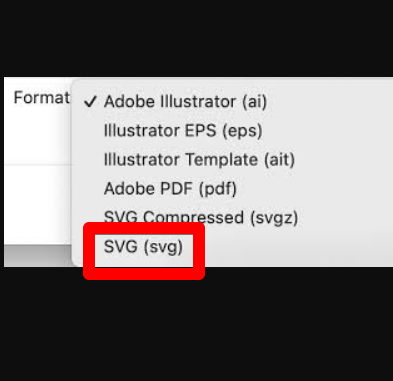
3. To save a PNG as an SVG format file, choose File > Save As. In the Save As dialog box that appears, enter SVG in the File name textbox and click Save.
You can also use any other vector editing program or website to edit SVG files. For example, Adobe Illustrator supports editing of both .AI and .EPS files (.AI stands for Adobe Illustrator), so you can save your artwork as either type of file when using this tool.
Vector image definition
Scalable vector graphics are mathematical representations of images, rather than bitmaps or pixel-based ones.
Online images are typically raster images. Raster images convey a picture by means of square pixels (bits of color). Coloring in vector graphics is done with resizable polygons of color. With vector images, you get clean lines and vivid hues because they’re built from dynamic color sections rather than static squares.
Due to their formulaic geometry, vector images can be scaled to any resolution. This is because the shape of the color polygons in a vector file is independent of the scale at which it is viewed. However, this is not the case for raster images, as scaling them distorts their color data.
The two image types are clearly distinguishable from one another in terms of their file formats. The most common types of raster images are JPG as well as GIF, while the most common types of vector images are SVG, EPS, and AI.
Advantages of using vectors in designs
We’ll go over what makes vector graphics such a strong option for designers, including examples.
Reduced File Sizes
Collaborating with vector format reduces the space required to store art files because vector formats use less data than raster image formats. Images with a smaller file size can be sent via email or shared using file-sharing programs with much less delay.
Having a smaller file size means that vector graphics load much faster on web pages, which is especially helpful for web designers. Scalable Vector Graphics (SVG) is one of the most popular image file types on the web because of its small footprint. When images on a page are compressed, it allows the page to load more quickly, which improves the user experience.
Quick conversion to other file types
In the event that your project or deliverables require a raster image rather than a vector graphic, you can easily transform your vector file into a raster image format. The process of transforming a raster image into a vector one is notoriously complex and time-consuming.
Vectorizing a raster image with software like CorelDRAW’s PowerTRACE tool is possible, but it is resource-intensive and may not produce the desired results if the raster image is particularly complex. Make sure to create your image in vector format first and then export it to raster if necessary if you plan on making any changes to it.
Scalability
We have established that one of the primary advantages of vector graphics is their scalability throughout this series of articles. Vector graphics can be enlarged or shrunk to any size without losing quality, making them ideal for everything from a tiny pen logo to a massive billboard.
The ability to scale an image so that it looks the same crisp and clear on any screen size is essential for digital applications. Because of their adaptability to different display sizes without compromising quality, SVGs have found widespread use on the web.
Moreover, when it comes to printing, the scalability of vector graphics really shines. Since vector files can be easily modified in size and scaled for use on a wide variety of printed goods, they are the format of choice for print shops ranging from print-on-demand services to t-shirt screen printers.
Conclusion
Having read this, you should be familiar with Illustrator’s image-to-vector conversion capabilities. Your new work will retain its integrity at any size you choose to make it.
Don’t forget that complex vector images can weigh in much heavier than their raster equivalents. As a result, they could be more time-consuming to load and modify. However, the quality of your vector file will be unaffected by the magnification factor.