There are a few ways to crop a picture into a circle in Figma. The first way is to use the built-in Ellipse Tool.
Select the Ellipse Tool from the toolbar, then click and drag on the canvas to create a perfect circle. To constrain the circle to a perfect circle, hold down the Shift key while you click and drag.

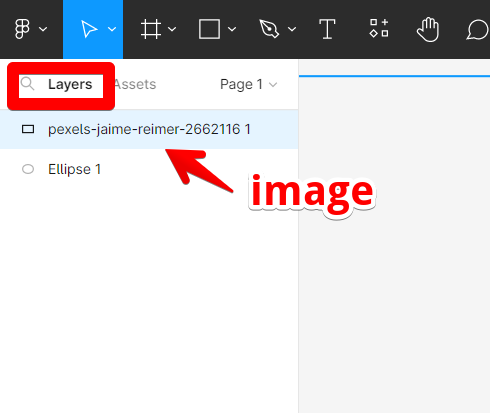
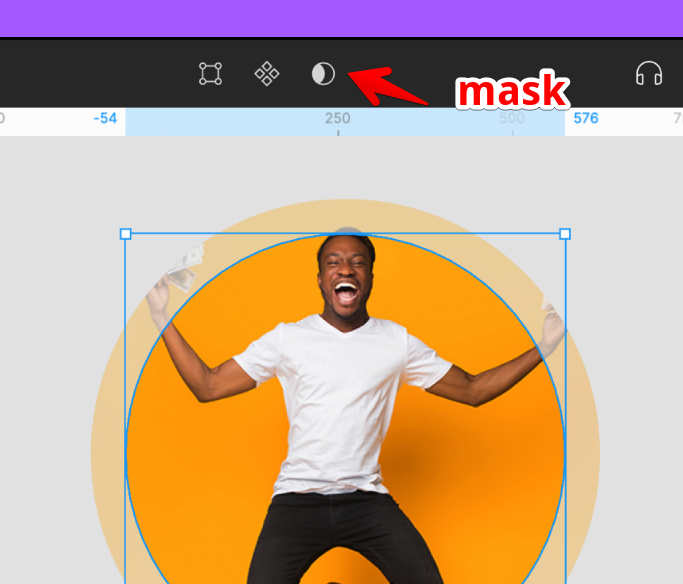
Next, select the image you want to crop in the Layers panel. Then, click on the “Mask” icon in the toolbar.
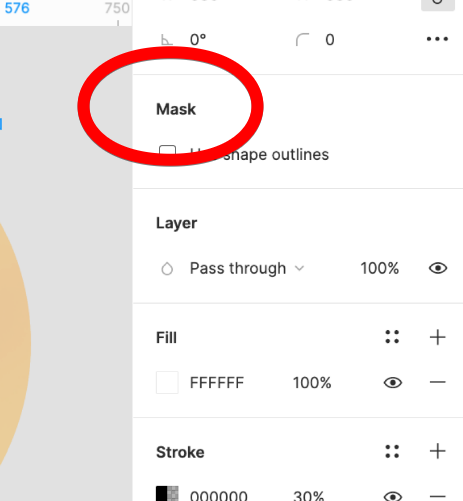
This will create a mask around the image. You can then adjust the mask by clicking and dragging on the edges.
The last way to crop an image into a circle is to use a clipping mask. First, create a new shape using the Ellipse Tool.
Make sure that this shape is above the image you want to crop in the Layers panel. Next, select both the image and the shape, then click on “Clipping Mask” in the toolbar. This will crop the image into the shape of a circle.
Introducing masks
So, you already encountered masks in our discussion above… but have you truly understood how masks work in Figma? If you’re still exploring about how Figma works and want to know about the mask tool — then read on!
You can hide or reveal parts of objects by using masks.
It’s the same as trying to fit a photograph into a frame with a very narrow aperture. Rather than having to crop the image down to size, you can simply leave a portion of the photo visible through the cutout.
Masks are non-destructive because they prevent any changes or deletions from affecting the masked layers. The hidden spaces can be kept as-is, saving you time and effort in modifying the design.
Figma vs. Canva: Which suits you better?
If you’re just starting out in the design world, Canva is hands down the easiest option for you.
Since it is so similar to Microsoft Paint, anyone with even a rudimentary familiarity with that program should have no trouble picking up the basics of Canva. On the other hand, Figma adds a few layers of complexity. If you’re just starting out with design software, you might need to do some learning before you can make anything interesting. Figma’s complexity isn’t completely negative, though; it enables extremely precise, pixel-perfect design.
Canva’s free edition provides access to a library of assets and templates, including thousands of stock images, vector graphics, fonts, layouts, and animations.
However, the number of available elements and templates is restricted in the free version, in part to facilitate user experience and in part to promote the paid versions. Figma gives you more of a blank canvas on which to place your stock assets. If you need a vector graphic here or a stock image there, you’ll have to hunt them down.
Third, aside from its visual appeal, Figma was created primarily for live design teamwork.
The designers behind Figma know how annoying it can be to send designs back and forth for approval from various departments. Rapid feedback may be significantly hampered when different people use various applications, have different configurations, and access foreign assets.
Fourth, Figma levels the playing field by serving as a unified, web-based hub for team collaboration.
Its responses can be shared on Slack to keep everybody informed. In the past, working together on a Canva project required each user to save their progress and return to it later, but this new feature makes collaborative efforts possible in real time.
Fifth Figma depends heavily on its community and the plugins and extensions it offers.
Users of Figma have access to a wide variety of plugins, including those that create charts, select fonts, pull design assets from Unsplash, and increase accessibility.
In contrast, Canva is improving, though it remains significantly less capable as of this writing.
The features and benefits of Canva and Figma are different. You can’t really compare Photoshop and Adobe Illustrator without also comparing photo editing and graphic design. To determine which tool is best suited to meet the needs at hand, you must first carefully examine each requirement.
Conclusion
To crop an image into a circle in Figma, you can use the built-in Ellipse Tool, create a mask, or use a clipping mask. Keep in mind that high-resolution images with an appropriate aspect ratio will result in the best results.