Cropping multiple images at once in Photoshop is a quick and easy way to improve the overall look of your photos. By cropping out the unwanted background or foreground elements, you can make your photos more focused and visually appealing. In this tutorial, we’ll show you how to crop multiple images at once in Photoshop.
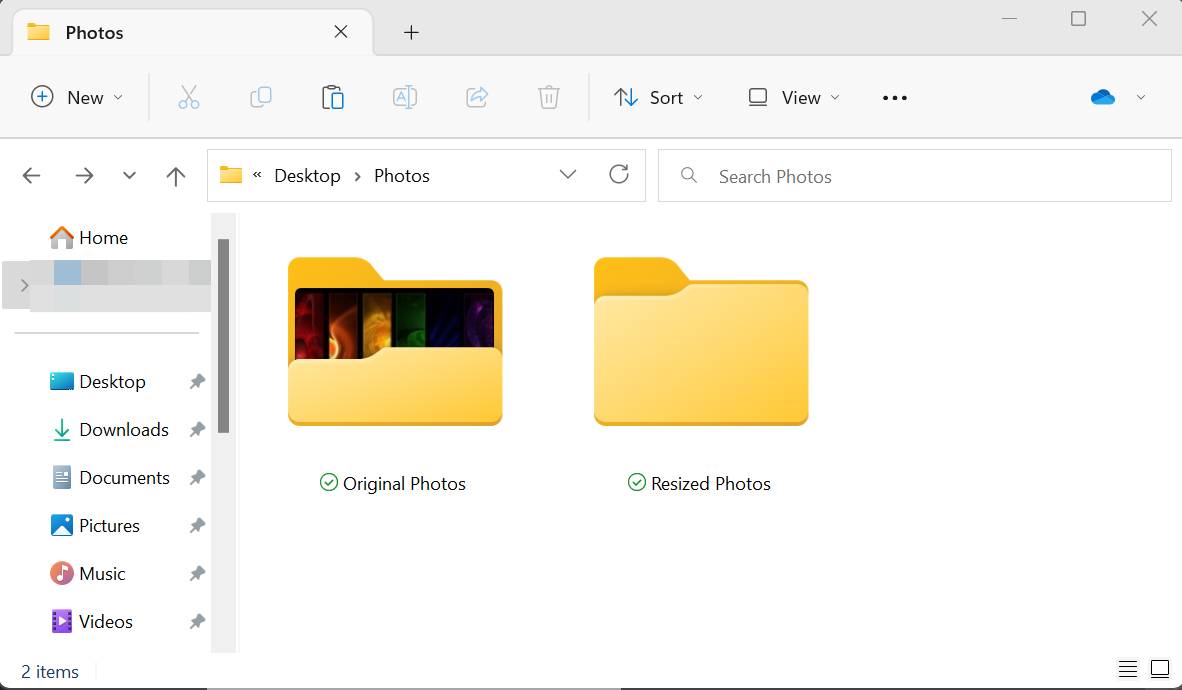
First, make sure that you have two folders in your file manager. One for the original images and another one for the cropped ones.
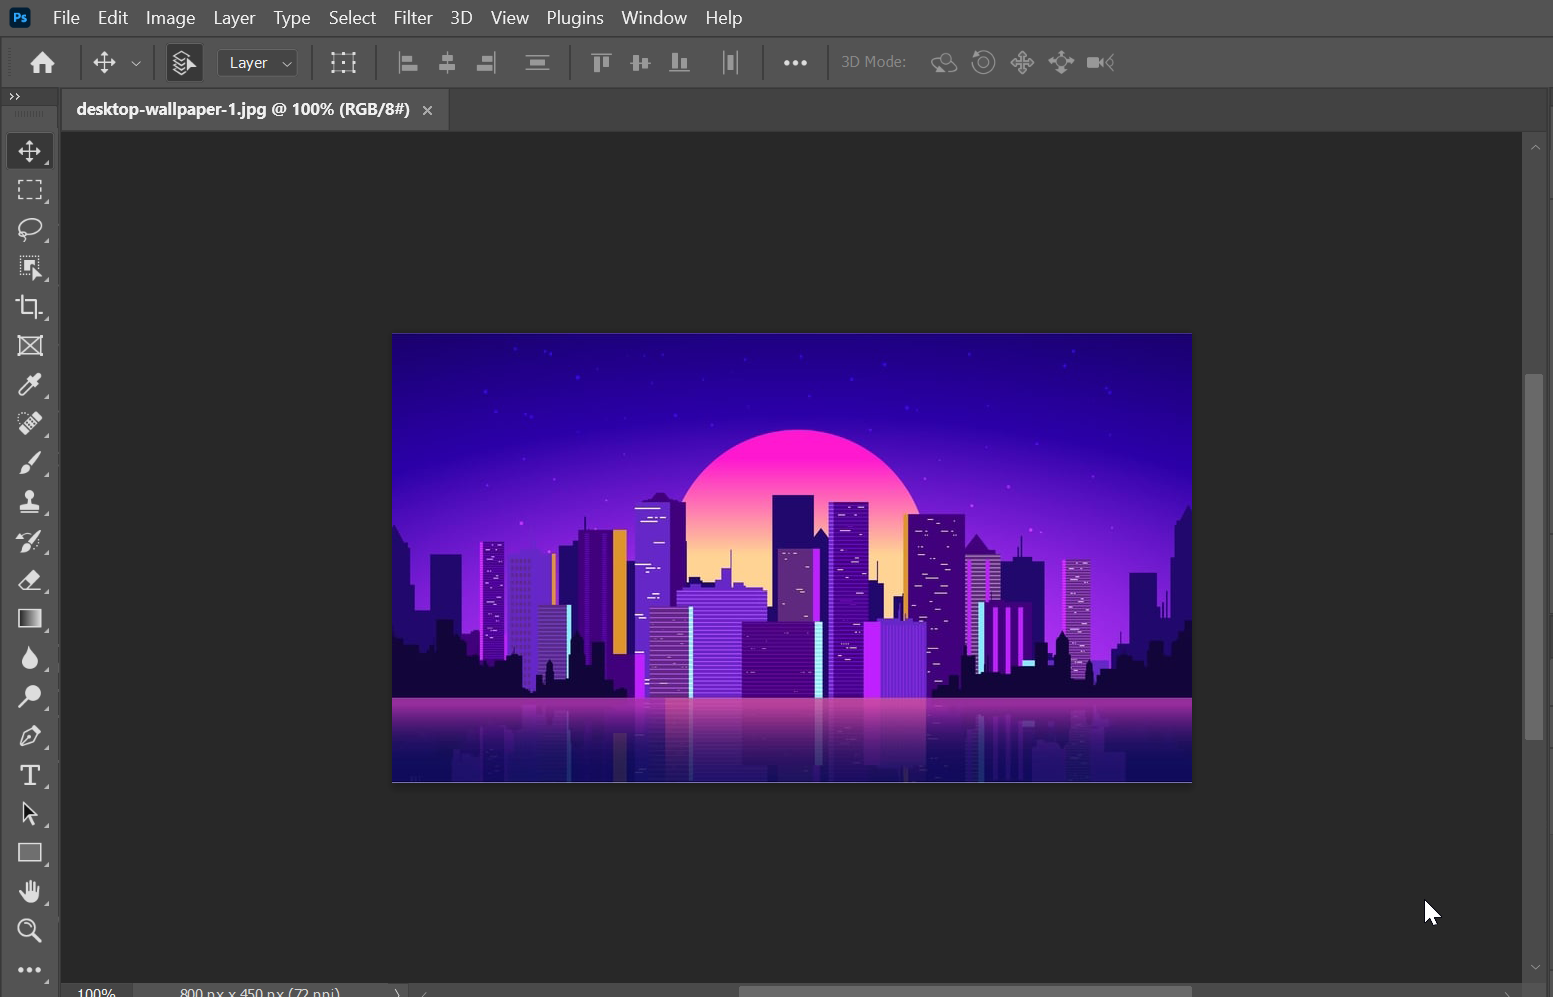
Next, open one of the images that you want to crop in Photoshop.
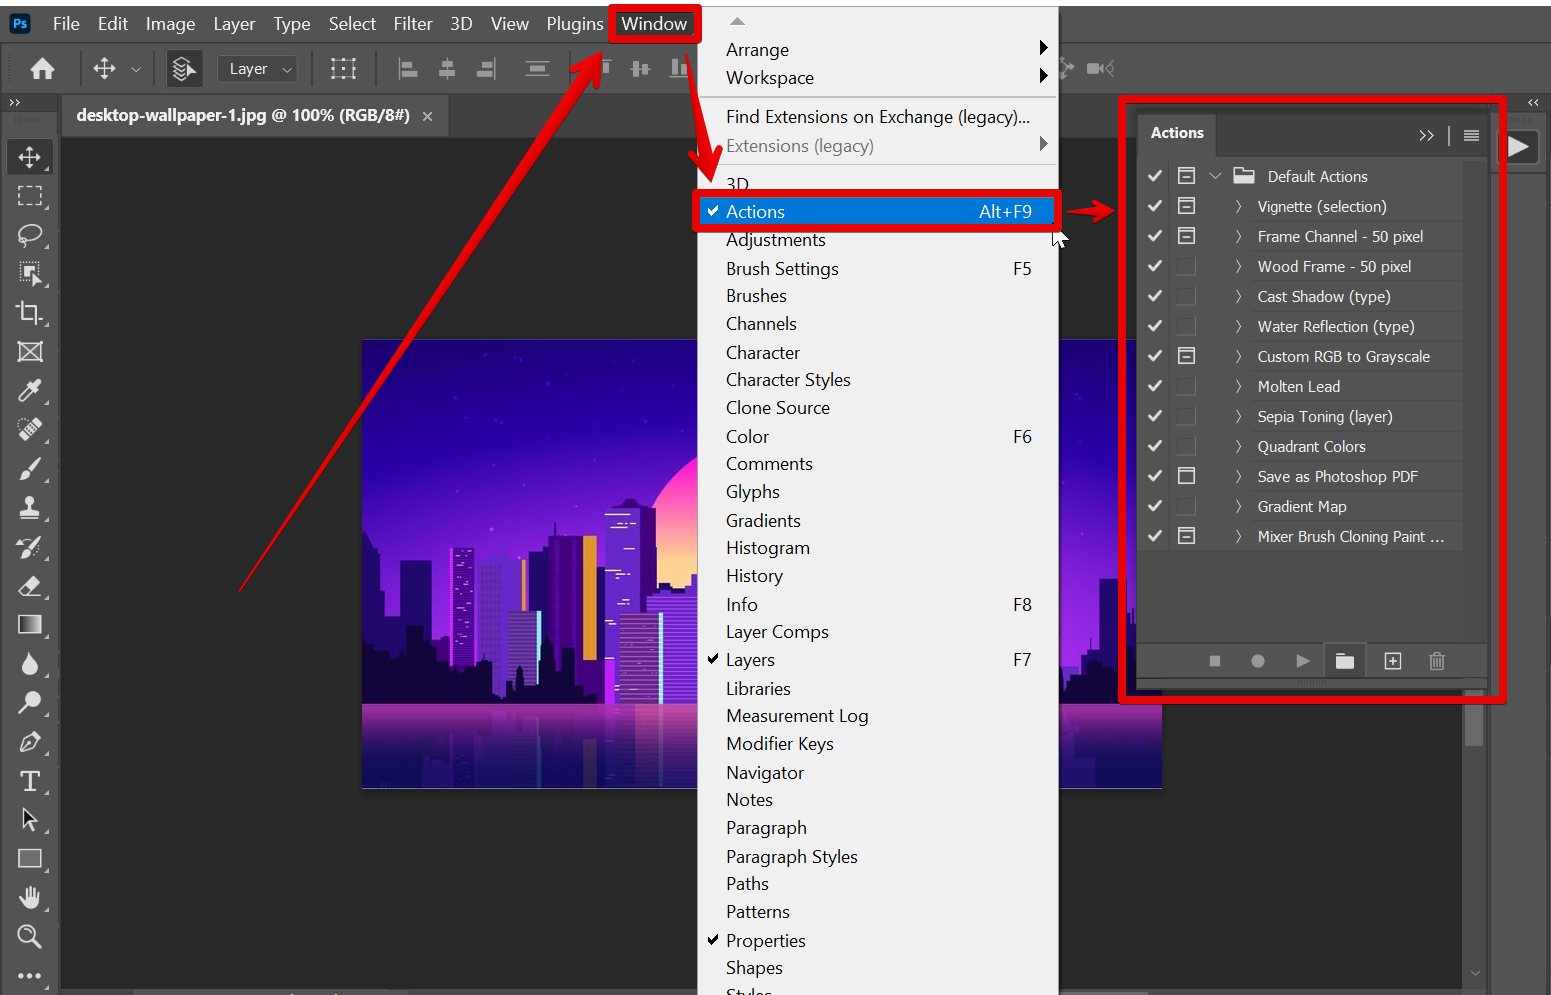
Now, select “Windows” from the top menu and click on “Actions” to enable the actions window.
NOTE: You can also use the keyboard shortcut, “Alt+F9” for this.
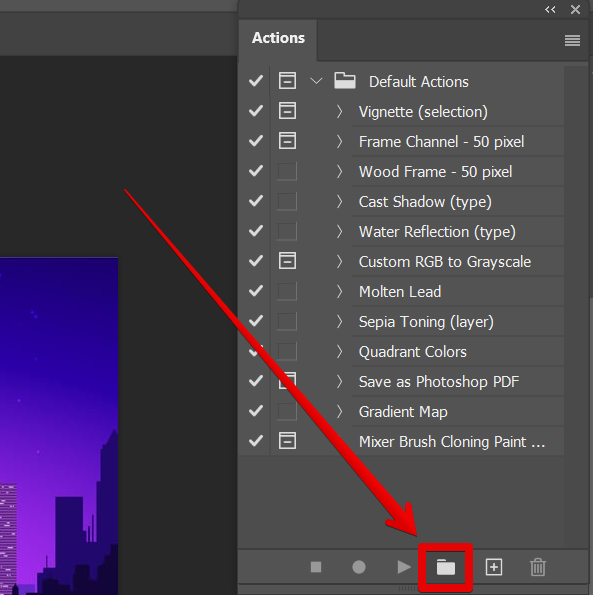
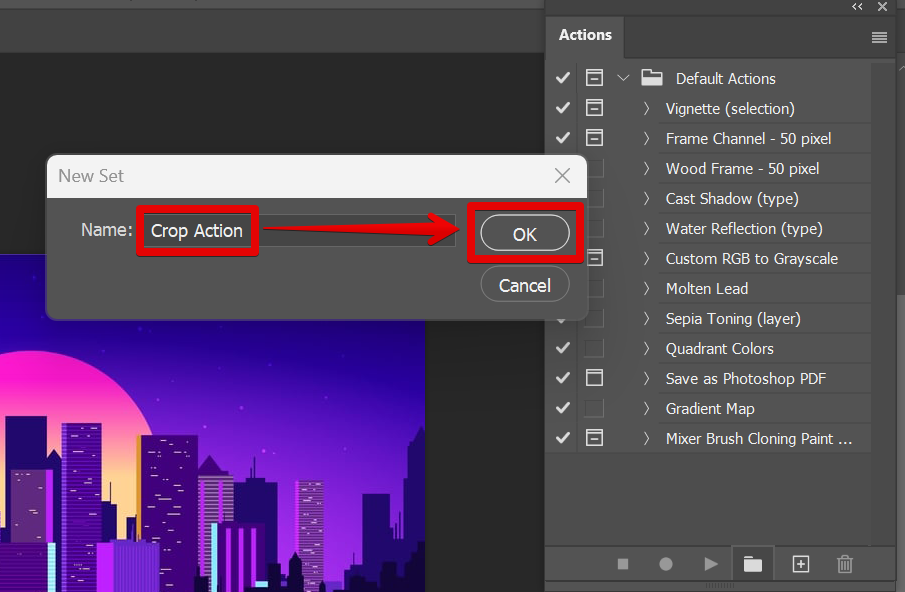
In the “Actions” window, create a new set by clicking on the folder icon at the bottom of the window.
In the pop-up window, type in the name of the set that you will be creating.
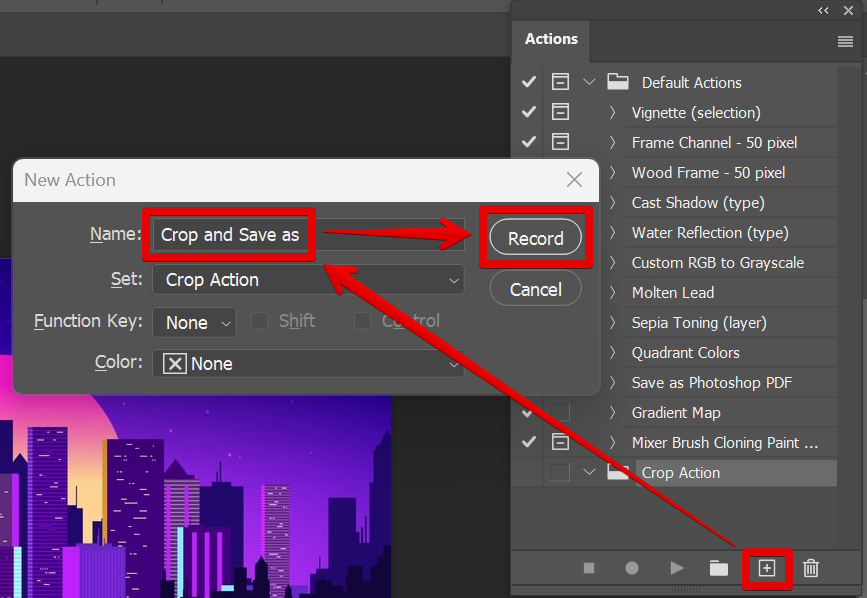
The next step is to click on the “Create new action” button which is beside the folder icon. In the pop-up window, type in the name of the action then hit on “Record.”
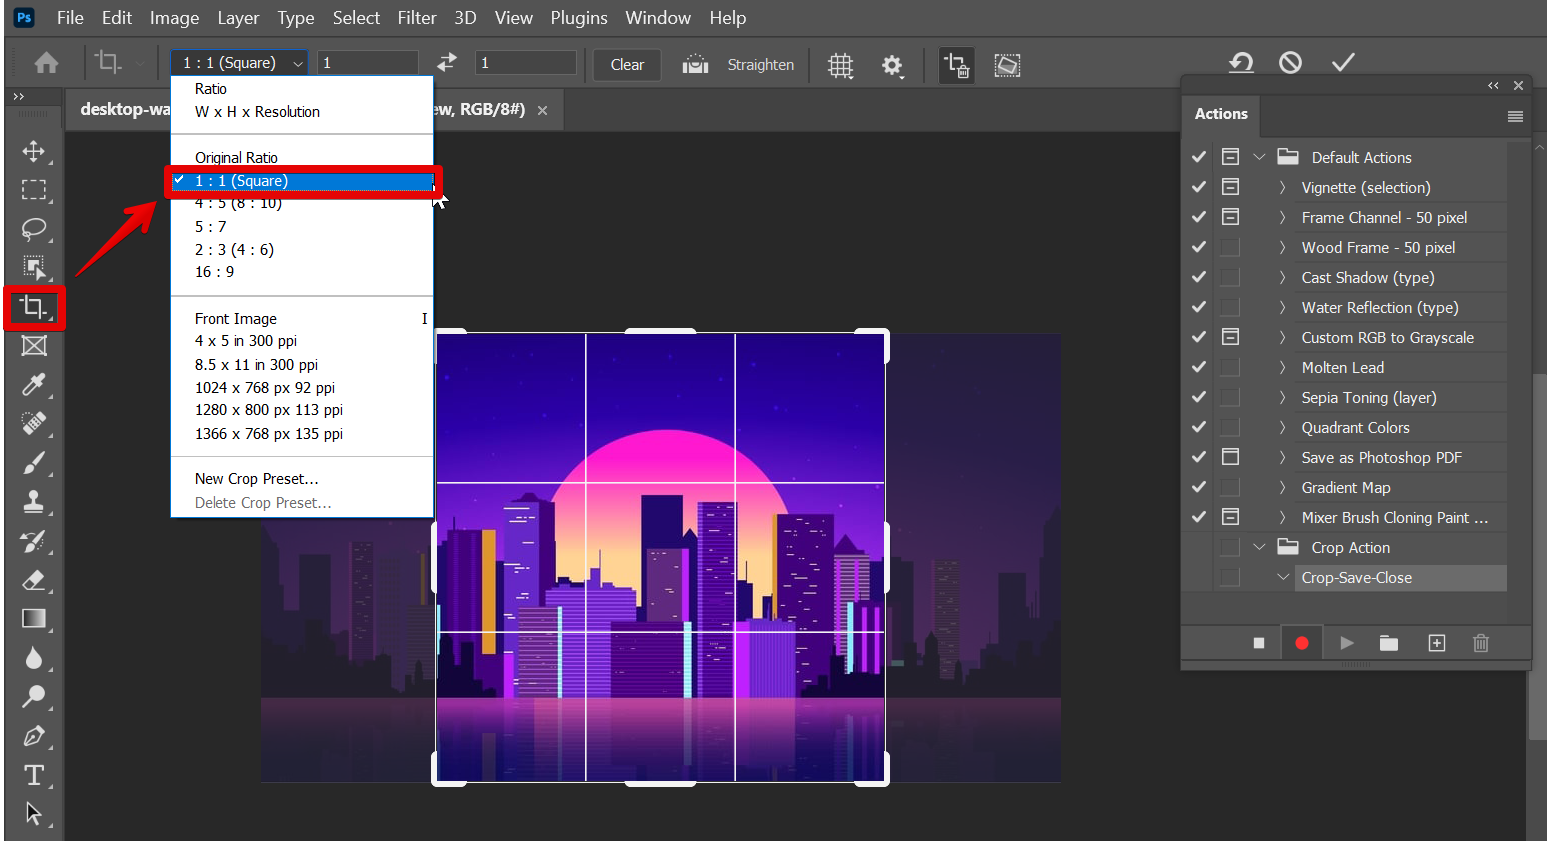
Once it starts recording actions, you may now crop the image you opened earlier. To do this, click on the “Crop” icon from the left toolbar, then select the “Square” ratio at the top menu.
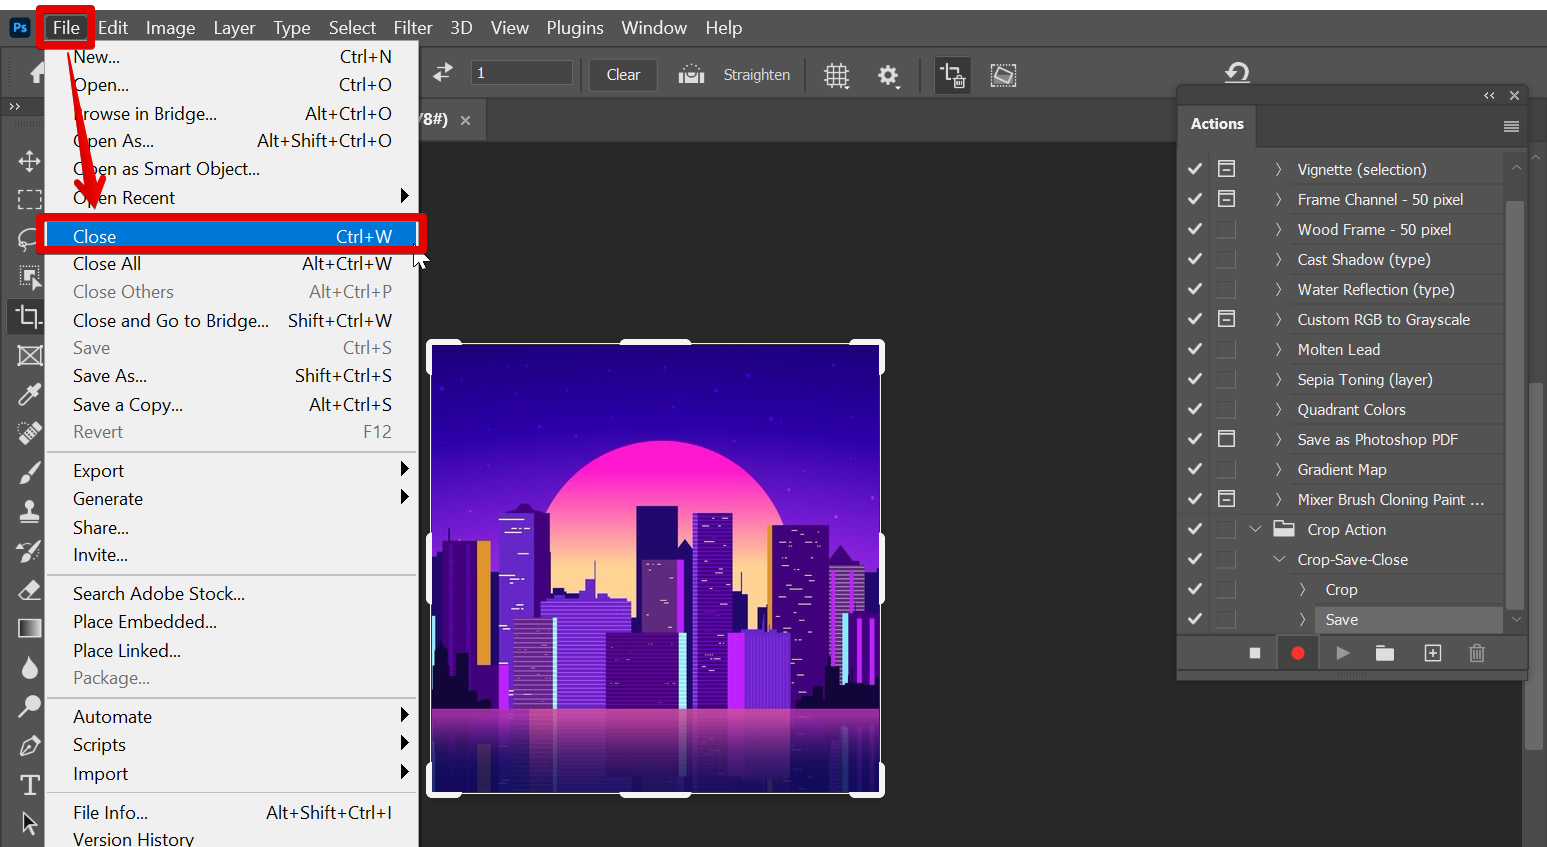
While still recording, click on the “Save as” button from the “File” menu and select the folder where you want to save your image.

For the last step to record, click on the “File” button from the top menu and select “Close.”
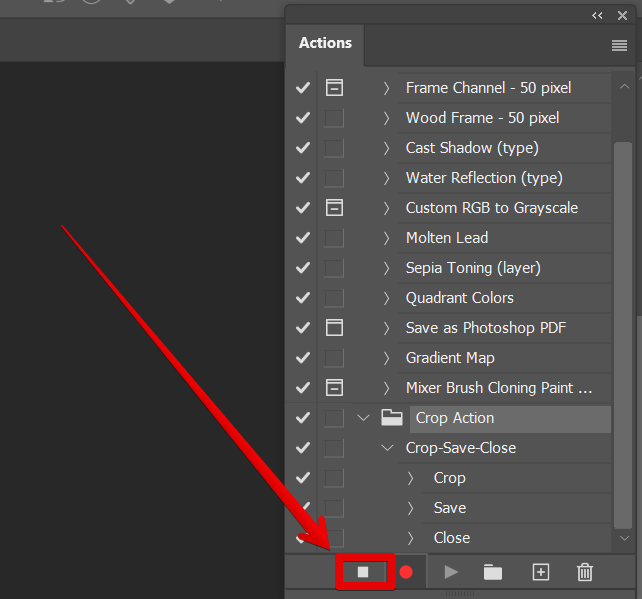
Once done, click on the “Stop recording” icon in the “Actions” window.
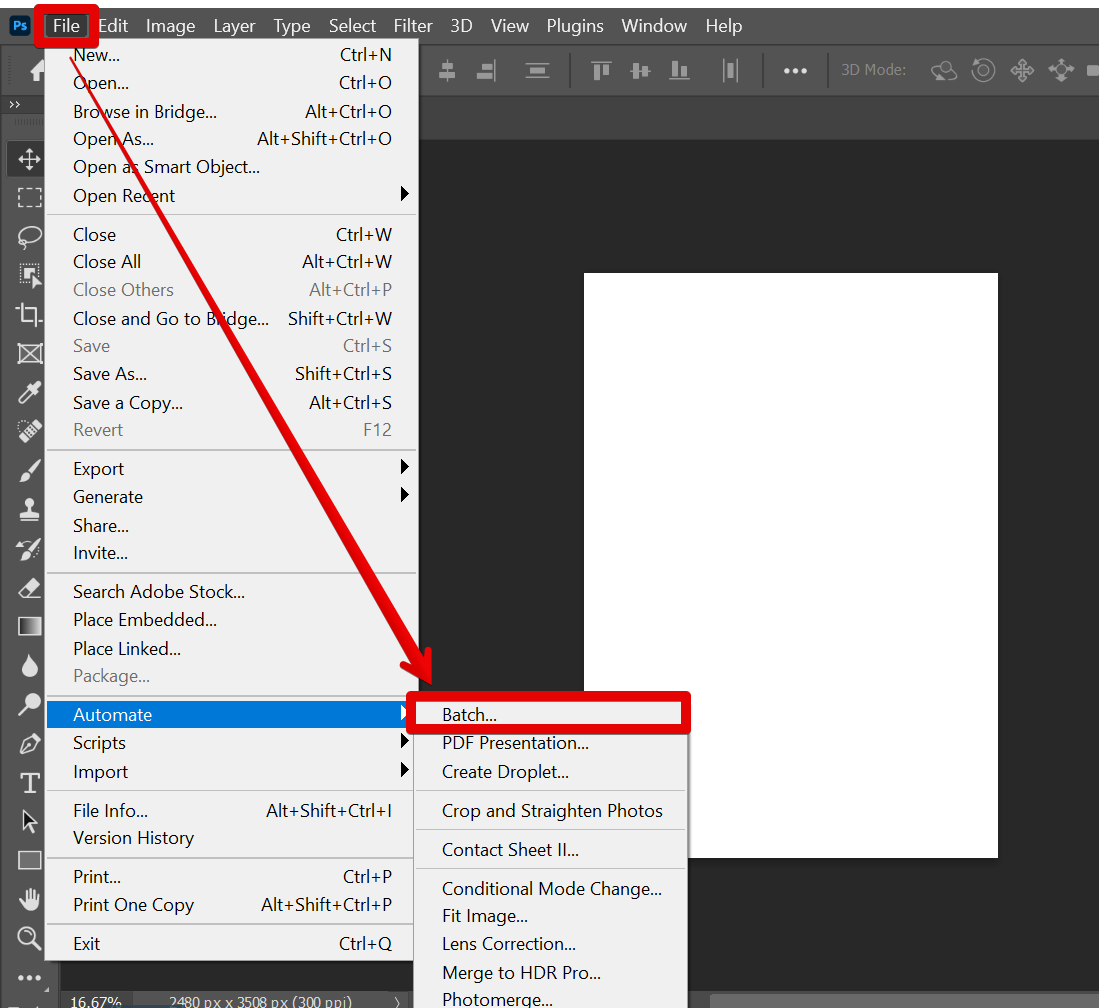
The next step is to automate the “Crop Action” for the next set of images. To do this, click on the “File” button from the top menu and click on the “Automate” option. From there, select “Batch.”
In the pop-up window, set up the automation settings. To do this, follow these steps:
1. Select the set of actions that you would like to automate in the “Play” section.
2. Select the source folder wherein you would like to get the images.
3. Select the destination folder. Make sure to check the box beside the “Override Action Save as Commands” section.
4. Click on the “Ok” button.

Your images will now be automatically cropped into squares. You can check the resized images in the destination folder you selected earlier in the batch automation settings.
NOTE: The cropped images may not result as expected because of other inconsistent elements such as original image size and resolution.

PRO TIP: If you are using Photoshop to crop multiple images at once, be aware that there is a potential for error. If you are not careful, you may crop one or more images incorrectly.
And that’s all there is to it! Cropping multiple images at once in Photoshop is a great way to save time and improve your photos’ overall composition. Give it a try next time you’re editing your photos in Photoshop!
9 Related Question Answers Found
When it comes to cropping images in Photoshop, there are a few things you need to know. First and foremost, you need to make sure that the image you’re working with is high resolution. This will ensure that you don’t lose any quality when you crop the image.
There are a few different ways that you can edit multiple images at once in Photoshop. One way is to use the ‘File > Scripts > Image Processor’ option. This will bring up a dialog box where you can select the images that you want to edit, and then choose what actions you want to perform on them.
There are a few different ways to crop an image in Photoshop. The first way is to use the Crop Tool. With the Crop Tool selected, click and drag on the image to select the area you want to keep.
There are a few different ways to crop an image in Photoshop. The first way is to use the Crop Tool, which is located in the Tools palette. To use the Crop Tool, simply select it and then click and drag on the image to create a cropping border.
To crop a picture in Photoshop, first select the “Crop Tool” from the toolbar on the left. Then, click and drag the tool around the area you want to crop. To finalize the crop, press Enter or Return.
Adding multiple images to Photoshop is a fairly easy process. First, open up Photoshop and create a new document. Then, go to File > Place > Multiple Images.
If you’re a fan of Photoshop, you know that it’s a powerful program with a lot of features. But sometimes, the simplest things can be the most difficult to figure out. For example, how do you freely crop an image in Photoshop?
Photoshop is a widely used program for image editing and creation and is available for both Windows and Mac computers. One of the most common tasks in Photoshop is importing images. You can import a single image, or multiple images at once.
There are a few different ways to crop an image in Photoshop, but for this tutorial we will focus on using the Crop Tool. First, open your image in Photoshop. You can do this by going to File > Open, and then selecting the image you want to open.