When it comes to creating a border in Figma, there are a few different ways that you can go about it. You can use the Rectangle Tool to draw a border around an object, or you can use the Frame Tool to create a border around a group of objects. You can also use the Pen Tool to create a custom border.
1. Using the Rectangle Tool
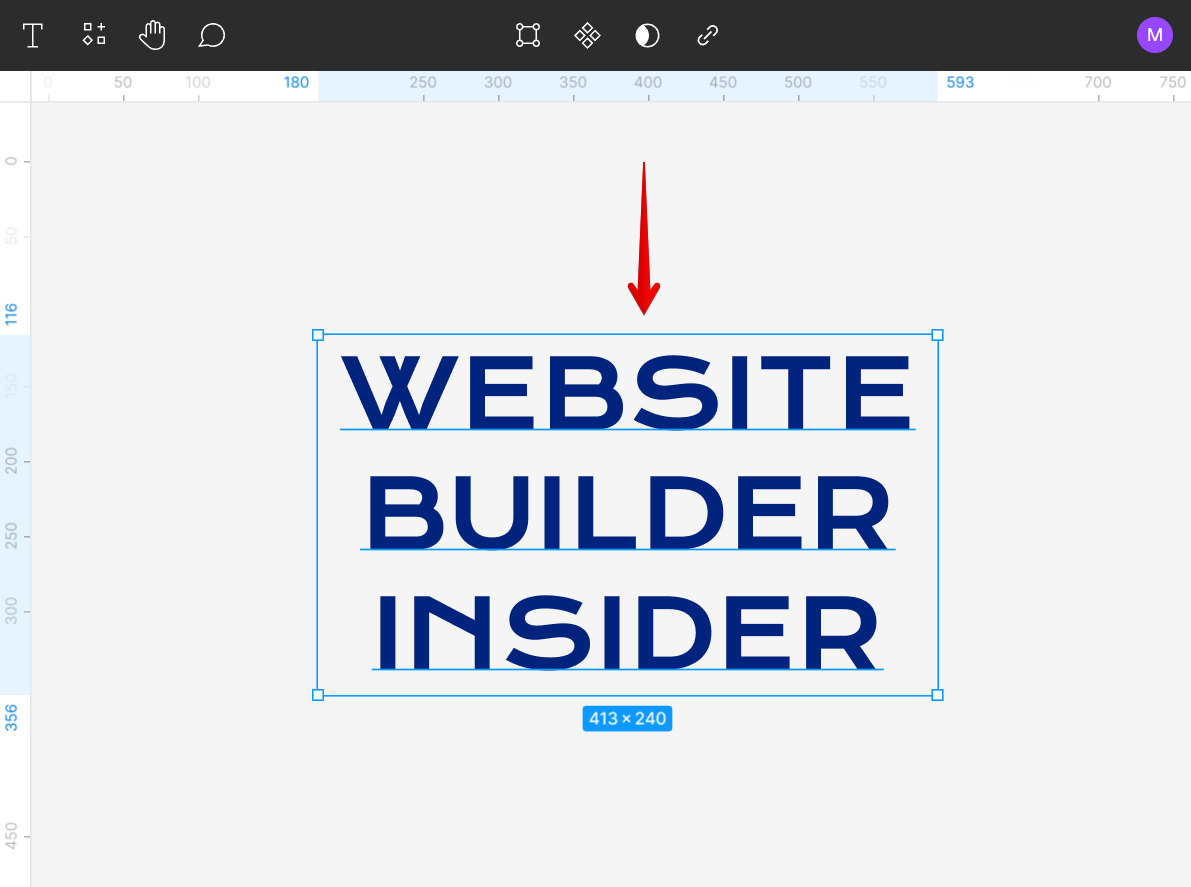
If you want to create a border around an individual object, you can use the Rectangle Tool. To do this, first, select the object that you want to add a border to.
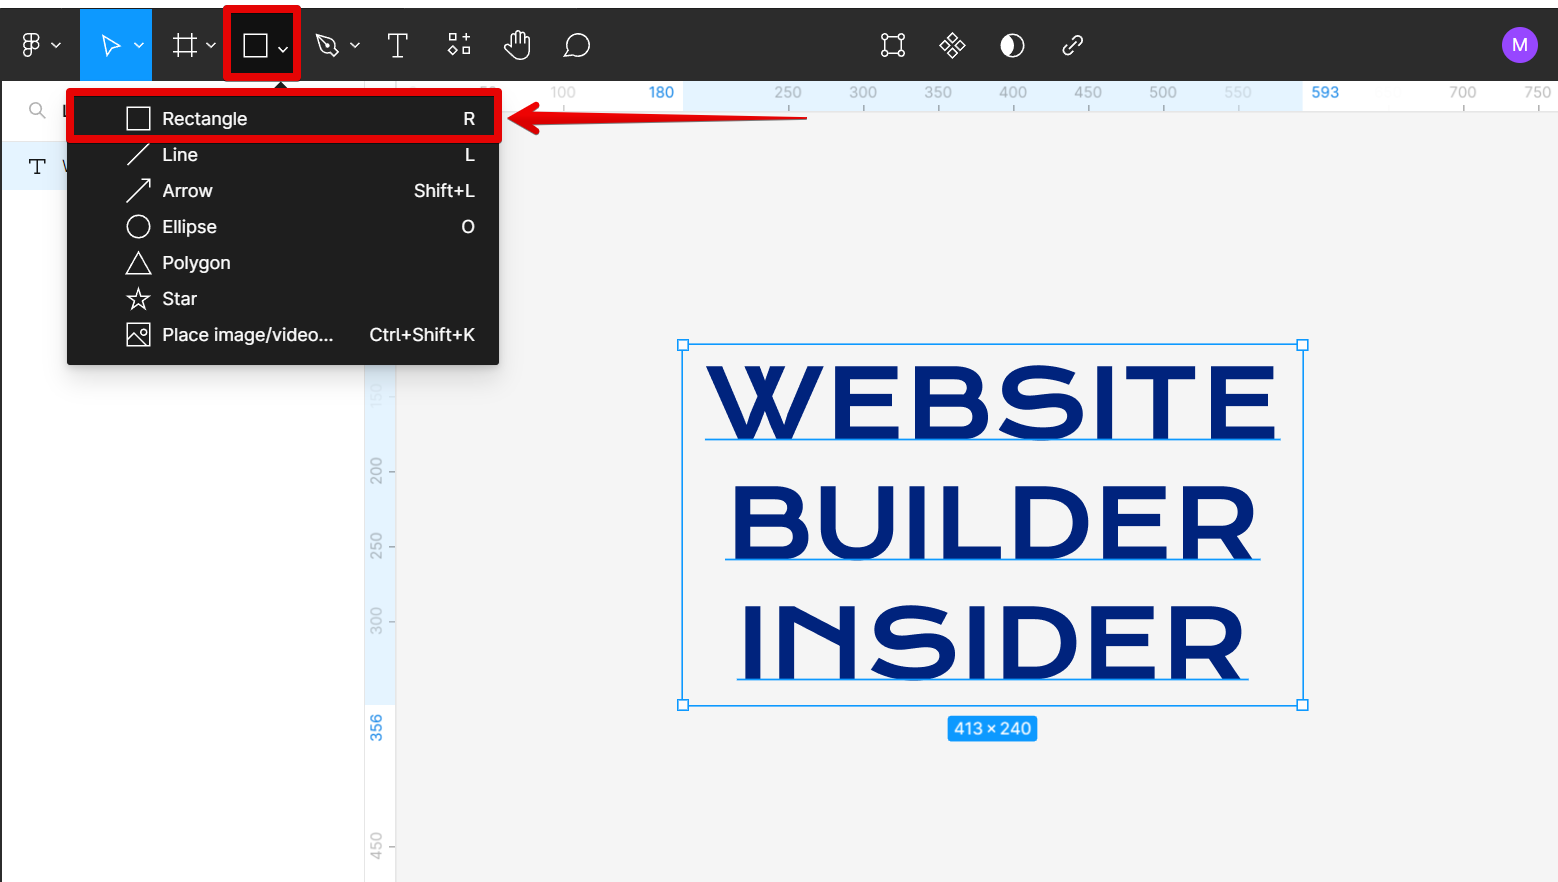
Then, click on the Rectangle Tool in the toolbar, and click and drag around the object to draw a rectangle. Once you release the mouse button, the rectangle will be added as a new layer on top of the object.
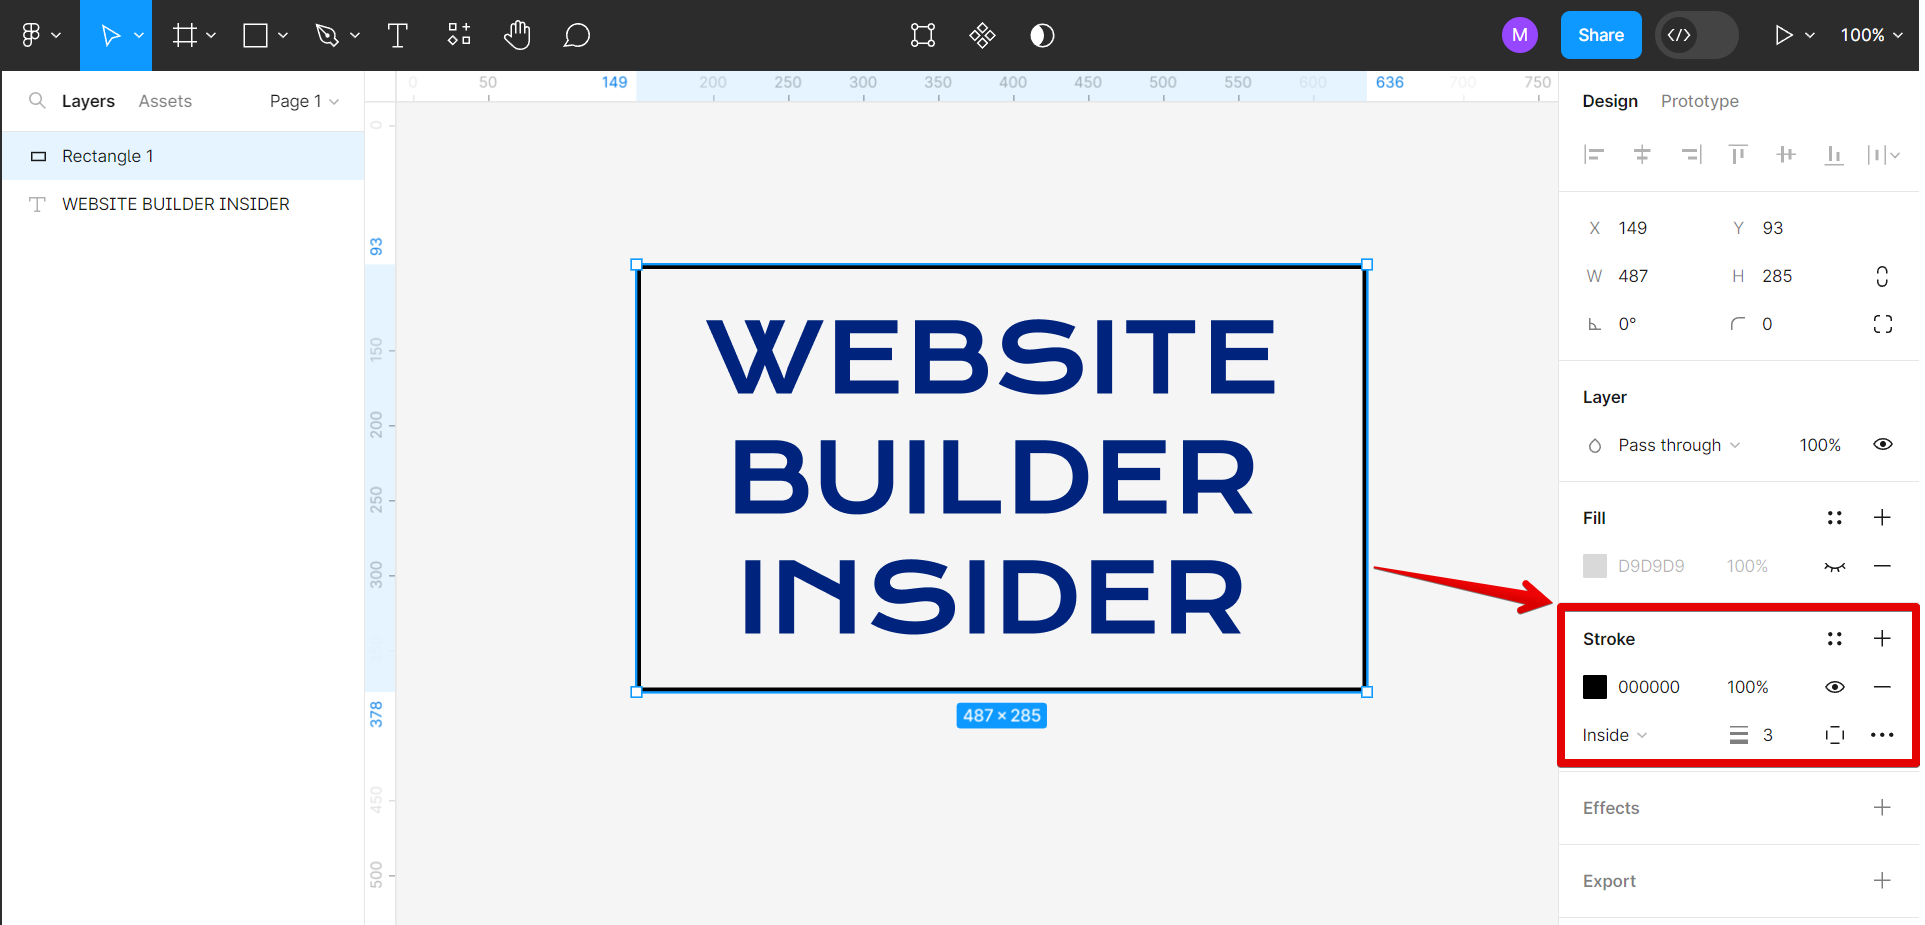
NOTE: If the rectangle layer is above the object to which you want to add a border, make sure that the rectangle’s fill setting is disabled so that the object will be visible. You can also choose to place the rectangle layer under the object.
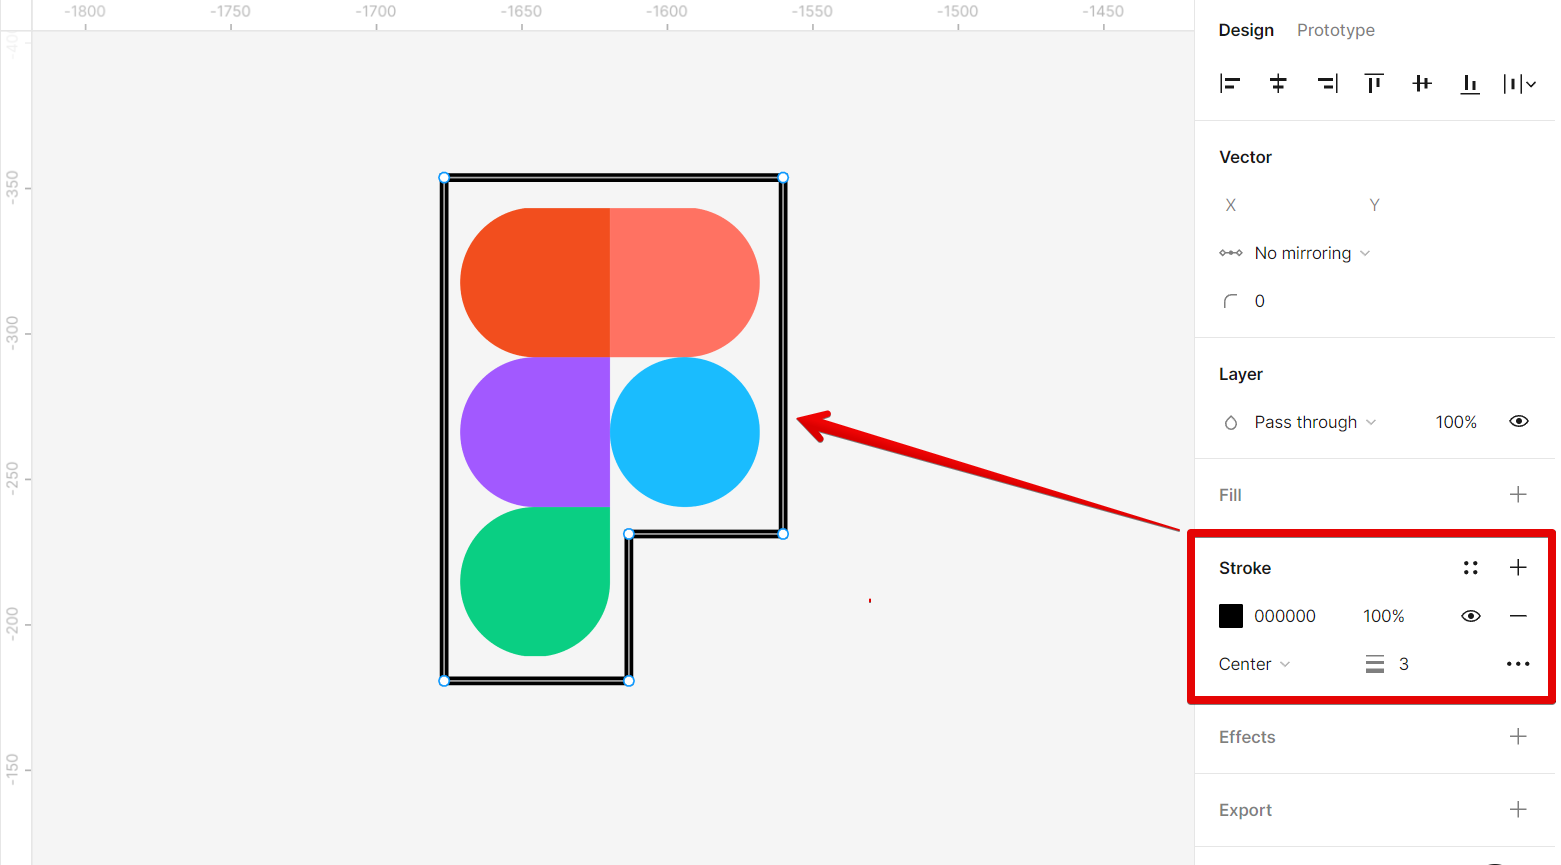
From there, you can change the thickness of your border using the Stroke settings in the right panel under the Design tab.
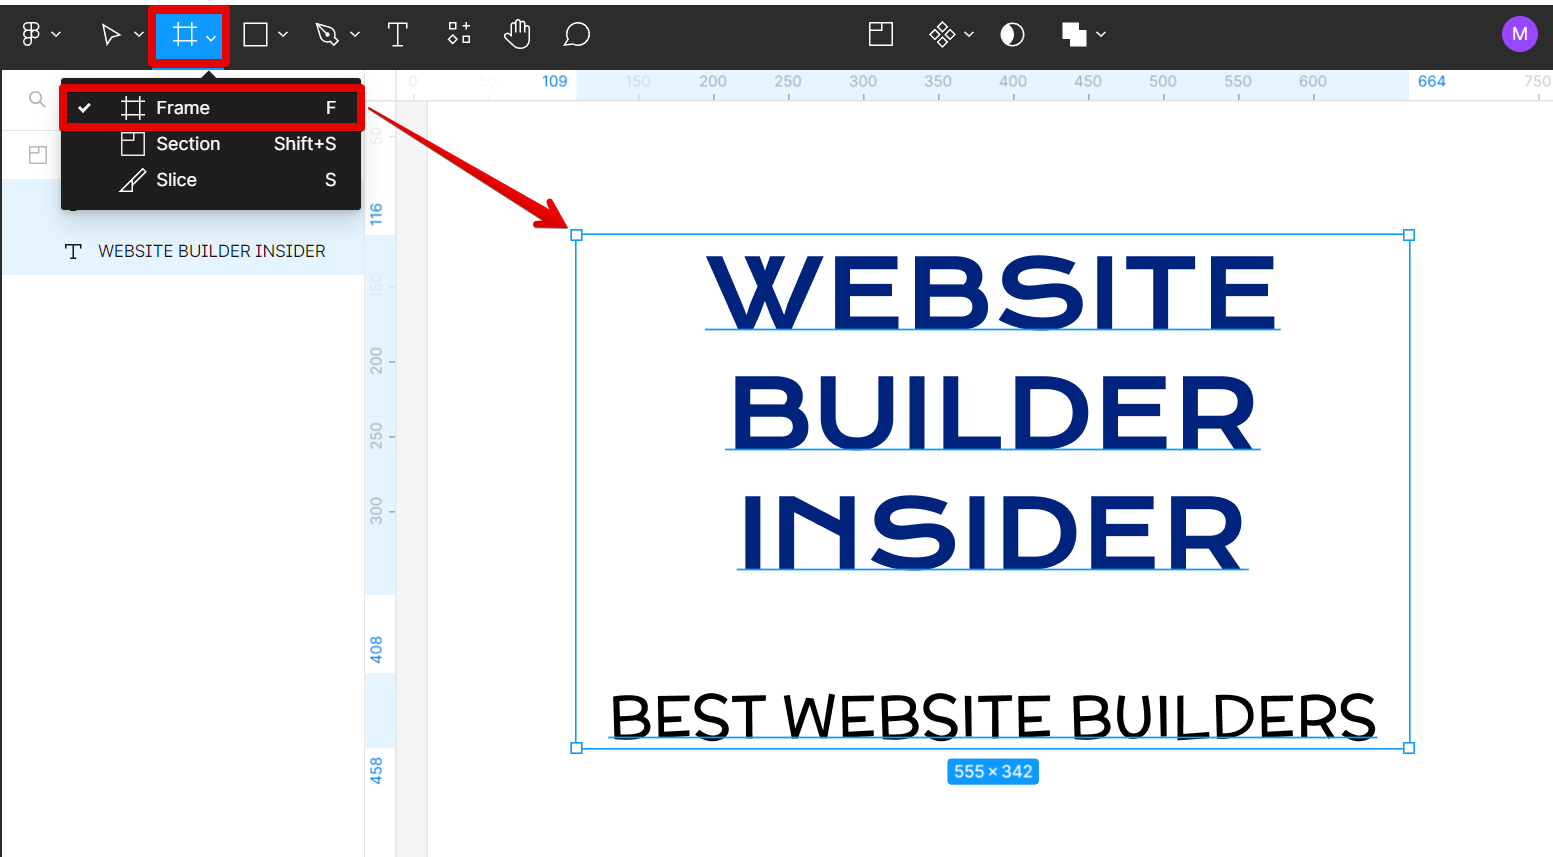
2. Using the Frame Tool
If you want to create a border around a group of objects, you can use the Frame Tool. To do this, first, select all of the objects that you want to have a border.
Then, click on the Frame Tool in the toolbar and click and drag around the objects to draw a frame. Once you release the mouse button, the frame will be added as a new layer on top of the objects.
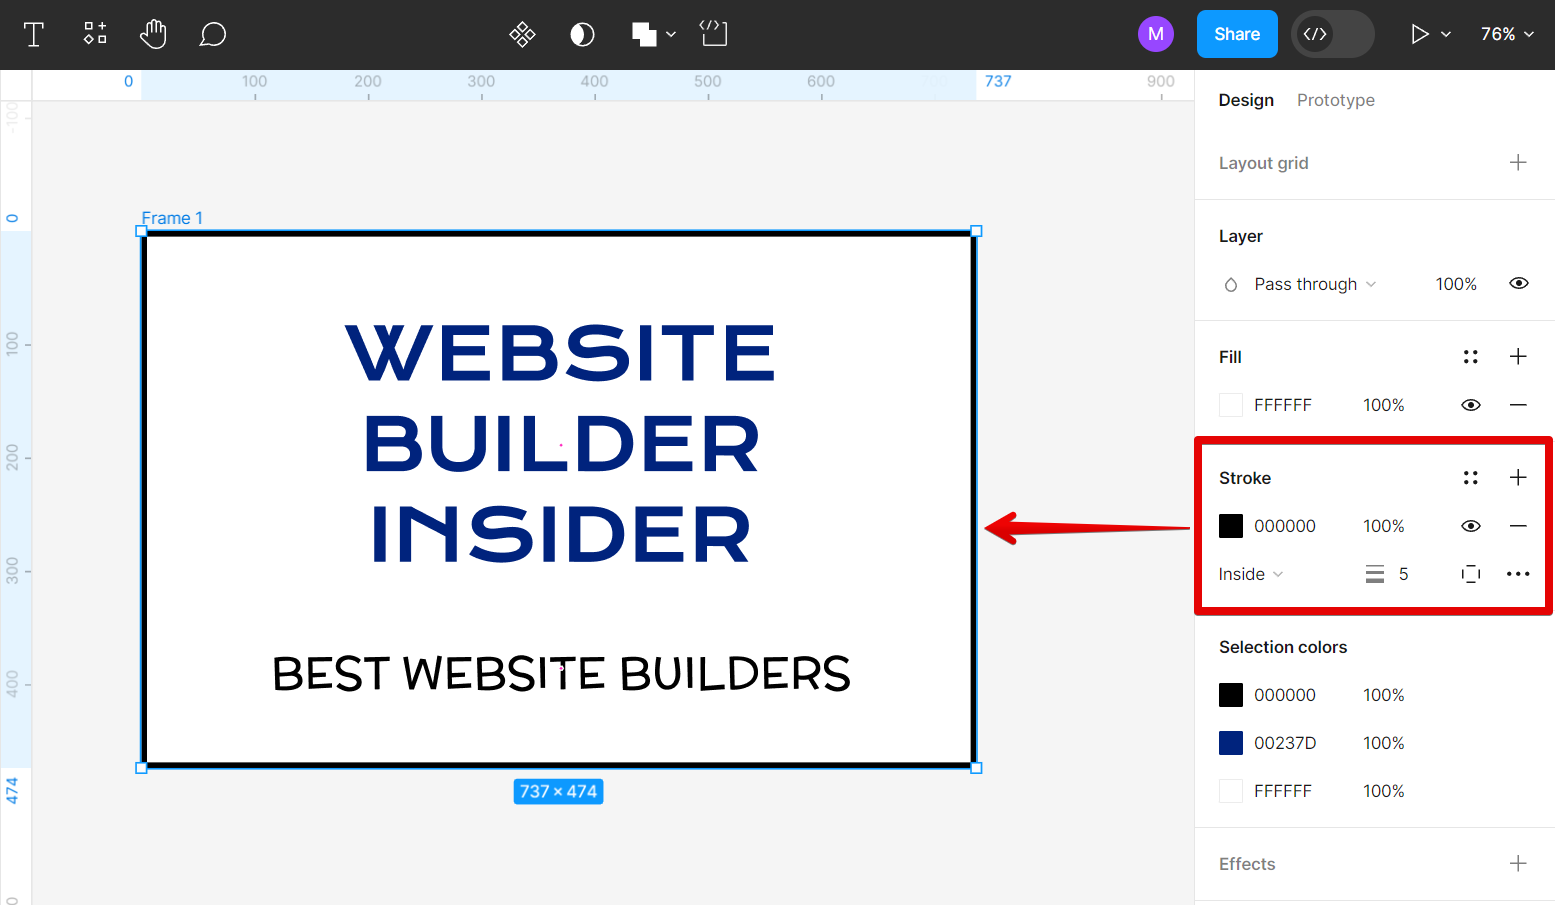
NOTE: If the frame layer is above the objects to which you want to add a border, make sure that the frame’s fill setting is disabled so that the objects will be visible. You can also choose to place the frame layer under the objects.
If you want to customize the thickness of your frame border, simply use the Stroke settings in the right panel under the Design tab.
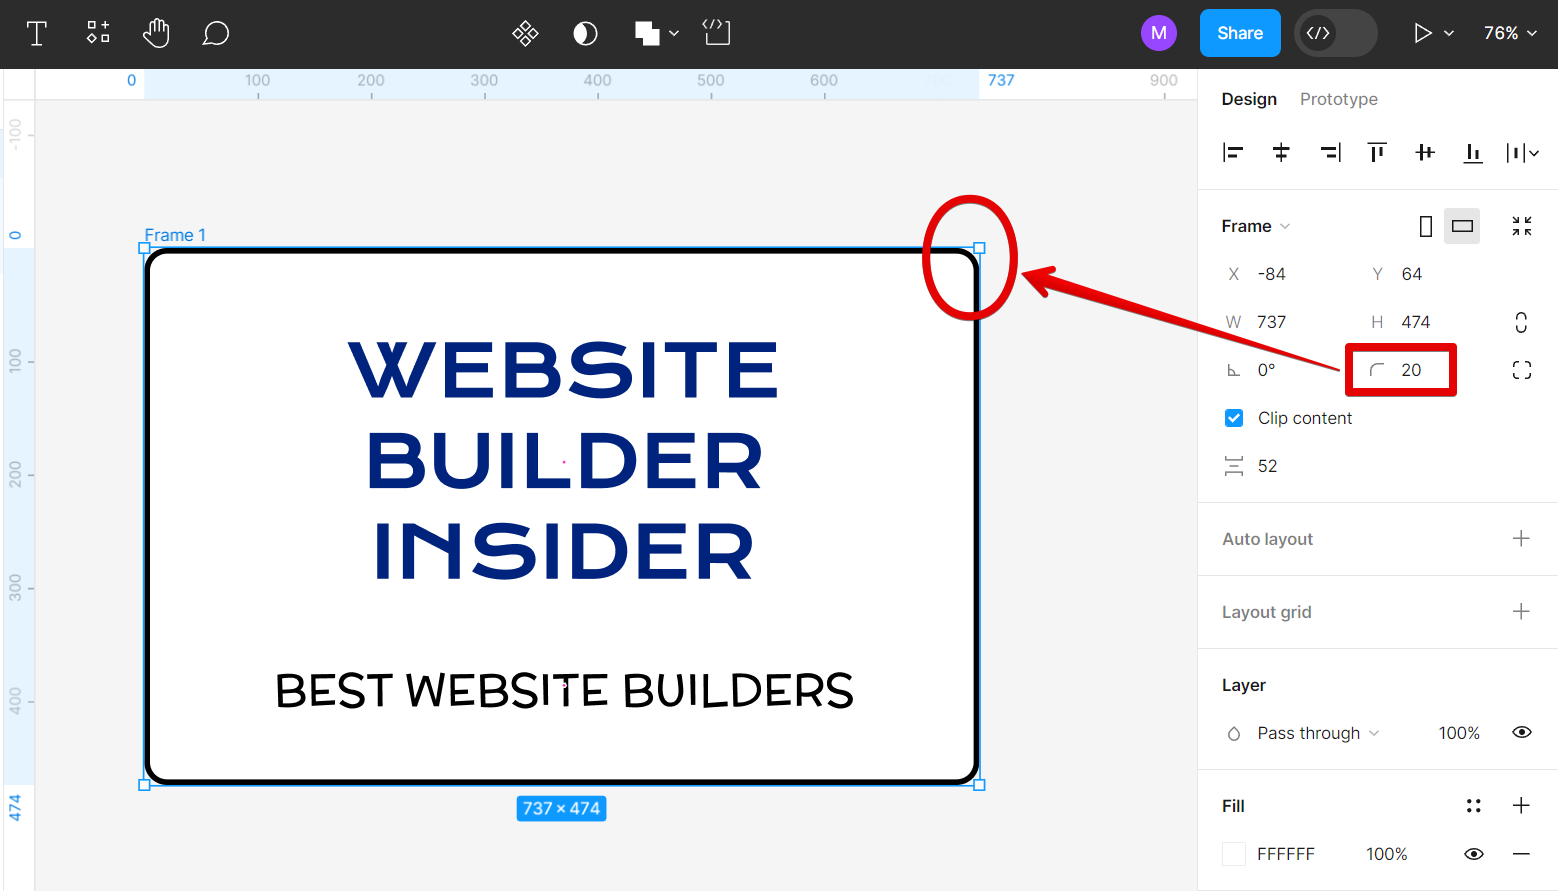
You can also adjust the corner radius of your frame using the “Corner radius” parameter under the Frame section.
3. Using the Pen Tool
If you want to create a custom border, you can use the Pen Tool. To do this, first, click on the Pen Tool in the toolbar. Then, click on one point of the object that you want to have a border.
Next, click on another point and drag your cursor to another point to create connected lines around the object.

Continue clicking and dragging until you have created a complete border around the object. Once you release the mouse button, the border will be added as a new layer on top of the object.

Finally, adjust the thickness of your custom border using the Stroke settings under the Design tab in the right panel.
PRO TIP: If you are not familiar with Figma, we recommend that you do not attempt to make a border in Figma. Making a border in Figma can be tricky and may result in an unsatisfactory outcome.
Conclusion:
There are multiple ways that you can make borders in Figma – using either the Rectangle Tool, Frame Tool, or Pen Tool. Depending on what look you’re going for, any of these methods can give your design some extra flair.
9 Related Question Answers Found
Componentizing something in Figma is a process of breaking it down into smaller, more manageable pieces. This can be done with any object in Figma, whether it’s a simple shape or a complex design. There are a few different ways to componentize an object in Figma:
– By breaking it down into smaller objects
– By using the “Components” panel
– By using the “Export” menu
Each of these methods has its own advantages and disadvantages, so it’s important to choose the one that best suits your needs.
There are a few different ways that you can get parts in Figma. The first way is to use the built-in parts library. To do this, simply click on the “Parts” tab in the left sidebar and then select the part you want to use from the library.
Close Overlay is a feature in Figma that allows you to quickly and easily close any open overlays. This is especially useful when you have multiple overlays open and want to close them all at once. To close an overlay, simply click the Close Overlay button in the upper-right corner of the Figma interface.
Sketch and Figma are both great design tools. But if you’re using Figma and want to switch to Sketch, there are a few things you need to know. Here’s a guide on how to migrate from Figma to Sketch.
When you’re working on a design in Figma, sometimes you need to make changes to a group of objects at once. To do this, you can ungroup the objects. This article will show you how to ungroup components in Figma.
Prototyping is an essential part of the design process. It allows you to test your ideas and get feedback early on, so you can make iterations and improvements before finalizing your design. Figma is a great tool for prototyping because it’s easy to use and has a wide range of features.
There are a few different ways that you can rename a component in Figma. The first way is to simply click on the component in the Layers panel and then type in the new name for the component in the text field that appears. You can also double-click on the component in the Layers panel and then type in the new name for the component.
Adding an account on Figma is simple and easy to do. There are two ways to add an account on Figma:
Method 1: The first way is to go to the “Accounts” tab in the left sidebar and click on the “Add Account” button. This will bring up a popup where you can enter your account details.
There are a few different ways that you can overlap elements in Figma. One way is to use the align tool. With the align tool, you can select multiple objects and then choose how you want them to be aligned relative to each other.