There are a few different ways that you can create a ripped paper effect in Photoshop. One way is to use the Lasso tool to create a jagged edge on the paper.
To do this, follow the steps below:
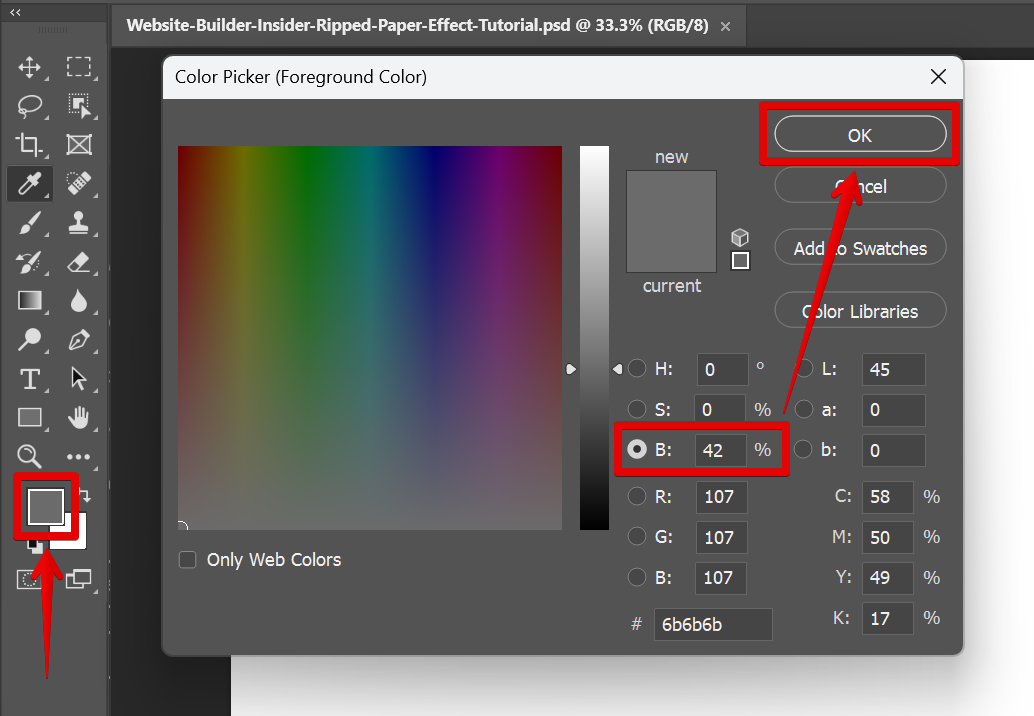
1. Set the Color of the Layers
To get started, click on the upper fill color icon on the left toolbar and set the foreground color brightness to 42%.
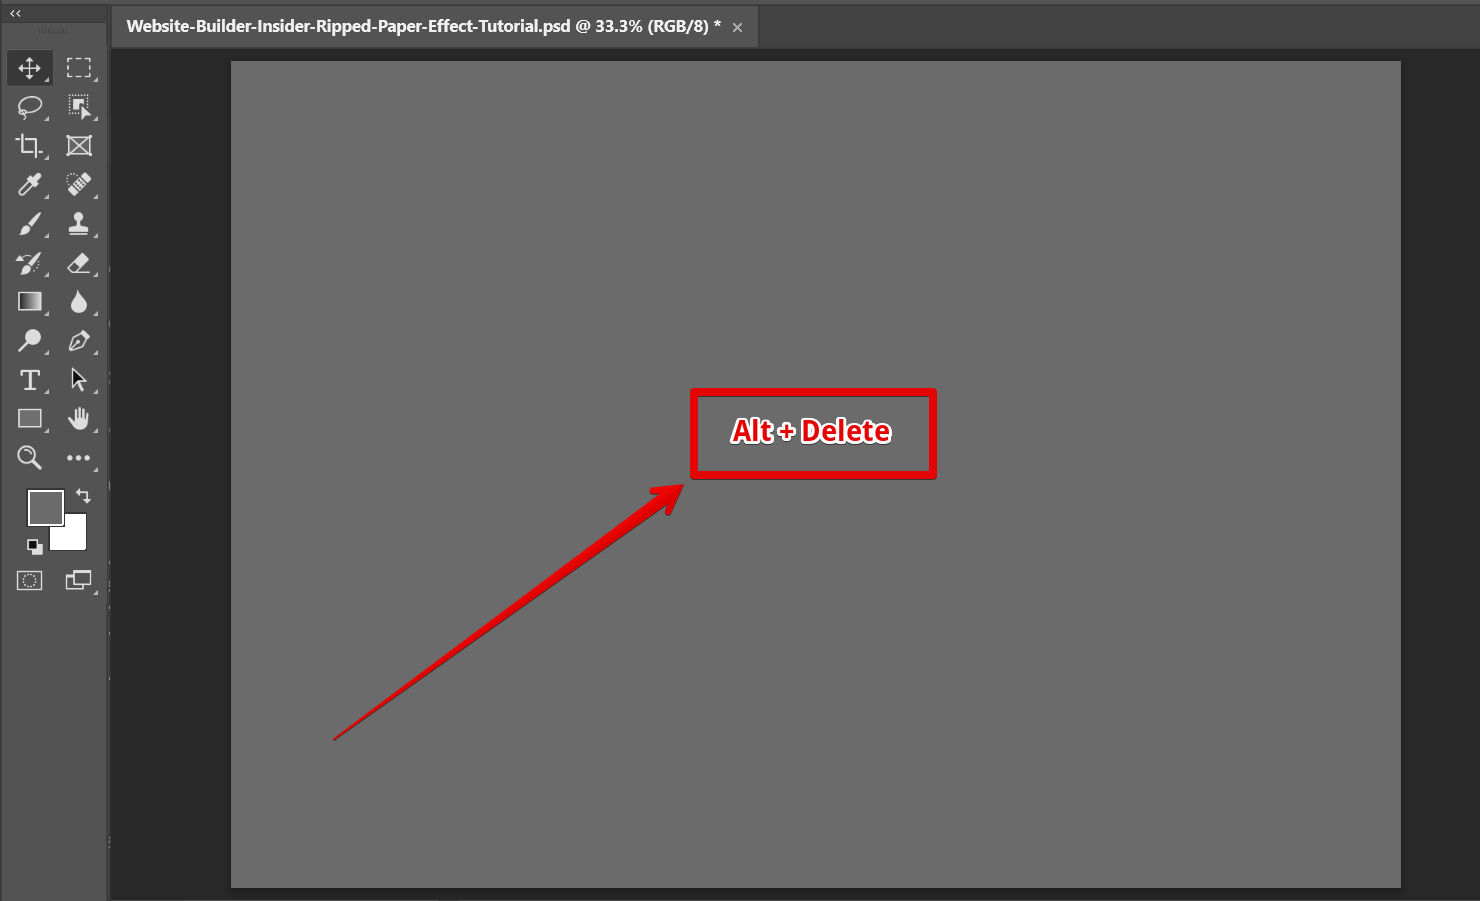
To apply the changes to your foreground, just press the “Alt + Delete” key on your keyboard.
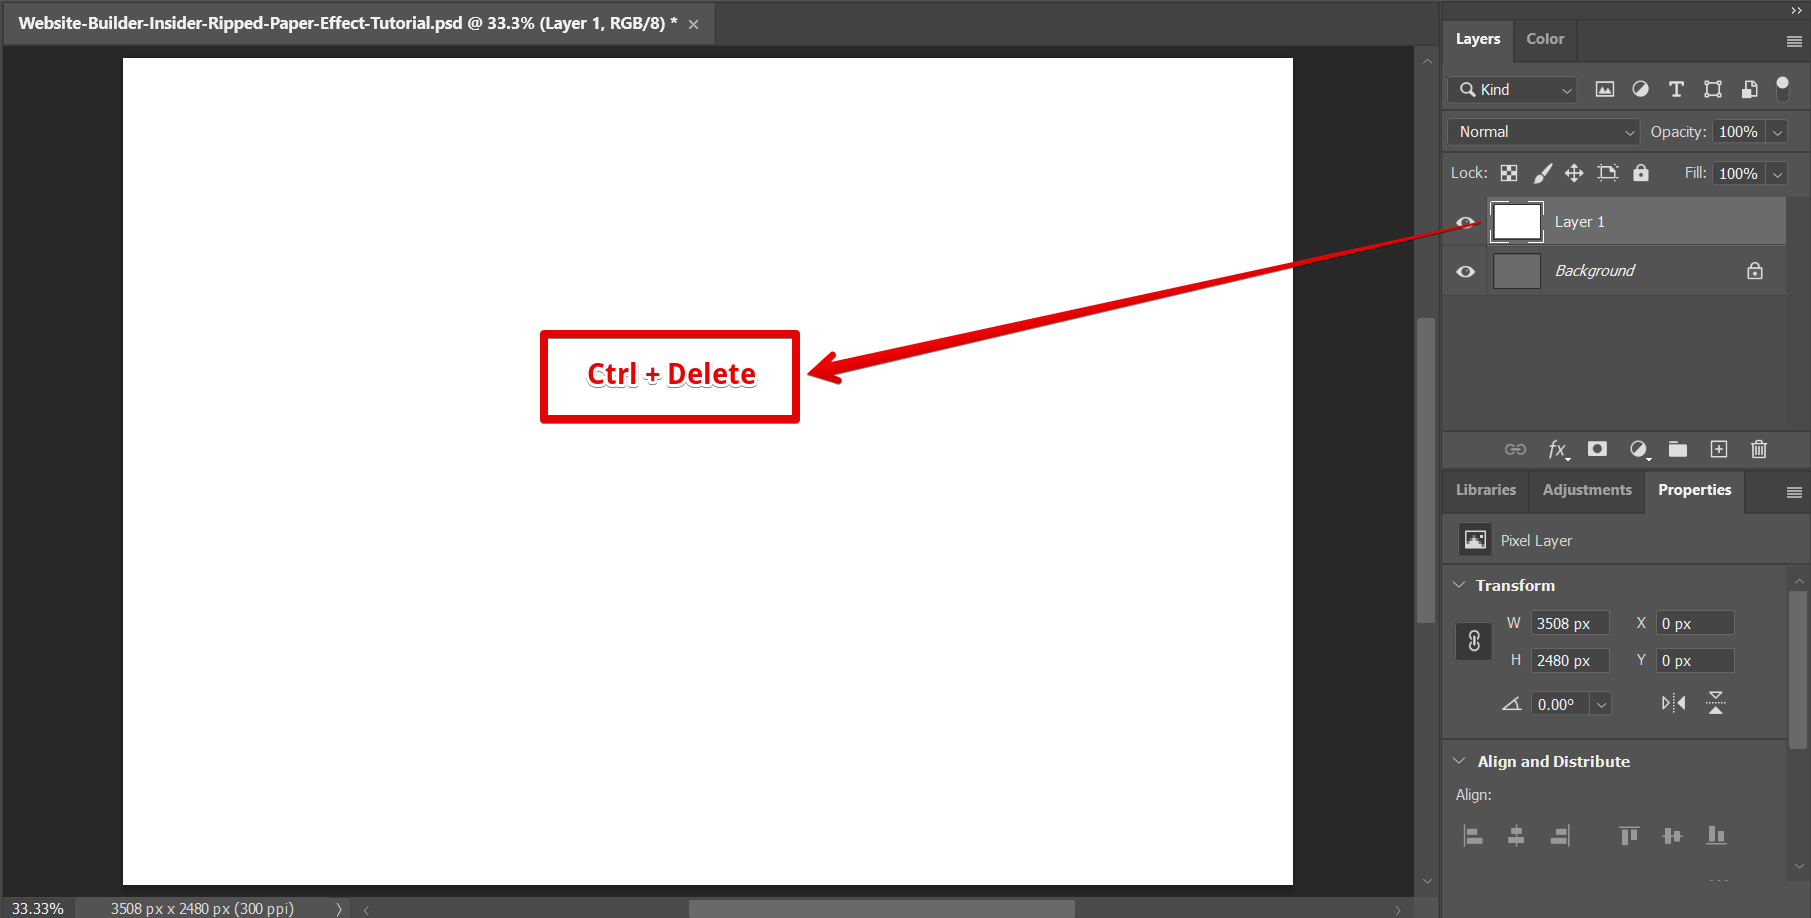
Now, create a new layer by clicking the “+” icon at the bottom of the Layers window.
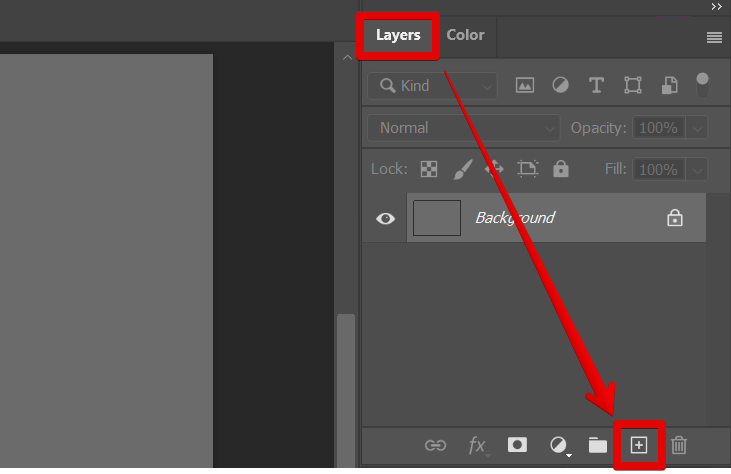
Then, fill the new layer with the color white. Since the default background color is white, just press “Ctrl + Delete” on your keyboard to apply.
2. Create a Paper-like Texture
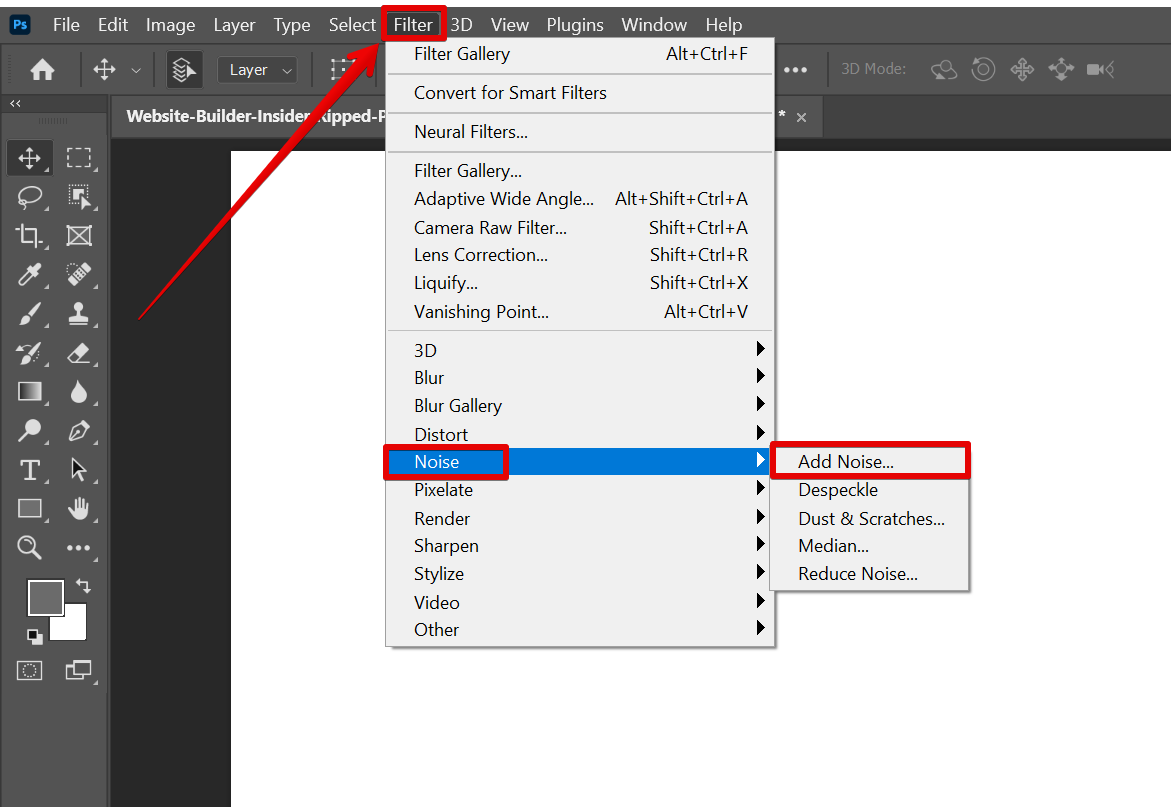
The next step is to create a paper-like texture. To do this, go to Filter > Noise > Add Noise.
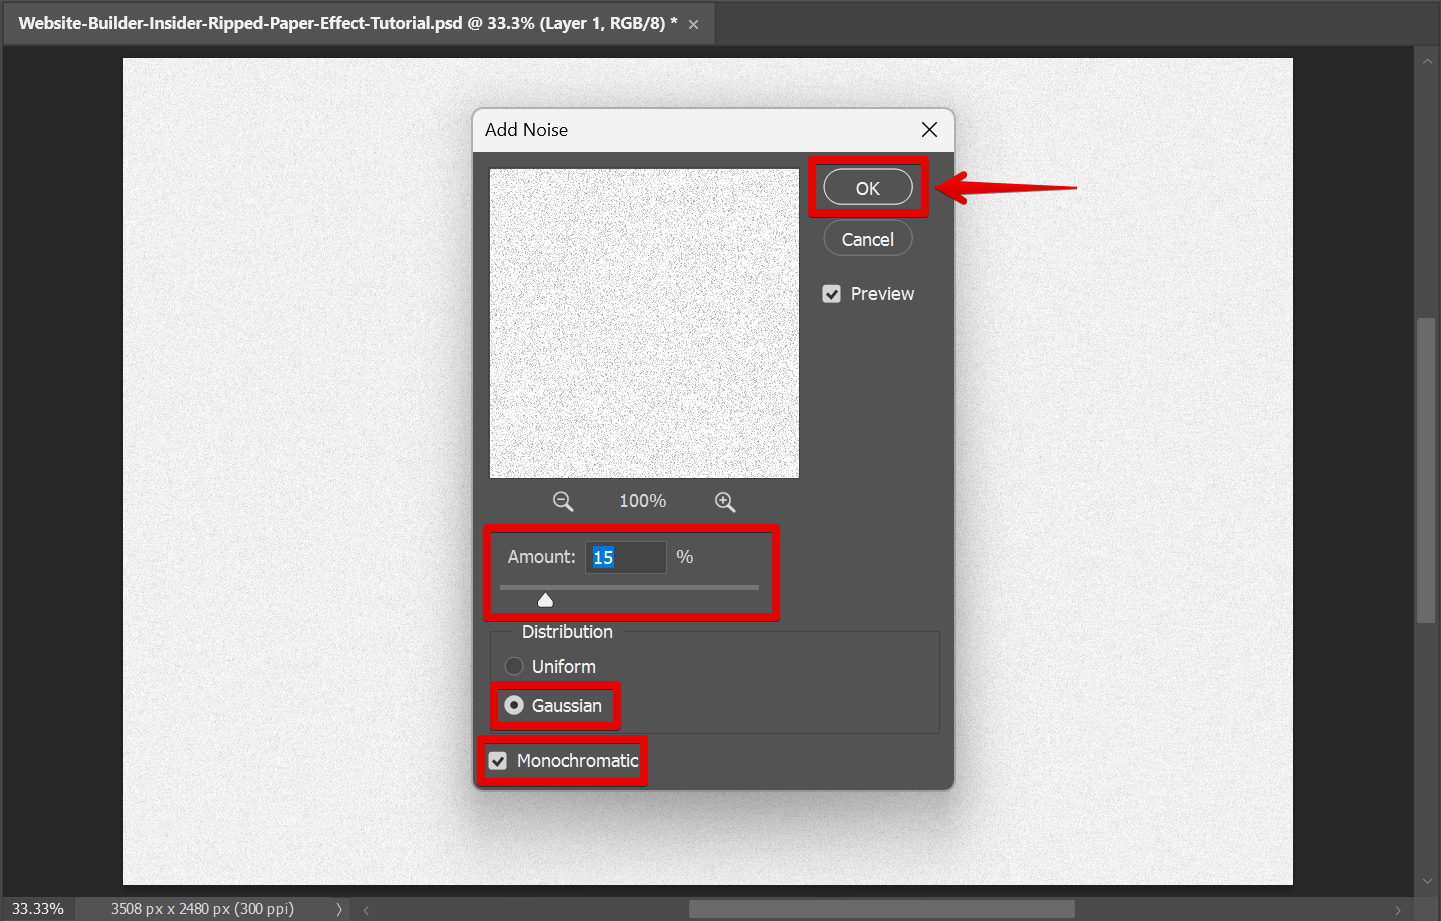
In the pop-up window that will appear, set the “Amount” to 15%, “Distribution” to Gaussian, and tick the checkbox beside “Monochromatic” to apply it.
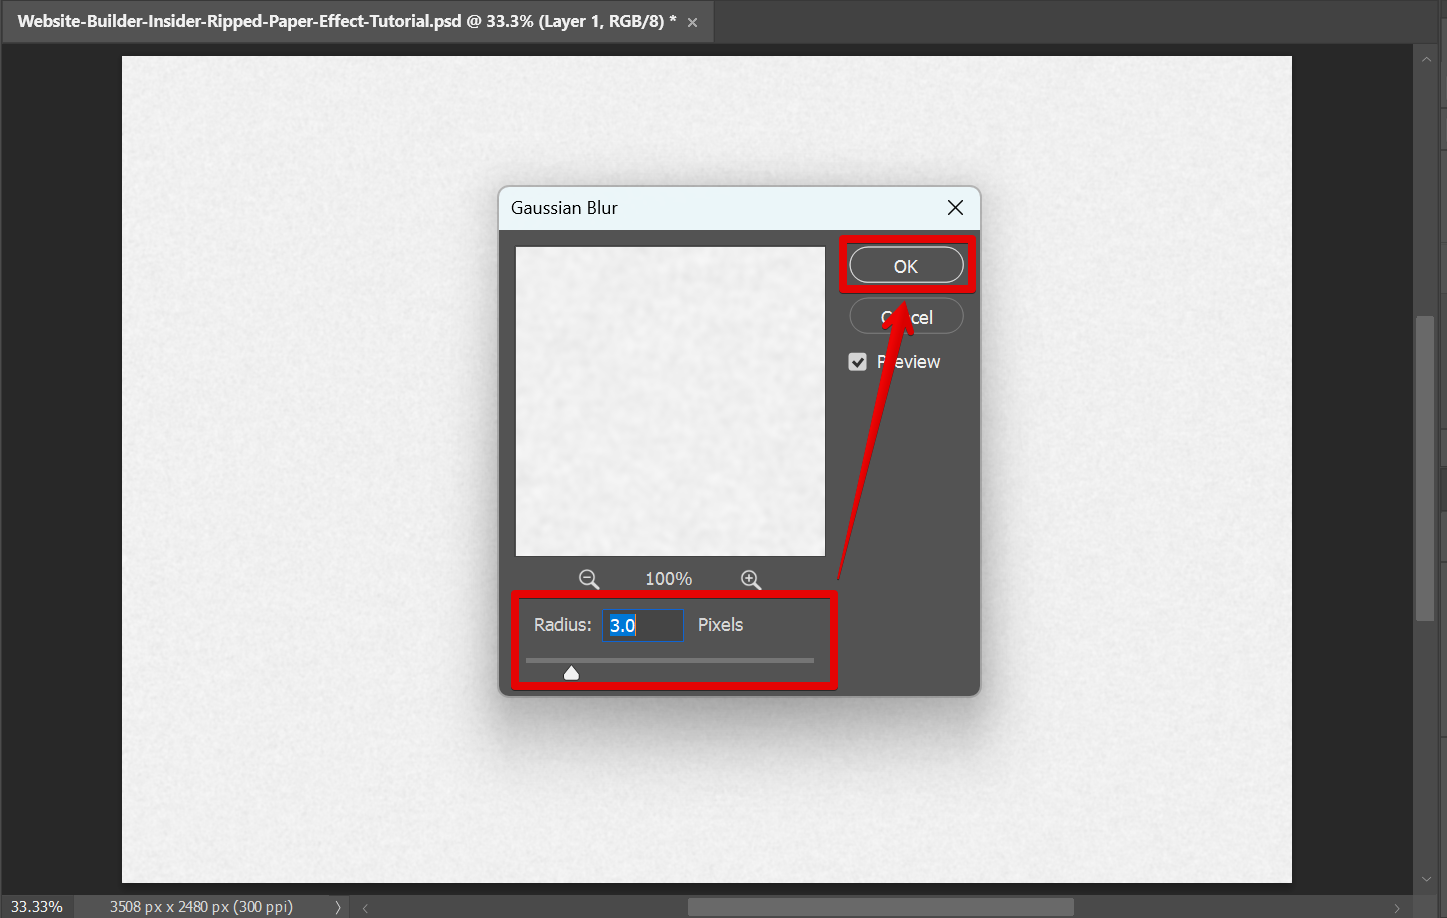
Now, go back to the top menu and select again the Filter, then go to Blur > Gaussian blur.
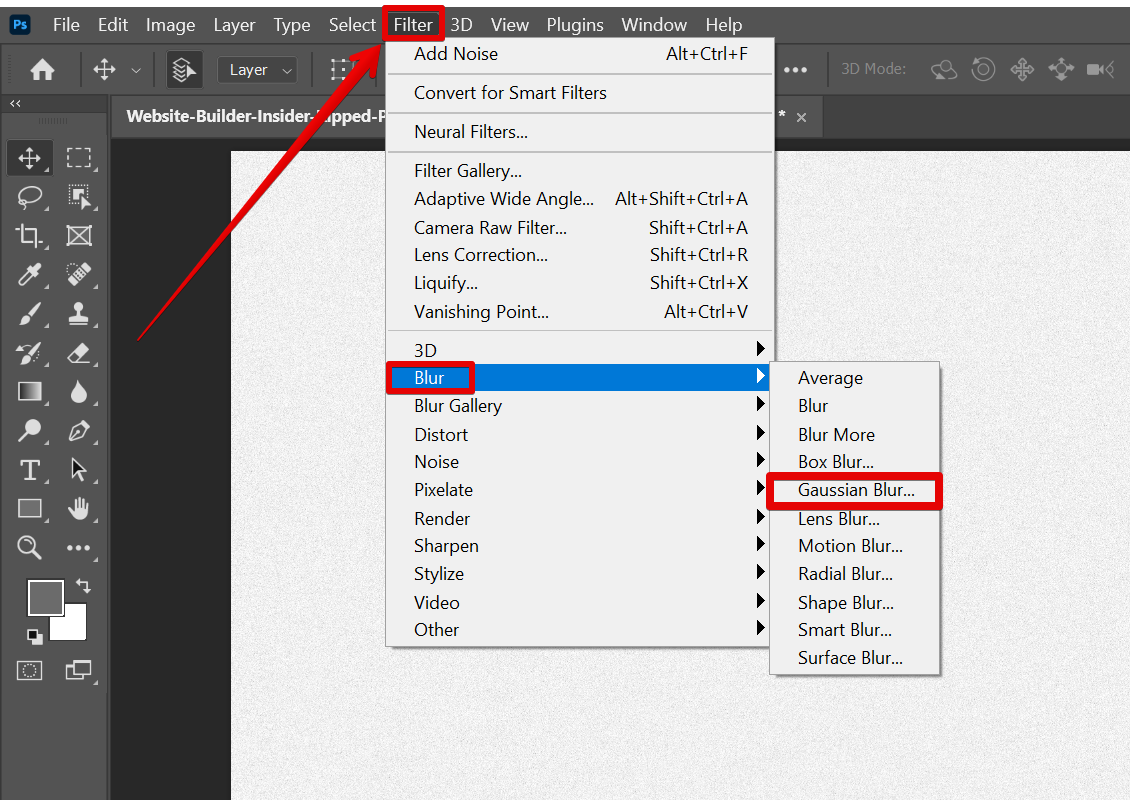
In the settings window, set the radius to 3 pixels.
3. Create the Ripped-Paper Effect
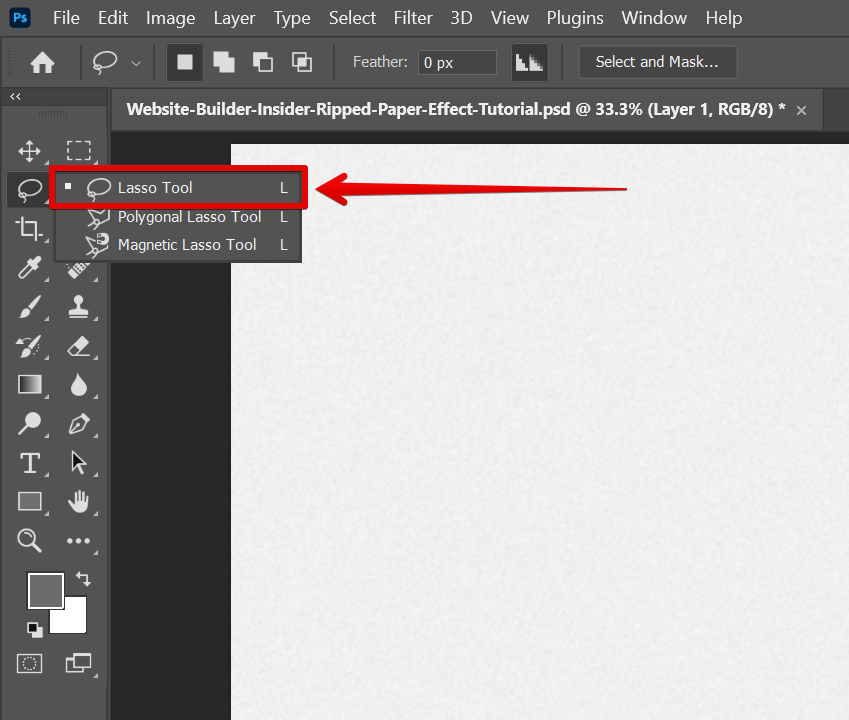
To create the ripped effect, select the “Lasso tool” from the left toolbar.
Then, click along the edge of the paper where you want it to look ripped. Create ragged lines across the canvas and, without releasing the cursor, continue drawing around until it connects with the starting point.
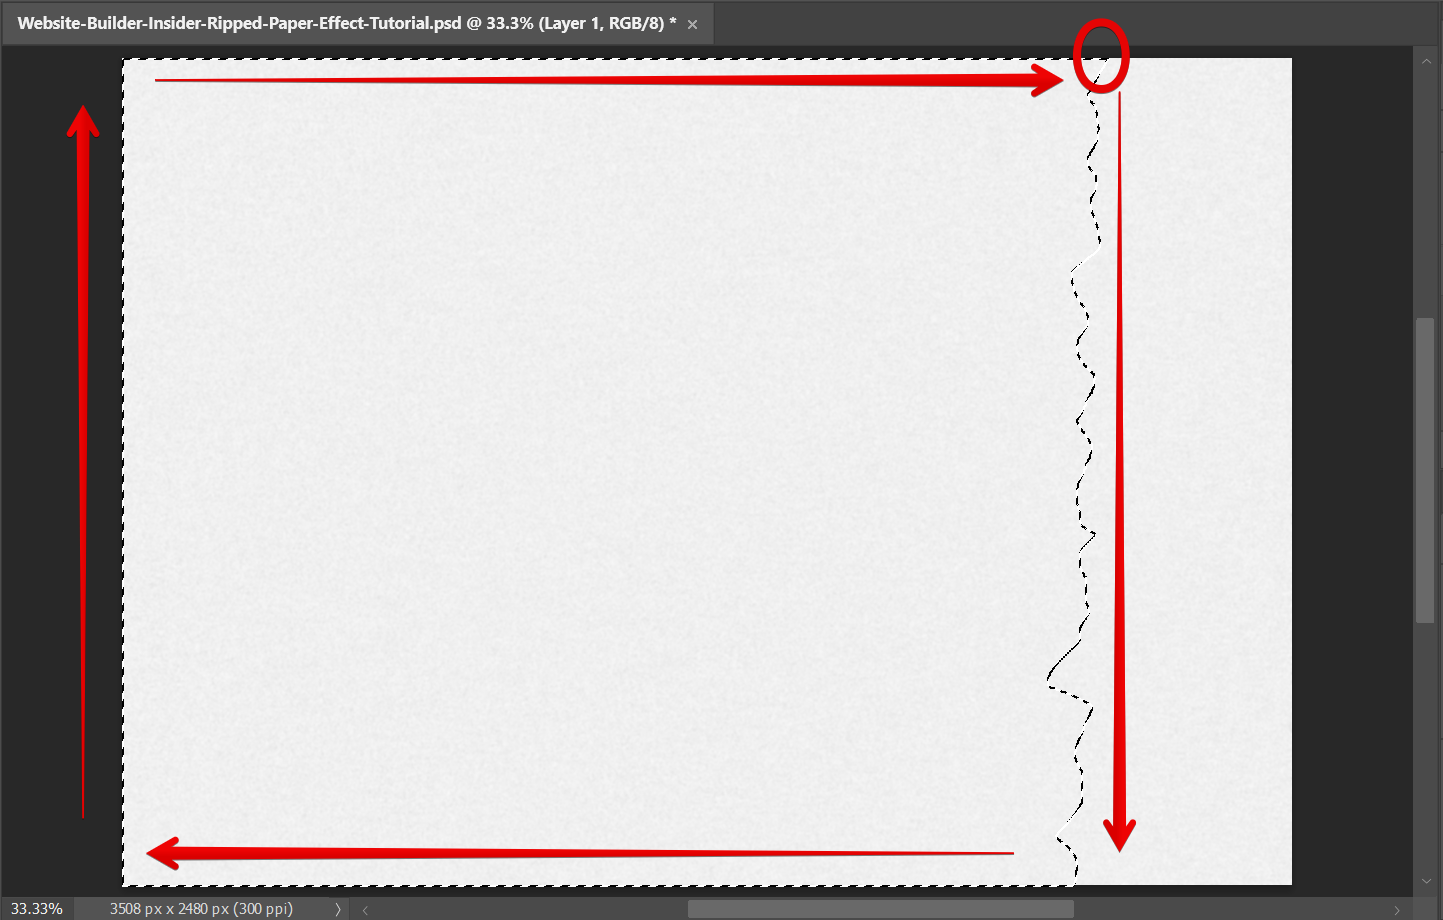
From there, add a new layer of mask over the paper texture by clicking on the icon at the bottom of the “Layers” window.

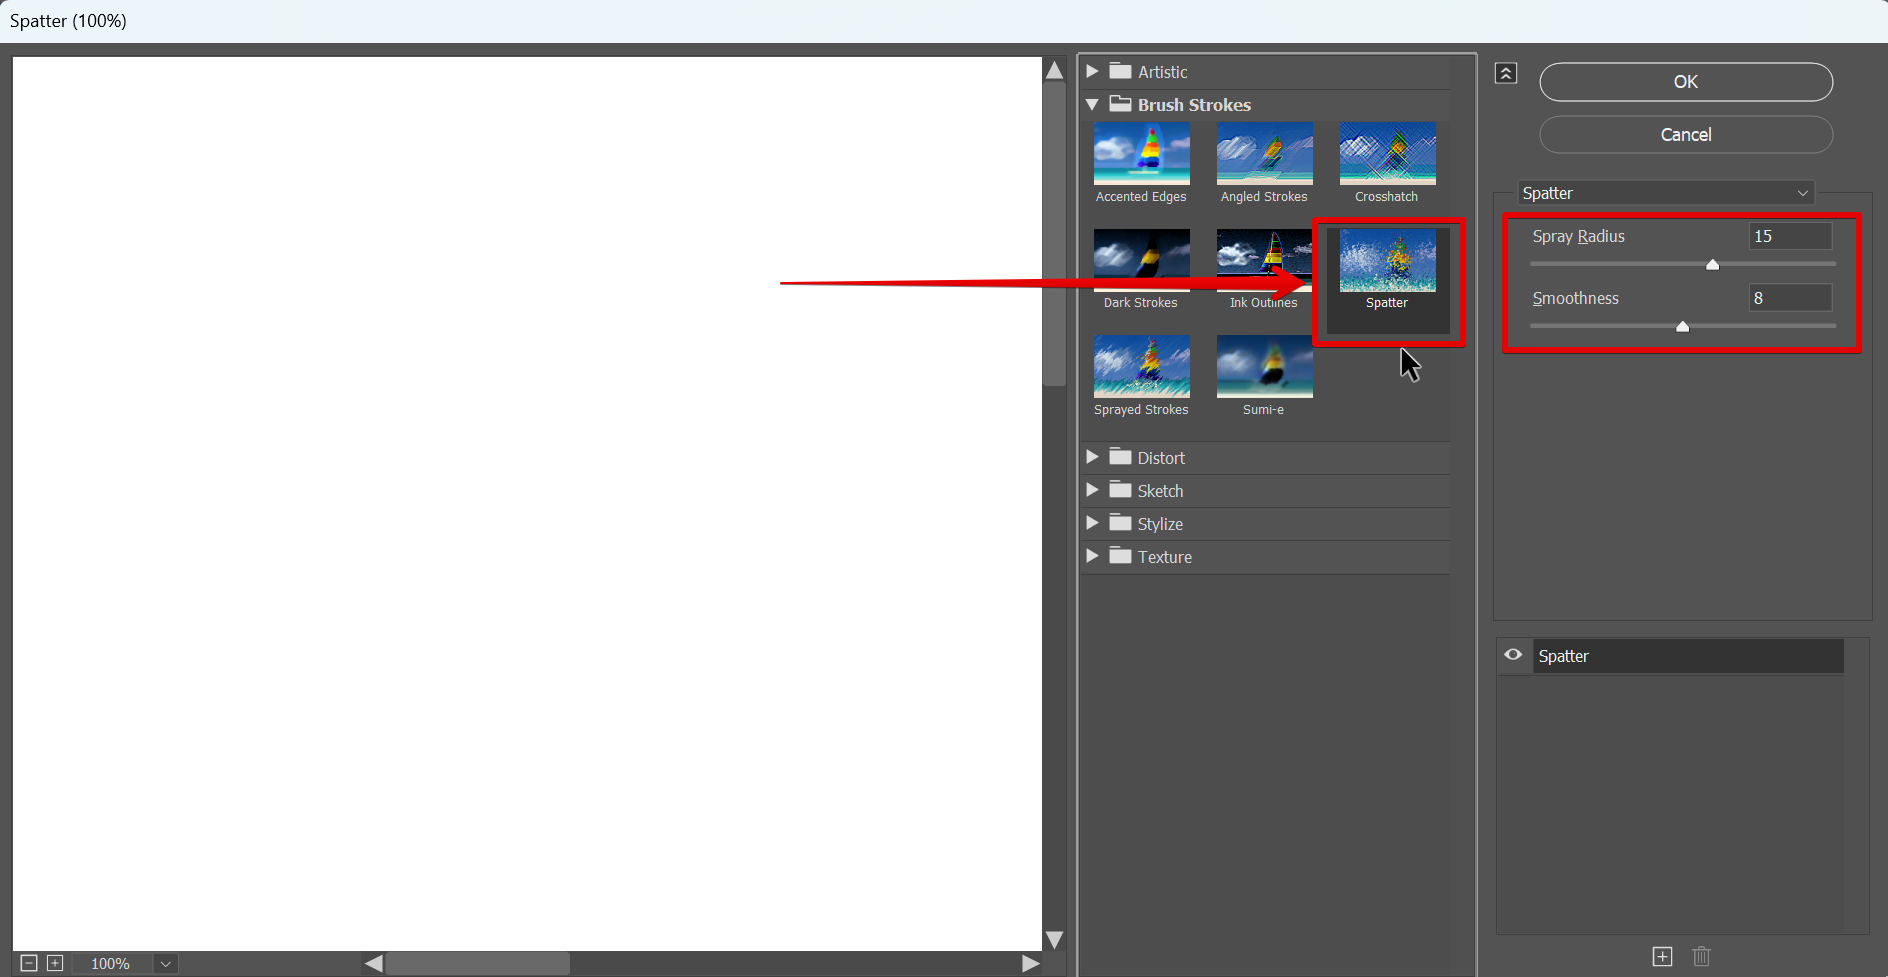
4. Apply Filter to your Ripped-Paper Effect
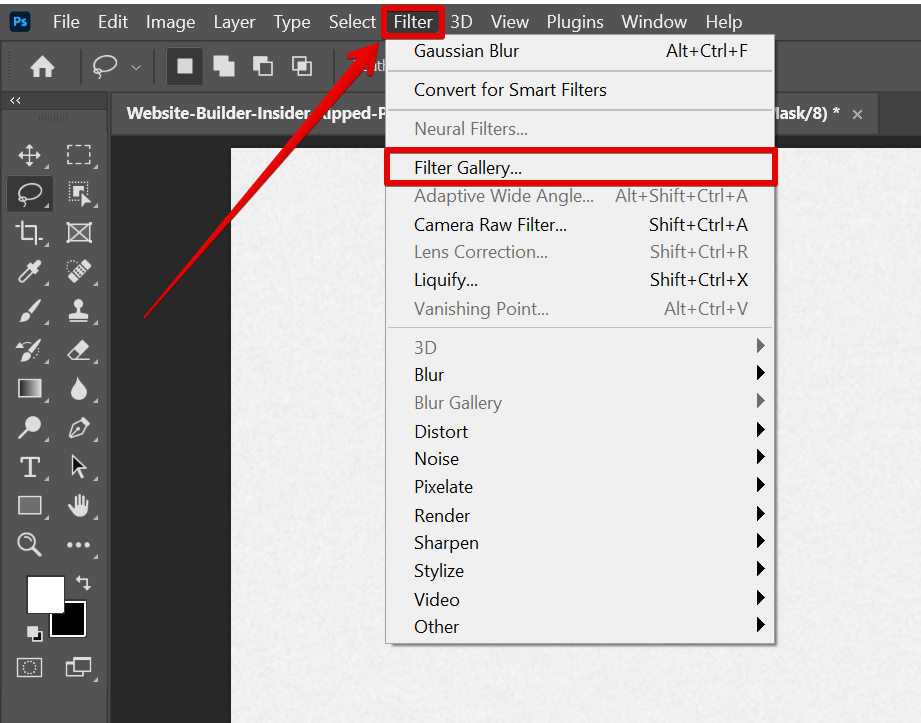
You can enhance your ripped-paper effect by applying filters. To do this, first, make sure that the layer mask is selected, then go to Filter > Filter gallery.
In the new window that will appear, select “Spatter” and set the “Spray Radius” to 15, then the “Smoothness” to a value of 8.
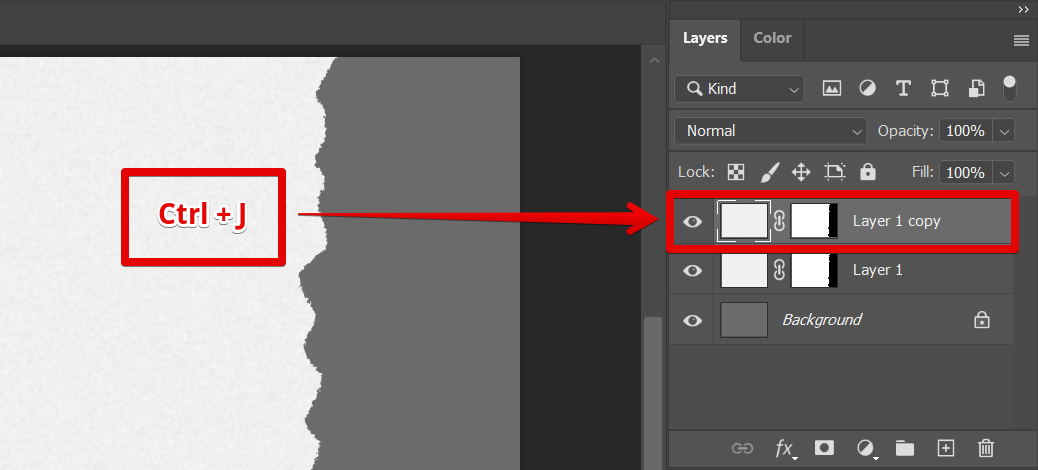
5. Create a Copy of the Layer
Now, we need to create a copy of the layer to create more enhancements. To do this, press the “Ctrl + J” keys on your keyboard.
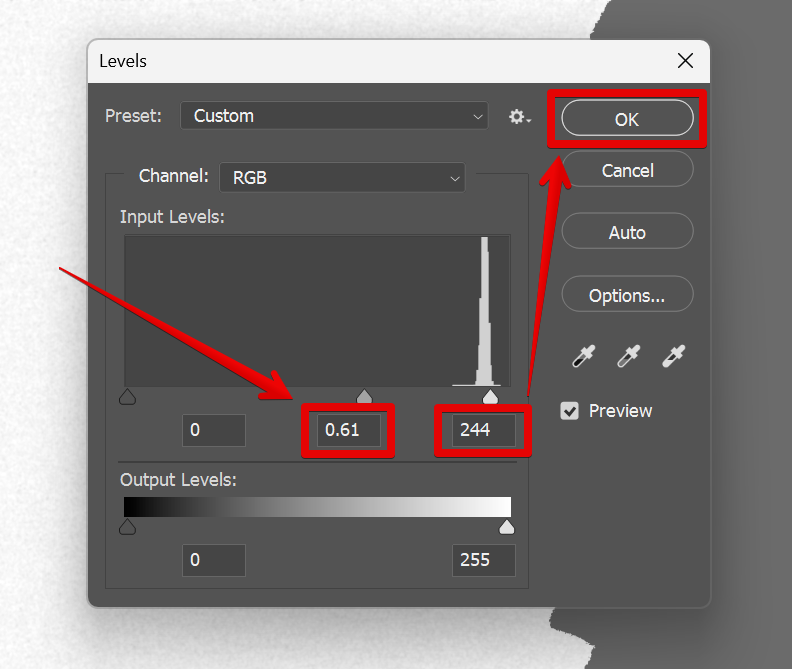
Then, press “Ctrl + L” to open the Levels window. In the pop-up window, set the “Input mid-tones” to 0.61 and the “Output highlights” to 244. This will give our top layer a color that is slightly darker than the first layer.
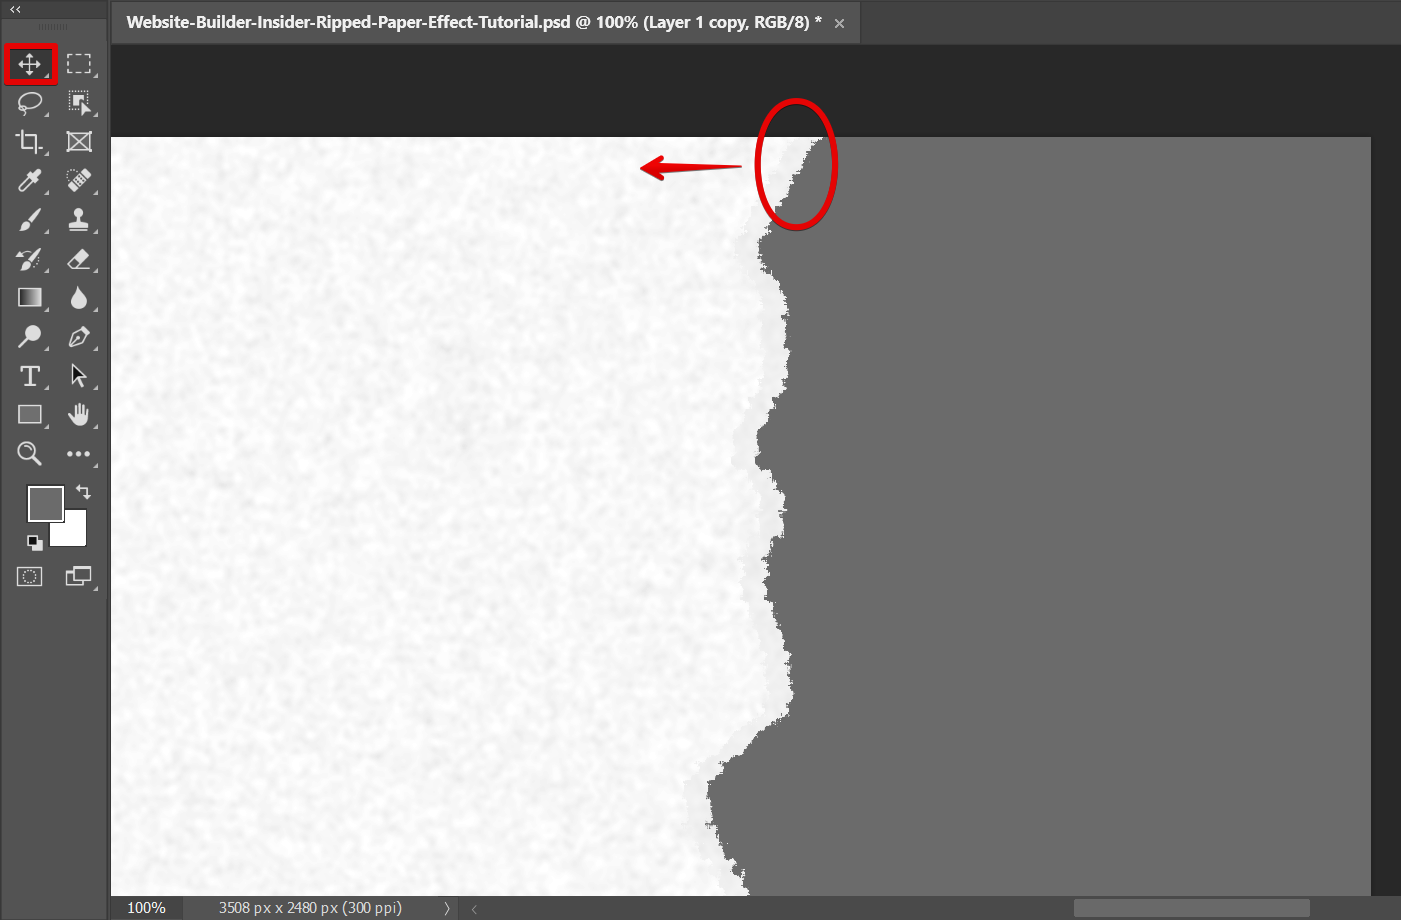
Next is to move your new layer a bit beside the first layer using the “Move tool” on the left toolbar to enhance the effect.
6. Create a Drop Shadow for your First Layer
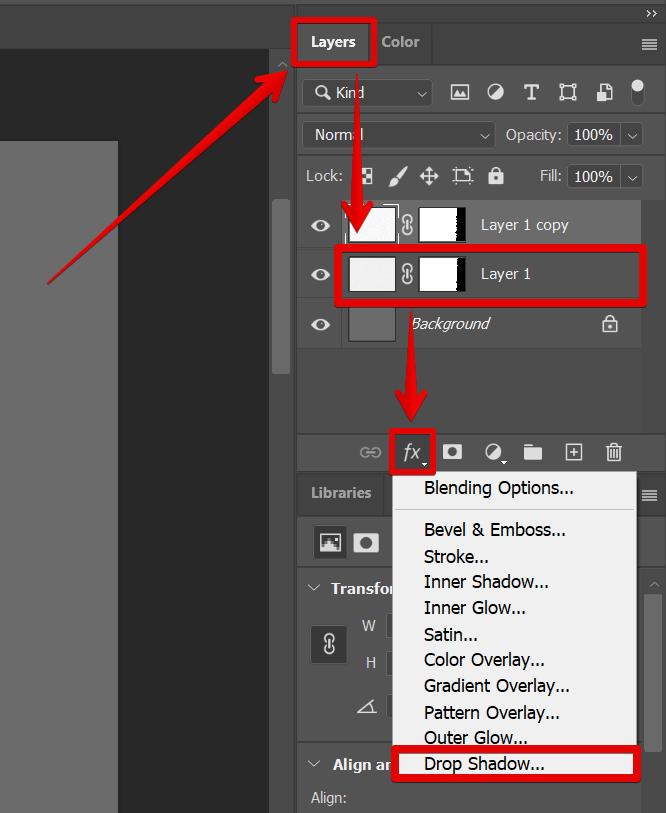
Once you’ve created your ripped paper effect, you can add some finishing touches by adding shadows. To apply this, first, make sure to select the first layer on the Layers window, then click on the “fx” icon at the bottom. There, select “Drop shadow” from the options.
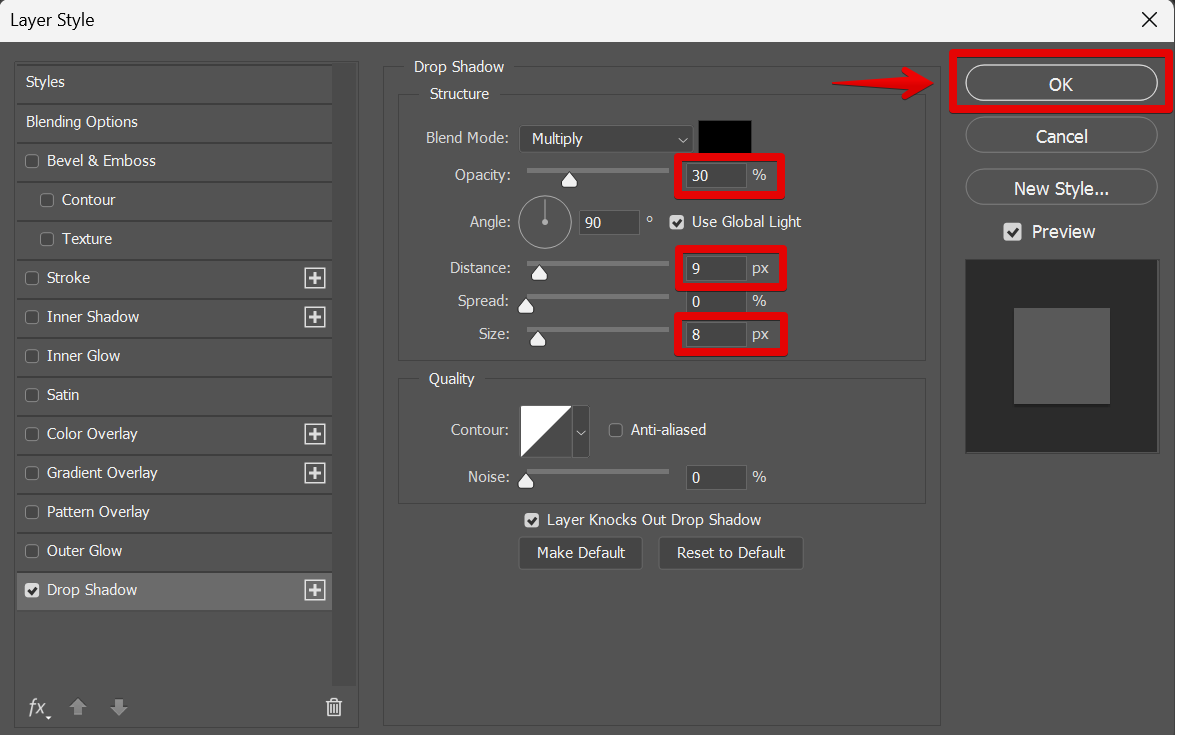
In the settings window, set the “Opacity” to 30%, “Distance” to 9, and “Size” to 8″ then click on the “Ok” button.
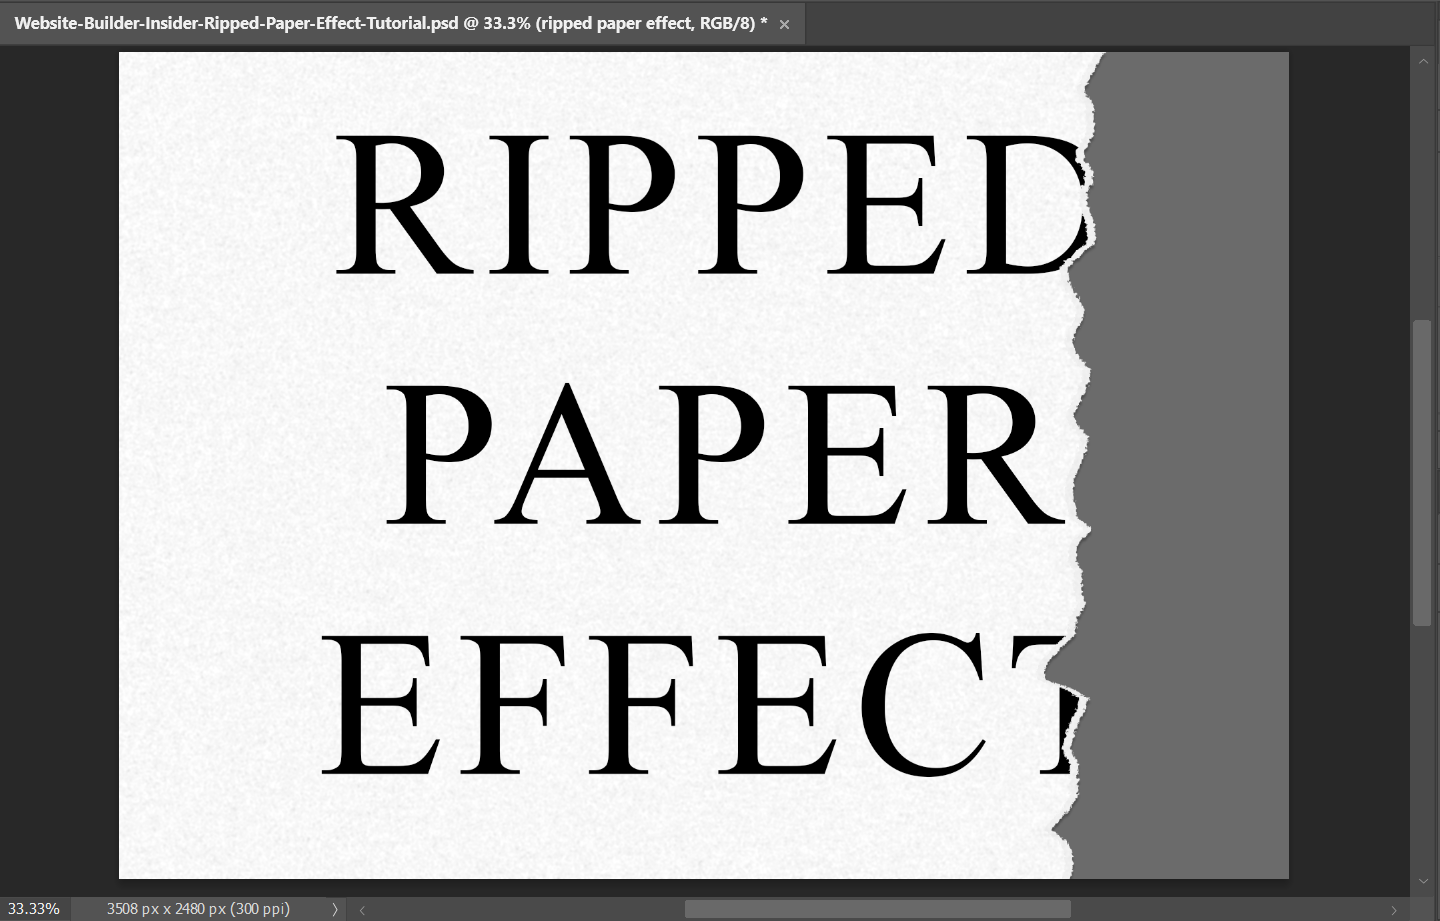
7. Add Text to the Ripped Paper and Make it Look Ripped too
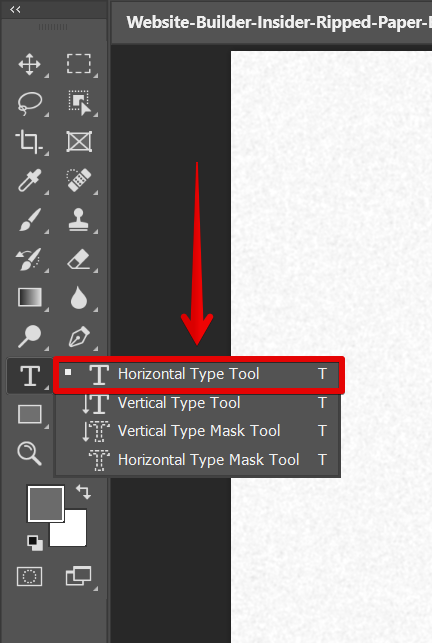
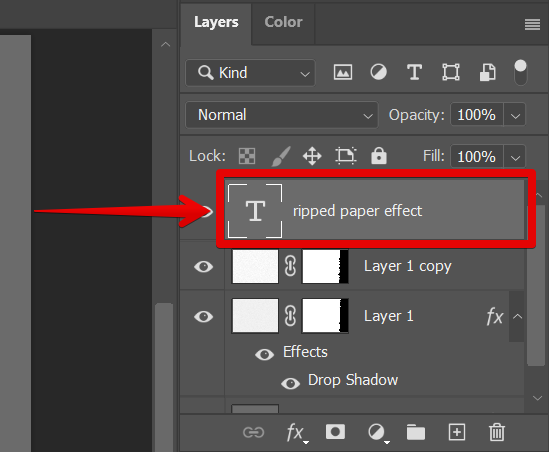
Once you’re done enhancing your ripped-paper effect, you can also add text on it and make it look ripped too! To do so, select the top layer and click on the “Horizontal Type tool” from the left toolbar.
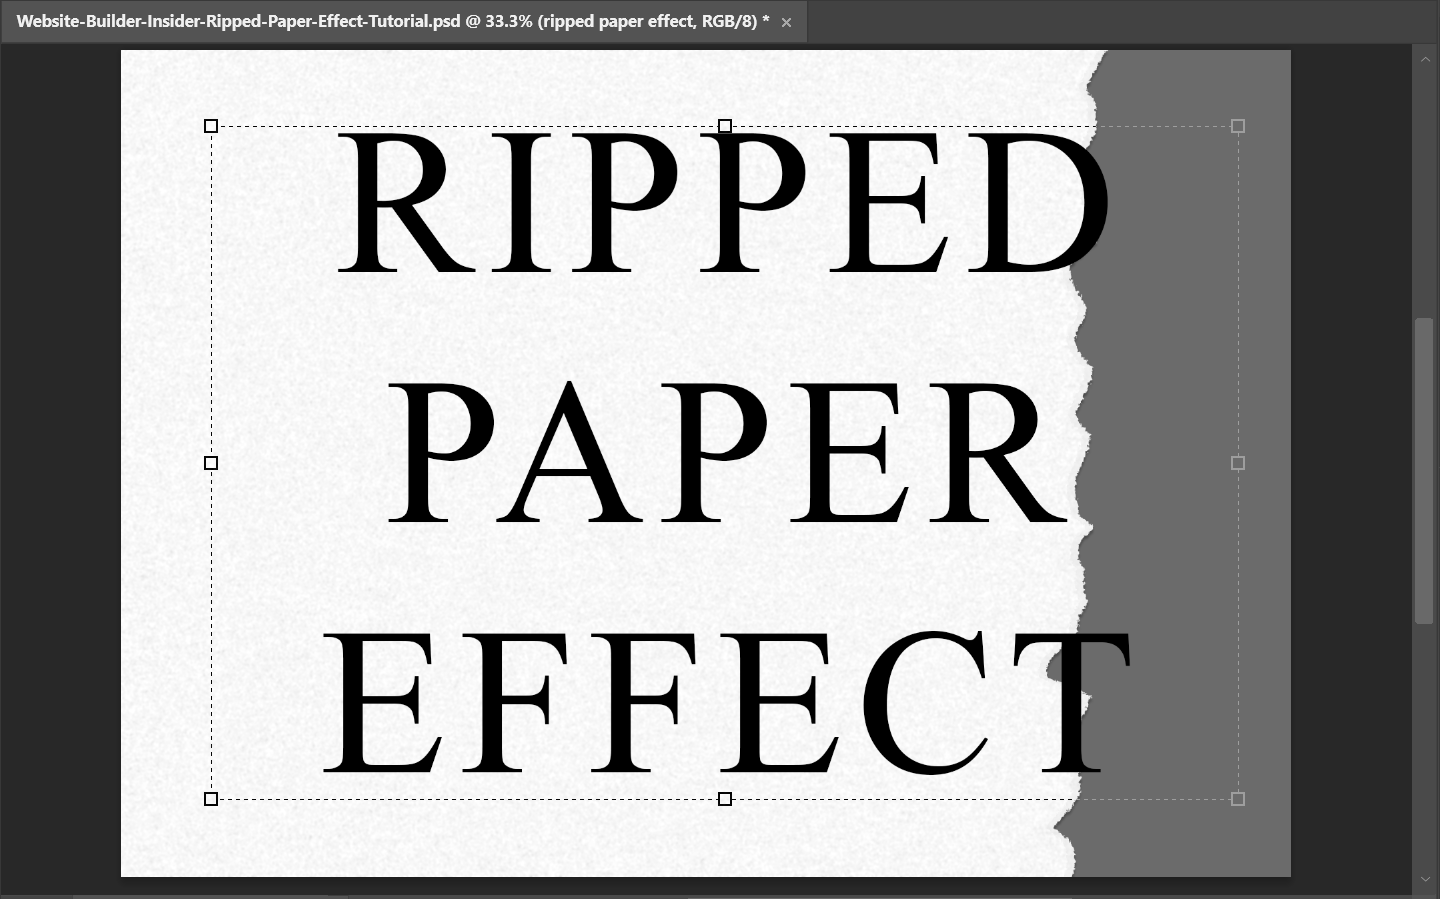
Drag the cursor across your canvas to create a text box and type in your text.
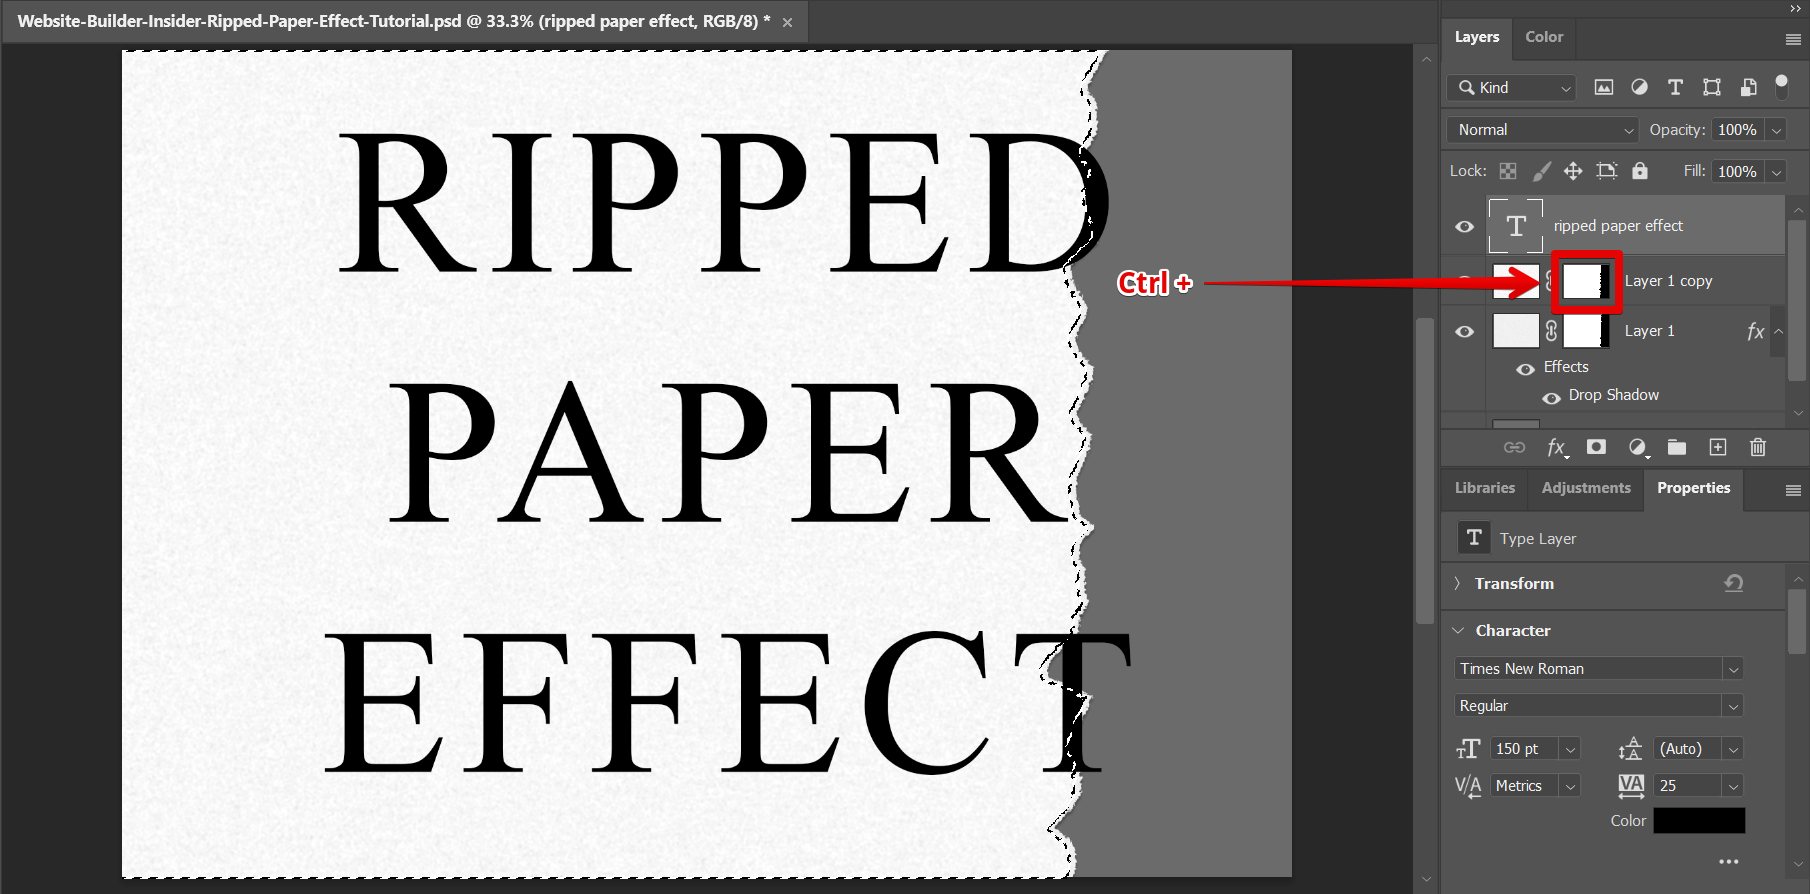
To make it look ripped, we need to apply the same layer mask to the text. To apply this, first, make sure that your text layer is selected.
Now, go to the layer below it, press the “Ctrl” key and click on the layer mask simultaneously to make a selection.
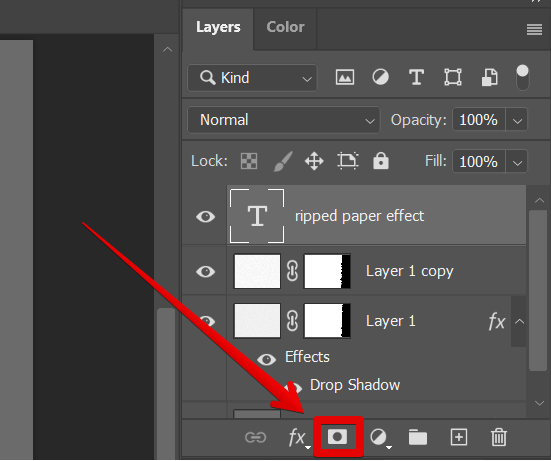
Next is to add a new layer mask by clicking on the layer mask icon at the bottom of the Layers window.
From there, click on the chain icon to remove the link between the text layer and the layer mask. This will let you freely move the text around.
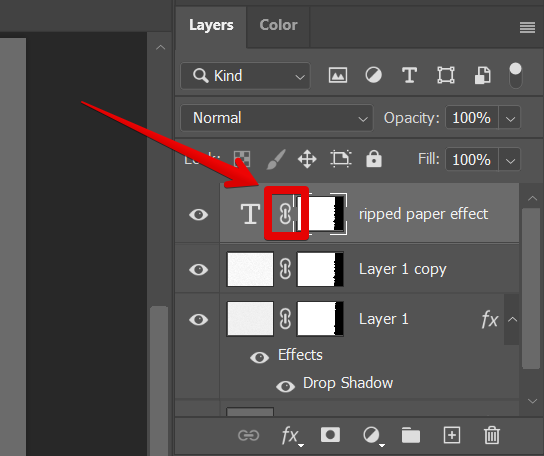
Now you have the Ripped-Paper Effect!