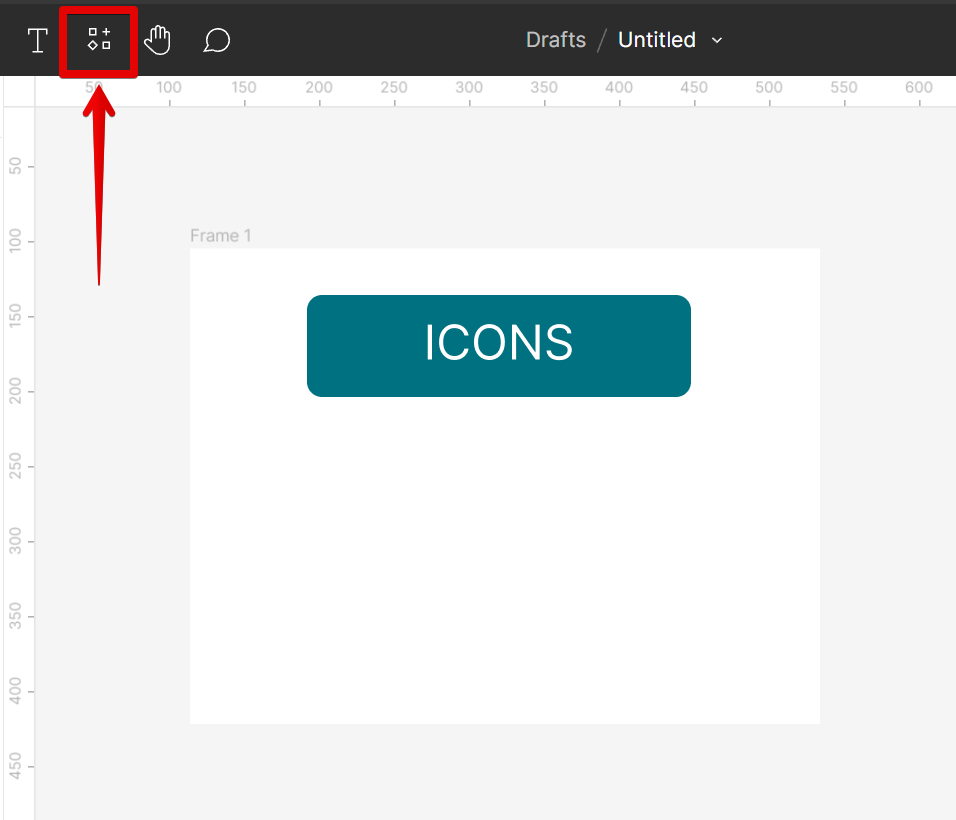
You can add icons to your Figma pages in a few different ways. The first way is to use the built-in icon library. To do this, simply click on the ‘Resources‘ tab in the top menu.
From there, open the ‘Plugins‘ tab and type in the keyword ‘icons‘ in the search bar. Select a plugin from the results and run it. In this tutorial, we will be using the ‘Icons8‘ plugin.

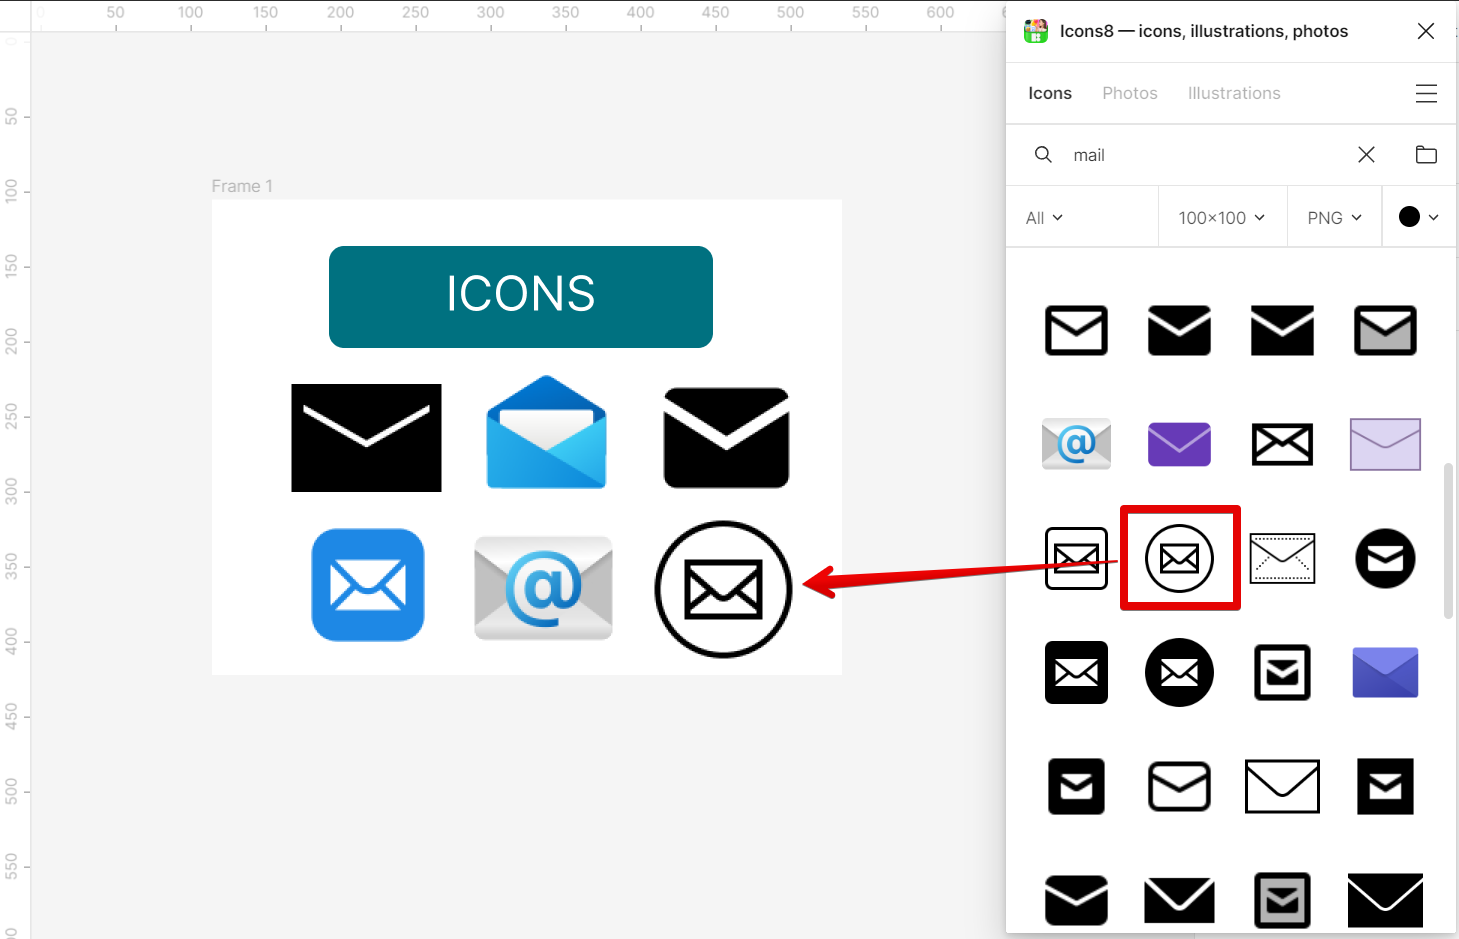
In the running Icons8 plugin window, search for the type of icon that you want to use and press “Enter” on your keyboard. The plugin will then give various icons to choose from.
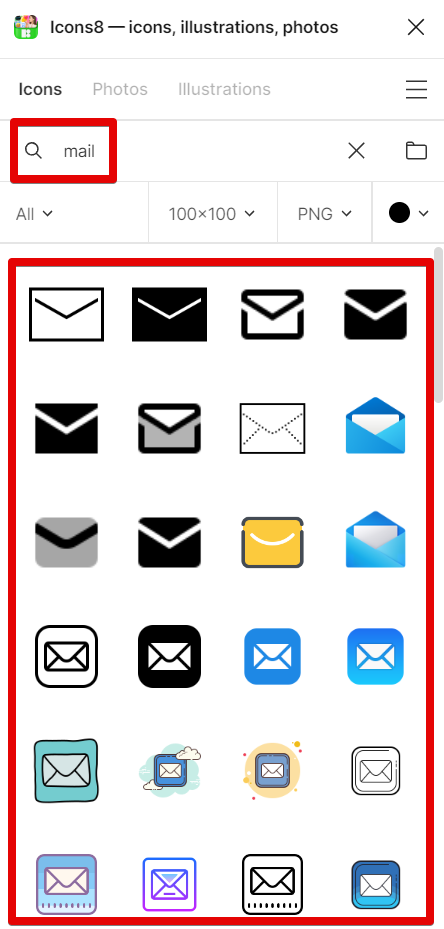
Select the icons you want to add to your page.
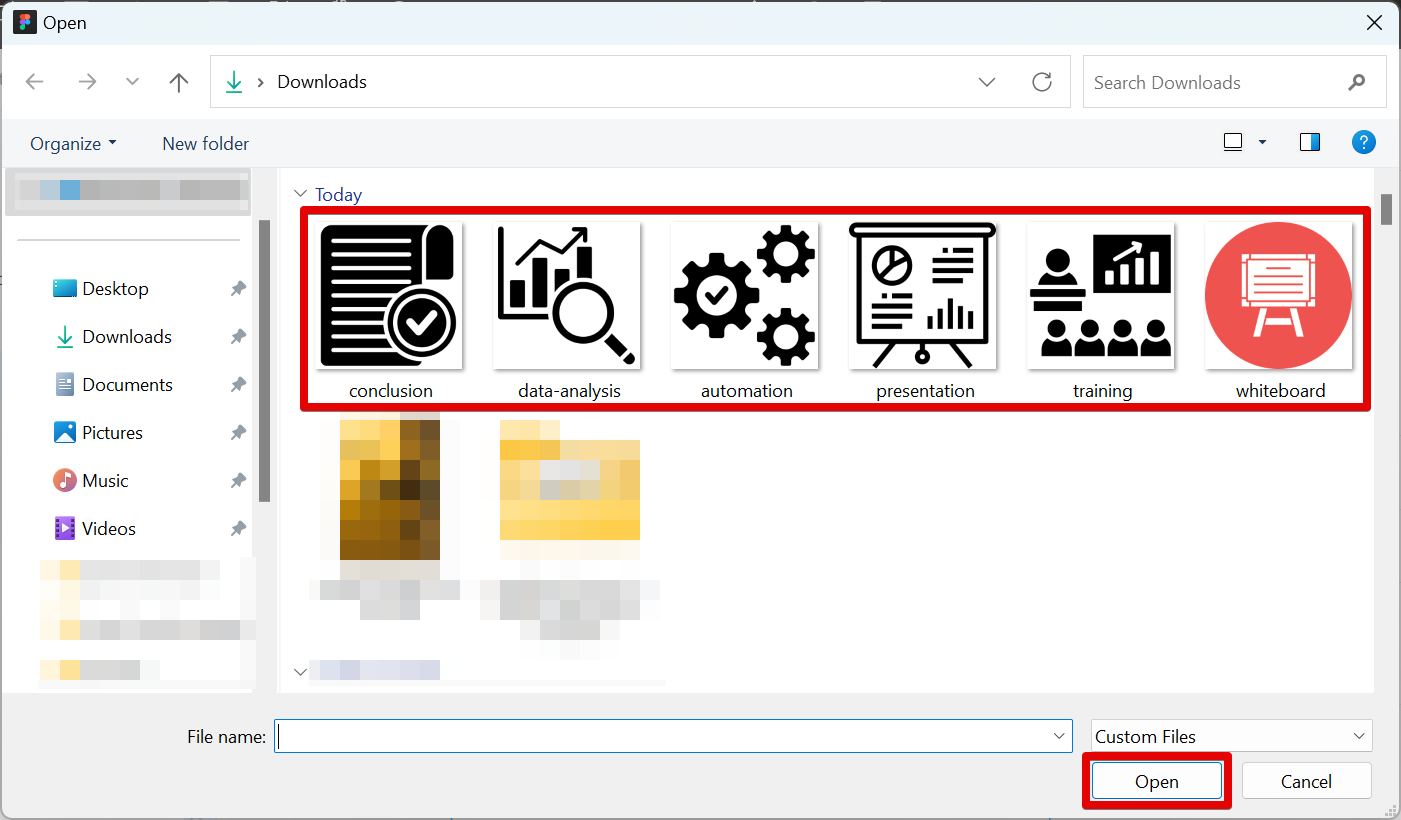
The second way to add icons to your Figma pages is by using external sources. To do this, go to File > Place image.
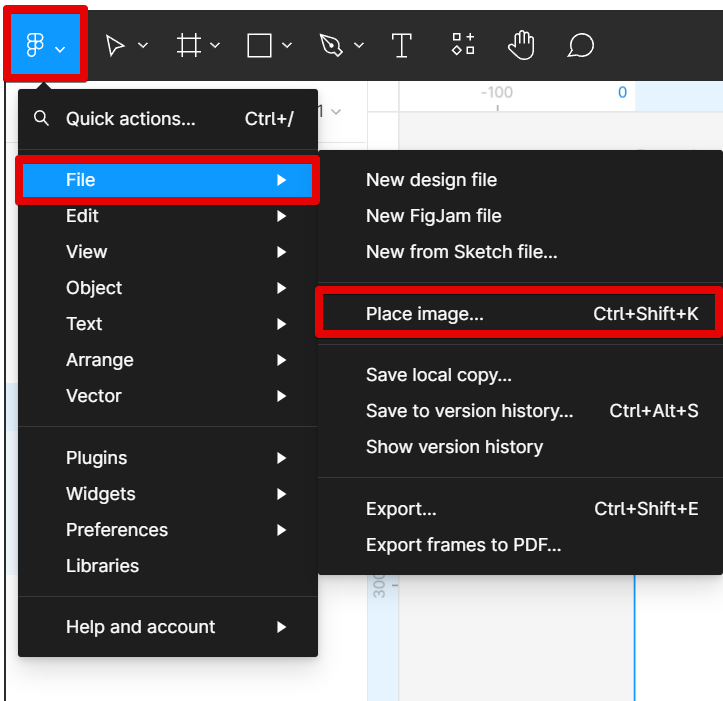
This will allow you to upload icons from your computer.
NOTE: You can simply download icons from free resources online such as Flaticon and Freepik.
PRO TIP: Please be aware that Figma currently supports adding icons to pages using plugins and external resources only. You can add icons to your designs by creating them yourself or using Figma’s free library of icons from plugins.
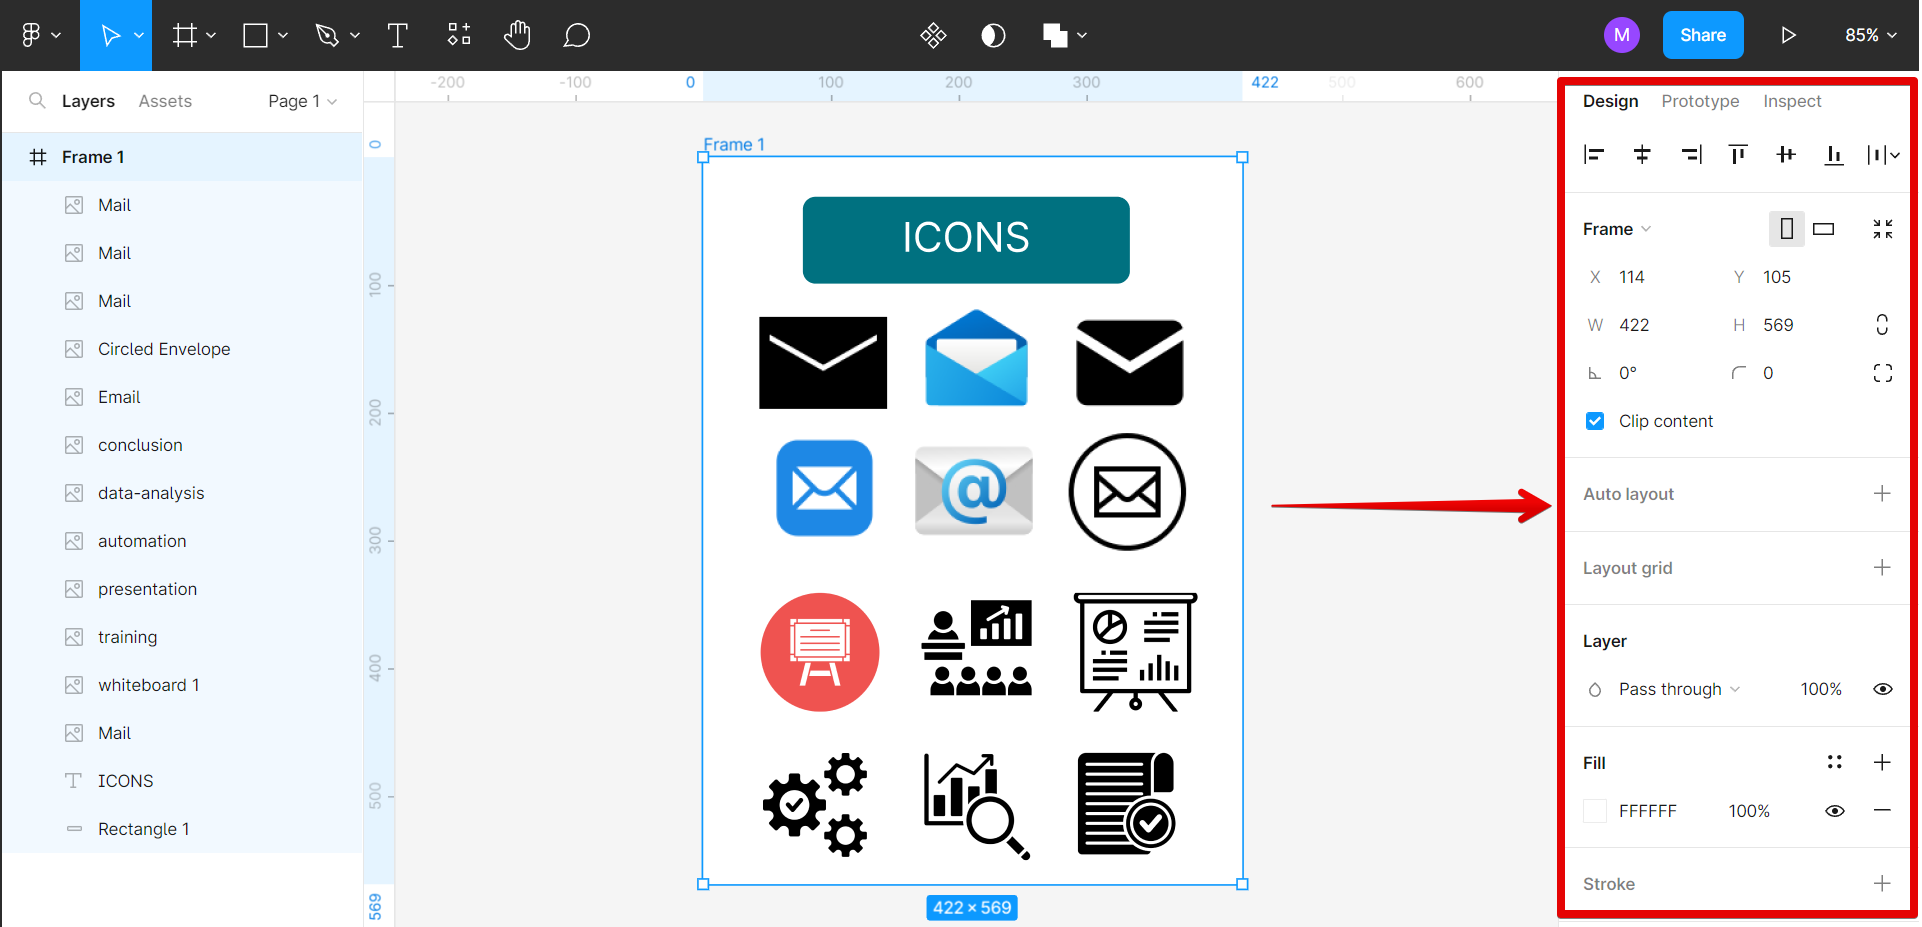
Once you have added your icons, you can change their color, size, and rotation by selecting them and then using the ‘Design‘ tab on the right panel. You can also add a link to an icon using the ‘Prototype‘ settings.
Adding icons to your Figma pages is a great way to make them more visually appealing and user-friendly. By using the built-in icon library or external sources, you can easily find the perfect icons for your pages. And with the Format options, you can customize them to match your page’s design.
6 Related Question Answers Found
Adding icons to your Figma page is a great way to add some extra flair and personality to your design. Icons can help to break up the text on a page, and can also be used to visually represent ideas or concepts. There are two main ways to add icons to your Figma page:
1.
Adding icons to your Figma design is a great way to spruce up your project and add some visual interest. Icons can be used to represent different actions, symbols, or ideas. You can add icons to your Figma design in a few different ways:
1.Uploading icons: To upload your own icons, simply click on the “+” icon in the left sidebar and select “Upload Images.” This will open up a window where you can select the icons you’d like to upload from your computer.
Adding icons to your Figma wireframes is a great way to add visual interest and style to your designs. There are a few different ways to do this, and each has its own benefits. One way to add icons is to use the Figma library.
Assuming you would like to add icons in Figma:
There are two ways to add icons in Figma: first, by using the Icon Fonts method, and second, by importing SVG files. The Icon Fonts method is the easiest way to add icons in Figma. All you need to do is select the icon you want to use from the Icon Fonts library, and then click on the “Insert” button.
There are a few ways to import icons into Figma. The most common way is to use the File > Import > Icons command. This will open the Icons panel, where you can browse to your desired icon file and select it.
Figma is a great vector design tool that’s used by professional designers all around the world. One of the best things about Figma is that it’s free to use and easy to learn. In this article, we’re going to show you how to get started with Figma by creating some simple icons.