There is one straightforward way that you can change the color of a PNG file in Photoshop. That is to use the Color Overlay tool. With this tool, you can change the overall color of the image, as well as the lightness and opacity.
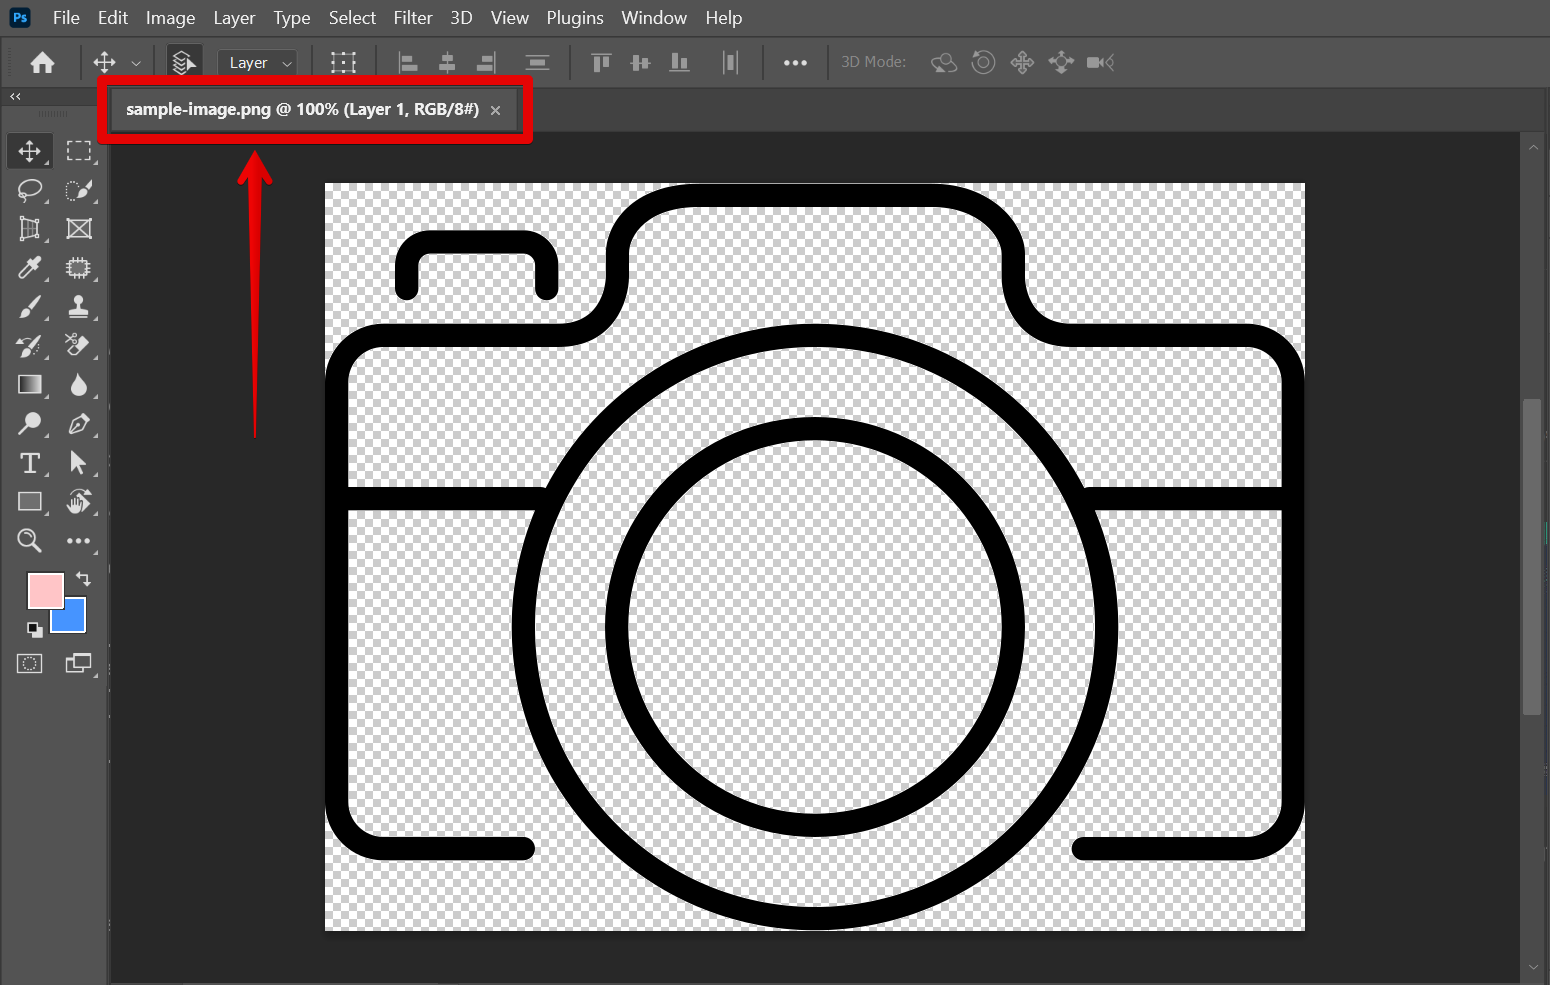
To use the Color Overlay tool, first, open the PNG file in photoshop.
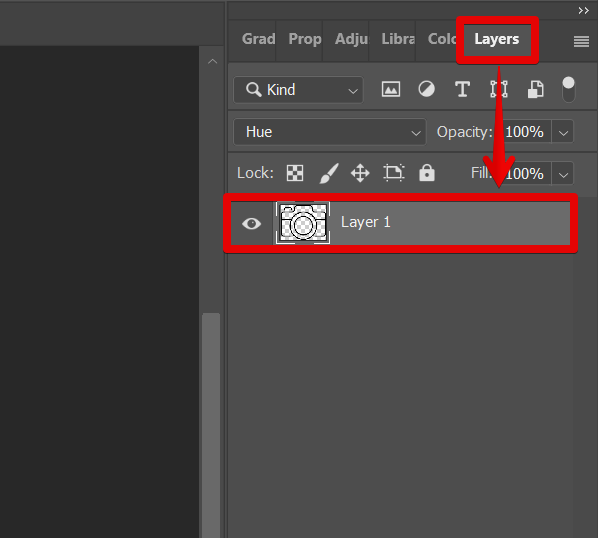
Then, select the layer of the PNG file in the Layers section.
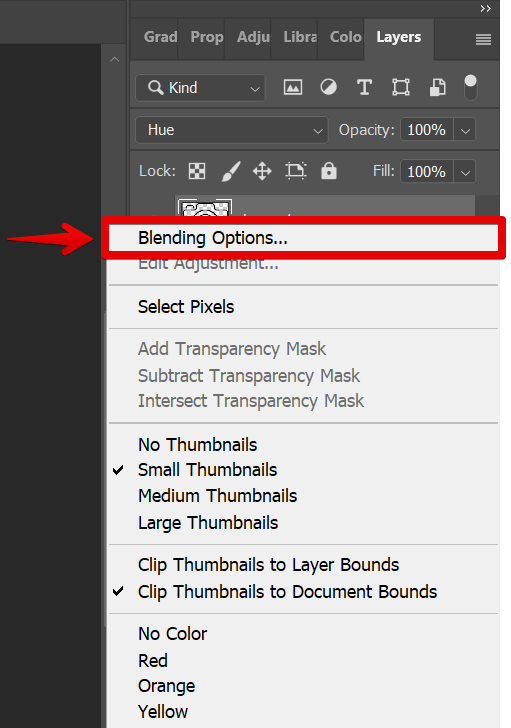
From there, right-click on the layer and select “Blending Options” from the menu.
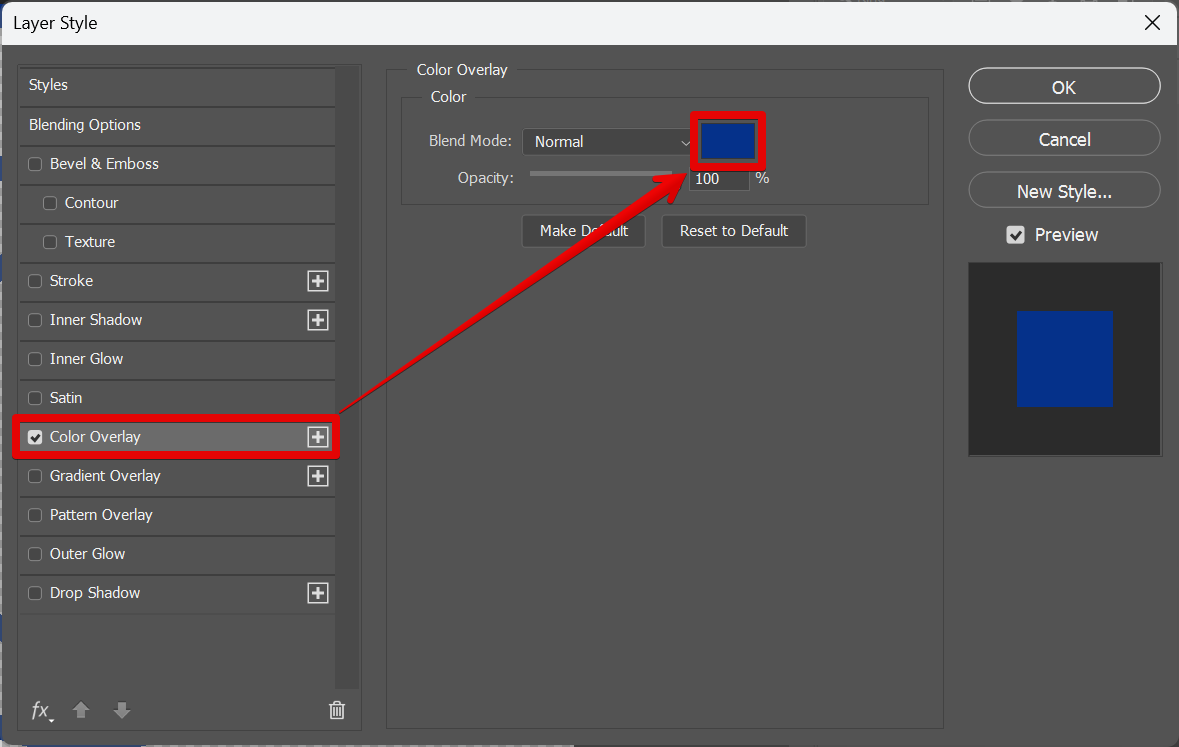
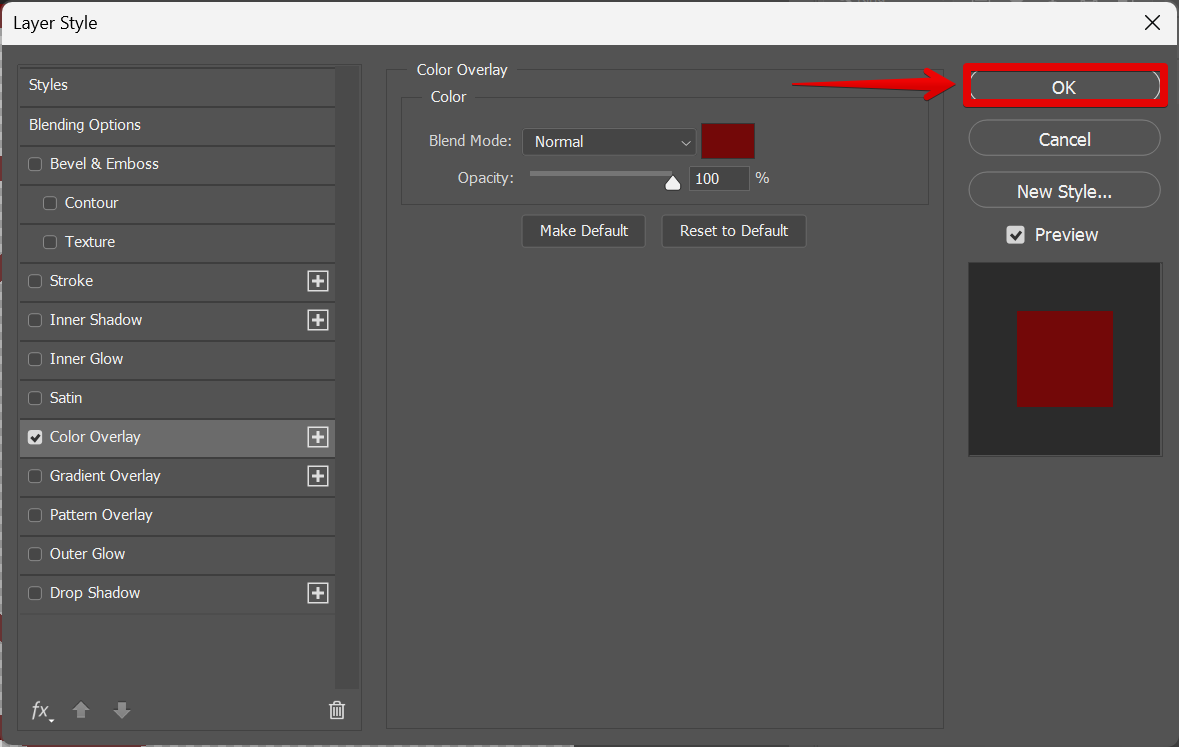
In the new window that will appear, select “Color Overlay” from the options and click on the checkbox beside it. Then, select the color box in the right panel to open up the color options.
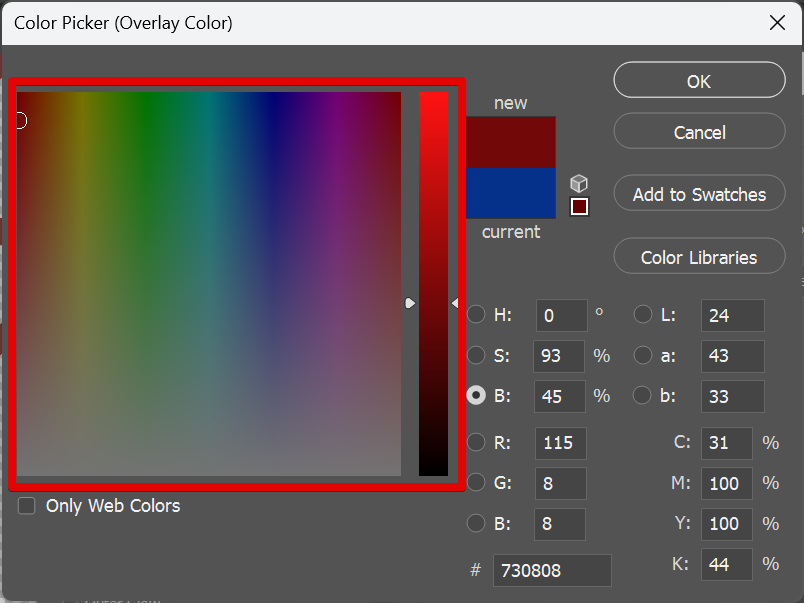
In the Color Picker window that will appear, select the new color that you want to apply to your PNG file. Once done, click on the “Ok” button.
This will lead you back to the Layer Styles window. If you’re satisfied with the chosen color, click on the “Ok” button to confirm your changes.
NOTE: You can also adjust the Opacity of the Color Overlay in this window.
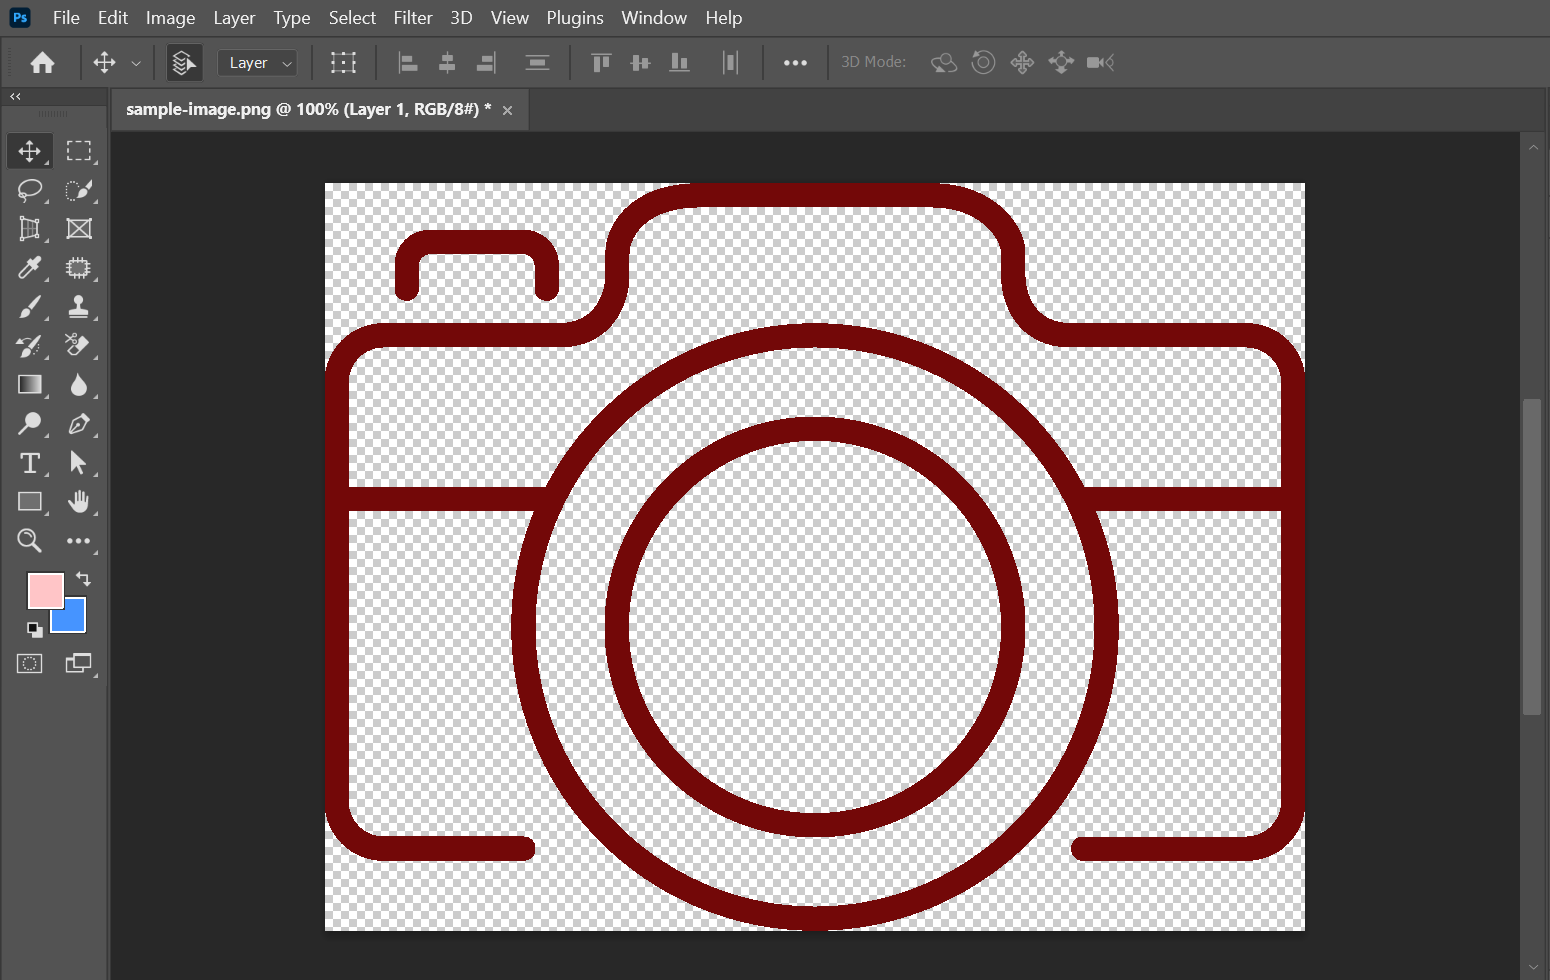
And there you have it! The color in your PNG file is now changed!
PRO TIP: Please be aware that changing the color of a PNG file in Photoshop may result in a loss of quality or transparency.
The Color Overlay tool is a quick and easy method that can be used to change the color of a PNG file in Photoshop. Experiment with this tool until you achieve the results you want.
10 Related Question Answers Found
There are a few different ways to make a PNG file in Photoshop. The first way is to use the “Save As” function. When you are done editing your image, go to “File” and then click “Save As.” A new window will pop up and you can select “PNG” from the list of file formats.
There are a few different ways to make a PNG file in Photoshop. The first way is to use the “Save As” function. Go to File > Save As, and then select “PNG” from the file format drop-down menu.
There are a few different ways to edit the text in a PNG file in Photoshop. One way is to use the “Horizontal Type tool”, which can be found in the “Tools” at the left menu. First, upload the PNG file that you want to edit in Photoshop.
Yes, you can edit a PNG file in Photoshop. Here’s how:
1. Open the PNG file in Photoshop.
2.
The PNG (Portable Network Graphics) file format is a popular image format used by graphic designers. Photoshop is a widely used software program for editing images. So, can you edit PNG files in Photoshop?
The Portable Network Graphics (PNG) format is a popular image format used by many websites and applications. The PNG format is lossless, meaning that it preserves the quality of the image while providing a smaller file size than other lossy formats such as JPEG. Because of these qualities, PNG is often used for web graphics, such as logos and icons.
There are many reasons why you might want to batch convert JPG to PNG format in Photoshop. Perhaps you need to increase the file size of a group of images, or you want to change the file format to one that is more compatible with web browsers. Whatever the reason, it’s easy to do with just a few clicks.
There are a few different ways to open a PNG file in Photoshop. One way is to simply go to File > Open and then select the PNG file that you want to open. Another way is to drag and drop the PNG file into the Photoshop window.
Yes, you can open PNG files in Photoshop. In fact, PNG is one of the supported file formats in Photoshop. You can open a PNG file in Photoshop by going to File > Open and then selecting the PNG file that you want to open.
There are many ways to save a high-quality PNG in Photoshop. The best way to save a high-quality PNG is to use the “Save For Web” feature. This feature allows you to select the PNG format and choose the compression level that you want.