In this article, we will show you how to freely move an image in Photoshop. This is a very useful tool when you want to create a composite image or when you need to move an object from one photo to another.
Follow the steps below to learn how to do this.
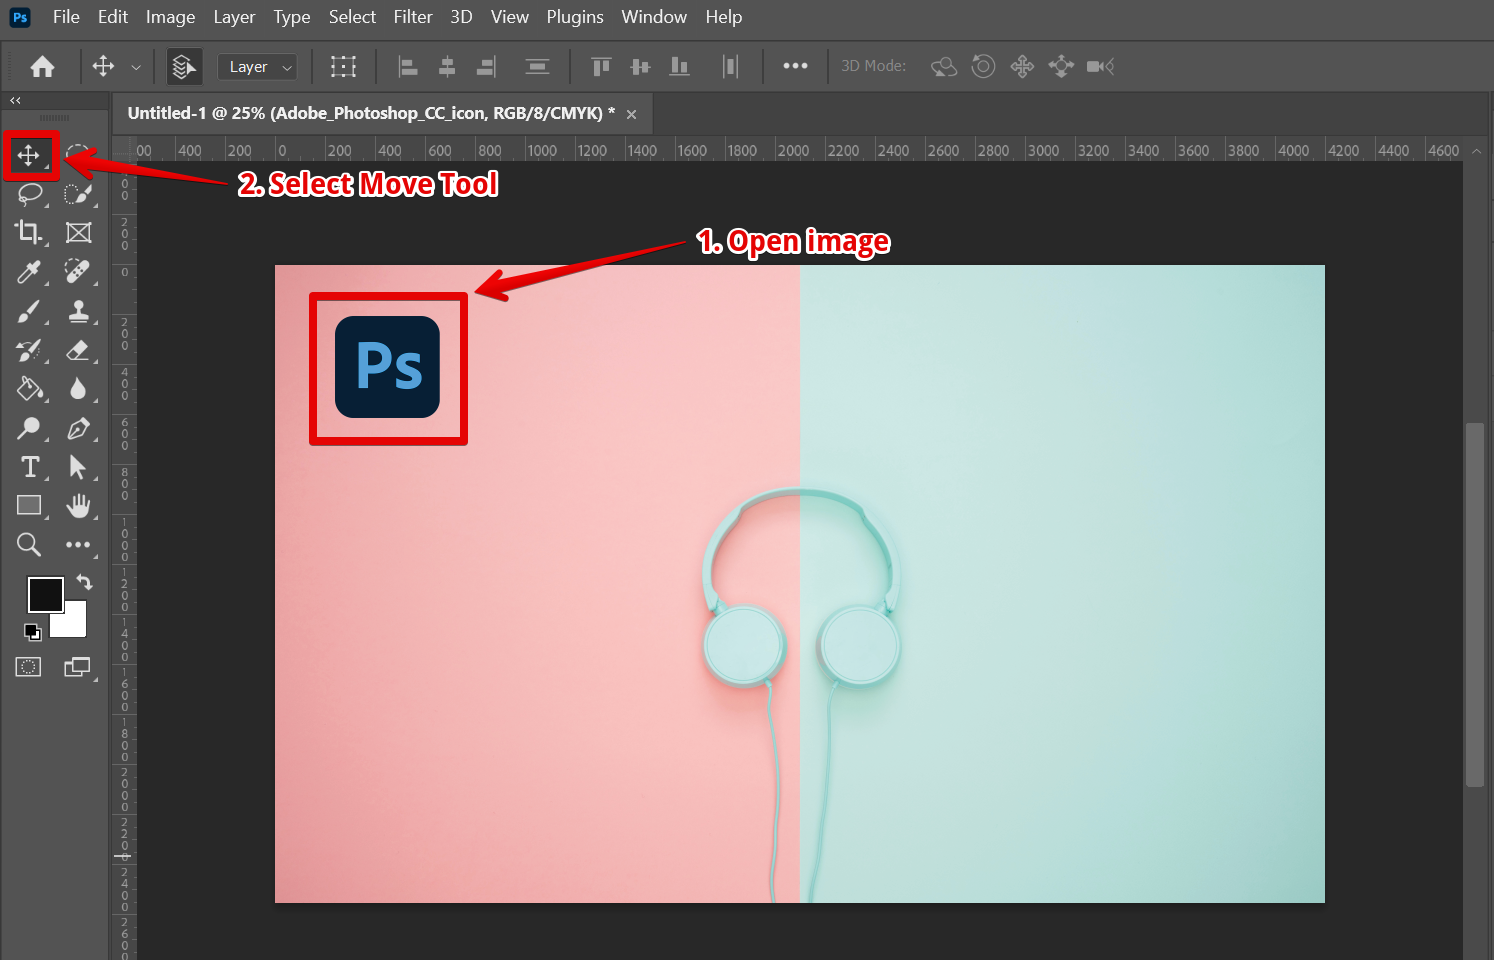
Step 1: Open the image that you want to edit in Photoshop. Then, select the Move Tool from the toolbar.
NOTE: The Move Tool in Photoshop allows users to select and move pixels, layers, and selections within an image or between different open images. It is instrumental for repositioning elements within your design.
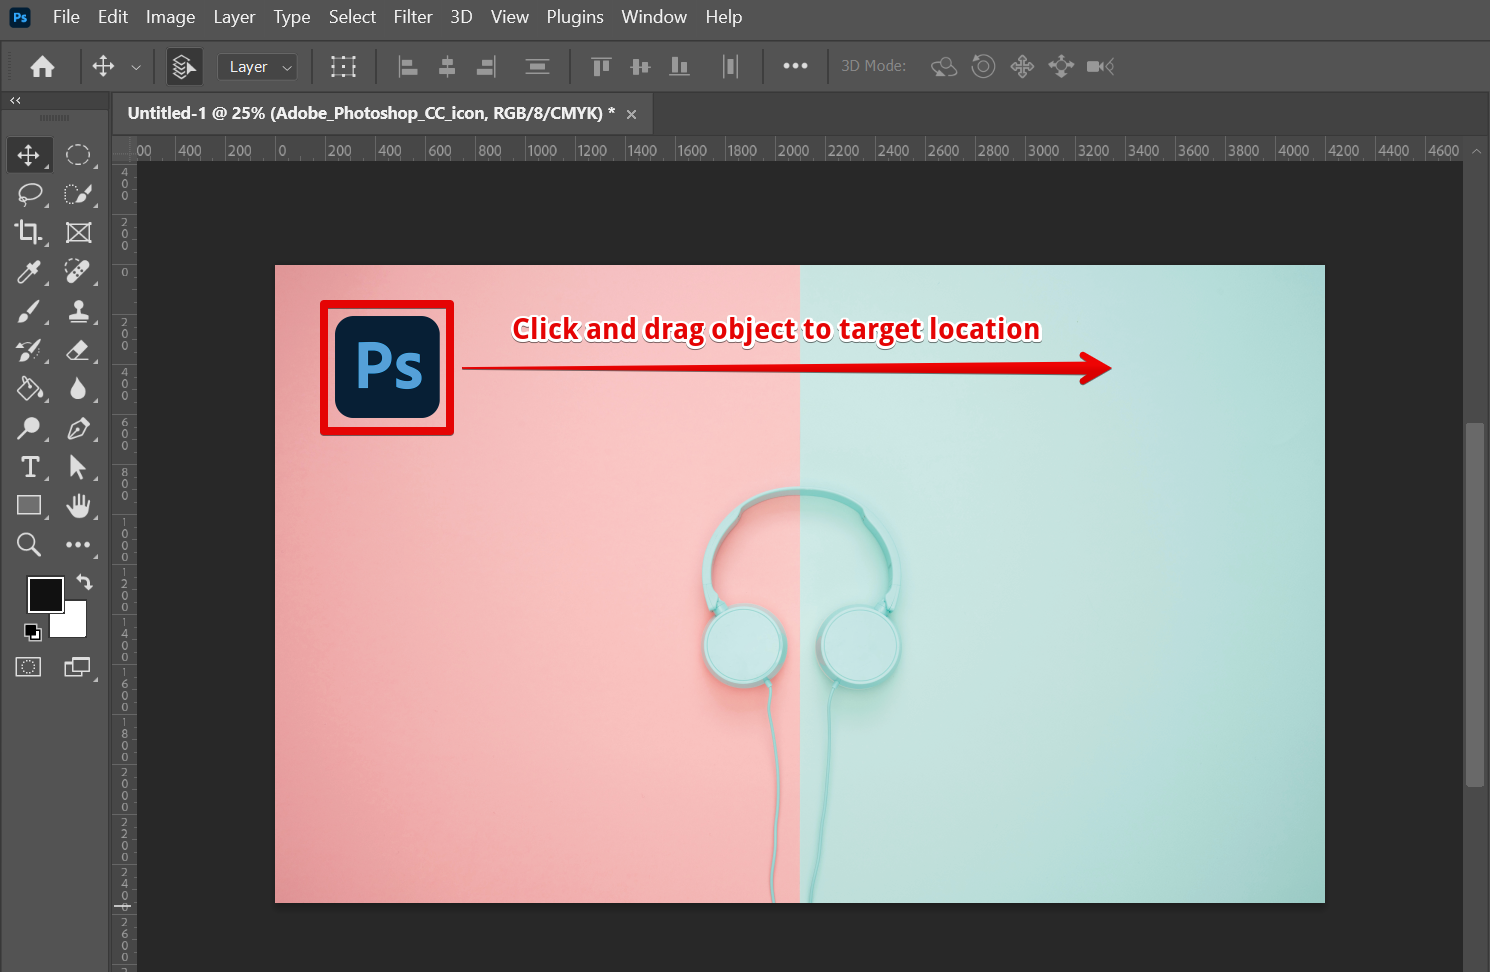
Step 2: Click on the object that you want to move. Hold down the left mouse button and drag the object to its new location.
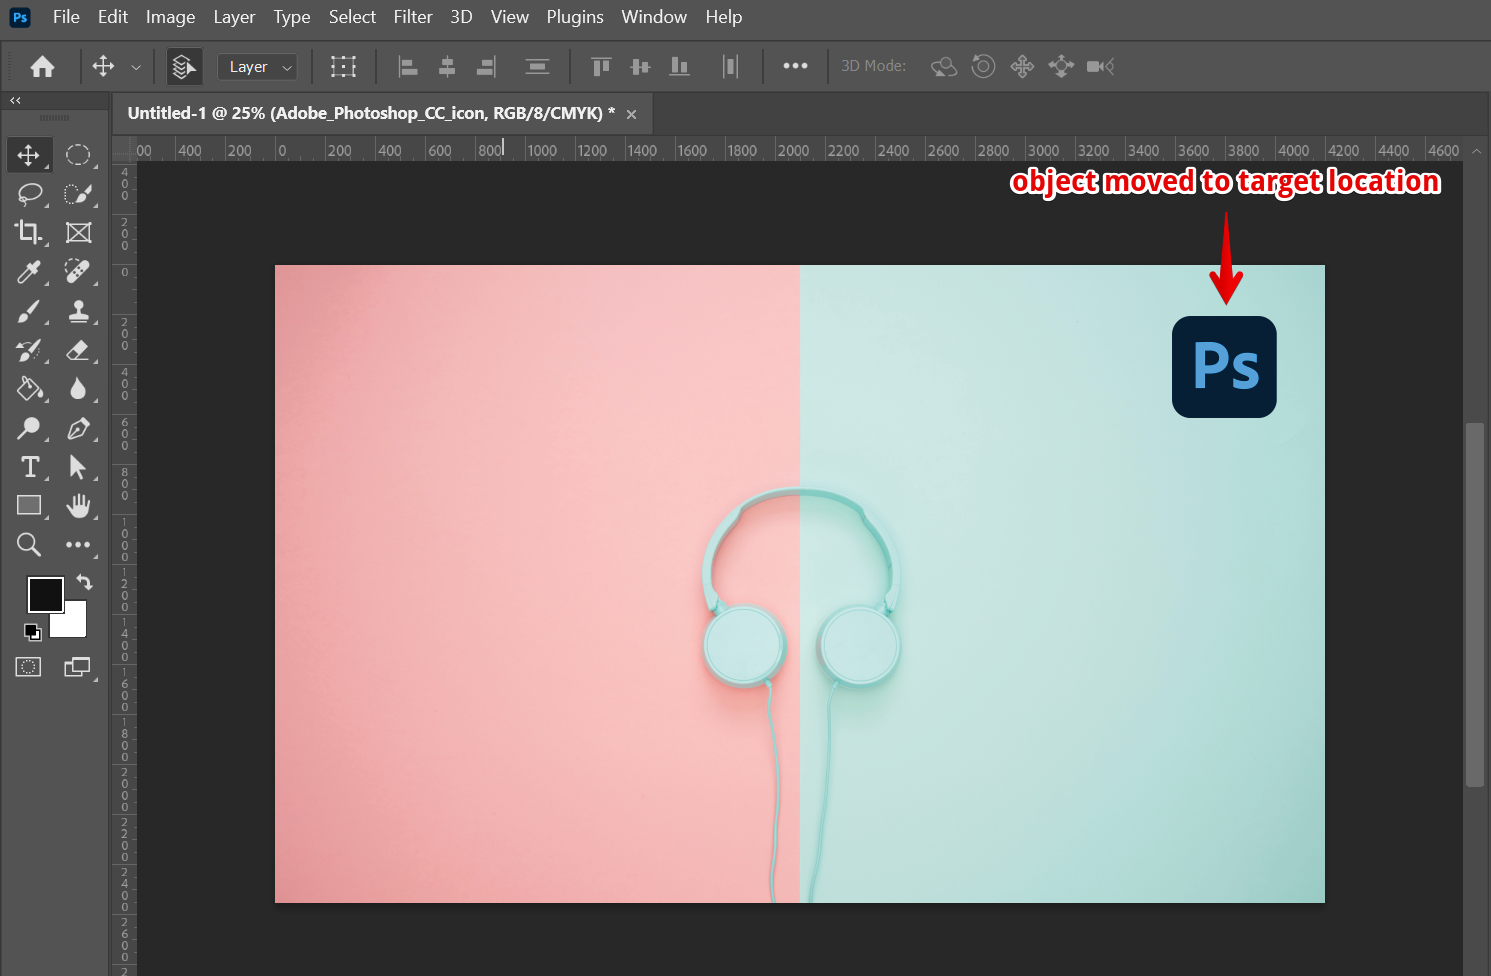
Step 3: Release the mouse button when you are happy with the new location of the object. You can also use the arrow keys on your keyboard to nudge the object into place.
That’s all there is to it! By following these simple steps, you can easily move objects around in your photos.
PRO TIP: If you are trying to move an image in Photoshop and it’s not working, it’s likely because you are using the wrong tool. The Move Tool is the basic tool for moving objects in Photoshop. If you are trying to move an image and the Move Tool isn’t working, check to make sure that you have the layer selected that you want to move.
4 Related Question Answers Found
There are a few different ways that you can move an object freely in Photoshop. The first way is to use the move tool. With the move tool selected, click on the object that you want to move.
There are a few different ways to select and move an object in Photoshop. You can use the Move tool, which is located in the Tools palette. To use the Move tool, simply click and drag the object to where you want it to go.
There are times when you may want to move part of an image in Photoshop. For example, you may want to move a person from one side of the frame to the other. Or, you may want to move an object to a different location in the photo.
There are a few different ways that you can cut and move an object in Photoshop. One way is to use the “Quick Selection” tool. With this tool, you can click and drag around the object that you want to move.