There are times when you’re working on a project in Figma, and you need to move a draft to the project. You may have created the draft in another program or started working on the project in Figma and realized that you need to move it to the project.
Either way, it’s easy to do. Here’s how:
1. Open the project in Figma.
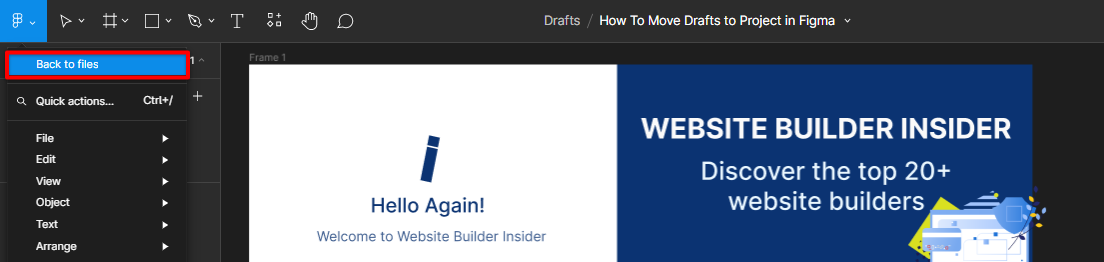
2. Click on the “Files” tab at the top of the screen. Then select Back to files.
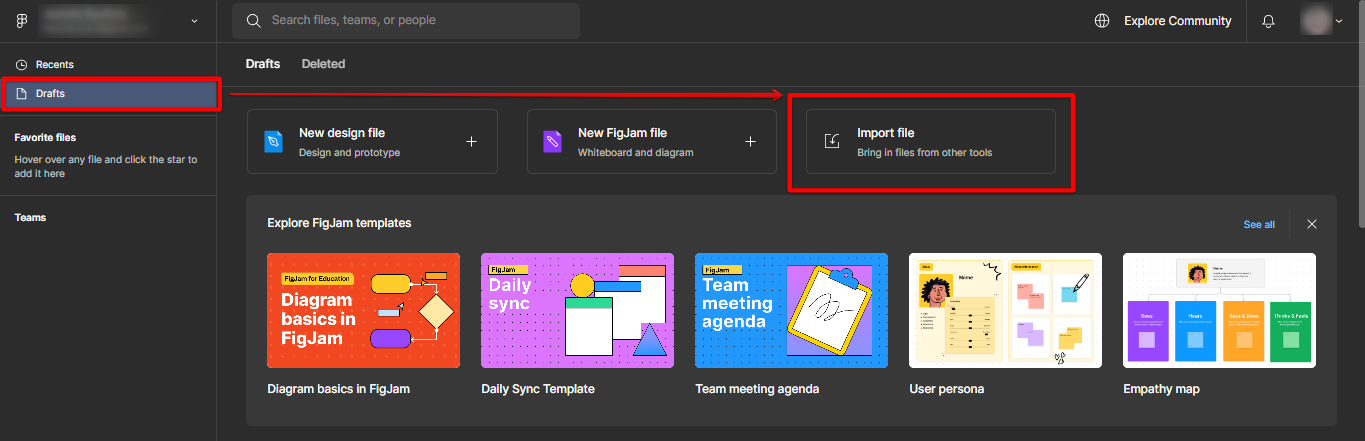
3. Click on the “Drafts” tab. Then, import your draft files from another program or select the drafts you have from Figma. Next, open your current Figma project to a new browser tab.
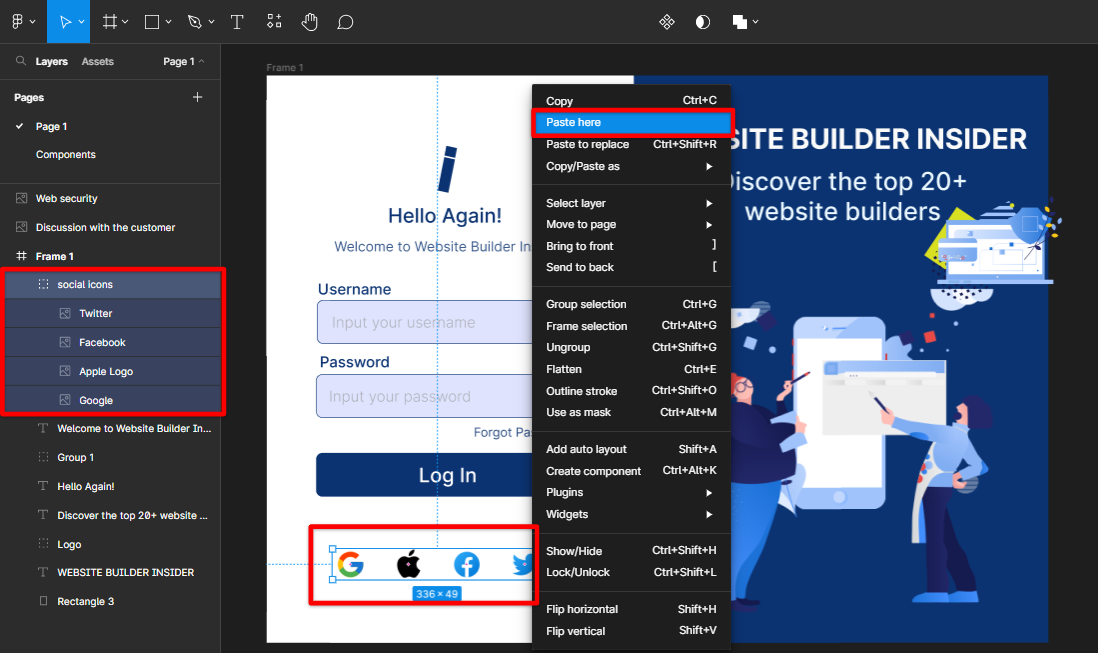
4. Then, drag and drop the draft onto the “Projects” tab. Or, to be safe, you can right-click and copy your drafts instead.
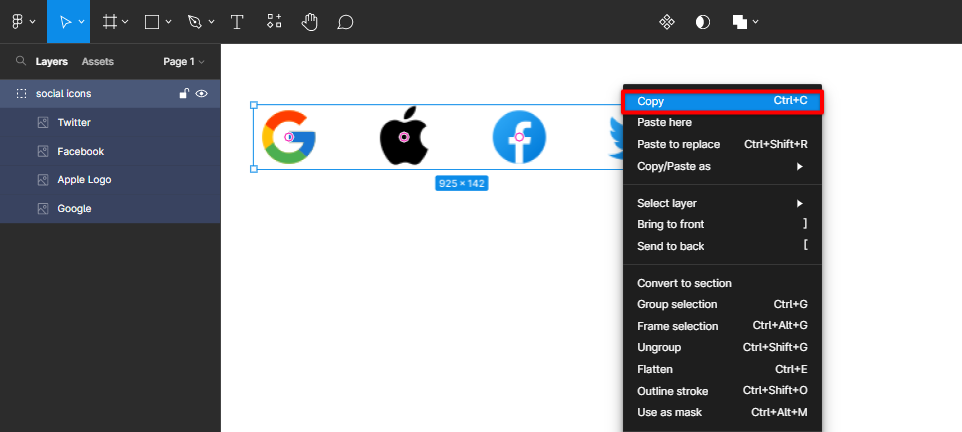
Then, paste it into your current project’s tab.
5. That’s it! The draft will now be part of the project.
How Do I Move Drafts to Project in Figma?
It’s easy to move drafts to projects in Figma. Simply open the project, click on the “Files” tab, click on the “Drafts” tab, and then drag and drop the draft onto the “Projects” tab. The draft will then be part of the project.
PRO TIP: Do not move drafts to a project in Figma without first backing up your work. This action cannot be undone, and you may lose important data if you do not have a backup.
5 Related Question Answers Found
There are a few ways to import code into Figma. The first way is to use the “Import” button in the top bar. This will open up a window where you can select your file type and choose the code you want to import.
Creating a project in Figma is simple and easy to do. There are only a few steps involved in the process, and anyone can do it regardless of their experience level. The first step is to create a new Figma account.
If you’re a fan of Figma, the vector-based design tool, you may be wondering how to unframe a Figma. Luckily, it’s a pretty simple process. Here’s how to do it:
First, open up the Figma file that you want to unframe.
Adding a prototype in Figma is quick and easy! To get started, simply click on the “Prototype” tab in the left sidebar. Then, click on the “Create Prototype” button in the top right corner.
Figma is a vector-based design tool that is gaining popularity in the world of web and app design. One of its main benefits is that it allows designers to create responsive designs that can be used on different screen sizes. Figma also has an impressive set of features that make it a powerful tool for designing user interfaces.