When you add an image to a text in Figma, you can easily style it using the Text section in the Design tab. Here’s how you can place an image in your text in Figma:
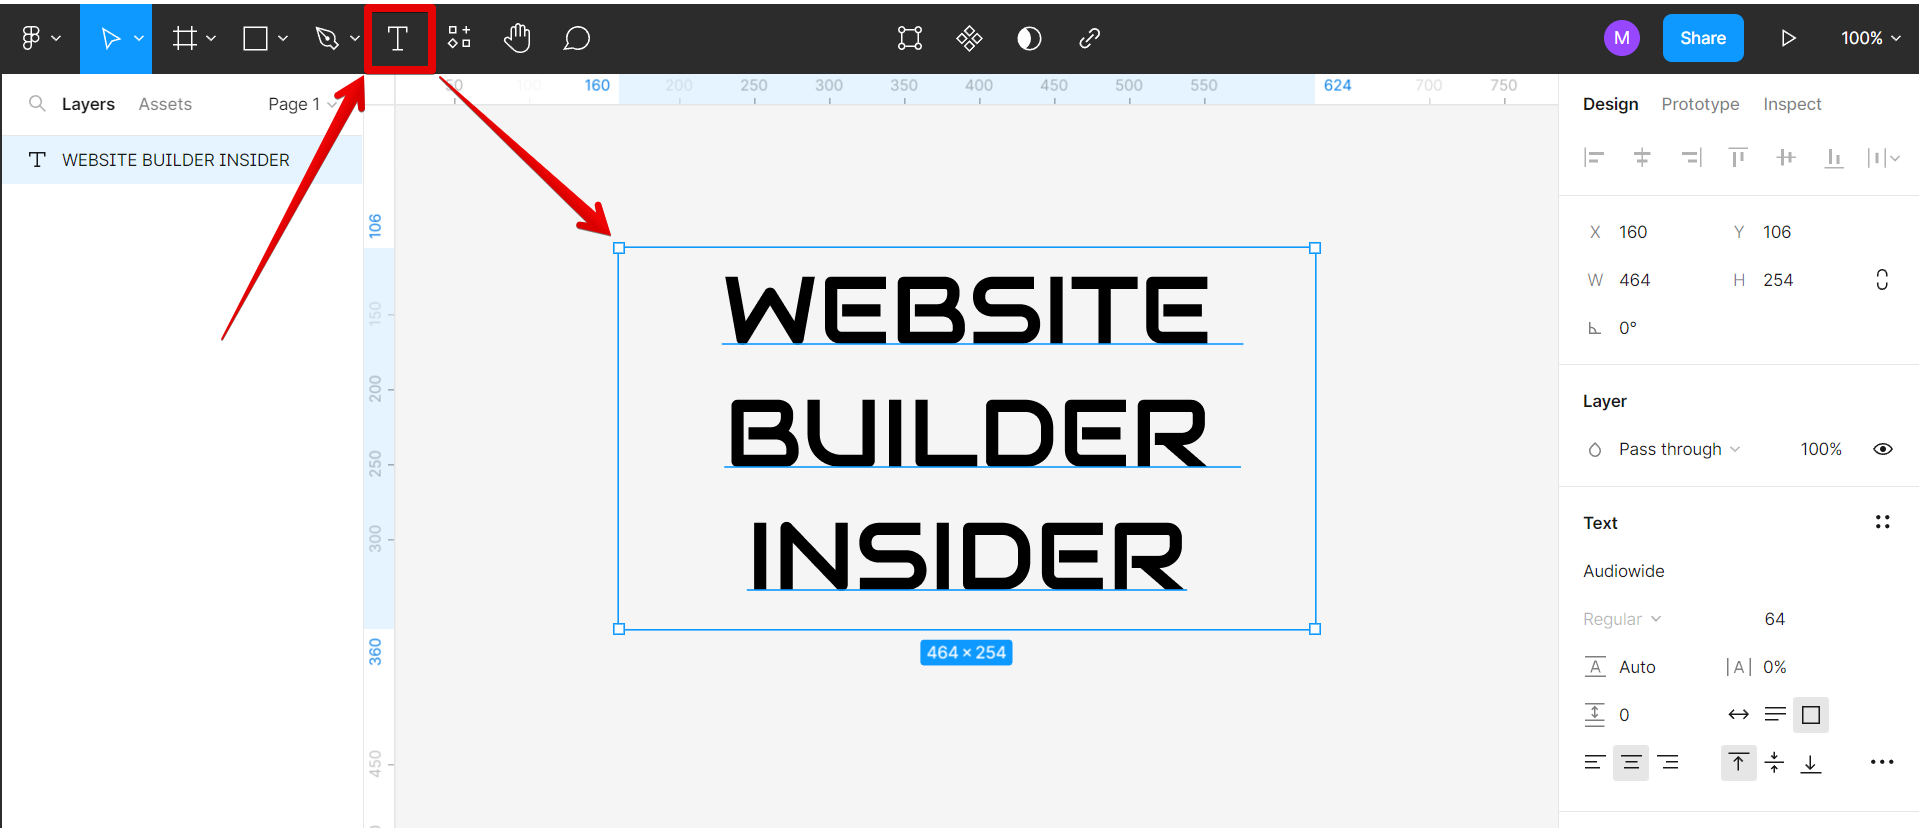
To add an image to your text, first, select the Text tool from the toolbar and create a text box where you can type in your text.
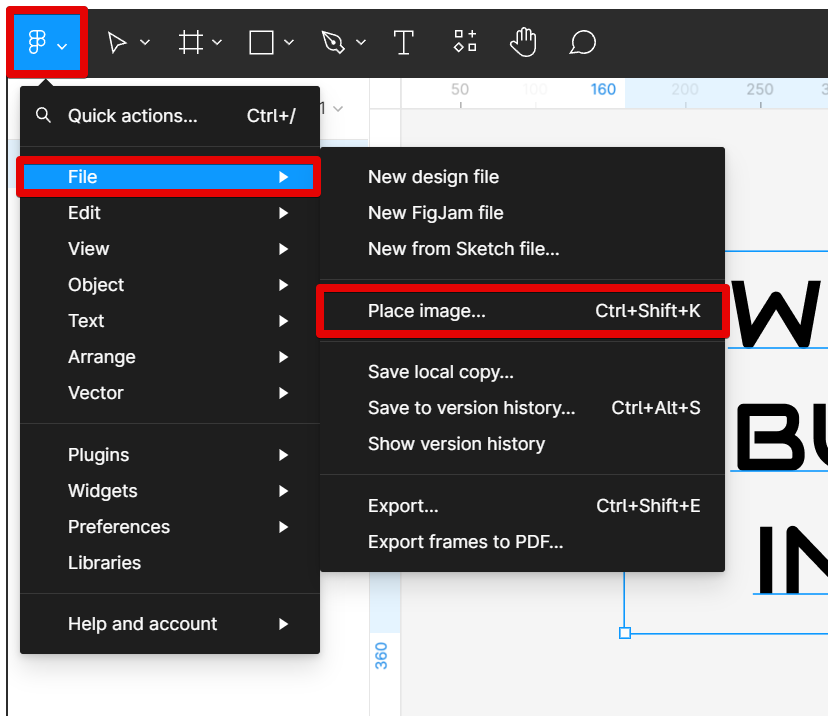
Then, go to the File menu and select the “Place image” option.
NOTE: This allows you to select an image from your files and upload it into Figma.
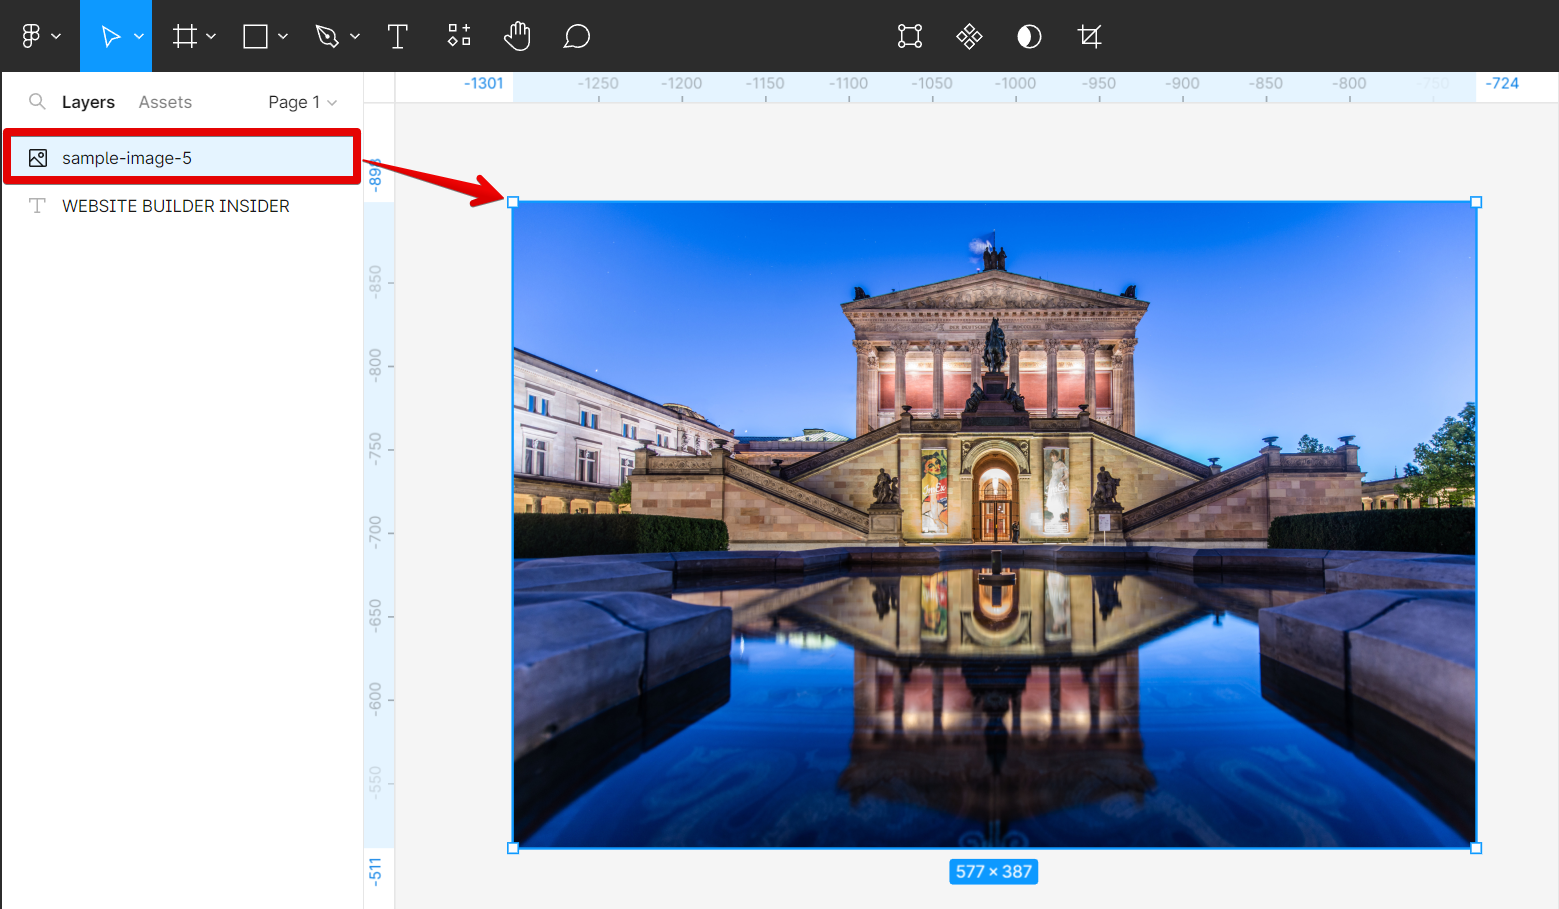
Once you have uploaded the image, place it on top of your text in the canvas.
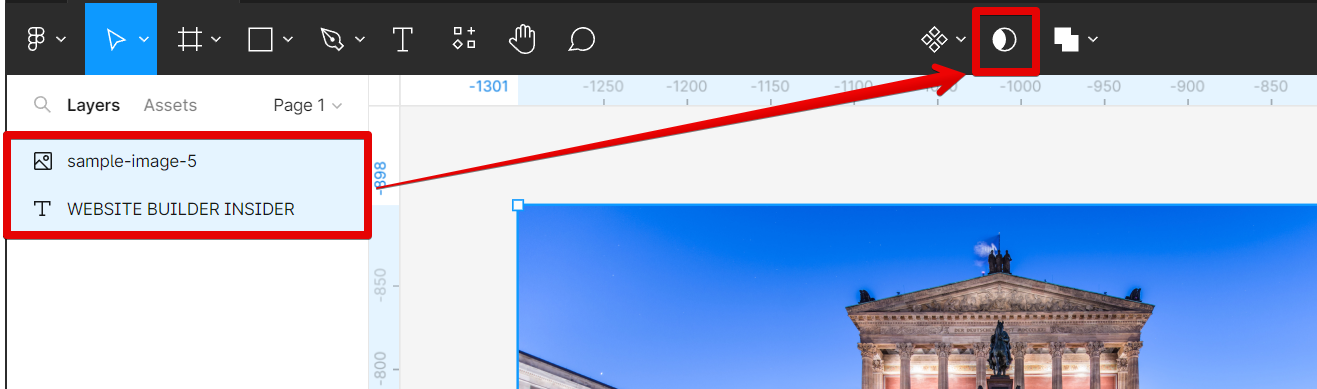
From there, select both the image and text layers, then go to the top menu and click on the “Use as mask” button.
NOTE: The “Use as mask” button creates a mask layer for the selected layers.
And there you have it! The image is now placed inside the text. You can then use the Text section under the Design tab to add more style to your text.
NOTE: You can see that both of the layers were merged into a Mask group.

How Do I Put an Image in Text in Figma?
You can put an image in text in Figma by using the “Use as mask” option. Simply place your image on top of your text, then select both layers and click on the “Use as mask” button at the top menu. This will create a mask for both layers which in effect puts your image inside of the text.
PRO TIP: If you are using Figma to design a project that will be printed, it is important to know that you can easily put an image in the text. This means that your image can be placed inside of your text, and can be used as a design. If you want to add an image to your text, you can simply use the “Use as mask” option in the top menu and use it for your project.
9 Related Question Answers Found
When you’re creating a website, one of the most important things you’ll need to do is add text. This can be done in a number of ways, but in this article, we’re going to focus on how to paste text into Figma. There are a few different ways to add text in Figma.
Text is a vital part of any web page, and Figma makes it easy to add and style text. There are two ways to add text in Figma: using the Text tool, or converting an existing object to text. To add text using the Text tool, simply click and drag your cursor to create a text box.
There are a few different ways to wrap text around an image in Figma. One way is to use the text wrapping options in the Text Formatting menu. To do this, select the image, then go to Text > Text Formatting > Wrap Text.
Figma is a vector graphics editor and prototyping tool, which is primarily web-based. The software is available as a freemium product; the free version offers limited features, while the paid-for version has many more features, including the ability to use custom fonts, export designs to multiple formats, and more. One of the most useful features of Figma is the ability to put text on a path.
Figma is a vector graphics editor and design tool, developed by Figma, Inc. It is available on Mac, Windows, and Linux. It has a web-based interface and a desktop app.
If you’re just getting started with Figma, you may be wondering how to add text to your designs. It’s actually quite simple – all you need to do is select the “Text” tool from the toolbar on the left, then click and drag to create a text box. Once you’ve created a text box, you can start typing away!
When it comes to design, there are a few key principles that you should always keep in mind: simplicity, contrast, and alignment. One way to make your designs more interesting and dynamic is to use text that follows a path. This can be a great way to add visual interest to your designs, and it’s also relatively easy to do in Figma.
Figma is a vector graphics editor and design tool, developed by Figma, Inc. It is available in a web browser and as a desktop app for macOS and Windows. Figma allows multiple people to work on the same file at the same time, and users can see each other’s changes in real-time.
There are a few ways to animate text in Figma. One way is to use the built-in animation tool. To do this, select the text element you want to animate and then click on the “Animate” button in the toolbar.