Wondering how to make a wavy line in Figma? Wave lines are a great way to add some visual interest to your designs, and they’re actually quite easy to create! Here’s a quick step-by-step guide:
1. Create a new frame or open an existing one.
2. Click on the “Add Shape” tool and select the “Line” shape.
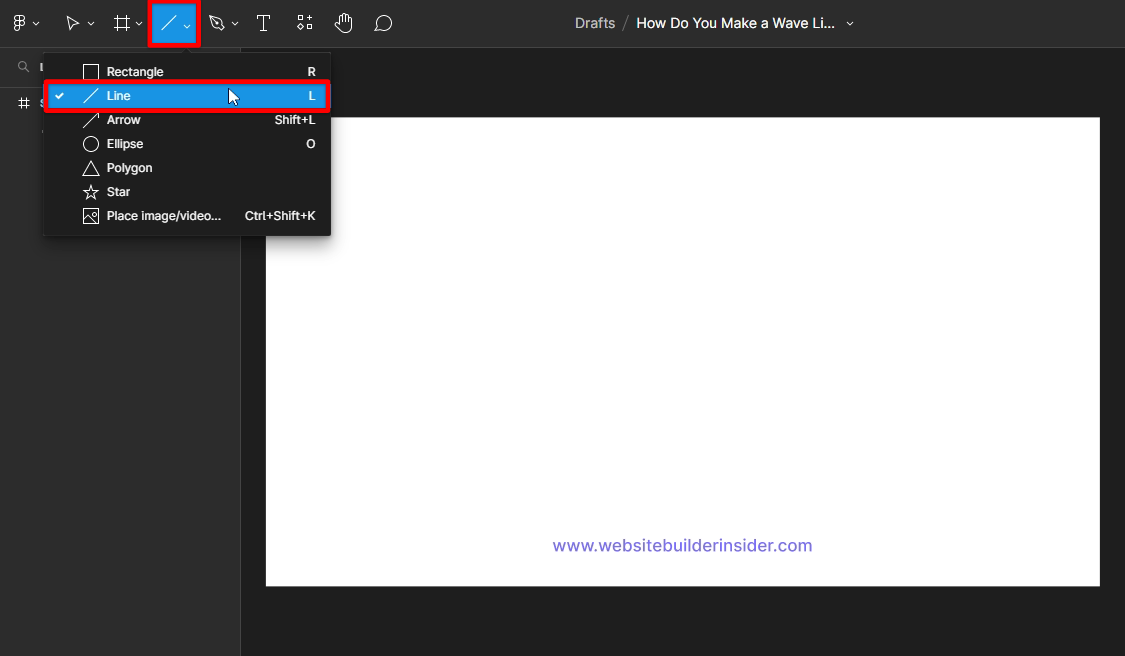
3. Draw out your line. If you want it to be perfectly straight, hold down the Shift key while you’re drawing it.
4. With the line selected, open the Properties panel on the right-hand side of the screen.
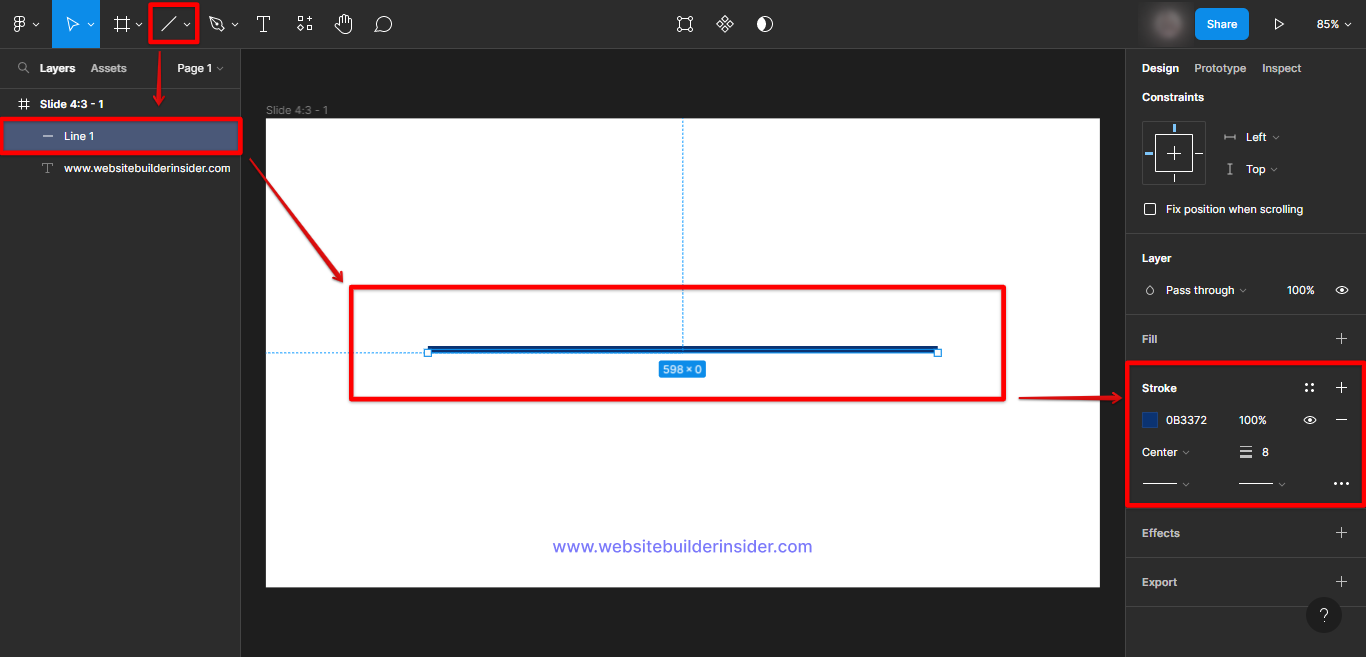
5. Find the “Line” section and click on the drop-down menu next to “Line Type.”
6. Select “Wave.”
7. That’s it! You can adjust the amplitude and wavelength of your wave line by playing with the slider bars next to “Amplitude” and “Wavelength.”
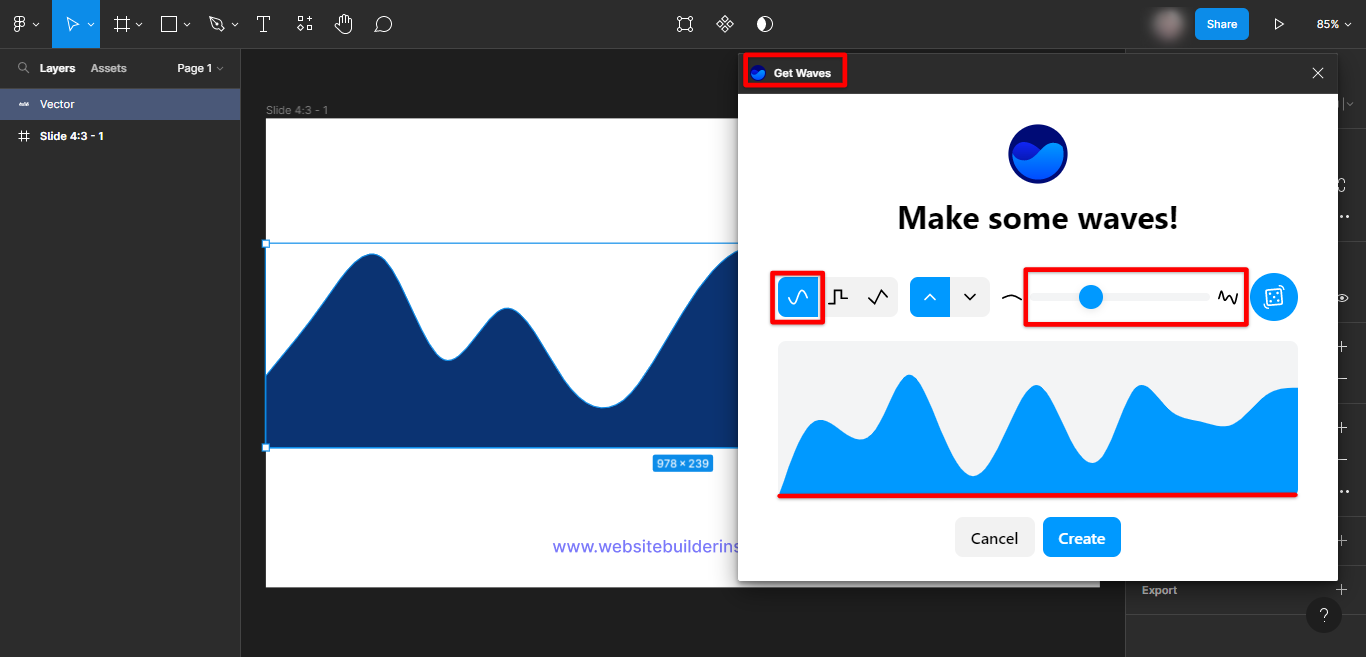
Alternatively, you can use an auto-generated Waves plug-in (such as “Get Waves“) that works exactly the same as the steps mentioned above.
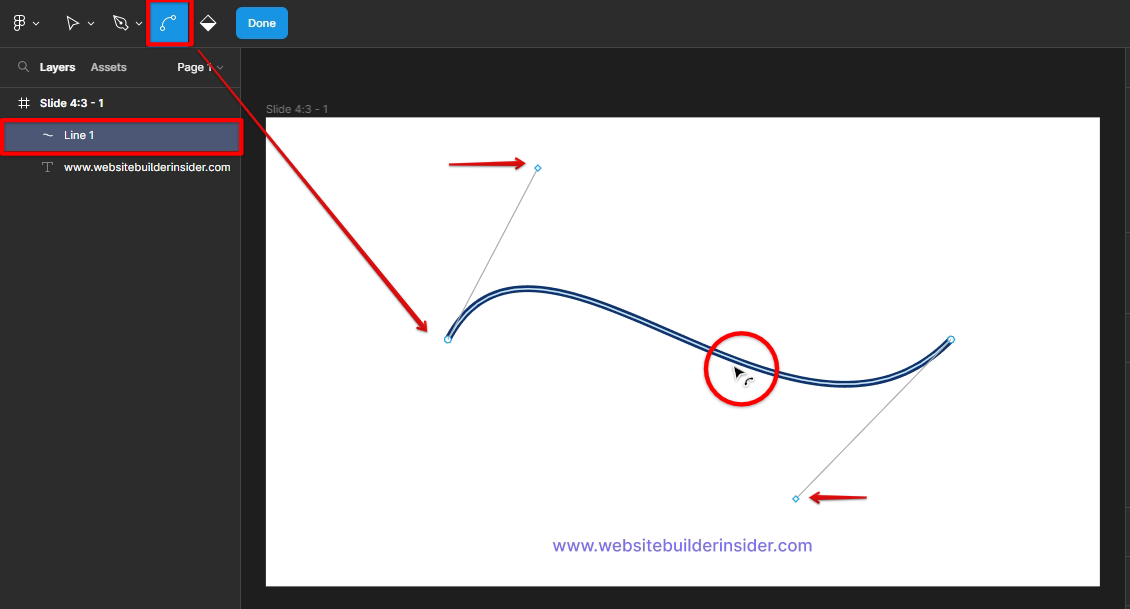
Or if you want to manually create a wave out of a straight line in Figma, you can use the “Bend tool“. Simply double-click the line and click on the area where you want the wavy line to start then adjust the handles and strokes according to your preferences. That’s it!
PRO TIP: This article contains information that may not be suitable for all readers. It includes details about making a wave line in Figma that some may find disturbing.
Creating wave lines in Figma is a quick and easy way to add some visual interest to your designs. So next time you’re looking to spice things up, give it a try!
9 Related Question Answers Found
Creating a form in Figma is a simple process that can be completed in just a few minutes.To get started, create a new file or open an existing one. Then, select the “Form” tool from the left toolbar. With the Form tool selected, click and drag to draw a rectangle on the canvas.
Pop-ups can be created in Figma in a few different ways. The most common way is to use the “Interactive overlay” feature. To do this, first, create a frame that will be the size of your popup.
Figma is a vector graphics editor and prototyping tool – the first interface design tool with real-time collaboration. It’s used by some of the world’s best companies, including Facebook, Uber, and Airbnb. And it’s completely free to use.
If you’re looking to add some flair to your Figma designs, one way to do so is by adding custom shapes. Fortunately, Figma makes it easy to create custom shapes using the vector tools. In this article, we’ll show you how to create custom shapes in Figma.
If you’re anything like me, you’re always looking for ways to streamline your design process. That’s why I was excited to discover Figma’s “Create Pattern” feature. Creating a pattern in Figma is easy:
First, create the design element that you want to use as a pattern.
Figma is a vector graphics editor and design tool, created by Dylan Field and Evan Wallace, that launched in October 2016. It is available as a web app and as a desktop app for macOS, Windows, and Linux. Figma has been described as “the first interface design tool with real-time collaboration capabilities. ”
In Figma, users can create vector illustrations, wireframes, and prototypes.
Designing in Figma is easy and fun! Here are some tips on how to make great designs in Figma:
1. Use the Rectangle tool to create basic shapes
The Rectangle tool is the most basic and versatile tool in Figma.
There are a few different ways that you can make a grid on Figma. One way is to use the built-in grid tool. To do this, first select the frame that you want to add the grid to.
Figma is a vector-based design tool that is gaining popularity in the world of web and app design. One of its main benefits is that it allows designers to create responsive designs that can be used on different screen sizes. Figma also has an impressive set of features that make it a powerful tool for designing user interfaces.