Image editing in Photoshop can be a daunting task, but with a few simple steps, you can easily edit JPEGs in the software. Before starting, it is important to understand how JPEGs work.
JPEGs are composed of small squares of tones that are read by a computer as a group, rather than individually. This allows for more compression, but can also result in a loss of detail.
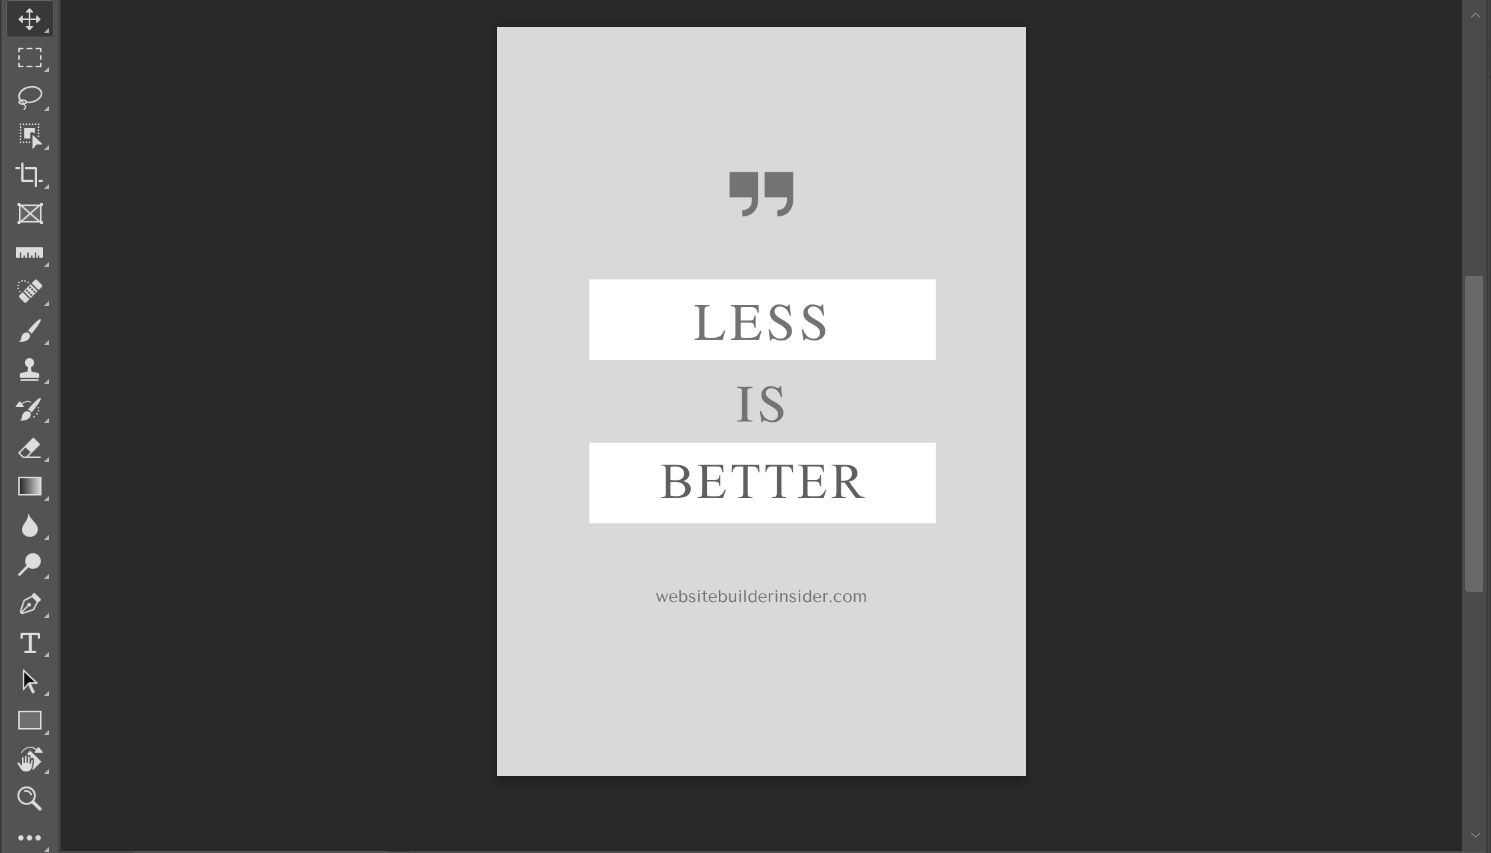
PRO TIP: When editing text in a JPEG in Photoshop, it is important to be aware that you may lose some quality in the image. Additionally, you should make sure that the text you are adding is legible and easy to read.
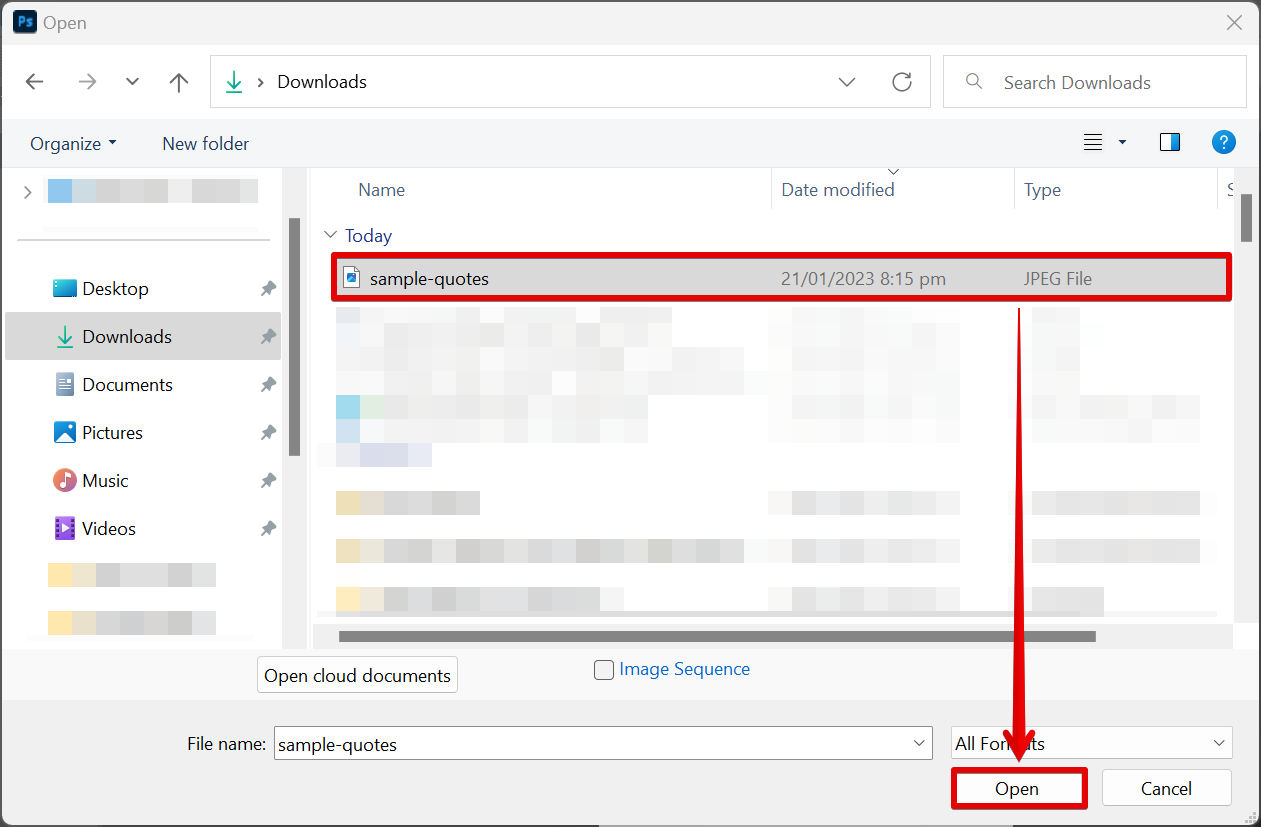
To edit a JPEG in Photoshop, you first need to open the file. Just go to File > Open.
Then select the JPEG file that you want to edit and click on the “Open” button.
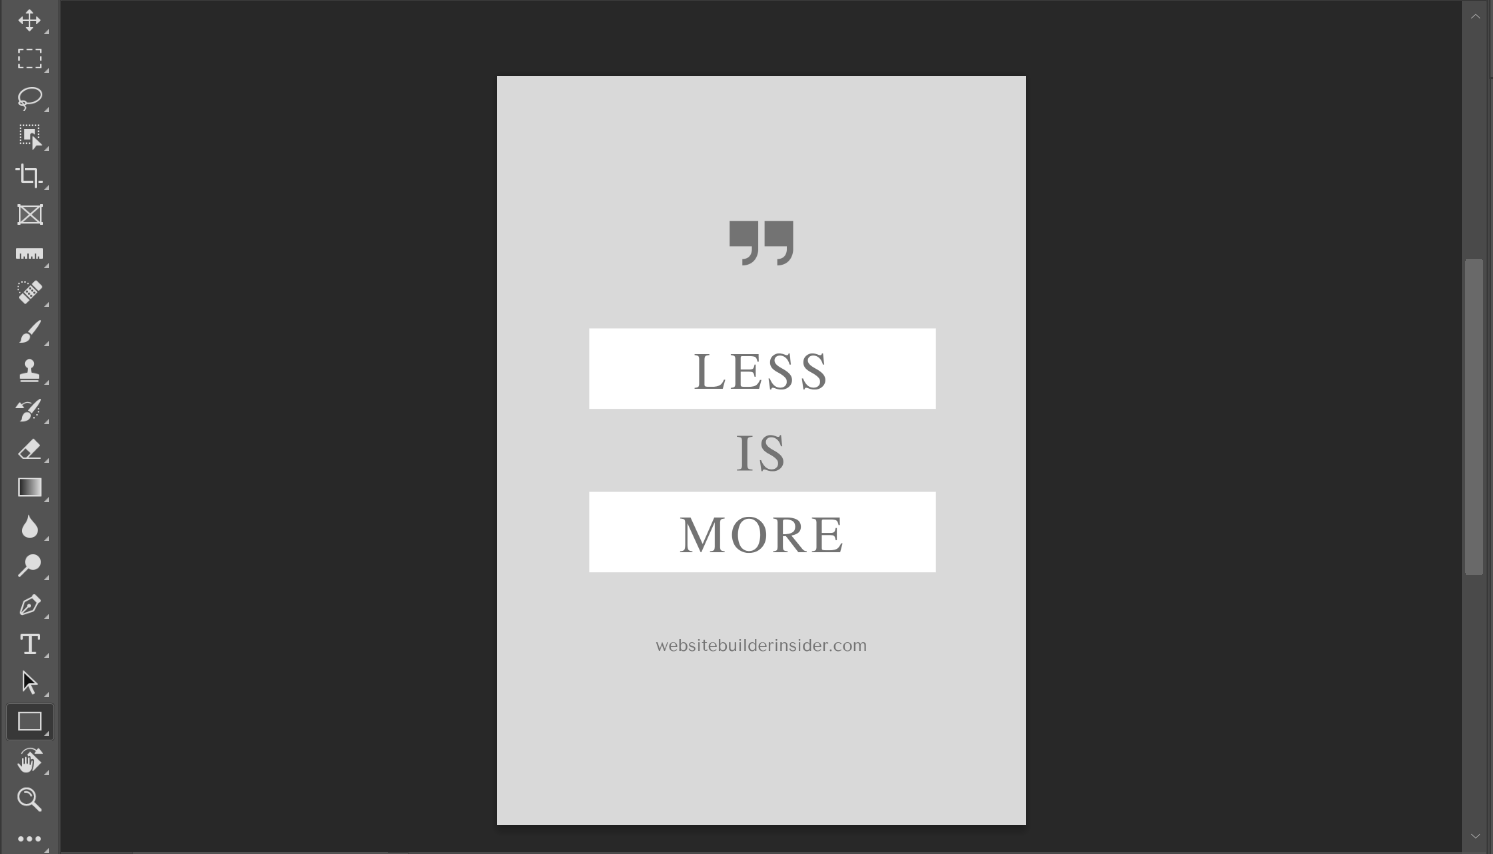
Your JPEG file should now be open in Photoshop.
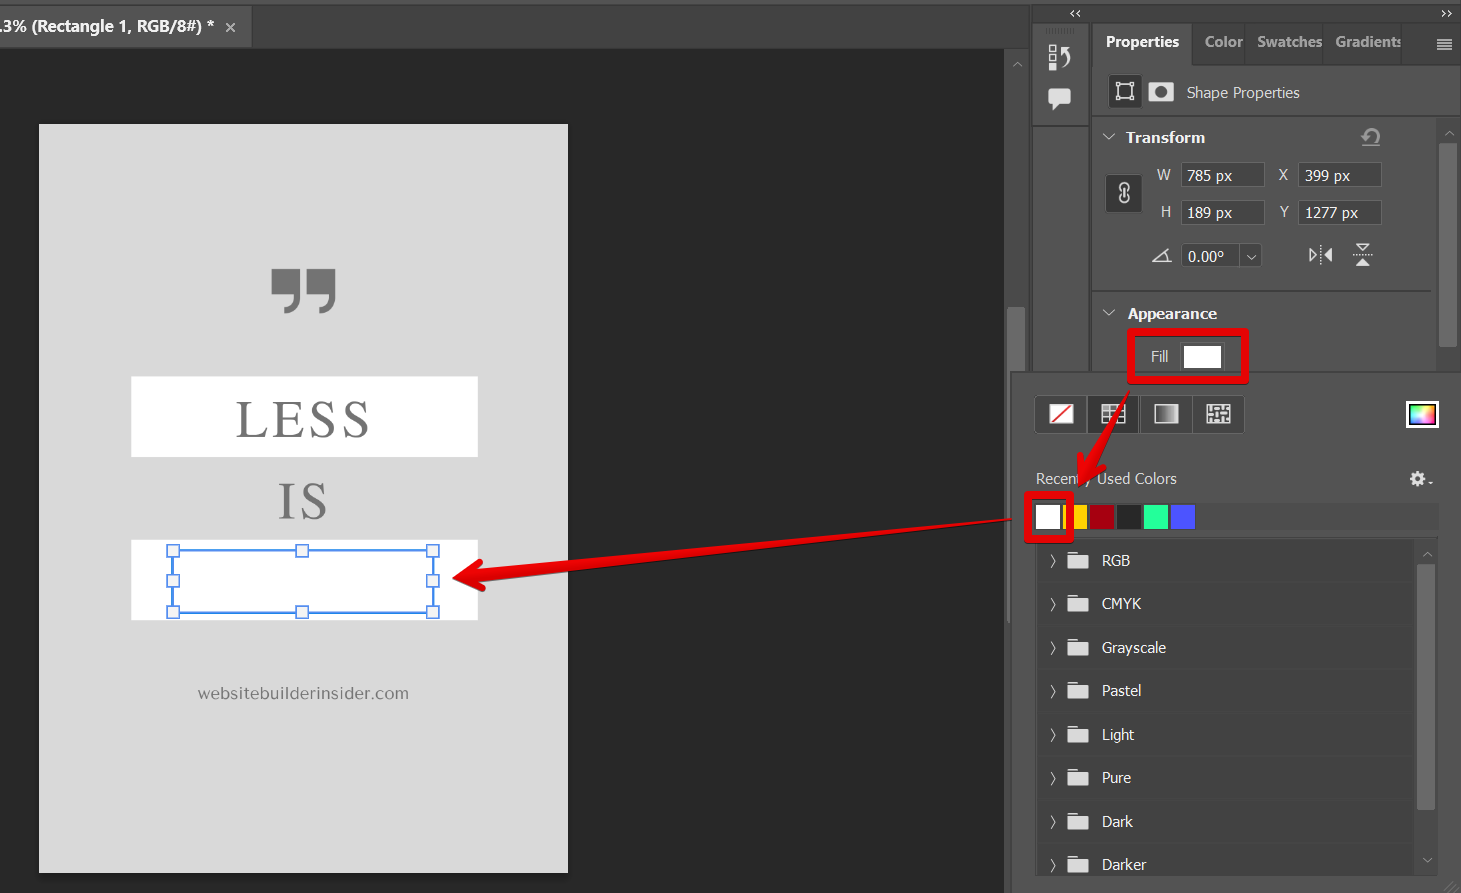
To edit the text in the JPEG file in Photoshop, make a new layer above the text that you want to edit in order to cover it. To do this, click on the “Rectangle tool” from the left toolbar, then click and drag across the text that you want to edit.
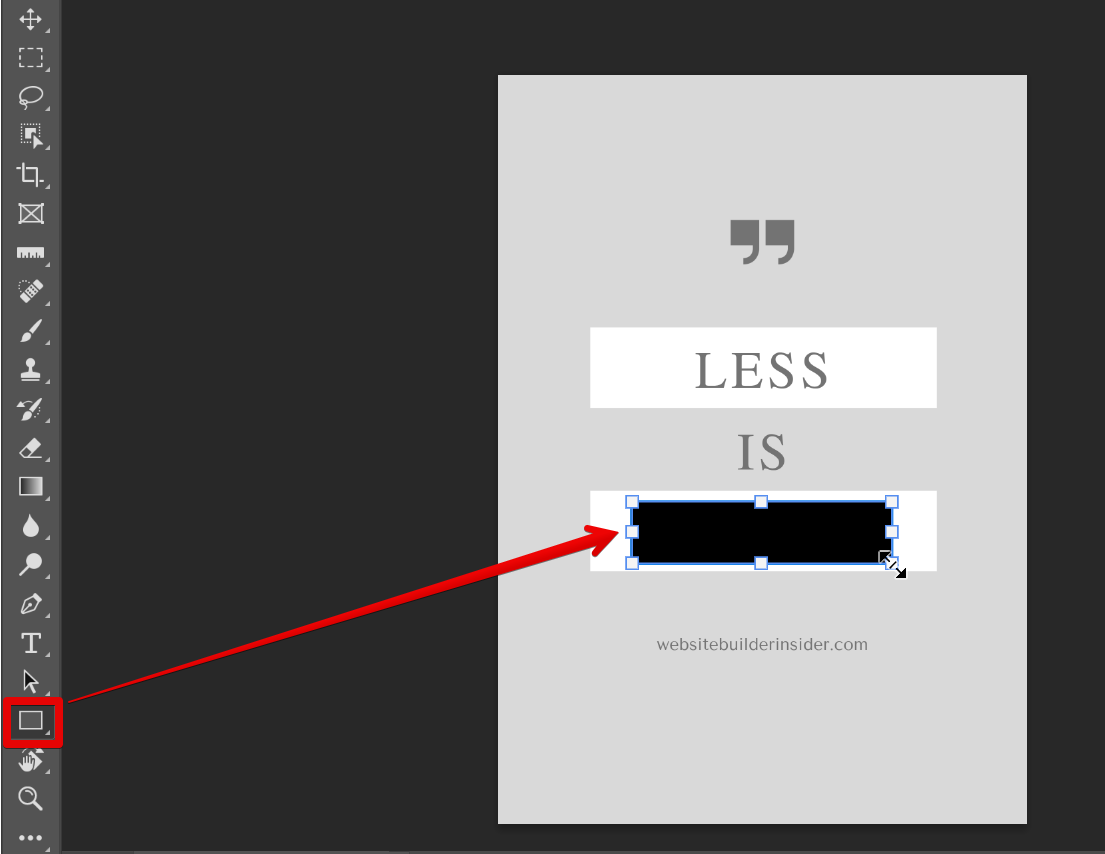
From there, you can change the color of the rectangle using the “Fill” section in the “Properties” tab.
NOTE: Make sure that the color is the same as the background of the original text.
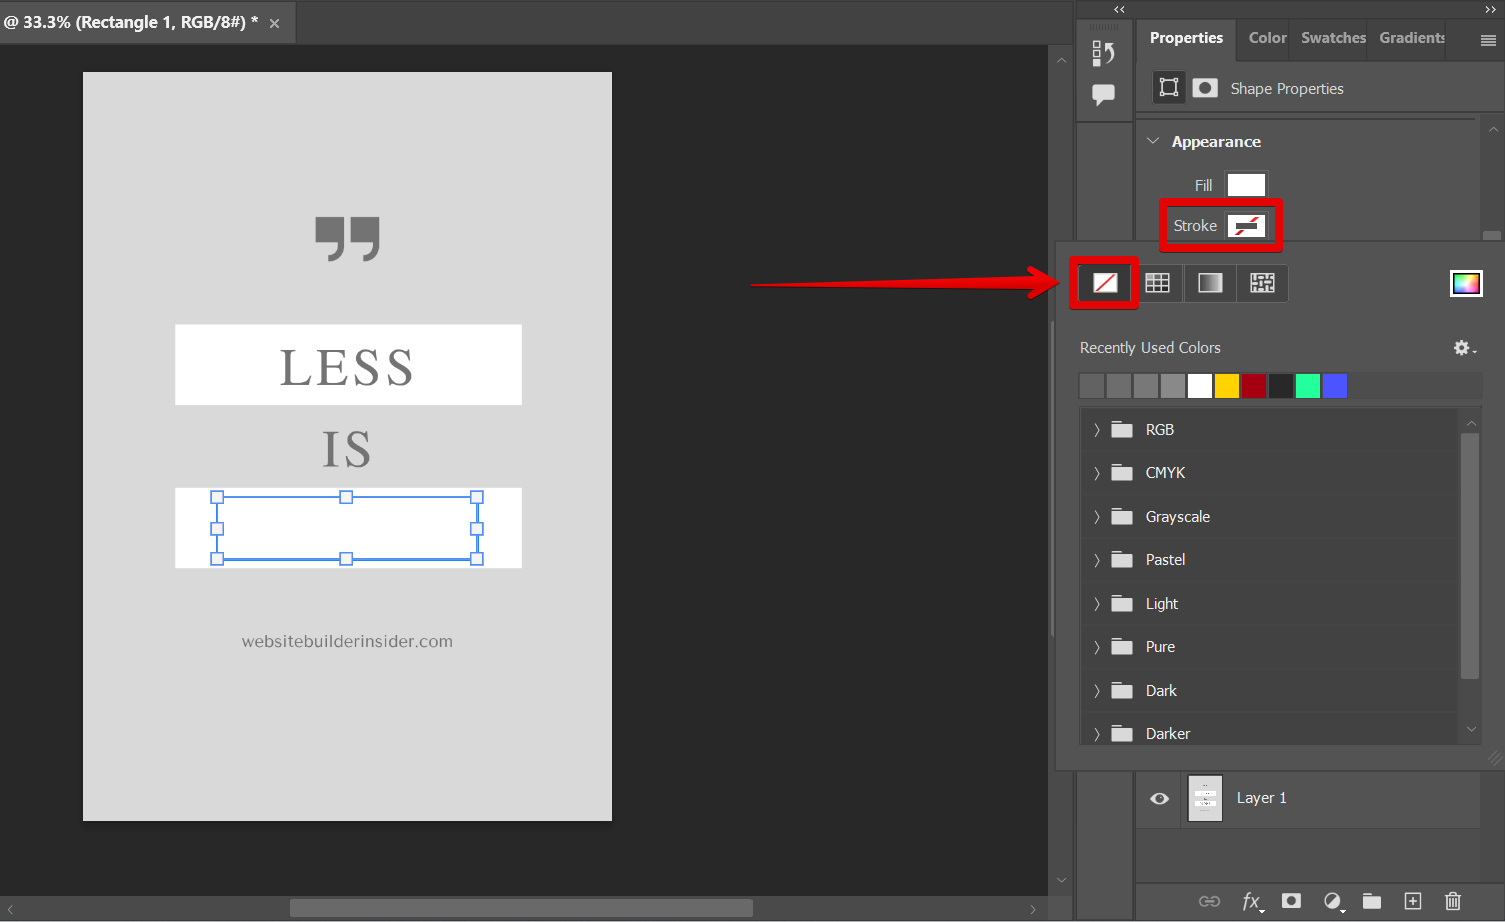
You should also disable the “Stroke” to remove any outlines around the rectangle.
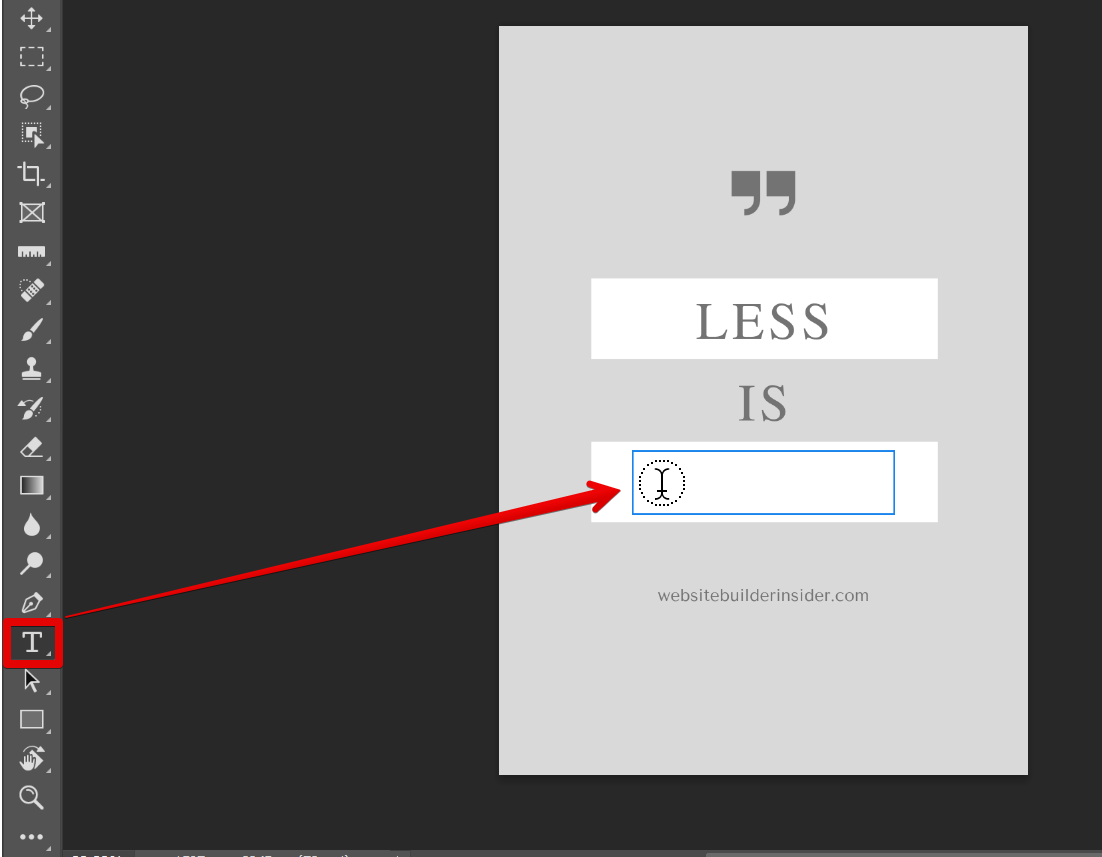
You can now add your new text to the image. To do this, just click on the “Horizontal Type tool” from the left toolbar and click on the image where you want to place your text.
You can resize the text box by clicking and dragging on the handles around it. You can also style your text to match the original one using the “Character” settings on the right menu.
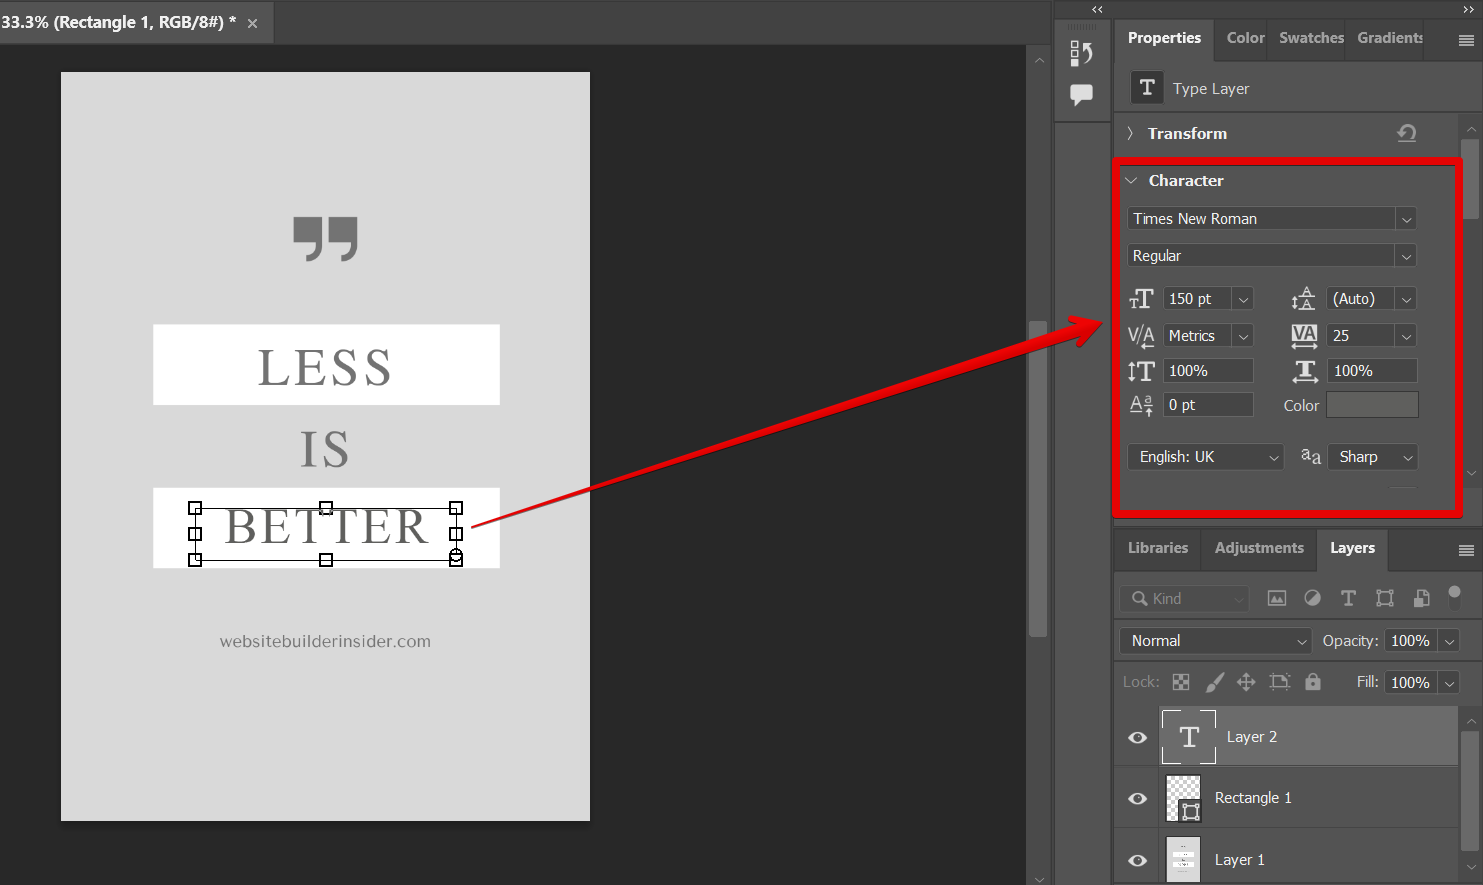
Now your text in the JPEG file has been edited!
10 Related Question Answers Found
There are a few different ways to edit a JPEG in Photoshop. One way is to open the image in Photoshop and then go to the ‘Image’ menu at the top of the screen. From there, select ‘Adjustments’ and then ‘Levels.’
This will bring up a levels dialogue box.
As digital cameras continue to grow in popularity, the question of how to edit JPEG files in Photoshop is becoming increasingly common. Adobe Photoshop is the industry-leading image editing software, and it offers a wide range of tools for manipulating digital images. However, because JPEG is a lossy compression format, it is not possible to edit a JPEG file without some loss of quality.
There are many ways to compress a JPEG in Photoshop, but the most common and effective method is to use the Save for Web feature. This feature allows you to significantly reduce the file size of your JPEG without compromising quality or losing important data. To compress a JPEG in Photoshop, open the image you want to compress and go to File > Save for Web.
When you have a JPEG image that you want to edit, the best way to do it is to use Photoshop. With Photoshop, you can easily edit text in a JPEG image and style it how you want. To edit text in a JPEG image in Photoshop, first open the image in Photoshop.
When it comes to saving photos for online use or for printing, JPEGs are the most common file format. But what is a JPEG, and how do you save a high quality JPEG in Photoshop? JPEG is an acronym for Joint Photographic Experts Group, and is a compression format used mainly for photographs.
If you want to edit text in Photoshop, there are a few things you need to know. First, you need to select the Type tool from the toolbox. Then, click on the area where you want to add text.
There are many reasons why you might want to batch convert RAW files to JPEG. Perhaps you need to share your photos with someone who doesn’t have a RAW file viewer, or maybe you want to make a backup of your photos in a more widely-compatible format. Whatever the reason, Photoshop makes it easy to convert multiple RAW files to JPEGs in just a few steps.
There are a few different ways to import a JPEG into Photoshop. One way is to simply go to File > Open, and then select the JPEG from your files. Another way is to use the Place command, which gives you more control over how the JPEG is placed in your Photoshop document.
JPEGs are a type of image file that are often used for photos and images on the web. They can be opened in Photoshop by going to File > Open and then selecting the JPEG file that you want to open. Once you have selected the file, it will appear in the Photoshop workspace.
There is one straightforward way to convert multiple images to JPEG in Photoshop. That is to use the “Batch” feature. With the Batch feature, you can specify a set of actions to be performed on a group of files, and then let Photoshop run the action on all the files in the group.