Pixelation occurs when graphics or images are so pixelated that they are difficult or impossible to see. There are a few ways to fix pixelation in Illustrator:
1. Use the Clear filter.
This filter can be used to clear up any pixelation in an image. Or simply do an image trace to create a vector copy of your image.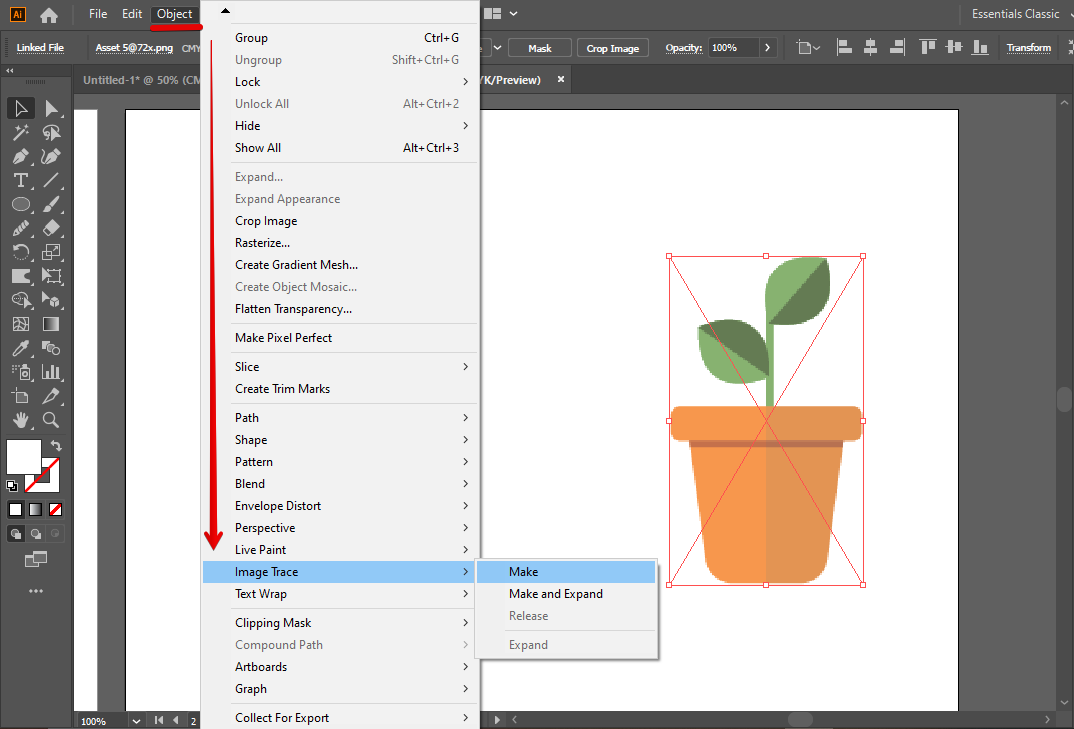
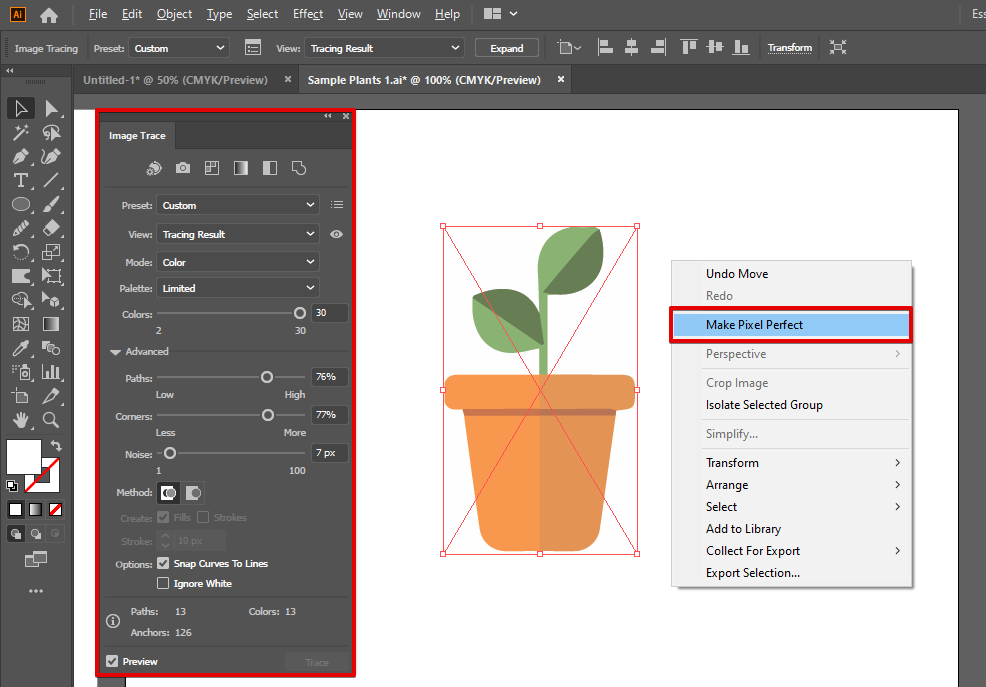
By simply adjusting the Image trace settings, you can instantly clear the pixelated area of your image. Furthermore, you can right-click on your mouse and click “Make Pixel Perfect.”
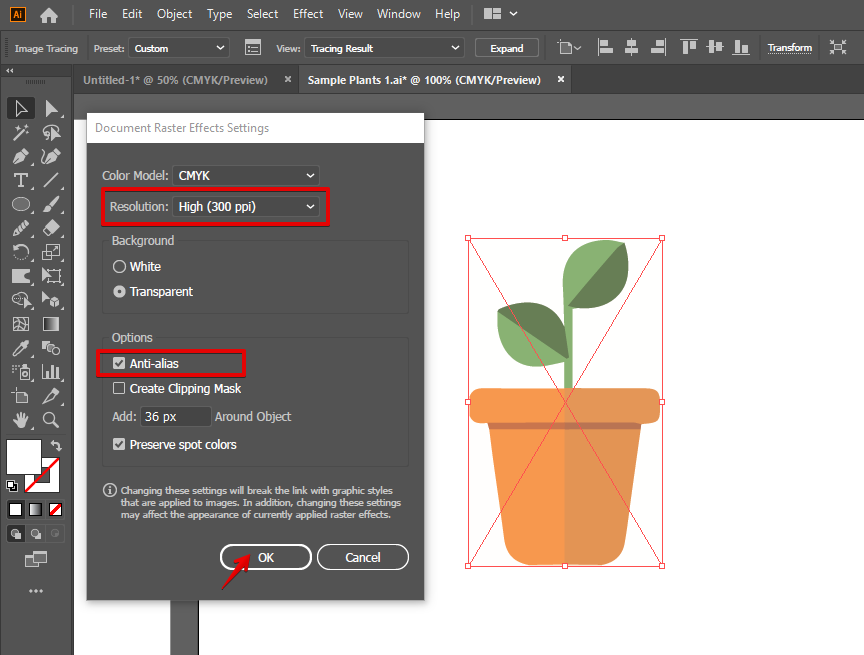
2. Use the Anti-aliasing filter.
This filter can help smooth out the edges of the graphics, which can help reduce the appearance of pixelation. Go to Effects>Document Raster Effects Settings and adjust Resolution. Tick the “Anti-alias” checkbox then click Ok.
PRO TIP: If you are experiencing pixelation in Illustrator, it is likely because you are zoomed in too far on your image. To fix this, simply zoom out until the pixelation goes away.
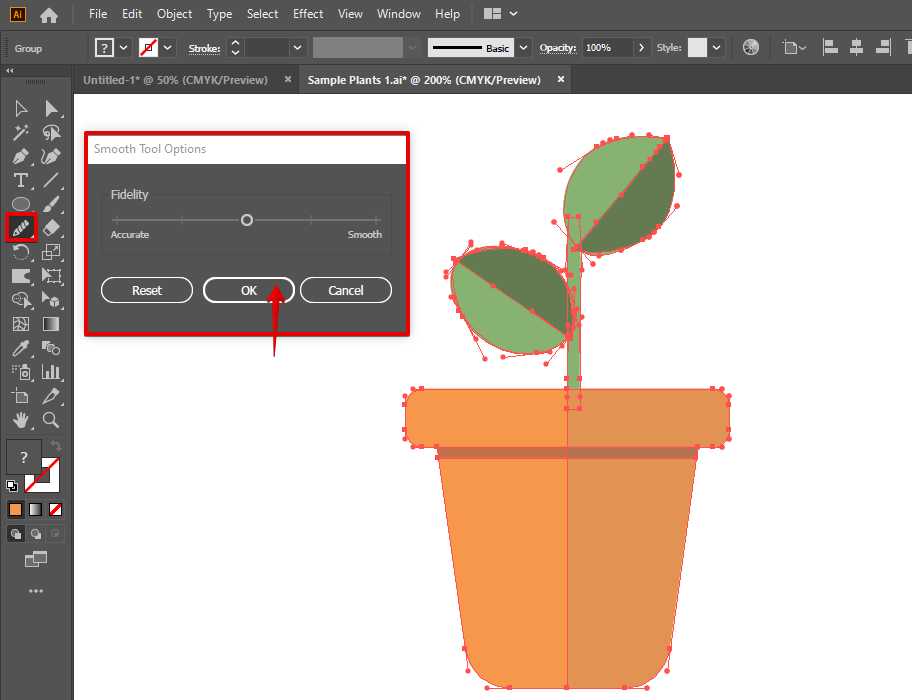
3. Use the Reposition tool.
This tool can be used to move graphics around in an image to try and fix the appearance of pixelation. Moreover, you can further smooth the path position by using the Smooth Tool.
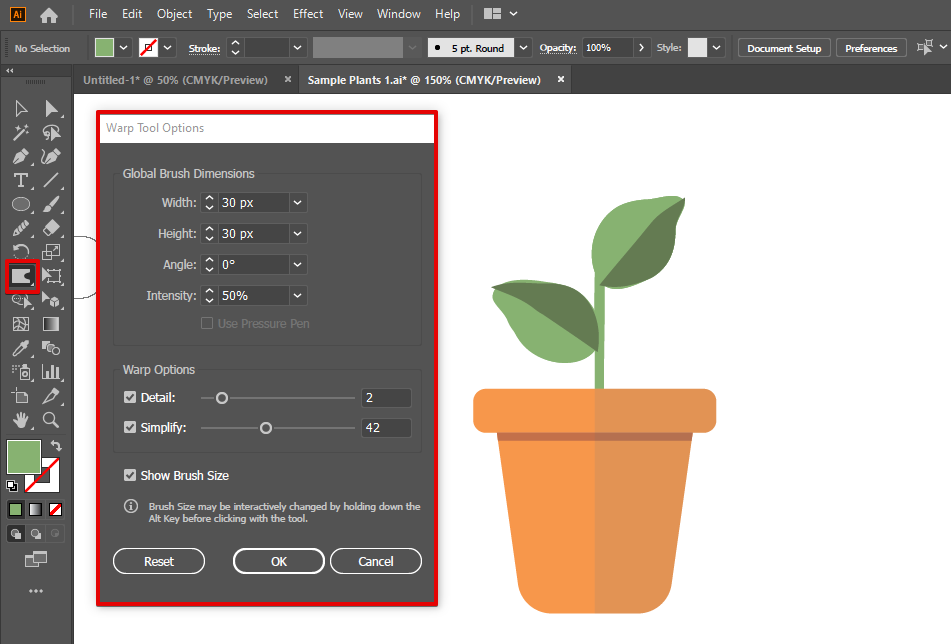
4. Use the Liquify filter.
This filter can be used to distort graphics, which can help reduce the appearance of pixelation.
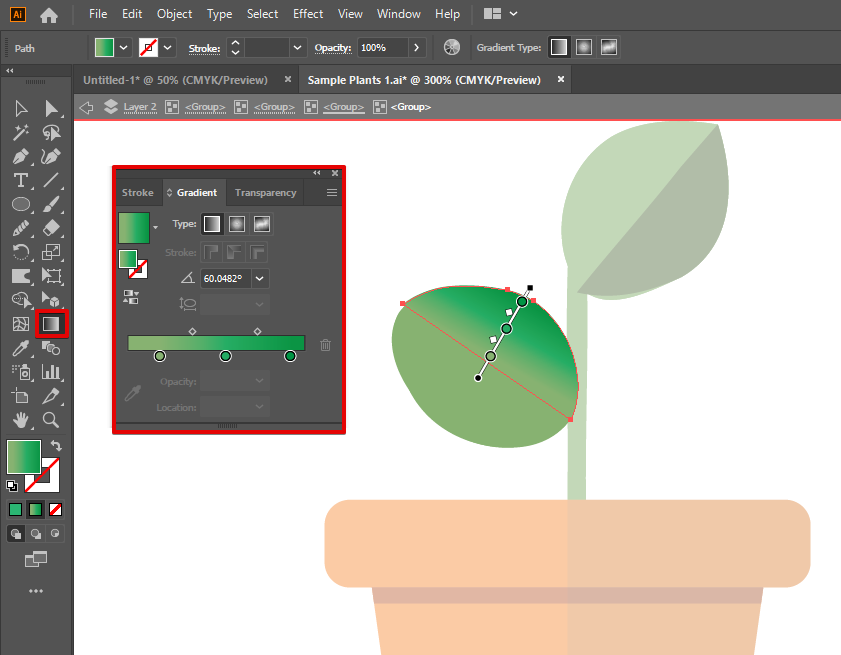
5. Use the Gradient tool.
This tool can be used to create gradual transitions between different colors, which can help reduce the appearance of pixelation.
8 Related Question Answers Found
Shading a face in Illustrator can be done in a few different ways. The first is to use the Pen tool and draw in the shadows on the face. The second is to use the Gradient tool and create a gradient to darken the shadows.
Illustrator excels in graphic creation, yet it falls short in offering extensive options for tweaking brightness and contrast. While there are some techniques available for adjusting these parameters, each method comes with its own set of limitations. To get started, first, open the design that you want to adjust the brightness and contrast of in Illustrator.
Illustrator CC includes a number of powerful tools to help you create professional-grade graphics. One of these tools is the Shadow tool, which can be used to remove the shadow effect from objects. In this article, we will walk you through the steps necessary to remove the shadow effect in Illustrator.
1.
Changing the Perspective Grid
Illustrator offers a variety of perspective grid options, each with its own advantages and drawbacks. To change the grid type, open the Perspective Grid dialog box (Window > Perspective Grid) and select from the following options:
Linear Perspective: This is the default perspective grid. The grid lines are perpendicular to the view plane and the perspective shifts the objects along the lines.
In Illustrator, you can distort and skew objects to create a variety of effects. To distort an object, select it and use the distort tool (it’s located in the distort panel). To skew an object, select it and use the skew tool (it’s located in the distortion panel).
When working with text in Illustrator, it is important to be aware of how text can be skewed to create the desired effect. There are a number of ways to skew text, and each has its own benefits and drawbacks. The most common way to skew text is to use the Transform tool.
There is one simple way that you can distort the text in Illustrator. That is to use the Envelope Distort tool. You can use the Envelope Distort tool to make precise changes to letters and words or to distort the entire text object.
Illustrator is a versatile program that is great for creating realistic graphics. One way to create distressed effects is by using the Liquify tool. You can use this tool to distort or modify the shape of objects.