Resizing an image in Illustrator is a relatively easy task, but it can be tricky to avoid distortion if you don’t know what you’re doing. Here are a few tips to help you resize an image without distortion:
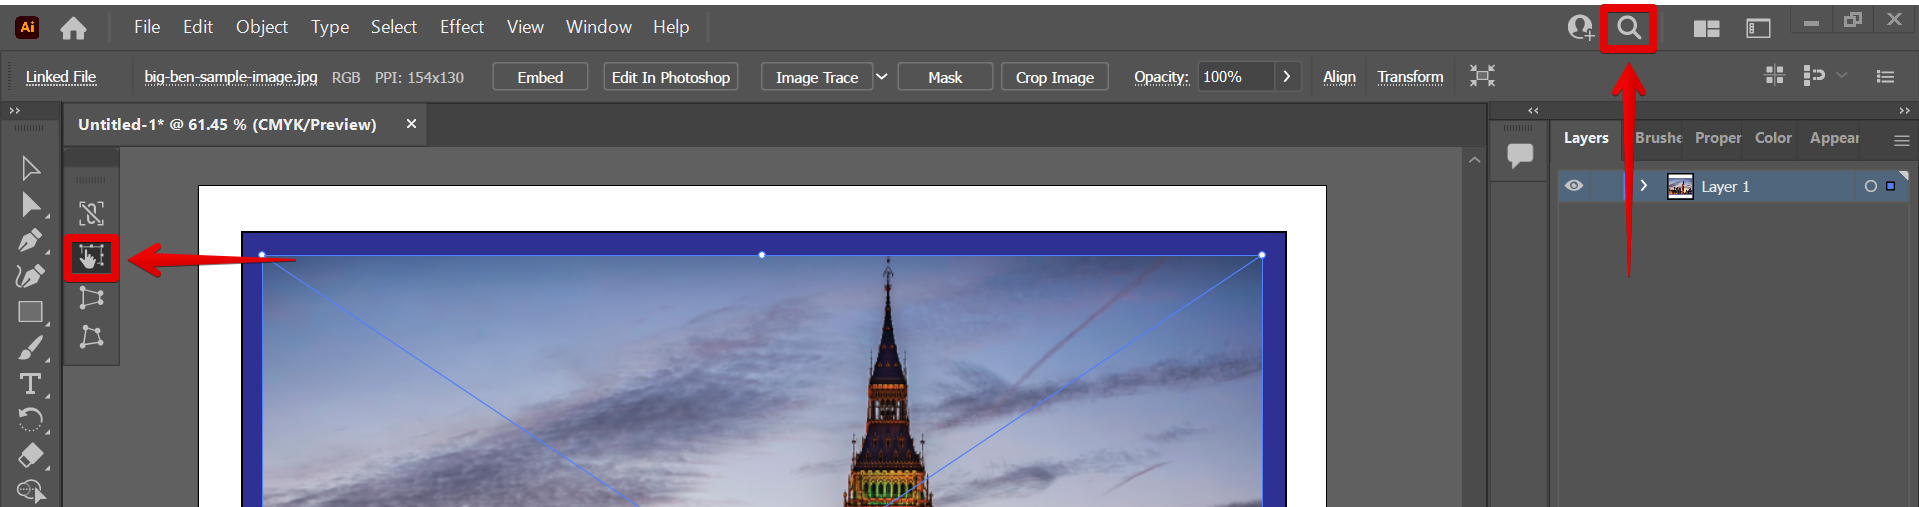
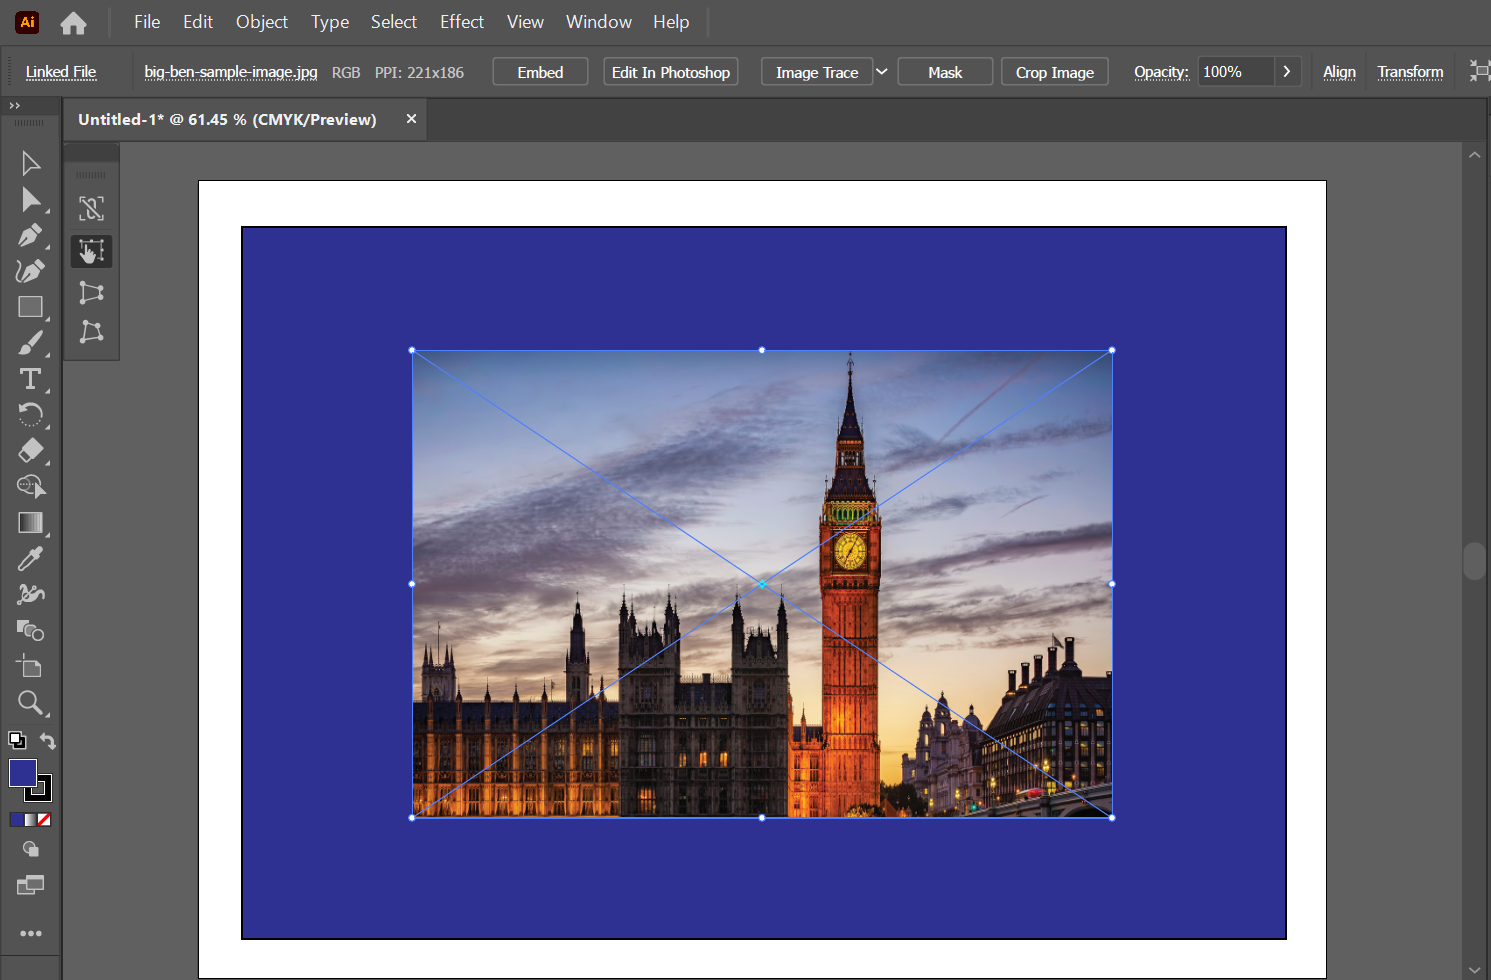
1. Use the Free Transform tool (Ctrl/Cmd + T) to resize the image uniformly. To do this, select the “Free Transform Tool” from the left toolbar.
NOTE: If you can’t find the Free Transform Tool in your toolbar, simply search for it using the search icon at the upper-right corner.
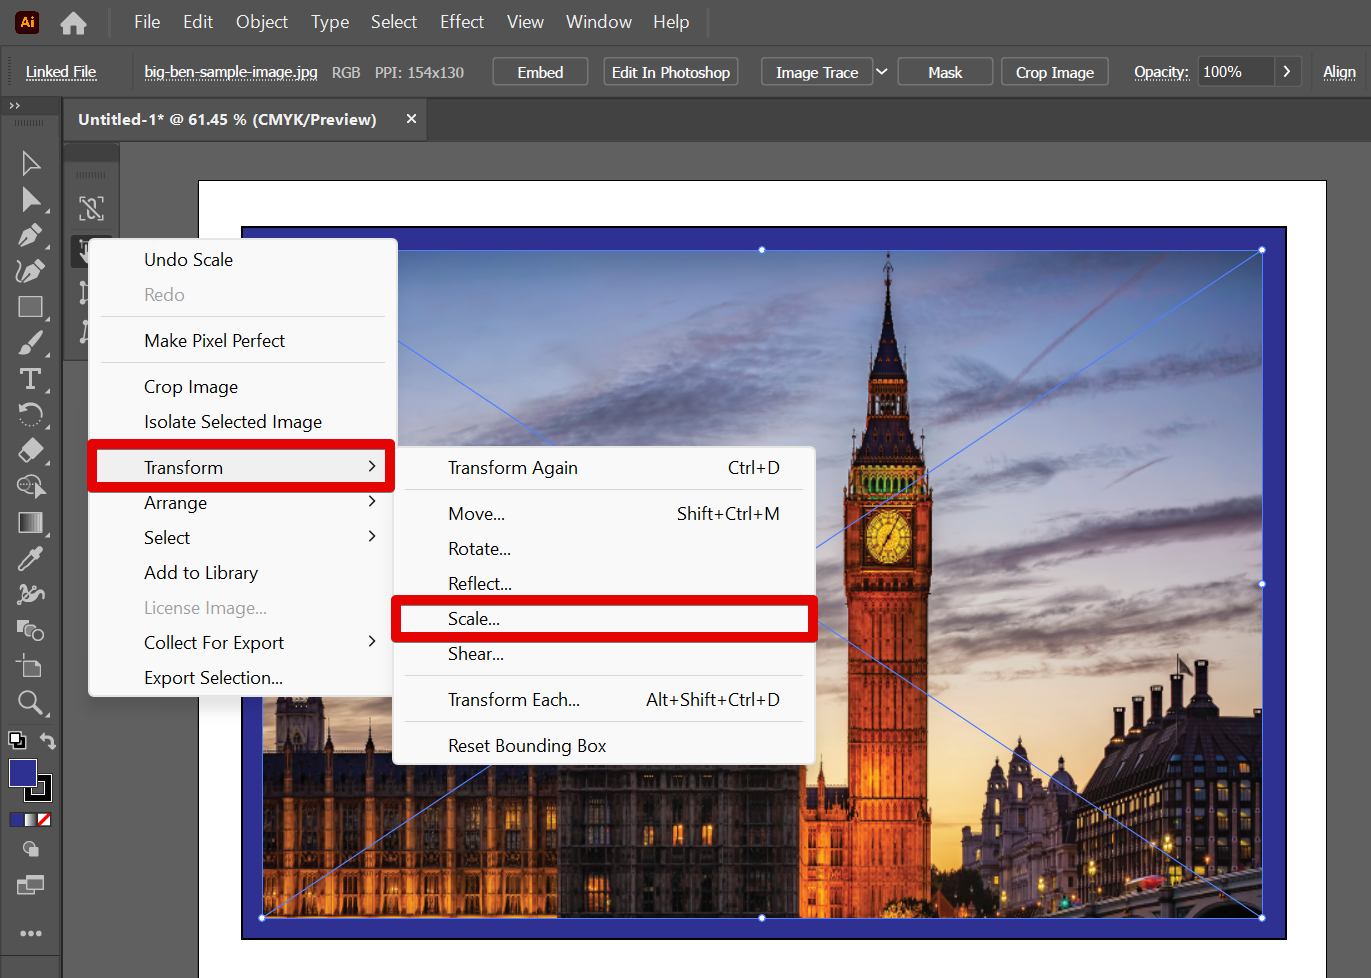
2. Then, right-click on the “Free Transform Tool” and in the menu that will appear, go to Transform > Scale.
NOTE: Make sure that the proportions of the image remain the same when you resize it. If the image is too large or small, it will distort when you try to resize it.
PRO TIP: If you are not careful, you can easily distort an image when you are trying to resize it in Illustrator. Make sure that you constrain the proportions of the image (by holding down the Shift key as you drag a corner handle) if resizing manually so that it doesn’t get distorted.
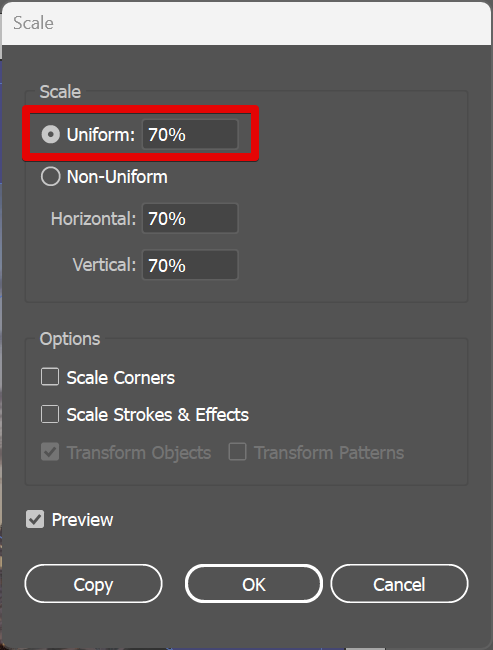
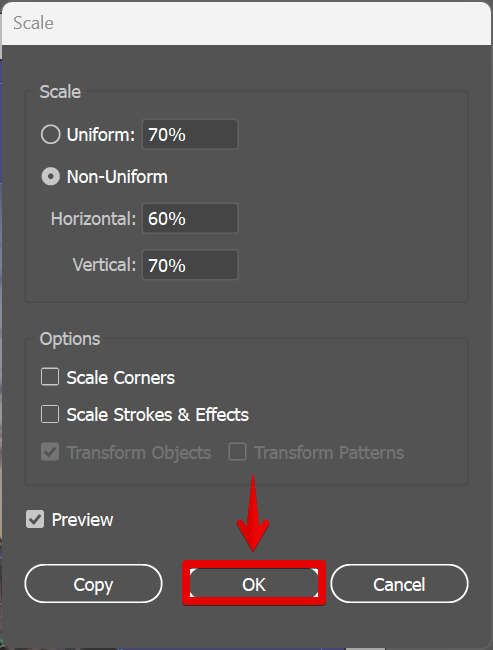
3. In the Scale window, adjust the proportions of the image as needed. You can use the “Uniform” section to adjust the dimensions proportionately.
NOTE: The Uniform option allows you to avoid distortion when resizing your images.
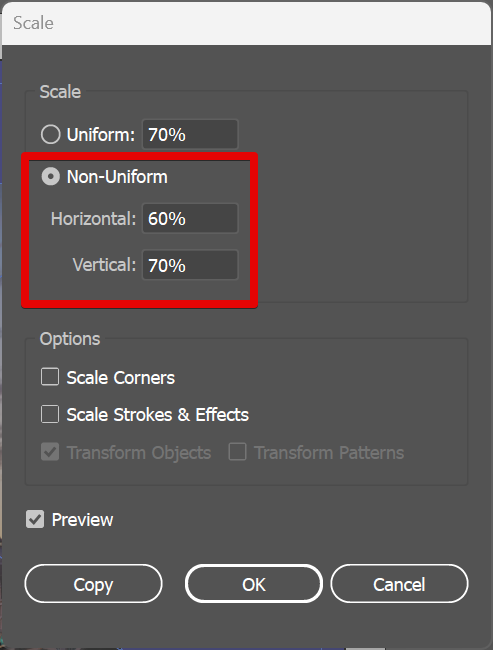
4. You can also use the “Non-Uniform” section to adjust the horizontal and vertical dimensions of your image separately.
NOTE: When using the Non-uniform option, it is recommended to make the dimension values as close as possible to avoid distortion.
5. Once done, click on the “Ok” button.
6. Your image is now resized without any distortion!
9 Related Question Answers Found
Illustrator is an amazing program for creating graphics, but sometimes you may want to recolor an image to make it more your own. There are a few different ways to recolor an image in Illustrator. One way is to use the Color palette.
In Illustrator, you can cut out parts of an image by using the Selection tool and the Rectangular Marquee tool. To cut out a rectangular section of an image, start by selecting the Selection tool and clicking inside the image. Then, use the Rectangular Marquee tool to draw a rectangular selection around the area you want to cut out.
When compared to other image editing and manipulation apps, Adobe Illustrator is in a league of its own. In contrast to Photoshop, the other mainstay of Adobe’s Creative Suite, Illustrator relies on vectors (lines and curves) to construct graphics. Therefore, erasing an area of an image is handled differently than it is in other editors.
In Illustrator, if you want to erase part of an image, there are a few ways you can do it. The easiest way is to use the Eraser tool. You can also use the Direct Selection tool to erase part of an image by clicking and dragging on the area you want to erase.
There is one simple way that you can distort the text in Illustrator. That is to use the Envelope Distort tool. You can use the Envelope Distort tool to make precise changes to letters and words or to distort the entire text object.
If you want to embed an image in Illustrator, you will first need to find the image file on your computer. You can do this by opening File > Open and selecting the image file. Once the image is open, you will need to select the “Image” tab and click on the “Embed” button.
Illustrator is a powerful vector graphics program that enables you to create detailed drawings and illustrations. One of the features of Illustrator is the ability to delete parts of objects. To delete a part of an object in Illustrator, you can follow these steps:
1.
Embedding an image in Illustrator is easy. First, open the image in Illustrator. Next, use the Image Tools Options menu to open the Image Properties dialog box.
Embedding images in Illustrator can be a time-consuming process, but it can be worth it if you need to create high-quality graphics that are easy to share. If you’re just starting out, it’s probably easiest to just use placeholder images or images that you downloaded from the internet. As you become more comfortable with Illustrator, you may want to embed images from your own files or from online sources.