There are a few different ways to set margins in Figma. You can use the Layout Grid, the Frame tool, or the Margins Plug-in.
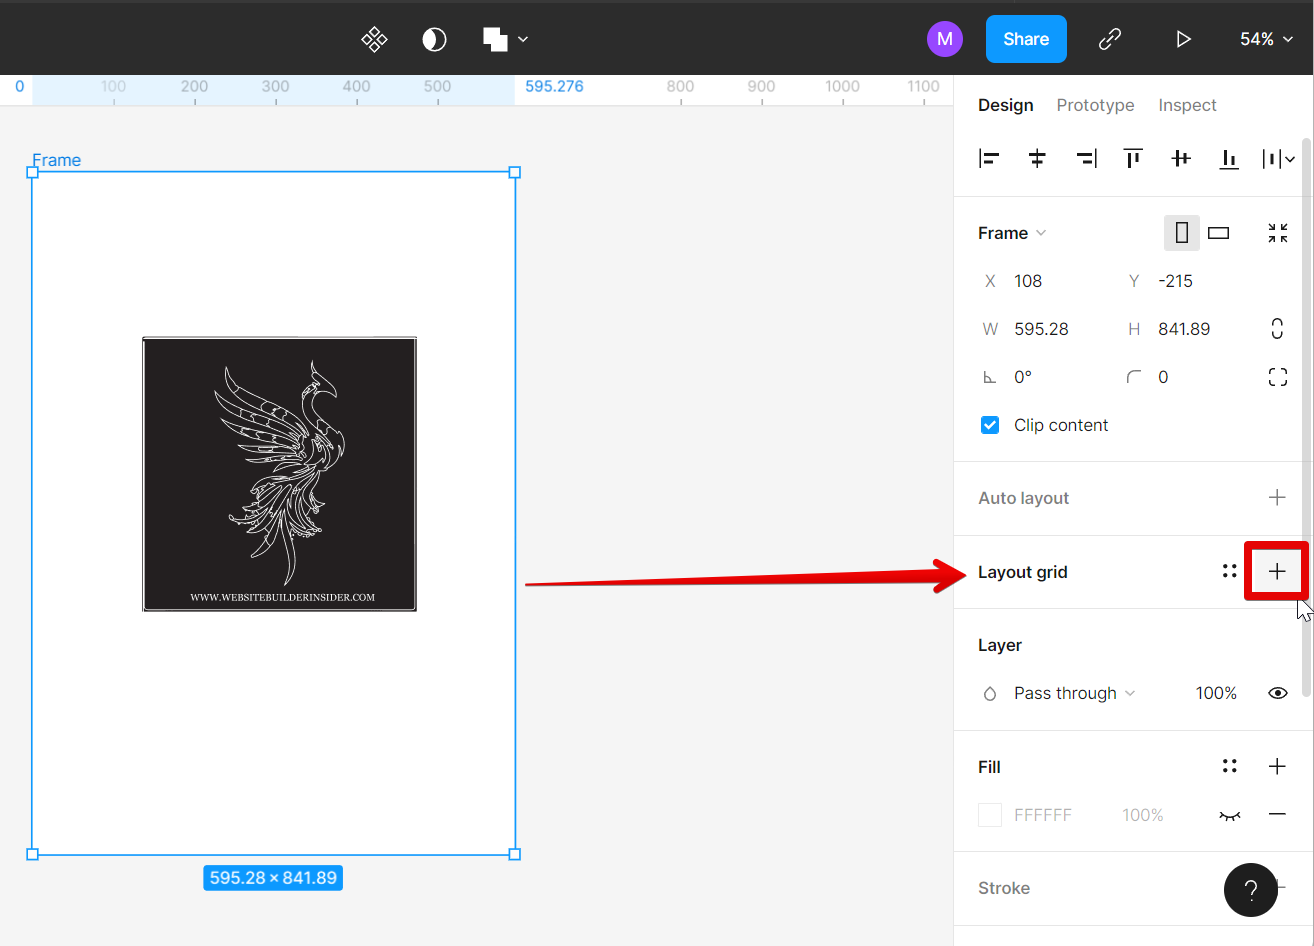
1. Layout Grid
The Layout Grid is the most basic way to set margins. To use it, simply select the Layout Grid option from the right toolbar and click on the “+” button.
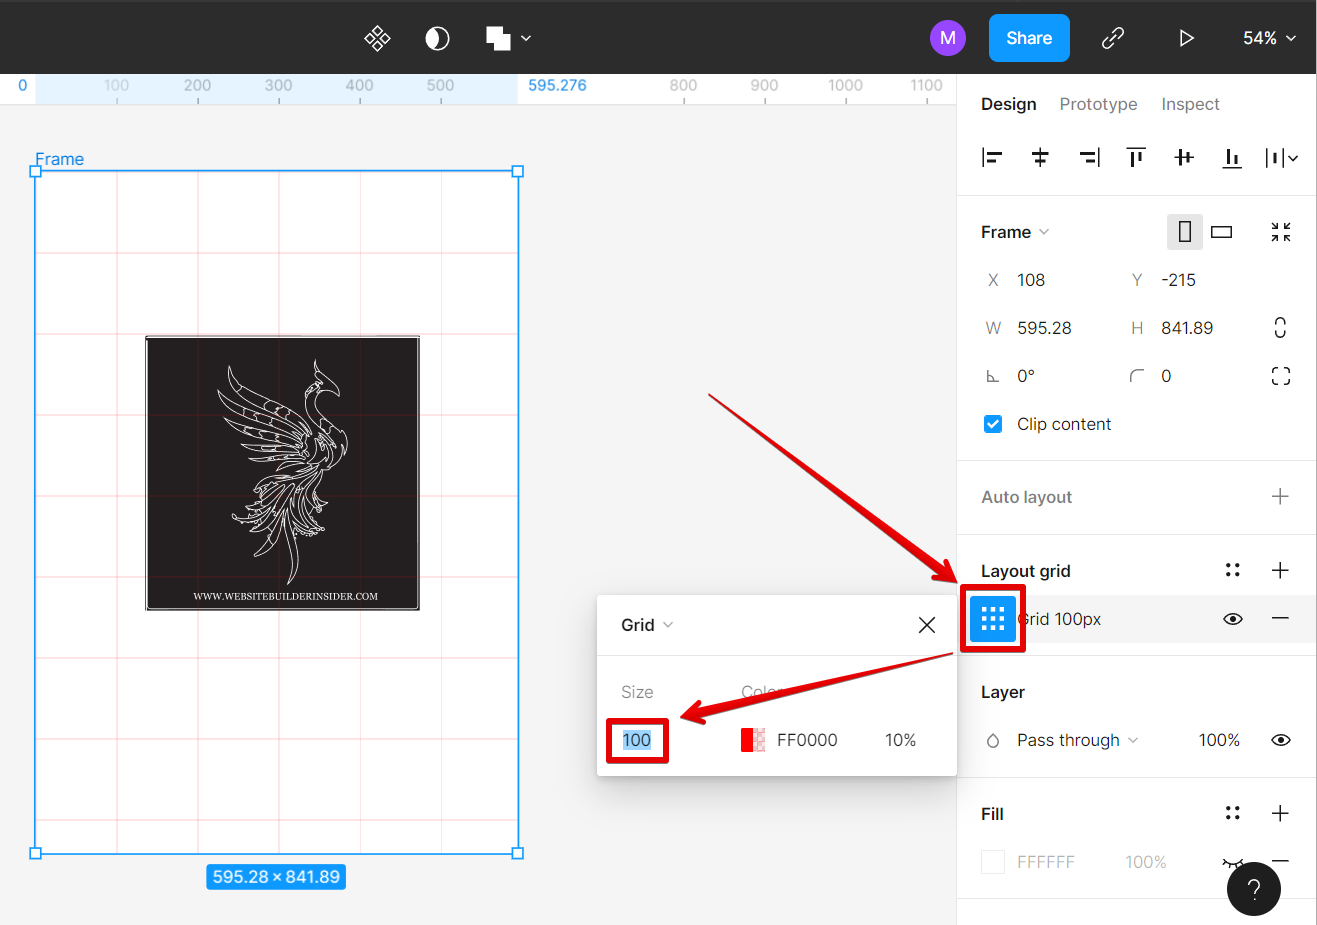
Then, click the nine dots to enter the layout grid settings. Set the size to a larger number to create wider margins on your canvas. The grid will automatically snap to the margins you set.
PRO TIP: When working with margins in Figma, it’s important to keep in mind that margins are the space between elements on a page, not the space around the edge of the page. If you want to add space around the edge of the page, you’ll need to use a frame.
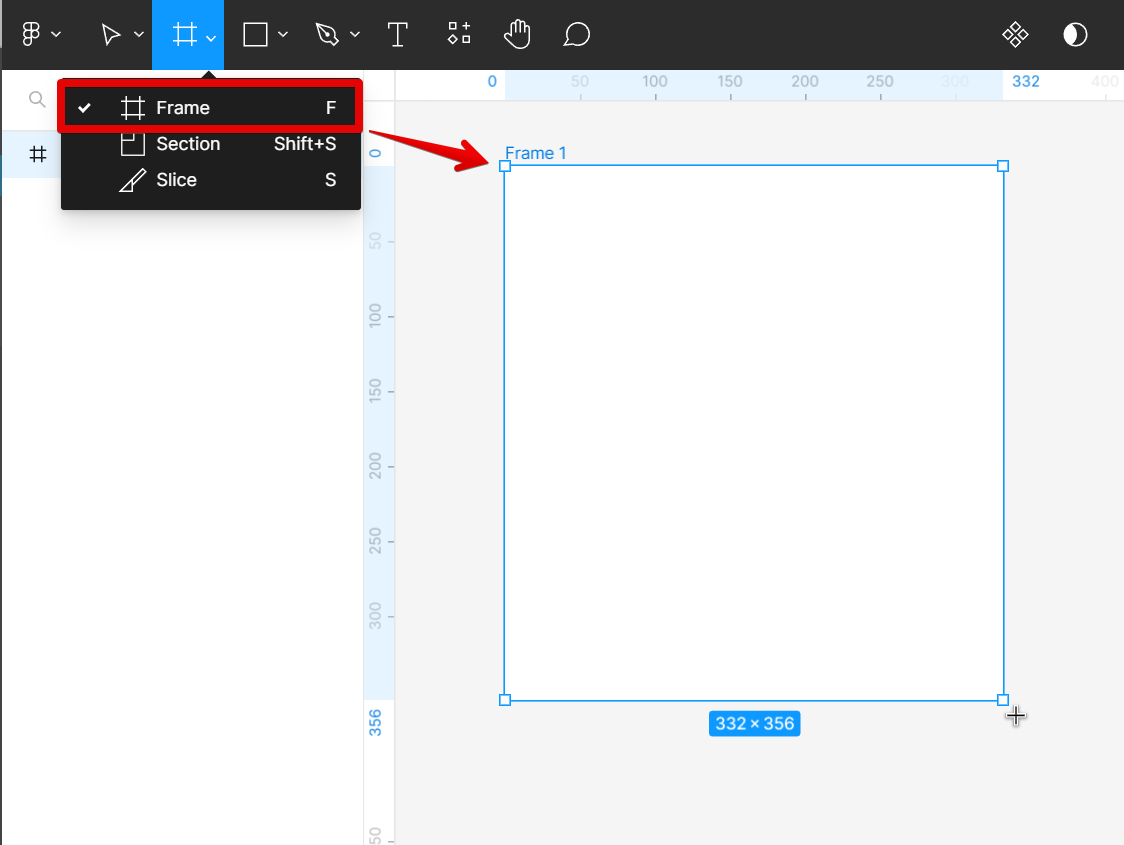
2. Frame Tool
The Frame tool is a bit more versatile than the Layout Grid. With the Frame tool, you can set different margins for each side of your frame.
To do this, select the Frame tool from the upper-left toolbar and click and drag to create a frame on your canvas.
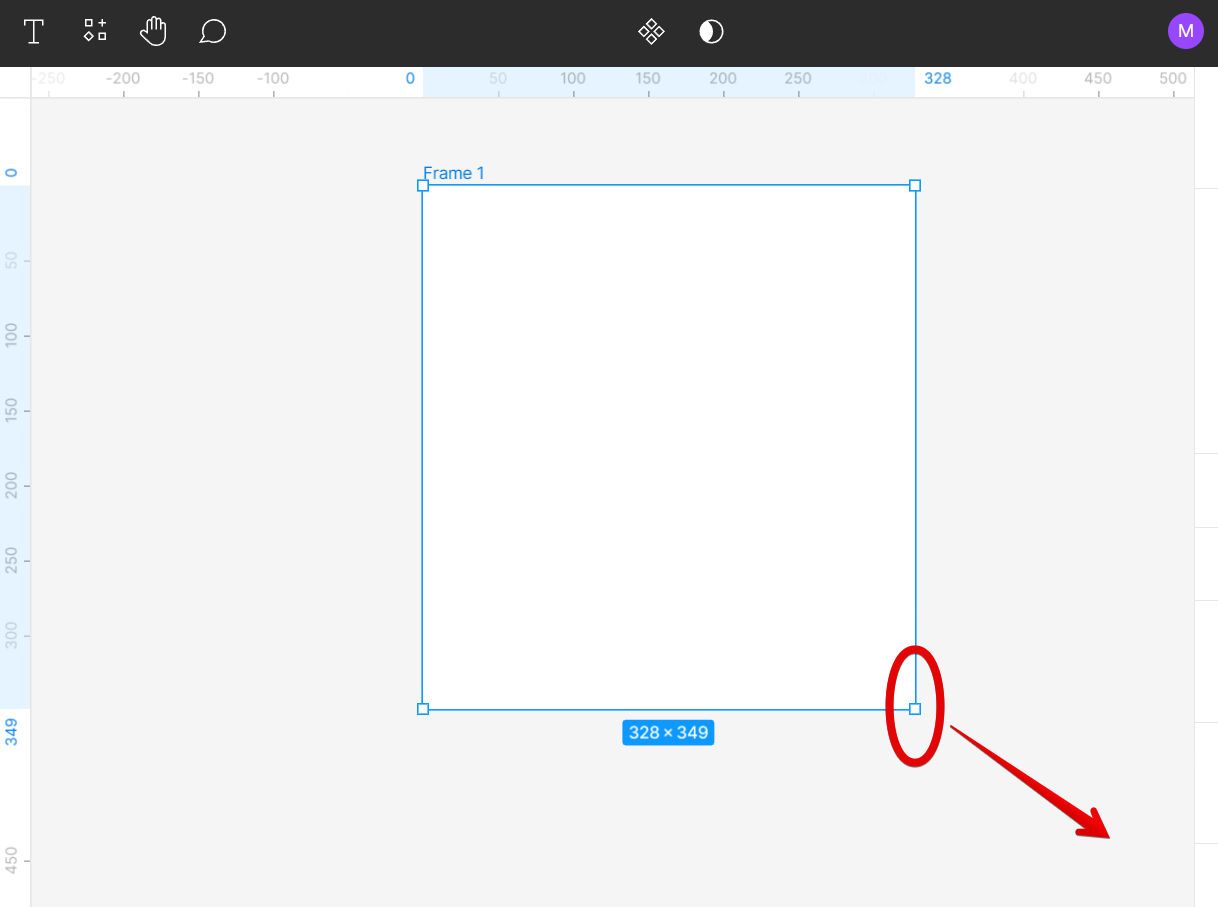
You can easily adjust your frame margin by clicking and dragging on the handles around it.
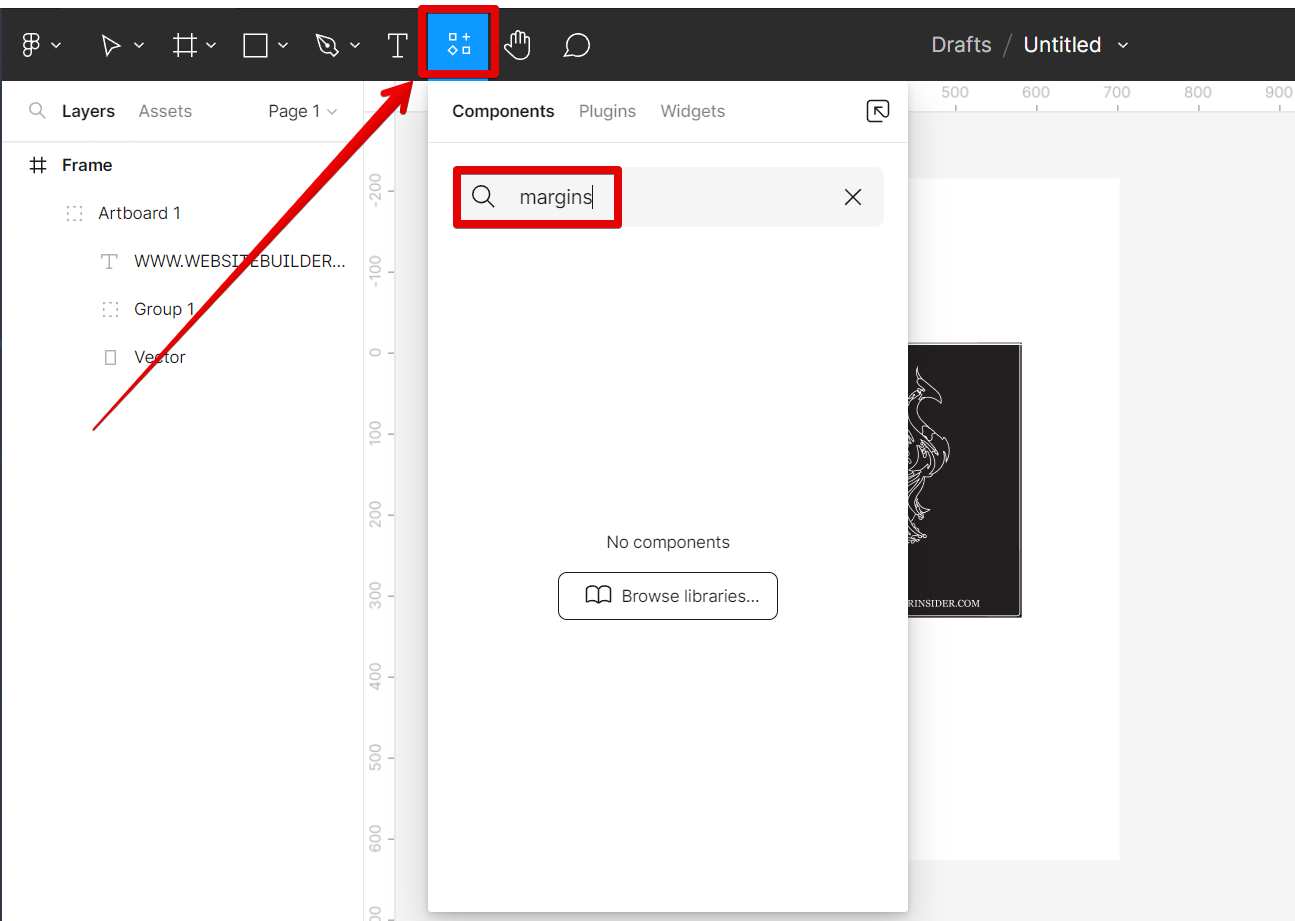
3. Margins Plug-in
The Margins Plug-in is the most precise way to set margins in Figma. To use it, click the Resources button from the upper-left toolbar and type “margins” in the search bar.
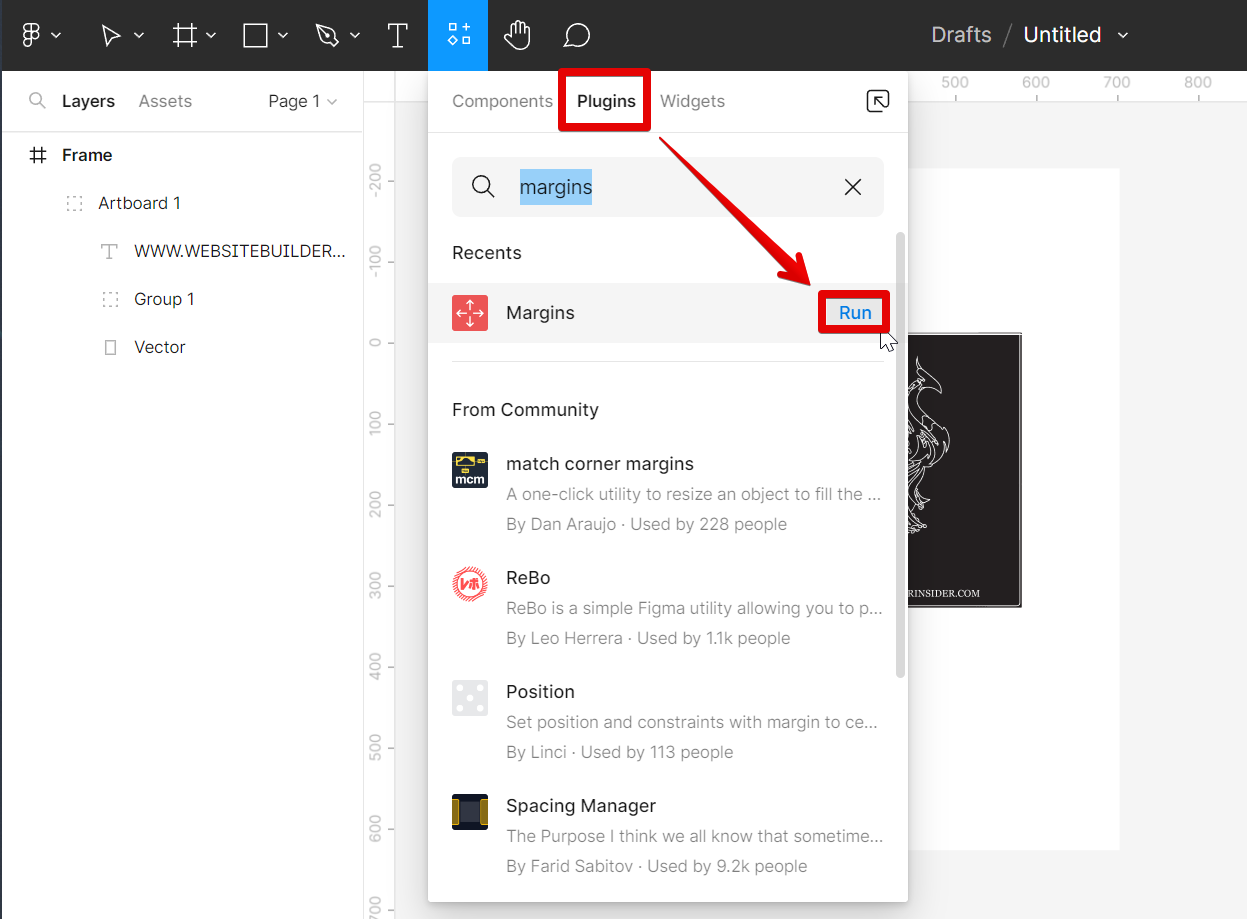
Select the “Plugins” tab and click on “Run” beside the “Margins” option from the results.
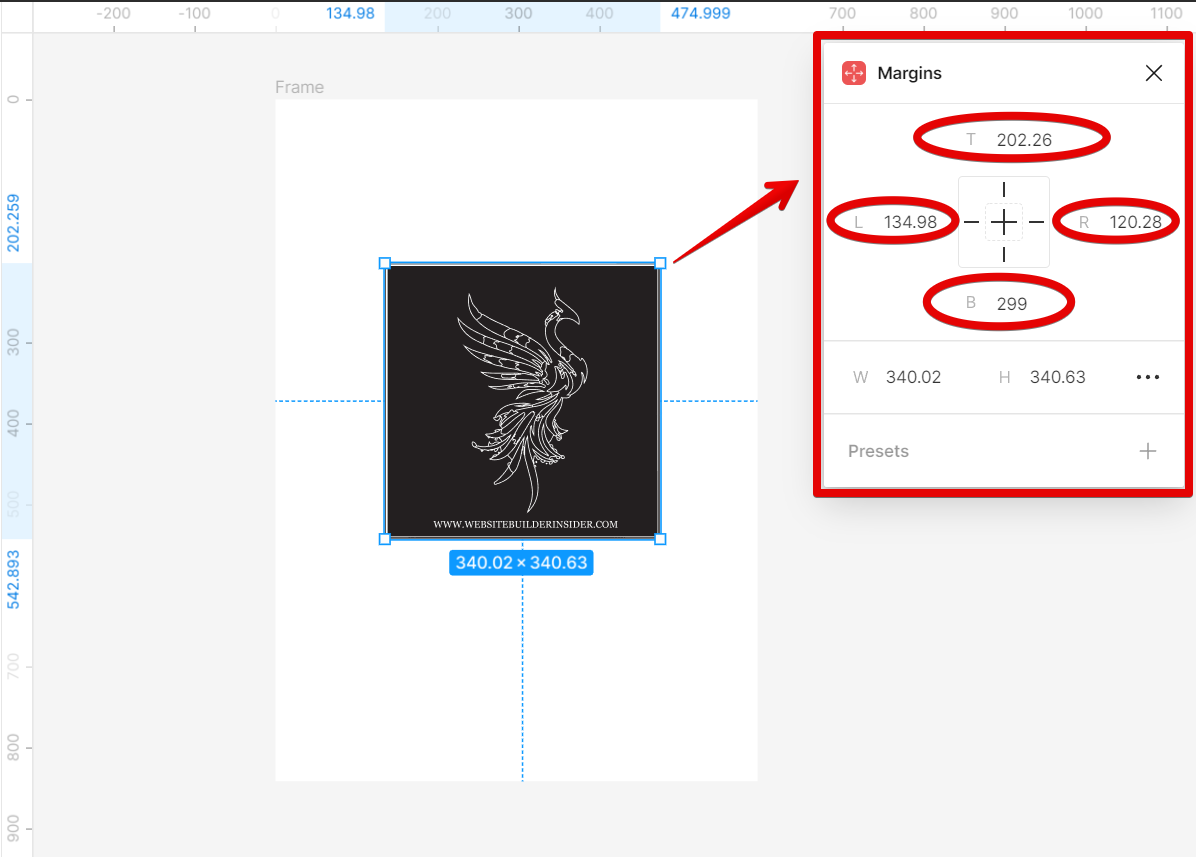
You can now adjust the margins of a specific element in your design. Just click on it and set the numbers in the Margins plug-in!
10 Related Question Answers Found
If you’re new to Figma, or haven’t used a vector drawing tool before, the first thing you’ll need to know is how to select and move your objects around. The easiest way to do this is with the Select tool. To select an object, simply click on it with the Select tool.
There are a few ways to crop a circle in Figma. The first way is to use the Crop tool. With the Crop tool selected, click and drag a selection around the area you want to crop.
There are a few different ways that you can make rounded corners in Figma. One way is to use the built-in Corner tool. To do this, select the object that you want to round the corners of and then click on the Corner tool in the toolbar.
As a Figma user, you probably know how to create basic shapes like rectangles, circles, and polygons. But what if you want to create a more complex shape, like a progress circle? Creating a progress circle in Figma is actually quite simple.
There are a few different ways that you can get smooth shadows in Figma. One way is to use the built-in drop shadow effect. To do this, select the object that you want to add a shadow to and then click on the “Effects” tab in the right sidebar.
When it comes to creating a border in Figma, there are a few different ways that you can go about it. You can use the Rectangle Tool to draw a border around an object, or you can use the Frame Tool to create a border around a group of objects. You can also use the Pen Tool to create a custom border.
1.
When you want to add a curve to your design in Figma, there are a few different ways to do it. The first way is to use the pen tool. With the pen tool selected, click on the anchor point that you want to start your curve at.
Text can be formatted in a number of ways in HTML, including the use of tags to create bold or underlined text. However, it is not possible to curve text using HTML. This can be achieved through the use of CSS, however, which is a style sheet language used to format the appearance of web pages.
Figma is a vector graphics editor and design tool, created by Dylan Field and Evan Wallace. It is available for macOS, Windows, and Linux. Figma is used by designers at companies like Google, Facebook, Netflix, Airbnb, Uber, and more.
Adding guidelines in Figma is a great way to keep your designs consistent and easy to follow. There are a few different ways to add guidelines, but the most common is to use the “Add Guidelines” button in the toolbar. When you click this button, you’ll see a few options for adding guidelines.