In this tutorial, we will show you how to extract the color palette from an image in Illustrator. This is a great way to get a general idea of the colors used in an image or to recreate colors used in a design.
1. Open the image you want to extract the color palette from in Illustrator.
2. Select the “Color” tool from the toolbar.
3. In the “Tool Options” bar, select the “Palette” option.
4. Click on any area of the image that you want to extract the color palette from.
5. The colors in that area will appear in the “Palette” window.
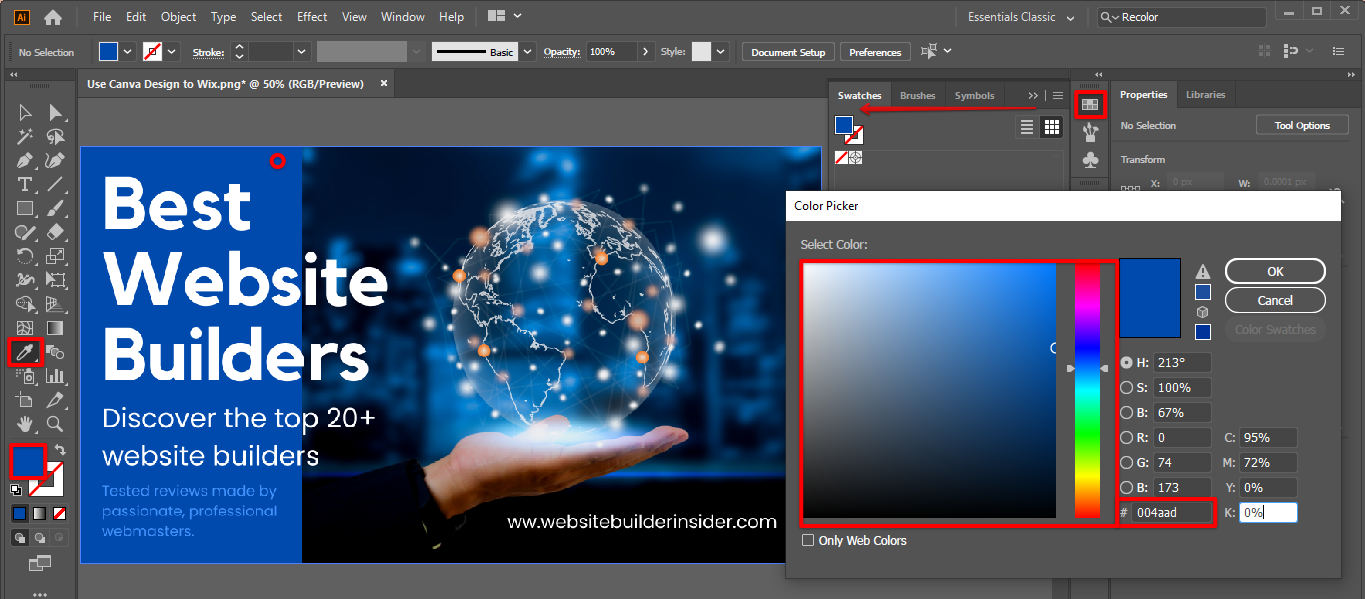
6. Click on any of the colors to see the corresponding Illustrator color code.

7. Click on the “Close” button to close the “Palette” window.
8. Click on the “Close” button in the “Tool Options” bar to close the Illustrator window.
9. Save your work in Illustrator.
PRO TIP: This article provides instructions on how to extract the color palette from an image in Adobe Illustrator. However, it is important to note that this process can result in a loss of quality in the image. Additionally, it is possible to inadvertently change the colors in the image while performing this extraction. Therefore, it is advised to use caution when extracting colors from an image in Illustrator.
9 Related Question Answers Found
When compared to other image editing and manipulation apps, Adobe Illustrator is in a league of its own. In contrast to Photoshop, the other mainstay of Adobe’s Creative Suite, Illustrator relies on vectors (lines and curves) to construct graphics. Therefore, erasing an area of an image is handled differently than it is in other editors.
Illustrator is an amazing program for creating graphics, but sometimes you may want to recolor an image to make it more your own. There are a few different ways to recolor an image in Illustrator. One way is to use the Color palette.
If you want to remove the white background from an image in Illustrator, there is one method that you can use. That is to use the Image Trace tool. To get started, first, open your image in Illustrator.
In Illustrator, you can cut out parts of an image by using the Selection tool and the Rectangular Marquee tool. To cut out a rectangular section of an image, start by selecting the Selection tool and clicking inside the image. Then, use the Rectangular Marquee tool to draw a rectangular selection around the area you want to cut out.
In Illustrator, if you want to erase part of an image, there are a few ways you can do it. The easiest way is to use the Eraser tool. You can also use the Direct Selection tool to erase part of an image by clicking and dragging on the area you want to erase.
In Illustrator, you can change the color of any object by converting it into a tracing object and then into a path using the “Image Trace” tool and the “Expand” tool. After that, you can continue by filling up the path with another color using the “Fill” option. To do this, first, go to the “Window” tab at the top menu and make sure to select the “Control” option.
There is one simple way that you can distort the text in Illustrator. That is to use the Envelope Distort tool. You can use the Envelope Distort tool to make precise changes to letters and words or to distort the entire text object.
Image sharpening is an important part of any design process. There are a variety of ways to sharpen an image in Illustrator. Here are a few methods:
1.
Illustrator is a vector graphic design application that allows users to create images and illustrations. There are a variety of tools that are available to cut an image, but the most common is the Crop tool. To use the Crop tool, first select the image that you want to cut and then click on the Crop tool in the toolbar.